Tinting your car windows offers numerous benefits, from enhancing privacy and reducing glare to blocking harmful UV rays and preserving your car's interior. While professional installation is always an option, tinting your car windows yourself can save you money and provide a satisfying DIY project. However, it's essential to approach this task with patience, precision, and the right tools. Rushing the process or using subpar materials can lead to bubbles, creases, and ultimately, a poor-quality tint job.
This comprehensive guide breaks down the window tinting process into easy-to-follow steps, providing detailed instructions and expert tips to help you achieve a professional-looking finish. We'll cover everything from preparing your windows and cutting the tint film to applying the film and troubleshooting common problems. Whether you're a seasoned DIY enthusiast or a complete beginner, this guide will equip you with the knowledge and skills you need to tint your car windows with confidence. Remember to always check your local laws regarding window tint darkness before beginning. Tinting beyond legal limits can result in fines.
Before starting, gather all the necessary tools and materials and familiarize yourself with the entire process. A well-prepared workspace and a clear understanding of each step are crucial for success. Let's dive in!
Tools or Materials Required
- High-quality window tint film
- Spray bottle
- Dish soap
- Clean water
- 1" Razor blade
- Squeegee
- Heat gun
- Hard card (e.g., credit card or application card)
- Utility knife or precision knife
- Lint-free cloths
- Measuring tape (optional)
Step 1: Prepare Your Workspace
Finding a Clean, Dry Area
The first and arguably most important step is selecting a suitable workspace. You need a clean, dry, and well-lit environment to minimize the chances of dust or debris contaminating the tint film or the window surface. An indoor garage or a sheltered outdoor area is ideal. Avoid working in direct sunlight, as this can cause the soapy water solution to dry too quickly, hindering the application process. Ensure the area is free from drafts or strong winds, which can also introduce contaminants.

Step 2: Clean the Windows Thoroughly
Removing Obstructions and Cleaning the Glass
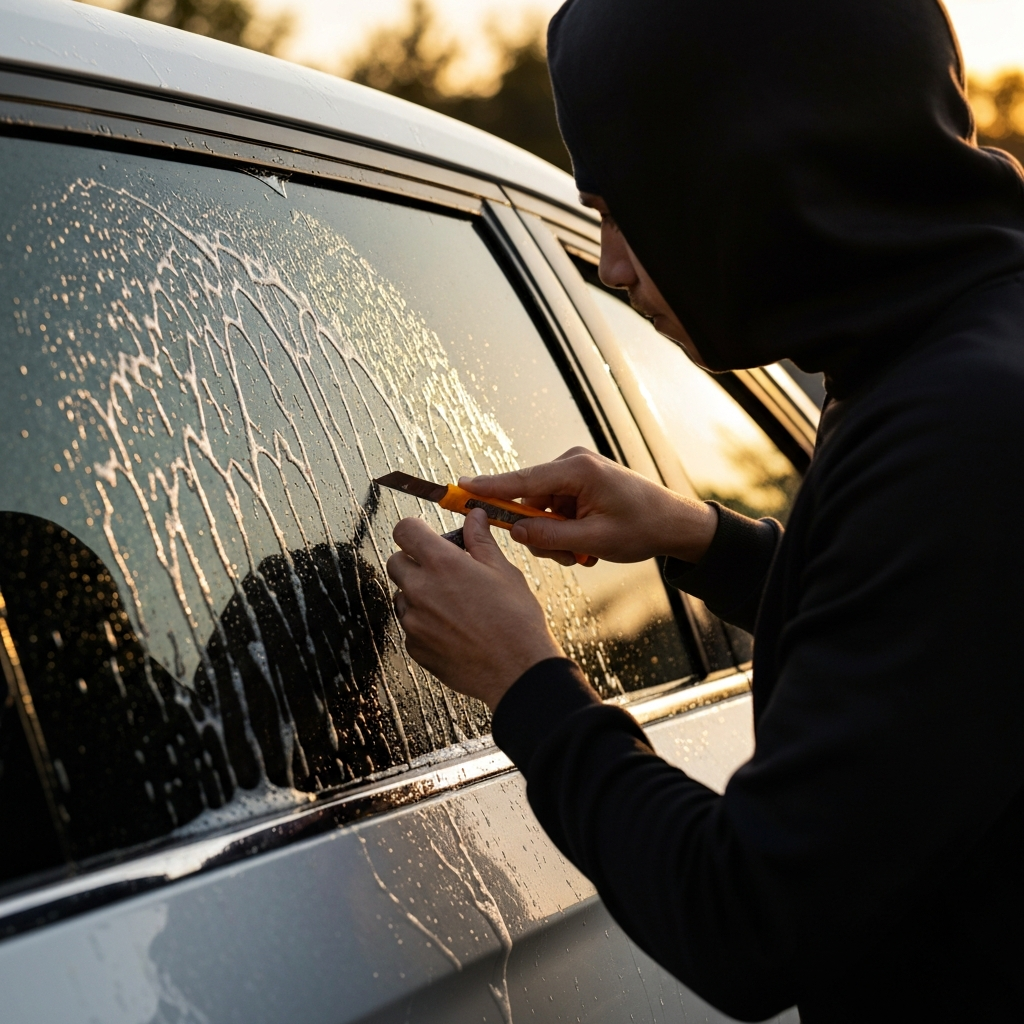
Begin by removing any stickers, decals, or adhesive residue from both the inside and outside of the windows. A razor blade can be used carefully to scrape away stubborn adhesives. Follow this with a thorough cleaning using soapy water and a 1" razor blade. Mix a few drops of dish soap with warm water in a spray bottle. Spray the window liberally and use the blade at a shallow angle to scrape away dirt, grime, and any remaining adhesive. Pay close attention to the edges and seals. Rinse the window thoroughly with clean water and dry it with a lint-free cloth or squeegee.
Step 3: Measure and Cut the Tint Film
Precise Cutting for a Perfect Fit
Spray the *outside* of the window with soapy water. This allows the tint to temporarily adhere, but still be moved around for cutting. Lay the tint film over the wetted outside surface, ensuring it extends beyond the edges of the window by at least 2-3 inches. The liner side (the side that will later adhere to the window) should be facing you. Using a sharp utility knife or precision knife, carefully trim the film to match the shape of the window, using the window's edges as a guide. Use a squeegee to press down the tint and keep it flush with the window as you cut.
Step 4: Prepare the Window for Application
Final Cleaning and Lubrication
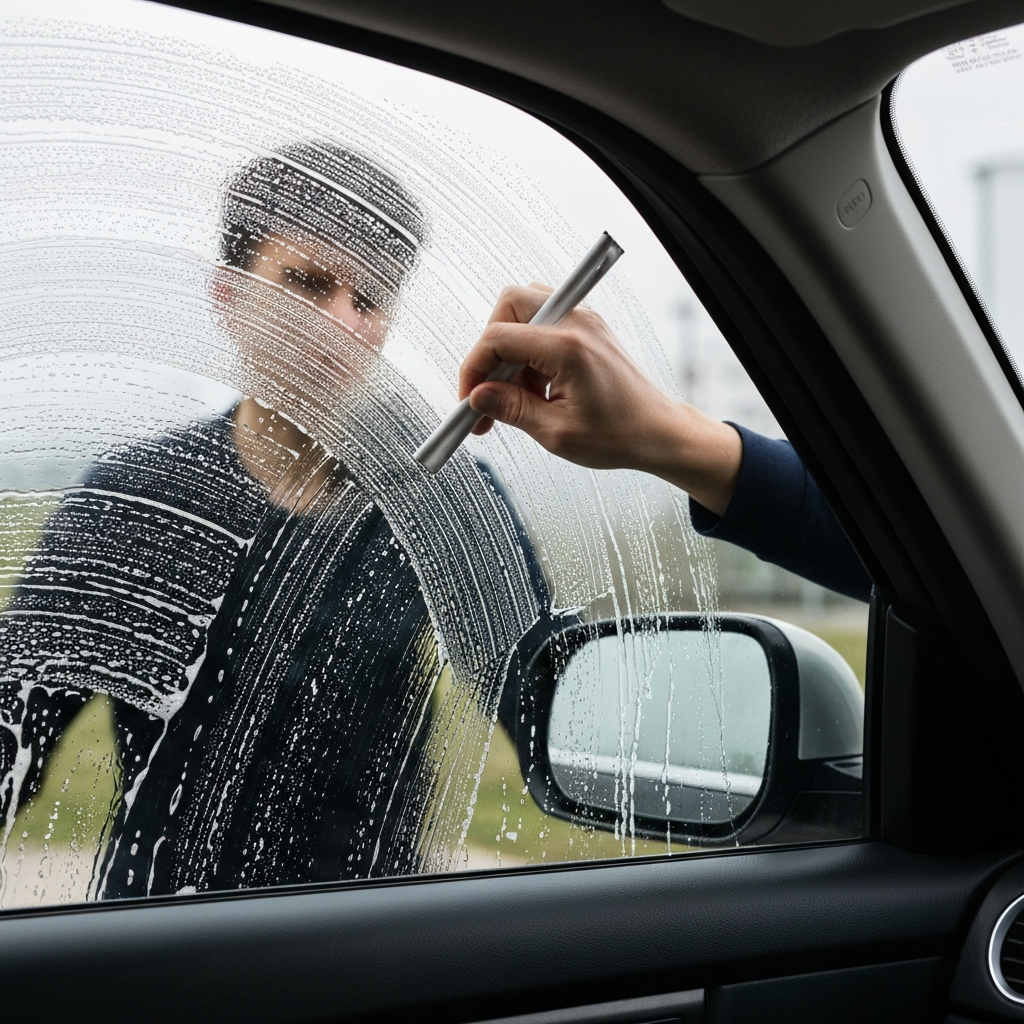
Before applying the tint, perform one last cleaning of the *inside* window surface. Spray generously with soapy water and use a squeegee to remove any remaining dirt or debris. This step is crucial for ensuring a smooth, bubble-free application. The window should be thoroughly wet with the soapy water solution before proceeding.
Step 5: Apply the Tint Film
Peeling, Positioning, and Adhering
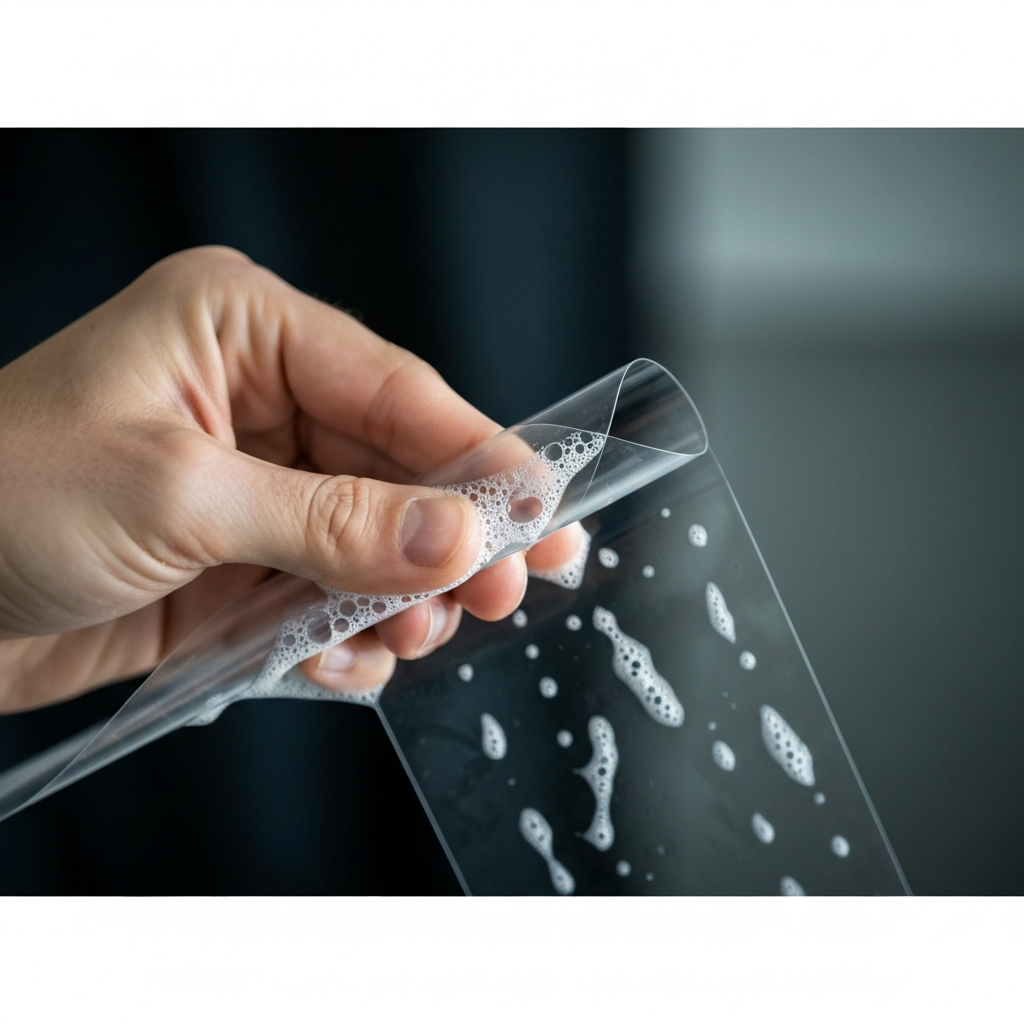
Carefully peel off the release liner from the tint film, starting from one corner. As you peel, spray the adhesive side of the film with soapy water to prevent it from sticking to itself. Work in small sections, peeling and spraying as you go, to maintain control and prevent creases. Align the top edge of the film with the top edge of the window and gently press it into place. Use a squeegee to smooth out the film, working from the center outwards to remove any air bubbles or excess water.
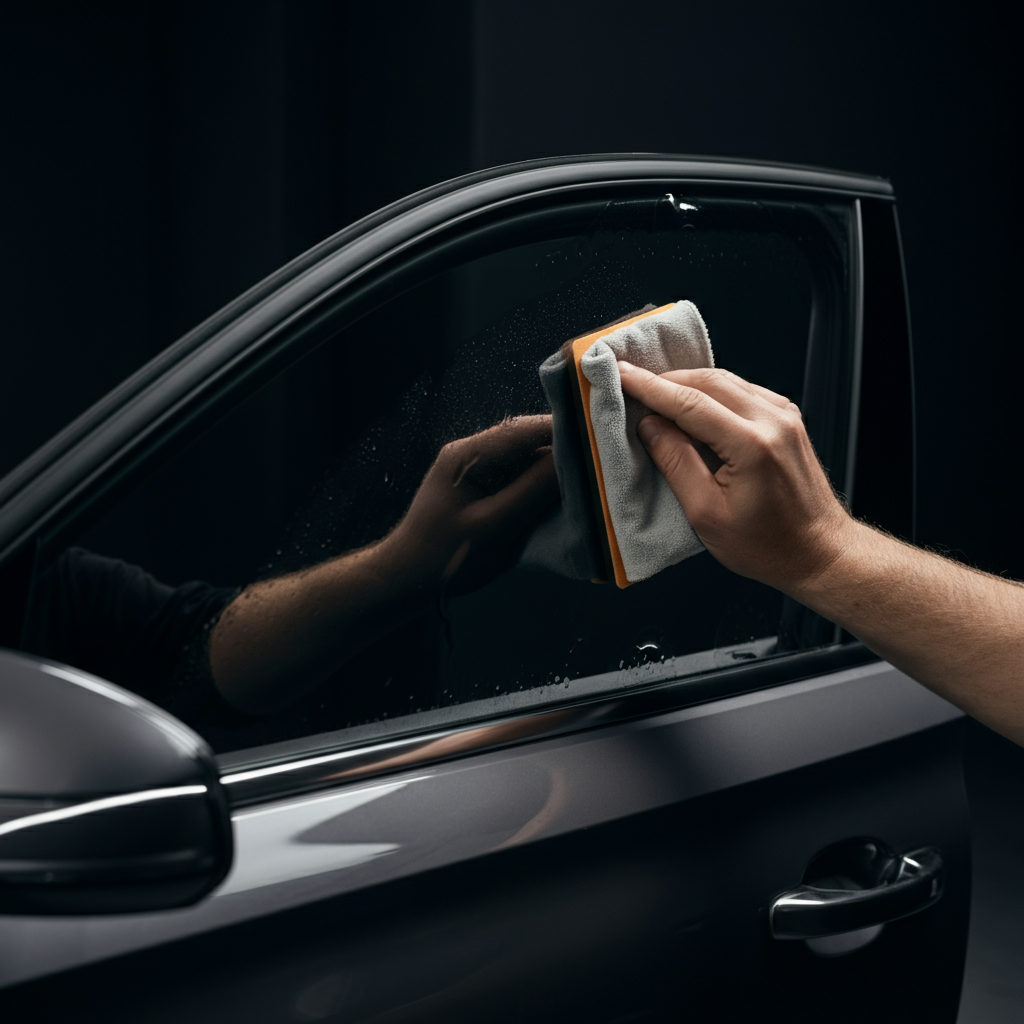
Step 6: Squeegee and Smooth the Film
Removing Air Bubbles and Ensuring Adhesion
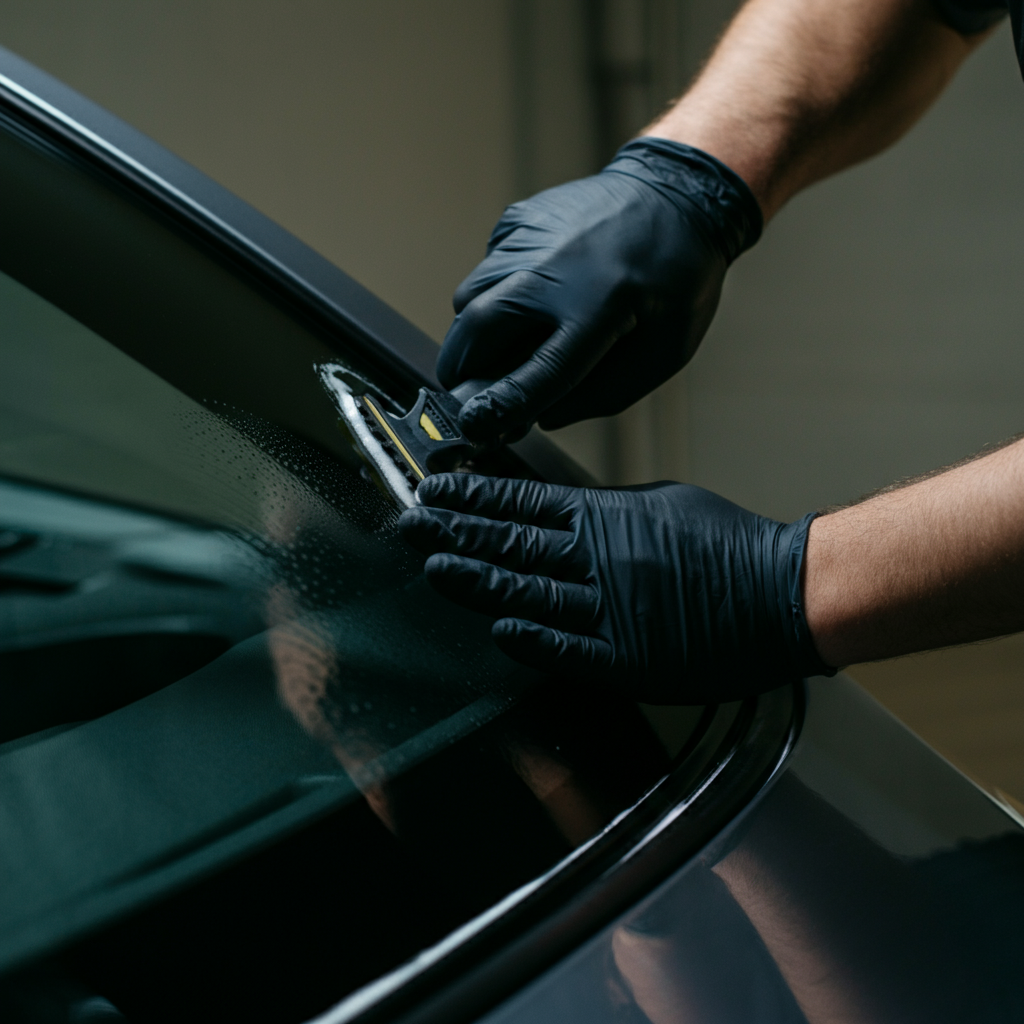
Once the tint film is in place, use a hard card (wrapped in a lint-free cloth to prevent scratching) to aggressively squeegee out any remaining air bubbles and water. Overlap each squeegee stroke to ensure complete coverage. Pay close attention to the edges and corners, as these areas are prone to bubbling. If necessary, use a heat gun on a low setting to gently warm the film and improve adhesion, especially in curved areas.
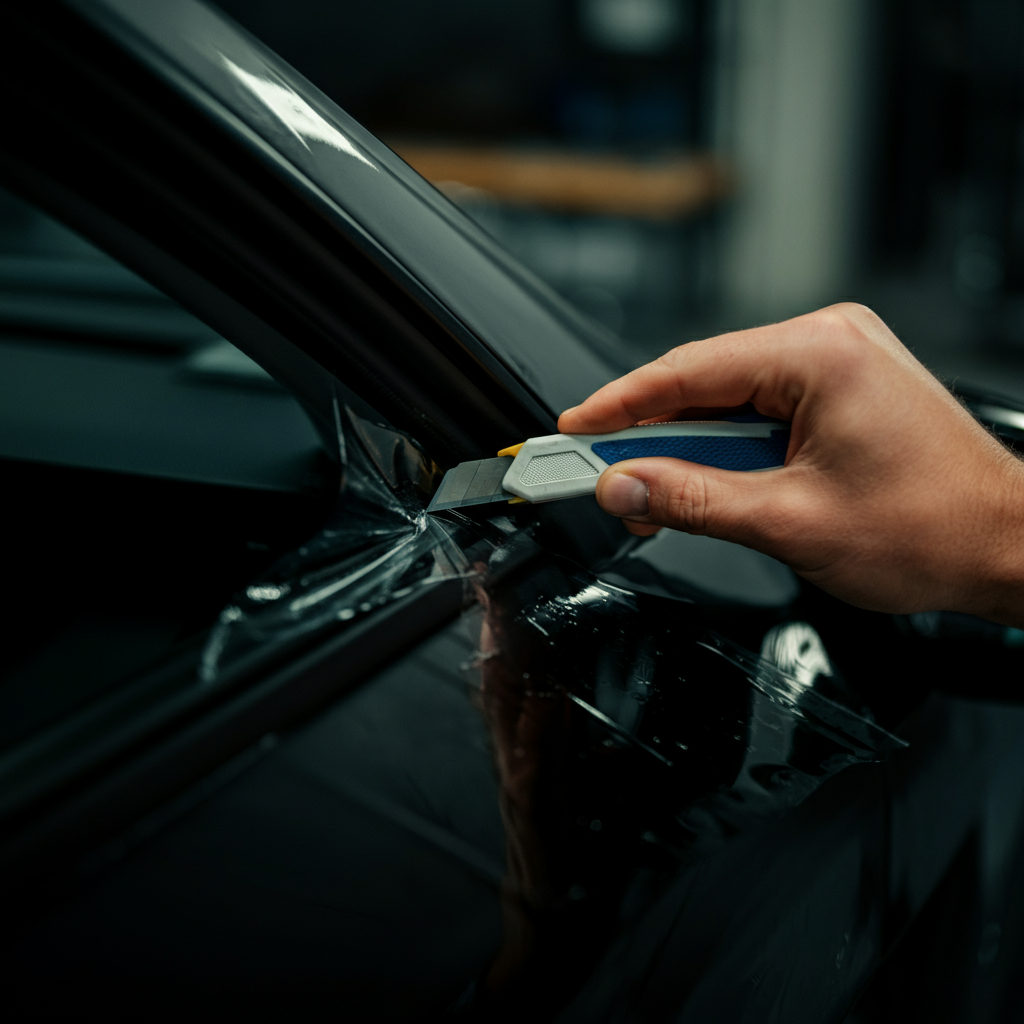
Step 7: Final Trimming and Inspection
Finishing Touches and Quality Control
After squeegeeing, inspect the tint film for any remaining imperfections. Use a utility knife to carefully trim any excess film around the edges of the window. Be extremely cautious not to scratch the glass or damage the surrounding trim. If you find any small air bubbles, you can try to work them out with a pin or needle, then gently smooth the area with a squeegee.
Step 8: Curing Time
Allowing the Tint to Set Properly
Allow the tint film to cure for at least 24-48 hours, depending on the weather conditions. During this time, avoid rolling down the windows or washing the car. The curing process allows the adhesive to fully bond with the glass, ensuring long-lasting results. Minor imperfections may disappear during the curing process.

Common Mistakes to Avoid
- Using Windex or ammonia-based cleaners: These can damage the tint film and cause it to turn purple over time.
- Working in a dusty or dirty environment: Contaminants can get trapped under the film, creating bubbles and imperfections.
- Rushing the process: Take your time and pay attention to detail to achieve the best results.
- Using dull blades: A sharp blade is essential for clean, precise cuts.
- Overheating the film: Excessive heat can damage the film and cause it to shrink or distort.
Safety Considerations
- Always wear gloves to protect your hands from chemicals and sharp edges.
- Use caution when working with razor blades and utility knives.
- Work in a well-ventilated area to avoid inhaling fumes from cleaning solutions.
- Be aware of your local laws regarding window tint darkness.
Pro Tips
- Use distilled water in your soapy water solution to minimize mineral deposits.
- Practice on a scrap piece of glass before attempting to tint your car windows.
- Consider using a slip solution specifically designed for window tinting.
- Watch online tutorials for visual guidance and tips.
FAQ Section
- How long does it take to tint car windows?
- The time required varies depending on the number of windows and your experience level. It can take anywhere from 2-4 hours for a full car.
- How dark can I tint my car windows?
- Tint darkness is regulated by state laws. Check your local regulations before applying tint.
- How do I remove air bubbles after the tint has been applied?
- Small bubbles may disappear on their own during the curing process. For larger bubbles, use a pin to puncture the bubble and then smooth the area with a squeegee.
- Will window tint affect my car's electronics?
- No, window tint will not affect your car's electronics.
Conclusion
Tinting your car windows is a worthwhile project that can enhance your vehicle's appearance, comfort, and privacy. By following the steps outlined in this guide and taking your time, you can achieve professional-looking results and save money on professional installation. Remember to prioritize cleanliness, precision, and patience throughout the process. With the right tools, materials, and techniques, you can transform your car's windows and enjoy the numerous benefits of window tinting for years to come. Always double-check local regulations on tint darkness before starting!