That rhythmic clunk, high-pitched squeal, or persistent hum – car noises can be unsettling, and often expensive to ignore. While a professional mechanic is the best option for complex issues, understanding the source of a noise can save you money and prevent further damage. This guide will provide you with the tools and knowledge to diagnose common car noises like a seasoned pro, even if you have limited mechanical experience.
By learning to identify and interpret these auditory clues, you can communicate more effectively with your mechanic, avoid unnecessary repairs, and gain a deeper understanding of your vehicle's overall health. Remember, safety is paramount; if you're unsure about any step, consult a qualified professional.
This isn’t about replacing your mechanic; it’s about empowering you to be a more informed and proactive car owner. Let's dive in and silence those mysterious sounds!
Step 1: Identify the Type of Noise
Listen Closely and Categorize
The first step is to accurately describe the noise. Is it a squeal, a grinding, a clunk, a hum, a rattle, or a hiss? Distinguishing the type of noise is crucial because different sounds indicate different problems. Pay attention to the pitch (high or low), the frequency (constant or intermittent), and the loudness of the noise. A high-pitched squeal often points to a brake issue or a slipping belt, while a low grinding noise might indicate worn bearings or suspension components. Consider the conditions under which the noise occurs (e.g., when braking, accelerating, turning, or at a specific speed) as this will give you valuable clues.

Step 2: Pinpoint the Location
Determine the Source of the Sound
Once you've identified the type of noise, try to pinpoint its location. Is it coming from the engine, the wheels, the exhaust, or somewhere else? Have someone else drive while you carefully listen from different positions inside and outside the car (when safe, of course). If you suspect a wheel issue, try listening from each wheel well. Be extremely careful around moving vehicles. If you think it’s coming from the engine, try to determine if it's from the top or the bottom of the engine. A mechanic's stethoscope can be incredibly helpful for pinpointing noises within the engine compartment, but even careful listening can provide valuable information.

Step 3: Relate the Noise to Car's Activity
Understand When and How the Noise Occurs
This is perhaps the most critical step. Does the noise only occur when you brake? Or accelerate? Or turn the steering wheel? Is it present at all speeds, or only at certain speeds? A noise that occurs only when braking is highly likely to be related to the brake system. Similarly, a noise that increases with engine speed suggests a problem within the engine itself or associated components like belts or pulleys. Does the noise go away after the car warms up? This can indicate that a fluid is not lubricating properly when cold. Document everything you notice: the type of noise, the location, and the specific conditions that cause it to appear.

Step 4: Perform Basic Visual Inspections
Look for Obvious Signs of Trouble
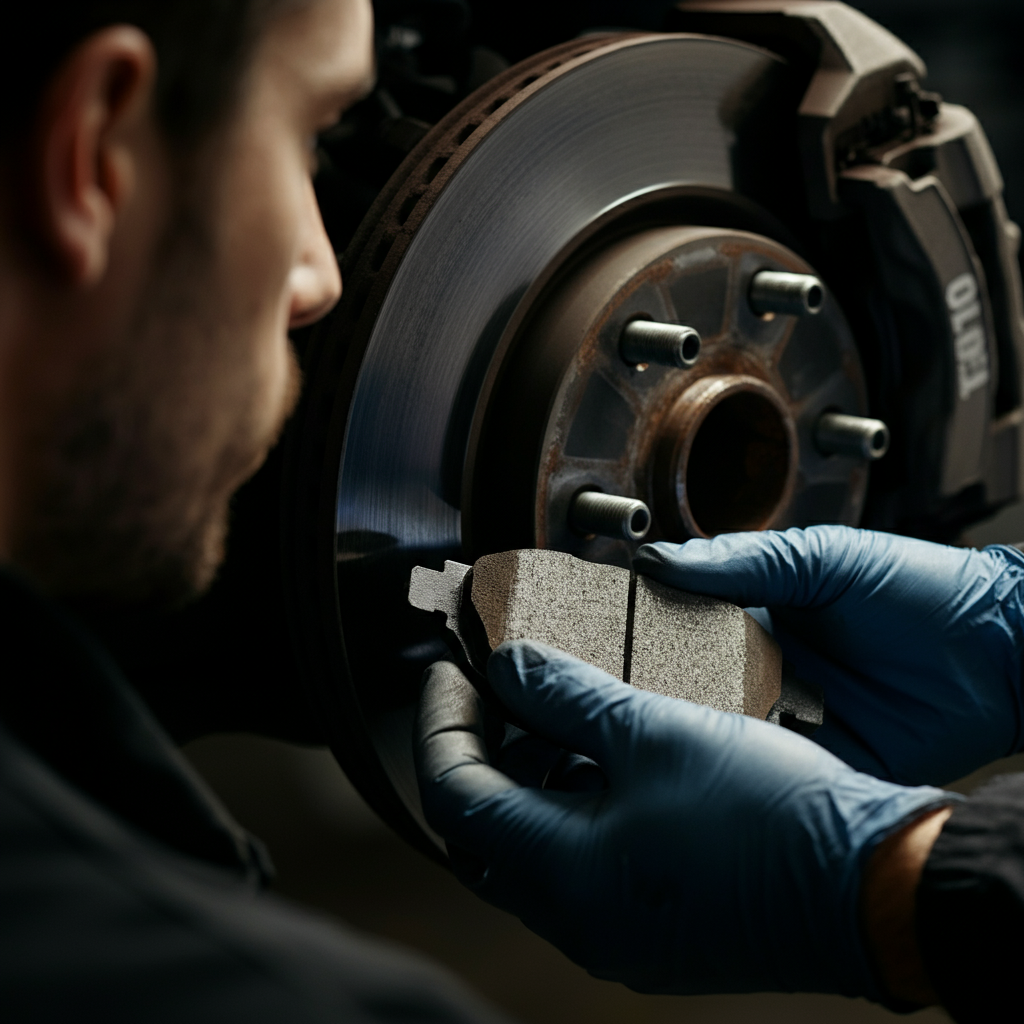
Now it's time to visually inspect the likely culprit. If you suspect a brake issue, check the brake pads and rotors for wear and tear. Look for rust, cracks, or uneven wear. If you suspect a belt issue, examine the belts for cracks, fraying, or glazing. If you suspect a suspension issue, look for leaks from the shocks or struts, and inspect the suspension components for damage. Check your fluid levels (oil, coolant, power steering) as low fluid levels can sometimes cause noises. Never remove a radiator cap when the engine is hot. If you are not comfortable performing these inspections yourself, have a professional do it for you. Even a cursory visual inspection can reveal obvious problems that confirm your diagnosis.
Step 5: Consider Common Culprits
Familiarize Yourself with Typical Noise-Related Problems
Certain noises are associated with common car problems. A squealing noise from the engine, especially when starting up, often indicates a worn or loose serpentine belt. A clicking or popping sound when turning often points to a worn CV joint. A rumbling or roaring noise that changes with speed can suggest a worn wheel bearing. A clunking noise when going over bumps is frequently a sign of worn suspension components (e.g., ball joints, tie rod ends, sway bar links). Knowing these common associations can help you narrow down the possibilities and focus your diagnostic efforts.

Step 6: Road Test and Re-Evaluate
Confirm Your Diagnosis Through Testing
After your initial diagnosis, perform a road test to confirm your suspicions. Drive the car under the conditions that produce the noise and see if your diagnosis still holds true. Pay attention to any changes in the noise. Does it get louder? Does it change in character? If the noise disappears or changes significantly, it may indicate that your initial diagnosis was incorrect. If possible, bring someone with you to help you listen and observe. However, always prioritize safety. If the noise is severe or indicates a potentially dangerous problem, stop driving the car immediately and seek professional assistance.

Tools or Materials Required
- Mechanic's Stethoscope (Optional, but helpful)
- Jack and Jack Stands (For safe under-car inspection)
- Wheel Chocks
- Gloves
- Flashlight or Work Light
- Basic Tool Set (Wrenches, Sockets, Screwdrivers)
- Recording Device (Phone, Notebook) to Document Noises
Safety Considerations
- Always use jack stands when working under a vehicle. Never rely solely on a jack.
- Wear safety glasses to protect your eyes.
- Disconnect the negative battery cable before working on the electrical system.
- Be careful around hot engine components.
- If you are unsure about any step, consult a qualified professional.
Common Mistakes to Avoid
- Ignoring the noise in the hope that it will go away.
- Misdiagnosing the noise and attempting the wrong repair.
- Working on your car without proper safety precautions.
- Over-tightening bolts and stripping threads.
- Using the wrong parts or fluids.
FAQ Section
Q: How can I record the noise to show my mechanic?
A: Use your smartphone to record the noise while driving (if safe and legal). Describe the conditions under which the noise occurs in the recording. This will give your mechanic valuable context.
Q: What if the noise is intermittent and difficult to reproduce?
A: Try to identify any patterns or conditions that trigger the noise. Note the time of day, weather conditions, road surfaces, and other factors that might be relevant. Be persistent; intermittent noises can be the most challenging to diagnose.
Q: Is it safe to drive with a noisy car?
A: It depends on the nature of the noise. Some noises, like a minor exhaust leak, may not pose an immediate safety risk. However, other noises, like a grinding noise from the brakes or a clunking noise from the suspension, could indicate a serious safety issue. If you are unsure, it is always best to err on the side of caution and have the car inspected by a professional.
Conclusion
Diagnosing car noises can seem daunting, but by following these steps and using your senses, you can become a more informed and confident car owner. Remember to prioritize safety, document your findings, and don't hesitate to seek professional help when needed. With practice and patience, you'll be silencing those mystery sounds like a pro in no time!