Seating an ATV tire, the process of ensuring the tire bead makes a complete seal against the wheel rim, is crucial for maintaining proper tire pressure and safe riding. A tire that isn't properly seated will leak air, leading to a flat or under-inflated tire, which can negatively impact handling and even cause a dangerous blowout. This guide provides a detailed, step-by-step approach to seating an ATV tire, whether you're dealing with a stubborn new tire or one that has come unseated during aggressive riding.
While professional tire shops have specialized equipment, you can often seat an ATV tire at home with a few common tools and a bit of patience. This guide focuses on practical techniques applicable in a garage or field setting, emphasizing safety and effectiveness. By following these instructions, you can save time and money by handling this task yourself.
Let's get started and learn how to properly seat your ATV tires!
Step 1: Prepare the Wheel and Tire
Deflate and Inspect
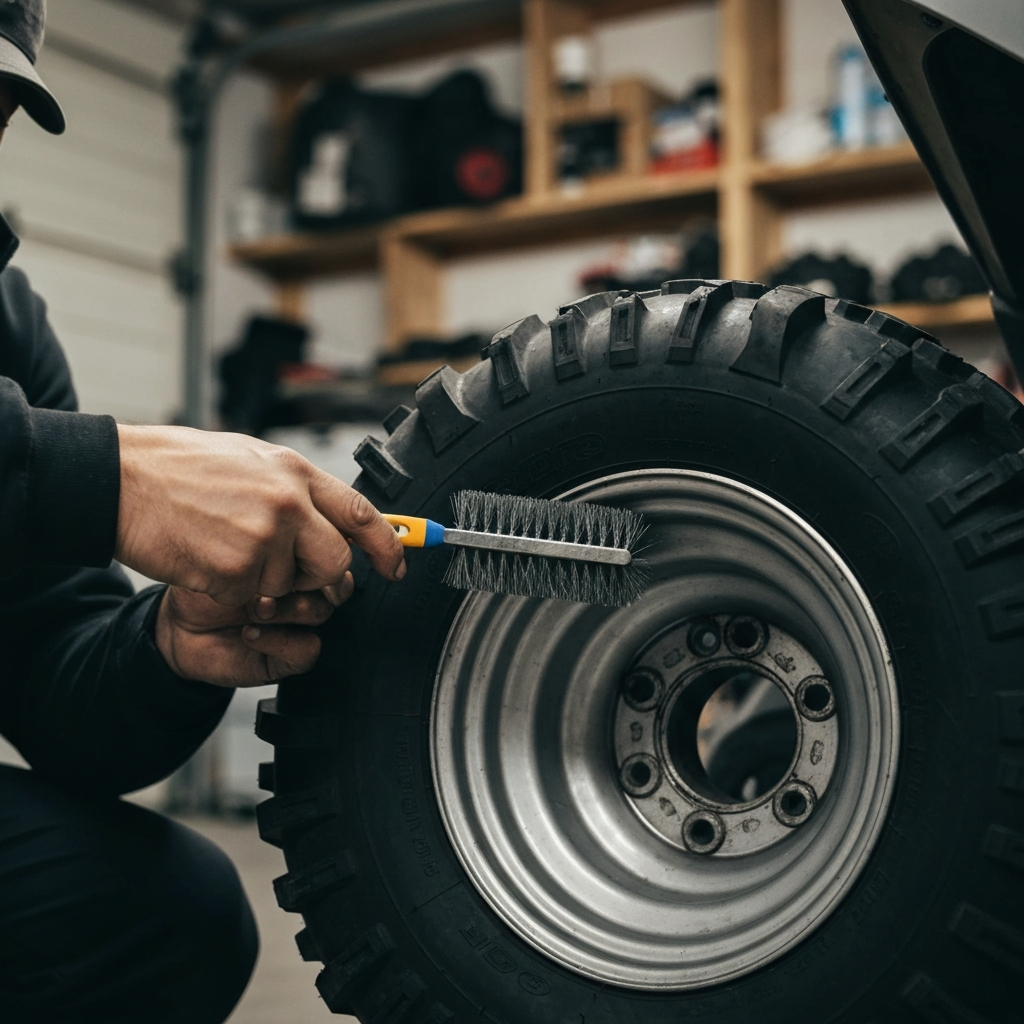
Begin by completely deflating the tire. Use a valve core removal tool (or needle-nose pliers) to remove the valve core from the valve stem. This allows all the air to escape. Next, carefully inspect both the tire bead and the wheel rim for any debris, dirt, or damage. Clean the surfaces thoroughly with a wire brush or a clean cloth to ensure a good seal. Removing any obstacles that might prevent a tight seal is key to a successful seating.
Step 2: Lubricate the Tire Bead
Apply Tire Lubricant
Proper lubrication is essential to help the tire bead slide over the rim and seat properly. Apply a generous amount of tire lubricant (or a soapy water solution if tire lubricant is unavailable) to both sides of the tire bead. Be sure to coat the entire circumference of the bead evenly. This lubricant reduces friction and allows the tire to pop onto the rim more easily. Avoid using petroleum-based lubricants, as they can degrade the rubber over time.
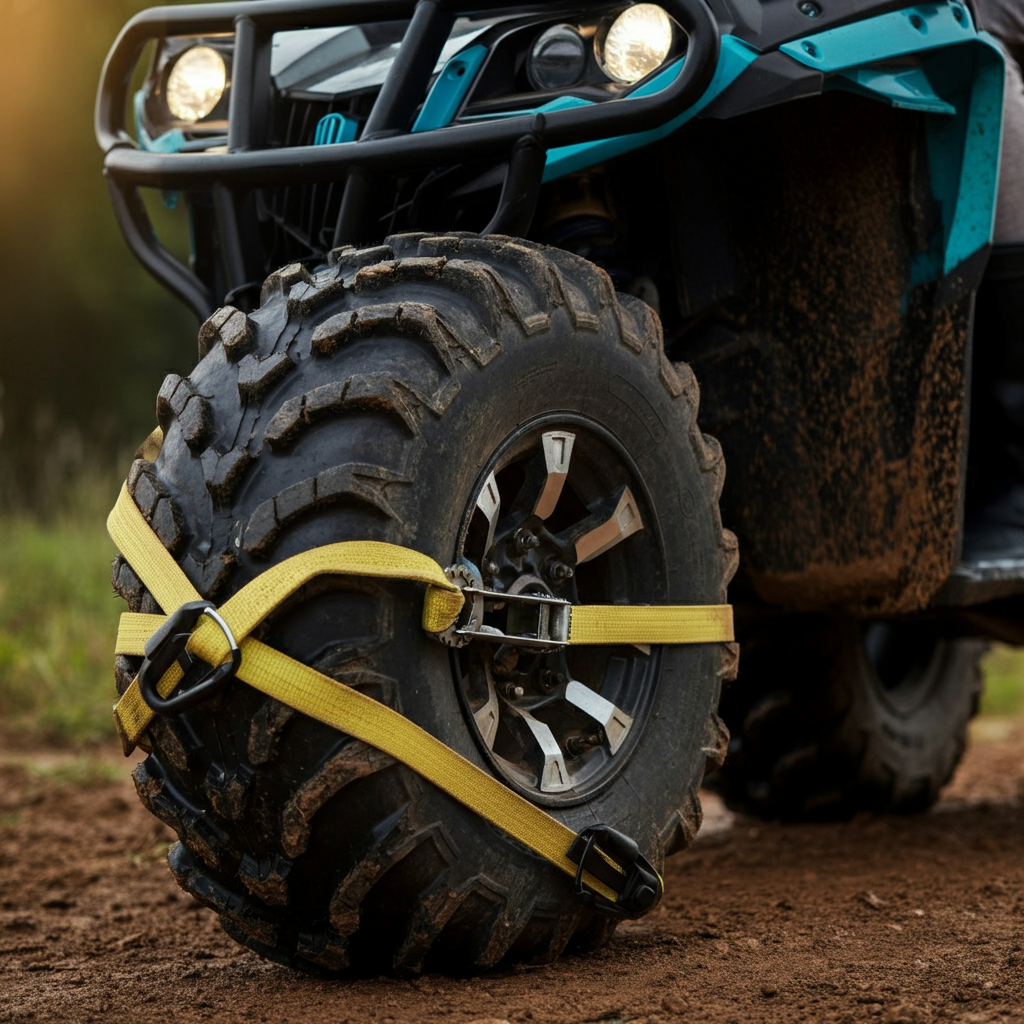
Step 3: Use a Ratchet Strap (If Necessary)
Circumferential Compression
If the tire is particularly stubborn or has been off the rim for a long time, a ratchet strap can be used to compress the tire and bring the bead closer to the rim. Wrap the ratchet strap around the circumference of the tire, positioning it in the center of the tread. Tighten the strap gradually, applying even pressure around the tire. This helps to push the tire bead outward, closer to the rim, making it easier to inflate and seat. Do not overtighten, as this could damage the tire. A webbed tie-down clamp works best.
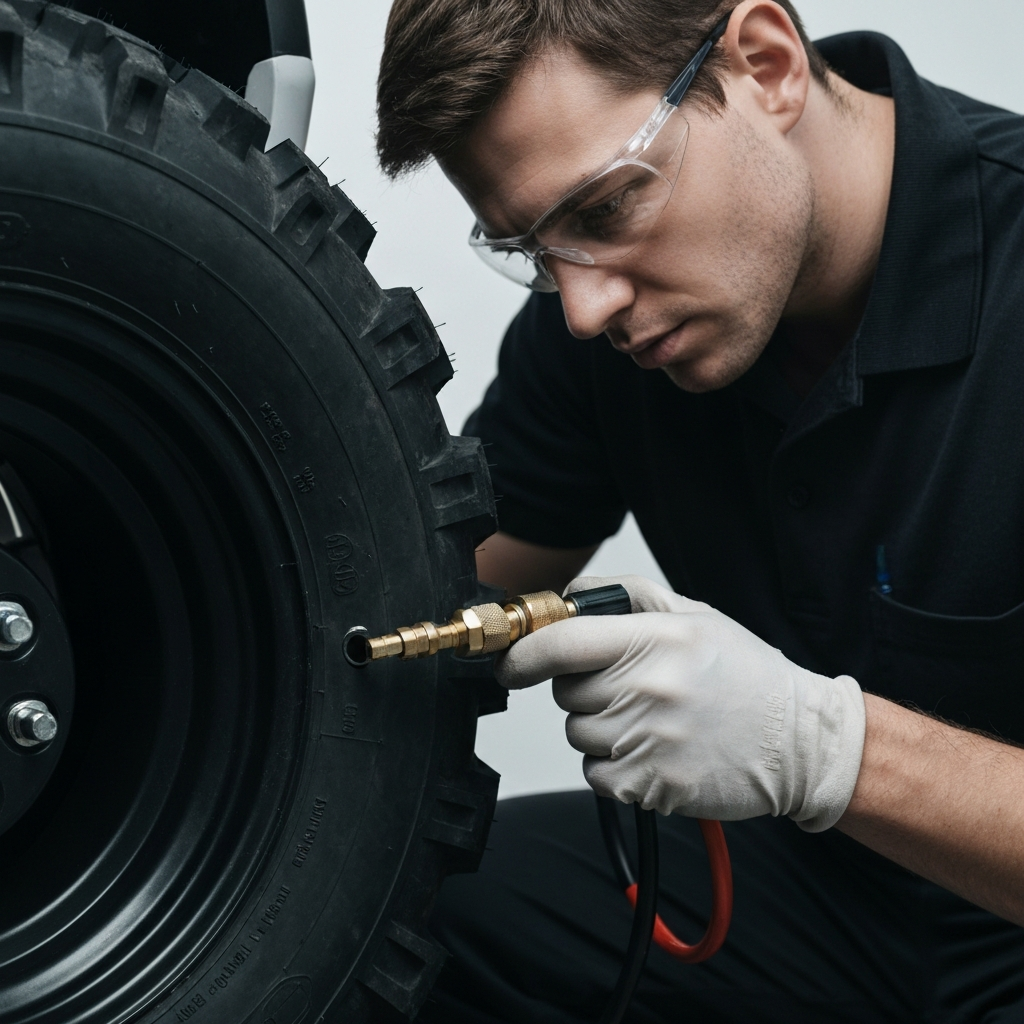
Step 4: Inflate the Tire Rapidly
The Quick Burst Method
This is the most critical step. Use a high-volume air compressor with a quick-release chuck. Remove the valve core again to allow for maximum airflow. Position the air chuck firmly against the valve stem and inflate the tire in short, rapid bursts. The goal is to quickly increase the air pressure inside the tire, forcing the bead against the rim. You should hear a popping sound as the bead seats. If the tire isn't seating after a few attempts, re-lubricate the bead and try again. Some tires might require more than the suggested PSI in the tire placard to seat, but never exceed the maximum PSI listed on the tire sidewall. A regular air chuck won't work as efficiently for this step.
Step 5: Check the Bead and Inflate to Proper Pressure
Final Inspection and Adjustment
Once you hear the popping sound indicating that the bead has seated, immediately stop inflating. Carefully inspect both sides of the tire to ensure the bead is evenly seated against the rim all the way around. If you notice any areas where the bead is not seated correctly, deflate the tire, re-lubricate the bead in that area, and repeat the inflation process. Once the bead is properly seated, reinstall the valve core and inflate the tire to the recommended pressure specified on the tire sidewall or in your ATV's owner's manual.

Step 6: Pressure Test and Final Touches
Leak Detection and Balancing
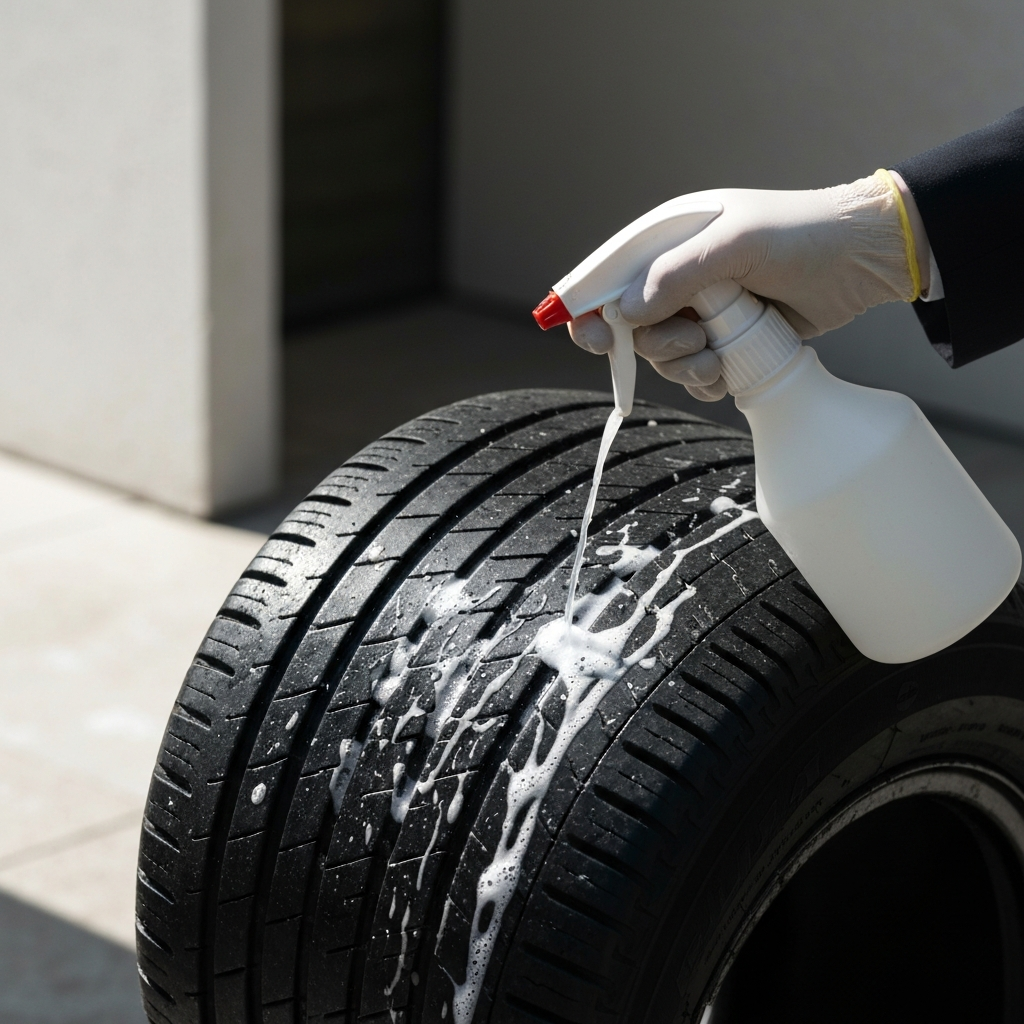
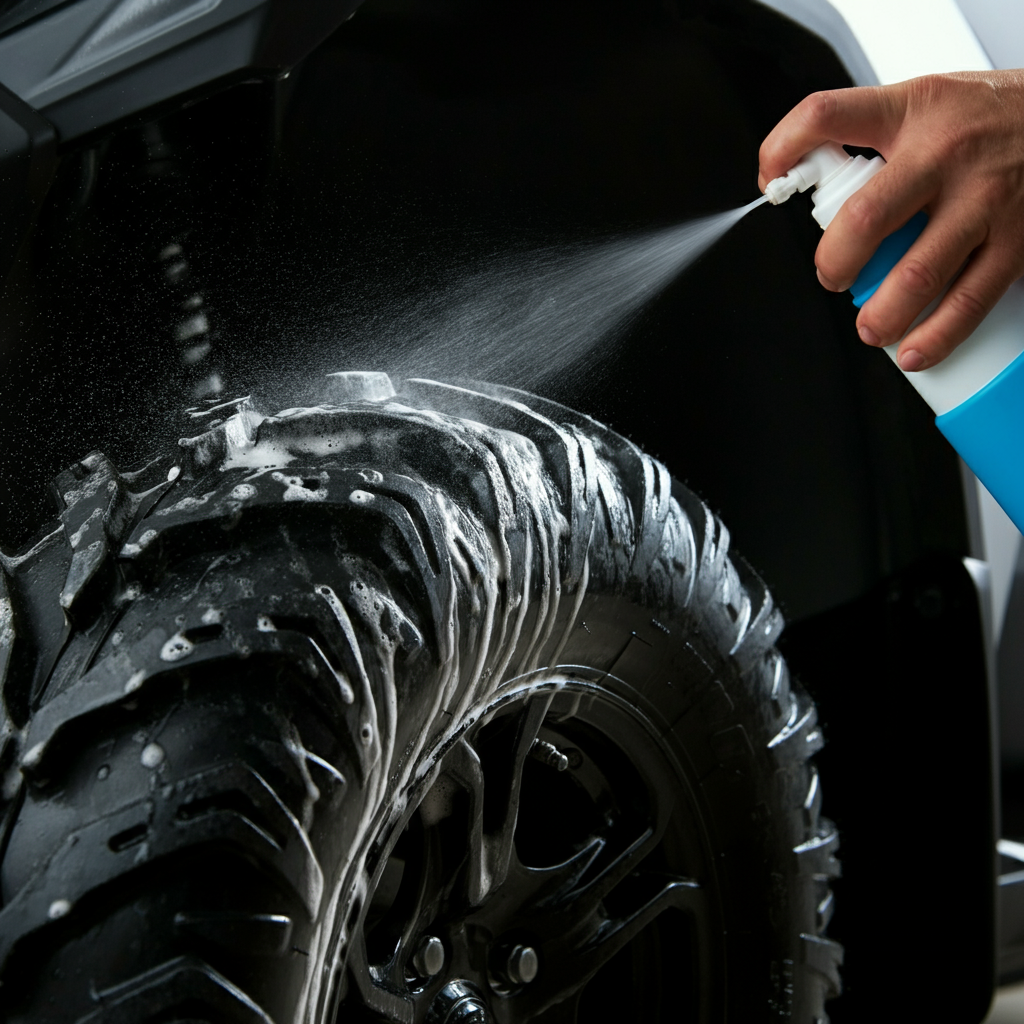
After inflating to the correct pressure, check for any air leaks around the bead using soapy water. Spray the soapy water around the entire circumference of the tire where it meets the rim. If you see any bubbles forming, it indicates an air leak. If leaks are present, deflate the tire, break the bead in the leaking area, re-lubricate, and re-inflate. If the leak persists, you may need to consult a professional tire technician or consider replacing the tire or rim. Additionally, after seating the tire, consider having the wheel balanced to ensure smooth riding, especially at higher speeds.
Tools or Materials Required
- Air compressor with quick-release chuck
- Tire lubricant (or soapy water solution)
- Valve core removal tool (or needle-nose pliers)
- Ratchet strap (optional)
- Wire brush or clean cloth
- Safety glasses
- Gloves
Safety Considerations
- Always wear safety glasses to protect your eyes from debris or exploding tires.
- Never exceed the maximum inflation pressure listed on the tire sidewall.
- If you are unable to seat the tire after several attempts, consult a professional.
- Work in a well-ventilated area.
Common Mistakes to Avoid
- Using petroleum-based lubricants on the tire bead.
- Overtightening the ratchet strap.
- Failing to properly clean the rim and tire bead before lubricating.
- Inflating the tire too slowly.
- Ignoring air leaks after seating the tire.
Pro Tips
- Warm the tire in the sun before attempting to seat it. Warmer rubber is more pliable and easier to work with.
- Bounce the tire on the ground while inflating to help the bead seat evenly.
- Use a tire iron to gently pry the bead towards the rim if needed.
FAQ Section
- Q: How do I know if my tire is properly seated?
- A: The tire bead should be evenly seated against the rim all the way around. You should not see any bulges or gaps between the tire and the rim.
- Q: What if I can't get the tire to seat, even with the ratchet strap?
- A: The rim or the tire may be damaged, or the tire may be too stiff. Consider taking it to a professional tire shop.
- Q: Can I use WD-40 as a tire lubricant?
- A: No. WD-40 and other petroleum-based lubricants can damage the tire rubber over time. Use a dedicated tire lubricant or soapy water.
Conclusion
Seating an ATV tire can be a straightforward process with the right tools and techniques. By following these steps, you can save time and money by handling this task yourself. Remember to prioritize safety and always inspect the tire and rim for damage before beginning. With a little patience and attention to detail, you can ensure your ATV tires are properly seated for safe and enjoyable riding. If you encounter persistent issues or are uncomfortable performing these steps, don't hesitate to seek assistance from a qualified tire professional.