The allure of speed is undeniable, and for many minibike enthusiasts, pushing the limits of their machines is a constant pursuit. If you own a 6.5 HP minibike from Canadian Tire and dream of hitting speeds exceeding 70 mph, this guide is for you. While a stock minibike certainly won't reach those speeds, with careful modifications and a commitment to safety, you can significantly enhance its performance and achieve impressive velocities.
This isn't a simple bolt-on affair. Achieving such a significant speed increase requires a holistic approach, addressing the engine's power output, drivetrain efficiency, and overall aerodynamics. We'll delve into bypassing the governor, optimizing the exhaust system, upgrading the air intake, and making crucial adjustments to the clutch and gearing. Remember, safety is paramount. Always wear appropriate protective gear and operate your modified minibike in a safe and controlled environment.
This guide provides detailed, step-by-step instructions, but it's essential to have a solid understanding of mechanical principles and access to the necessary tools and equipment. Proceed with caution, and don't hesitate to seek professional assistance if you're unsure about any aspect of the modification process.
Step 1: Stripping Down the Minibike
Before you can start making performance upgrades, you need to strip the minibike down to its essential components. This involves removing the rear fender, headlight, mock gas tank (if present), and the clutch and chain cover. This simplifies access to the drivetrain and engine, making subsequent modifications easier and more efficient. Take careful note of how each component is attached, as you'll need to reassemble them later. Organize the removed parts to avoid losing any small hardware like bolts or washers. Consider taking photos or videos as you disassemble the bike; this can be a lifesaver during reassembly.
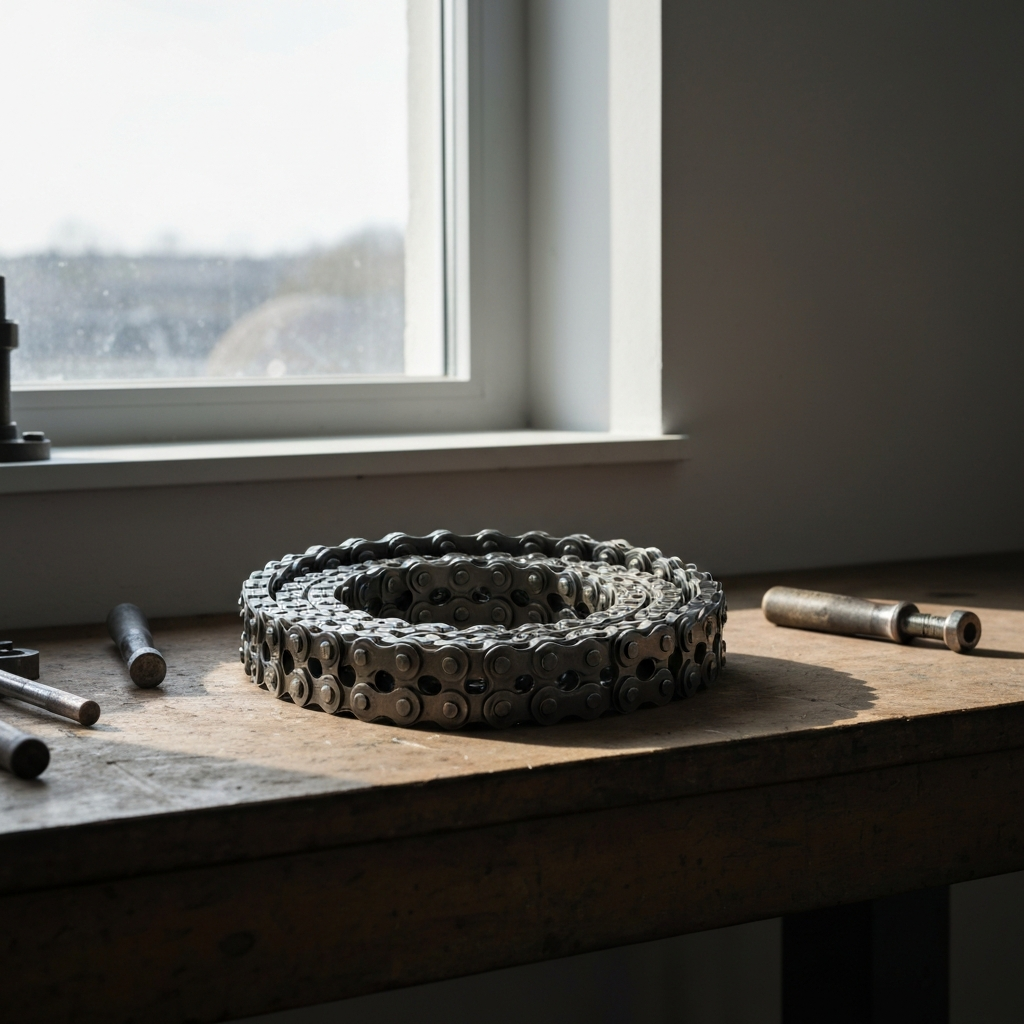
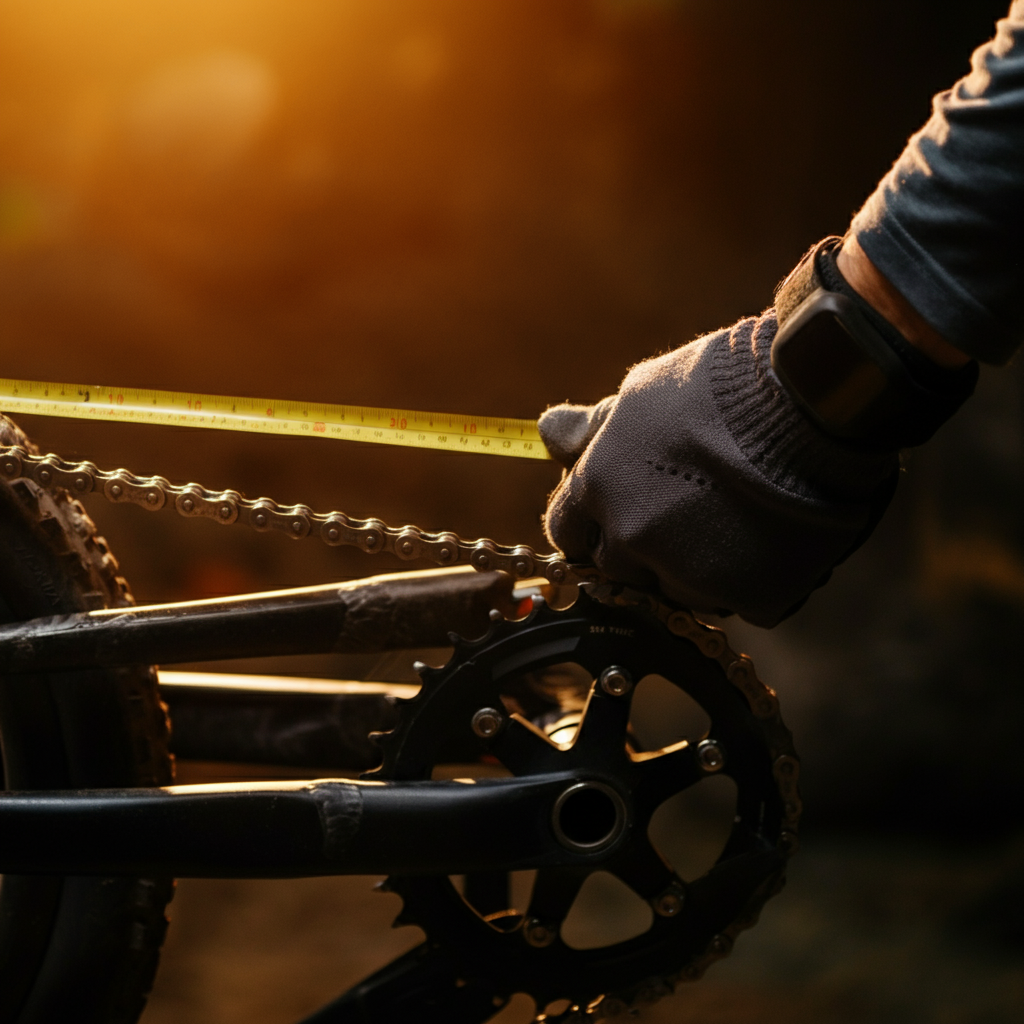
Step 2: Upgrading to a Heavy-Duty Chain
The stock chain on most minibikes is often a weak point, particularly when dealing with increased power. Replacing it with a stronger, more durable chain, such as a #40 or #41 roller chain (available at most TSC stores or farm supply retailers), is crucial. This upgrade minimizes the risk of chain breakage, which can be dangerous and cause significant damage. Ensure you purchase enough chain to accommodate the new sprocket configuration we'll be implementing later. Measure the existing chain or consult your minibike's specifications to determine the required length.
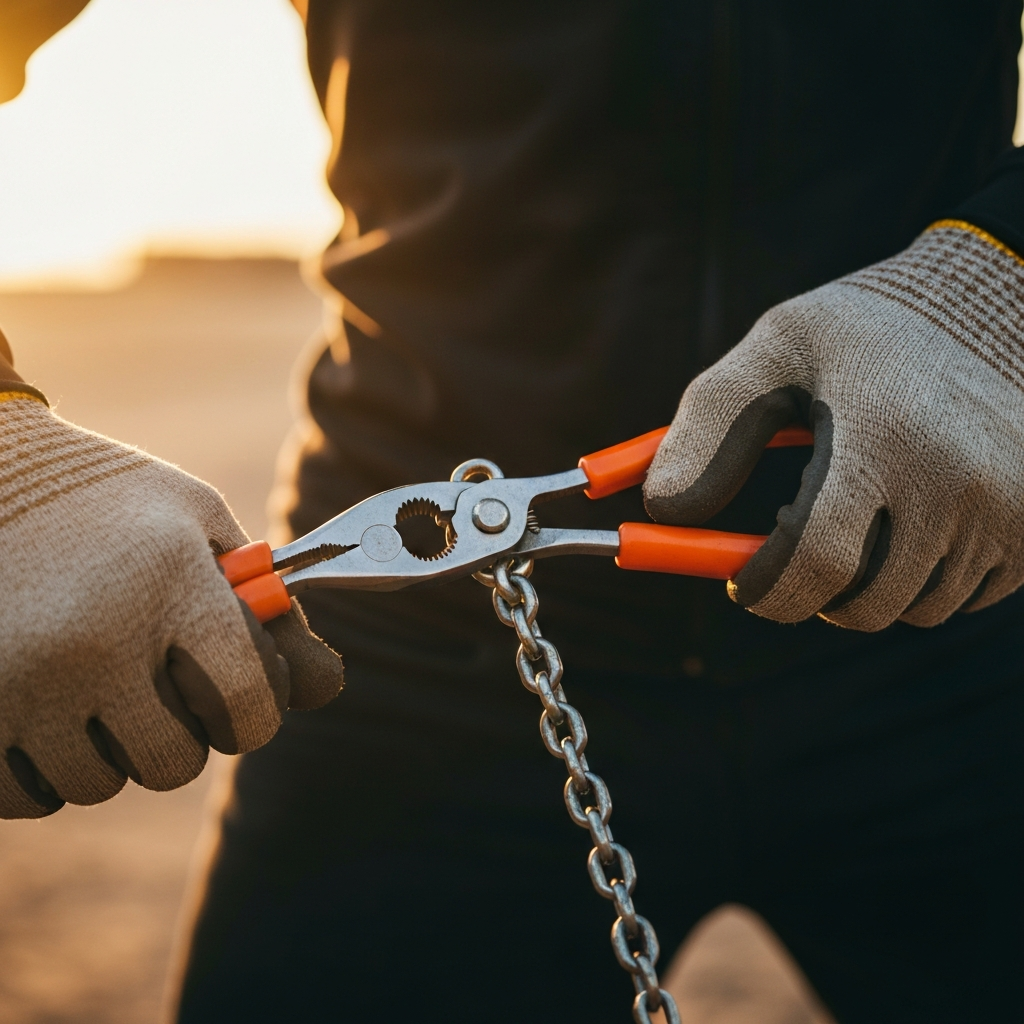
Step 3: Removing the Stock Chains' Master Links
Before you can install the new chain, you need to remove the master links from the original chains. Use a flathead screwdriver or needle-nosed pliers to carefully detach the clip that secures the master link. Once the clip is removed, the master link should easily separate, allowing you to remove the old chains. Discard the old chains, as they will no longer be needed. Be careful not to damage the new chain during this process.
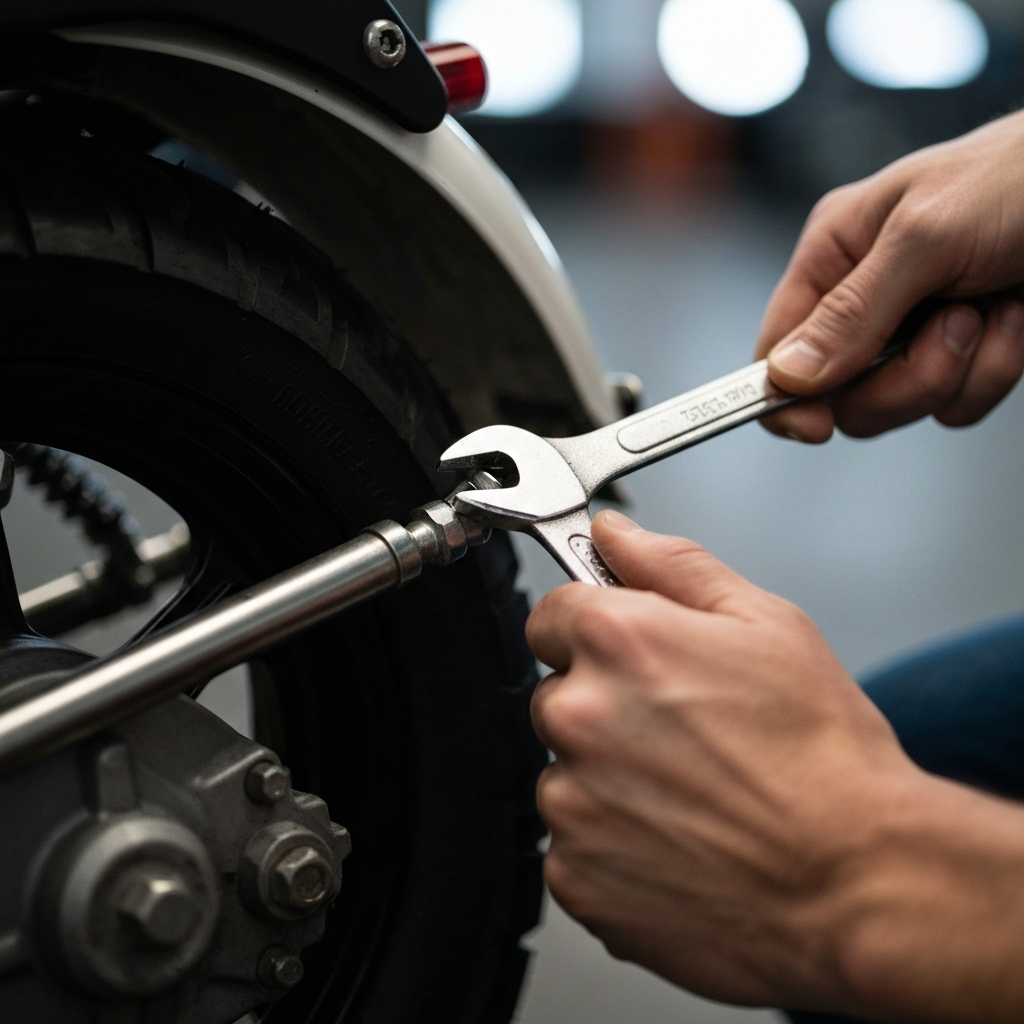
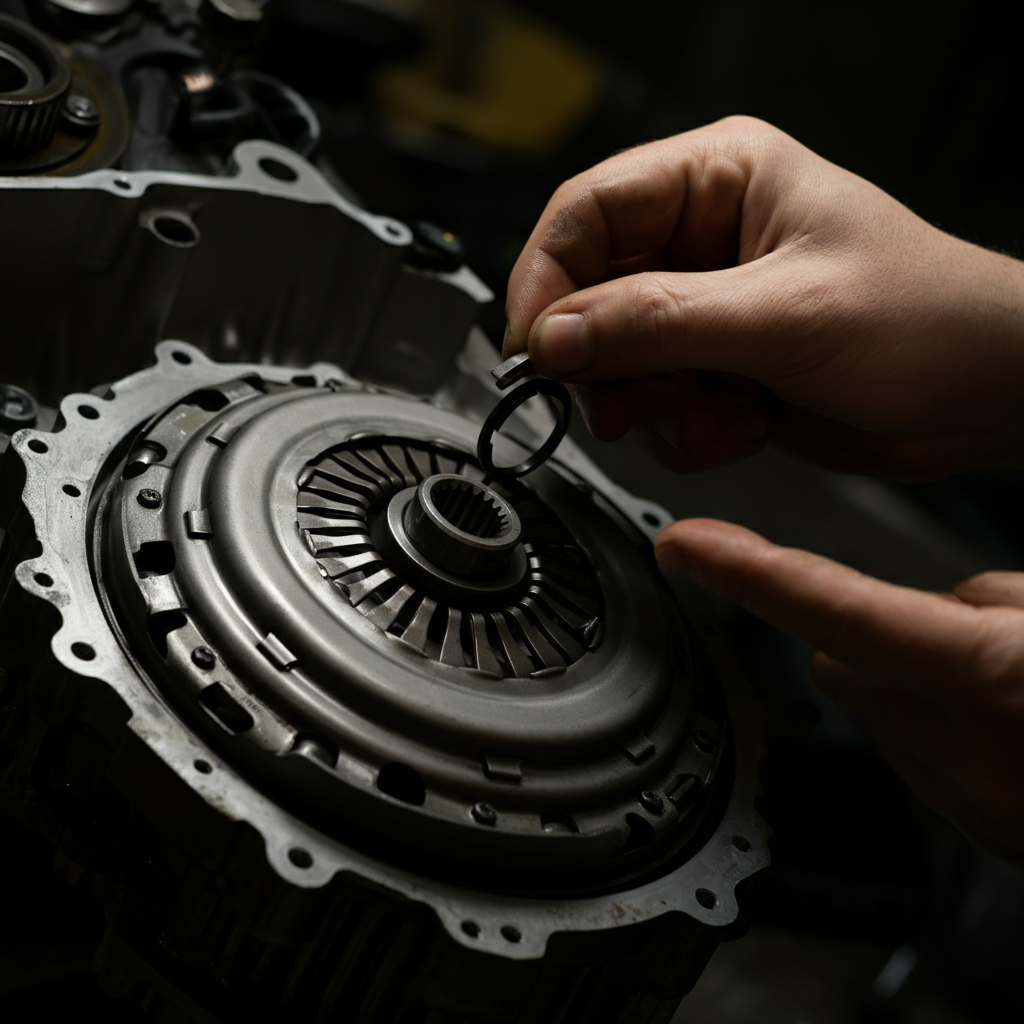
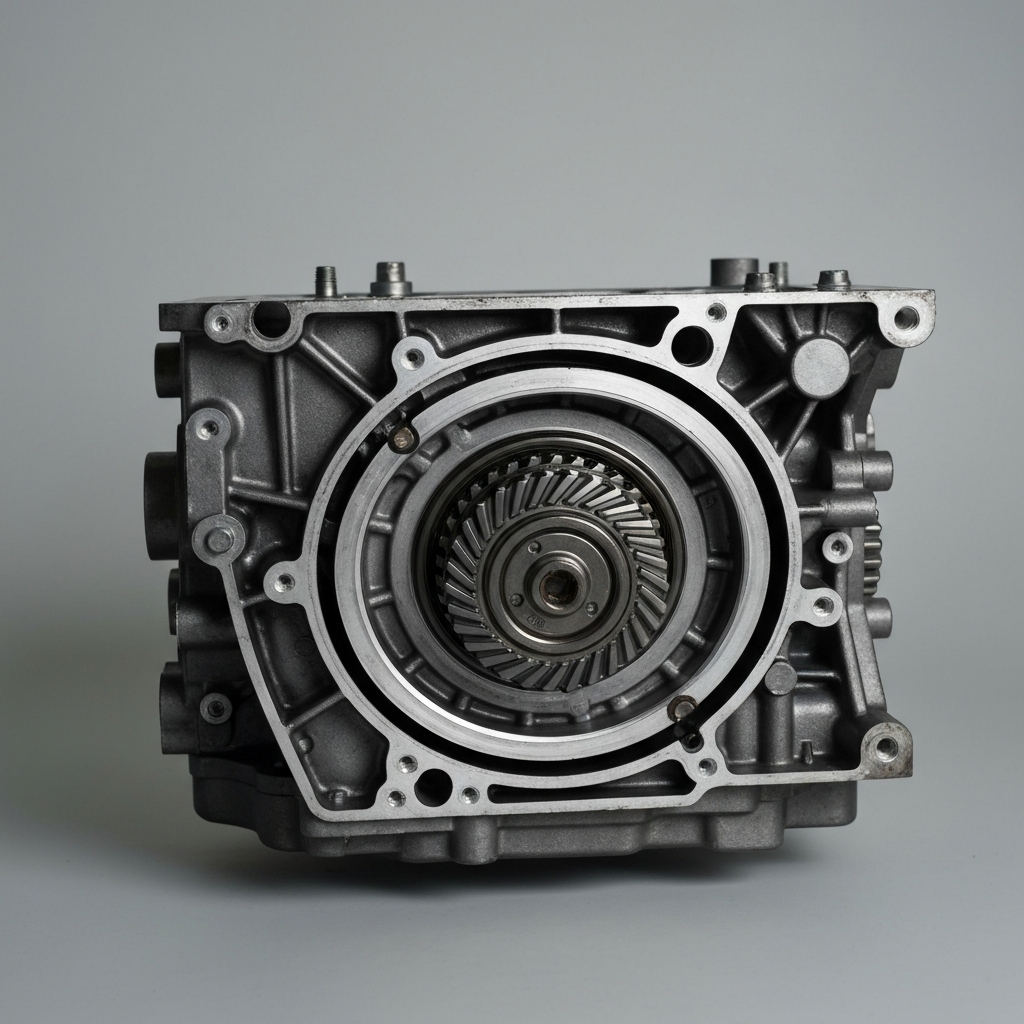
Step 4: Detaching the Clutch
Removing the clutch is a necessary step for modifying the gear ratio. Begin by removing the snap ring that secures the clutch to the engine shaft. Once the snap ring is off, loosen the bolt holding the clutch in place. With the bolt loosened, the clutch should slide off the engine shaft with minimal effort. If it's stuck, try gently tapping it with a rubber mallet. Avoid using excessive force, as this could damage the clutch or the engine shaft. Inspect the clutch for any signs of wear or damage; if necessary, consider replacing it with a new one. A Comet Centrifugal Clutch is often recommended as a heavy-duty upgrade.
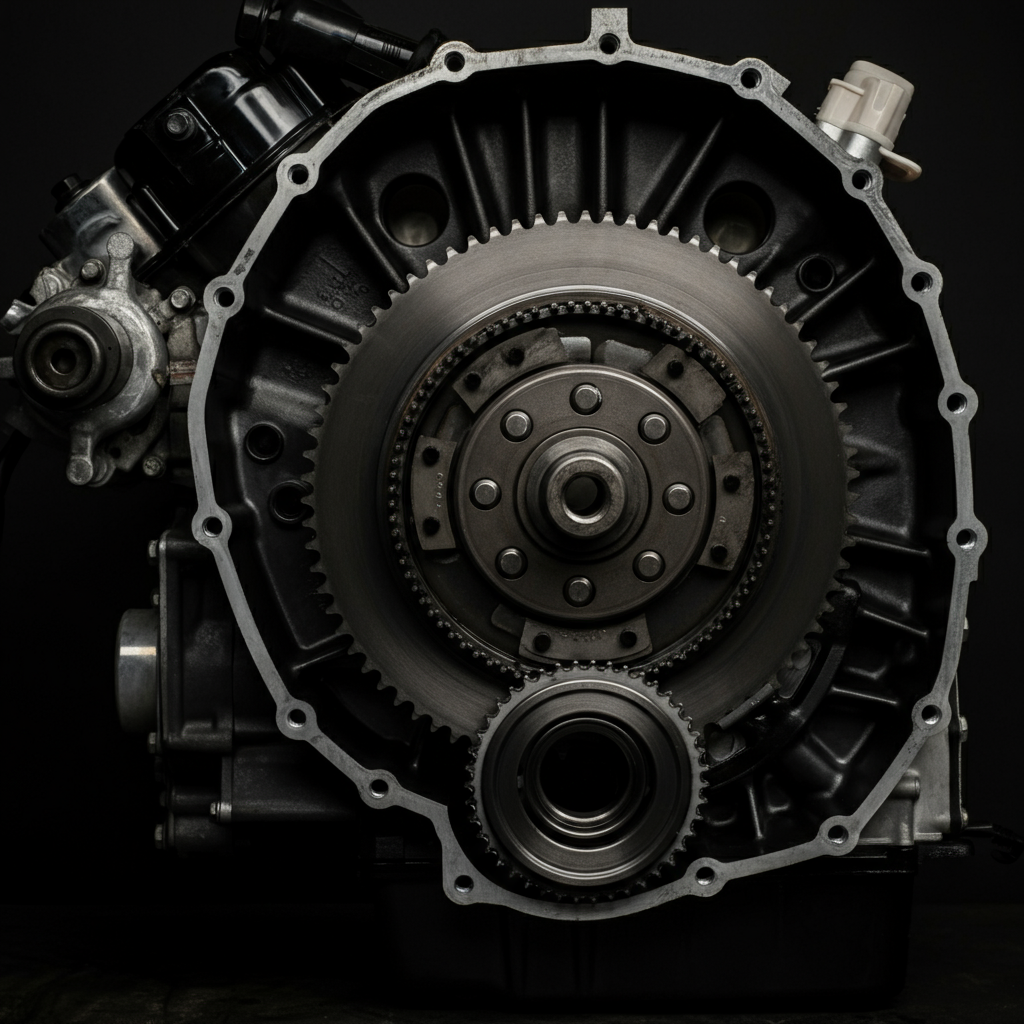
Step 5: Eliminating the Gear Reduction
The gear reduction unit on the motor is designed to provide lower-end torque, but it also limits top-end speed. To achieve higher speeds, you'll need to remove this unit. Locate the bolts that secure the gear reduction unit to the engine block. Remove these bolts and carefully detach the gear reduction unit. Store the unit and its associated hardware in a safe place, as you may want to reinstall it later if you decide to revert to the stock configuration. Ensure the engine block surface is clean after removing the unit.
Step 6: Reinstalling the Clutch in Reverse
This is a crucial step for optimizing the chain alignment. Reinstall the clutch on the engine shaft, but this time, with the sprocket facing the motor. This seemingly simple change aligns the chain with the new sprocket configuration after removing the gear reduction. Ensure the clutch is securely mounted and that the bolt is properly tightened. Double-check the alignment to ensure the chain runs smoothly.
Step 7: Measuring and Cutting the New Chain
Carefully route the new chain around the two sprockets. Determine where the chain needs to be cut so that the ends meet on the rear sprocket. The chain should have a minimal amount of slack, but not be overly tight. A chain that is too tight can cause premature wear on the sprockets and chain, as well as reduce performance. Mark the chain accurately before cutting to avoid making it too short.
Step 8: Breaking the Chain
Using a chain breaker tool or a hammer and nail set, carefully remove the pin from the chain where it needs to be cut. A chain breaker tool is the preferred method, as it provides a clean and precise cut. If using a hammer and nail set, be extremely careful not to damage the chain. Once the pin is removed, the chain will separate, allowing you to create the proper length.
Step 9: Connecting the Chain
Attach the chain together using the included connecting or master link. Ensure the master link is properly installed and that the clip is securely fastened. The open end of the clip should face the direction of chain travel to prevent it from being dislodged. Once the chain is connected, check the tension and adjust as needed. The chain should have a slight amount of slack, but not be so loose that it can derail.
Step 10: Reattaching the Clutch Cover
Reattach the clutch cover. This protects the clutch from debris and helps to prevent accidental contact with moving parts. Ensure the cover is securely fastened and that it does not interfere with the operation of the clutch or chain. If the original cover doesn't fit properly due to the modified clutch position, you may need to modify it or fabricate a new one. Proper safety should be your biggest priority.
Step 11: Bypassing the Governor
The governor limits the engine's maximum RPM, restricting top speed. To bypass it, remove the throttle cable from its stock mounting spot and remount it directly to the arm under the gas tank or directly to the carburetor. This allows the engine to rev higher and produce more power. Be aware that bypassing the governor can significantly reduce the engine's lifespan if not done carefully. Monitor engine temperature and avoid over-revving.
Step 12: Modifying the Exhaust System
The stock exhaust system is restrictive and hinders performance. To improve exhaust flow, unbolt the muffler baffle, unbolt the stock muffler, and cut off the mounting flange, leaving about an inch of tube attached. This creates a starting point for a custom exhaust. It's advisable to use a cutting wheel for a clean cut.
Step 13: Fabricating the Exhaust Extension
Get a piece of pipe with the same dimensions as what's left on the exhaust mounting flange. Cut the pipe at the right angle so that it will clear the motor components and the frame. Precision is key here; measure twice, cut once. You want to make sure the pipe aligns correctly before continuing.
Step 14: Welding the Exhaust Components
Weld a piece of pipe that has the same wall thickness and fits *over* the other pipe, allowing approximately 4 mm of extra clearance. This creates a slip-fit connection. Center it on the pipe and weld it securely. Ensure a strong, leak-free weld to maximize exhaust flow and prevent backpressure.
Step 15: Smoothing the Welded Joint
Using a half-inch round file, smooth the inside of the pipes where they join together. This removes any sharp edges or obstructions that could impede exhaust flow. A smooth transition is crucial for maximizing performance.
Step 16: Finishing the Exhaust Tip
Grind the end of the larger pipe off on an angle for aesthetic purposes. This creates a custom exhaust tip that enhances the minibike's appearance. Take your time and use smooth, controlled movements to achieve a professional-looking finish.
Step 17: Reinstalling the Modified Exhaust
Bolt the modified exhaust back onto the engine. Ensure all bolts are tightened securely and that the exhaust system is properly supported. Check for any leaks and address them immediately. A properly installed exhaust system is essential for both performance and safety.
Step 18: Upgrading the Air Filter
Remove the stock air filter by removing the top wing nut and unscrewing the air filter housing. The stock air filter is often restrictive. Improving airflow into the engine is crucial for unlocking more power. A K&N-style air filter is a great choice.
Step 19: Installing the New Air Filter
Replace the stock air filter with a K&N style air filter or similar. These filters offer significantly improved airflow and are reusable. Ensure the filter is properly seated and that the housing is securely fastened. Proper air filtration is essential for protecting the engine from damage.
Tools or Materials Required
- Chain breaker
- 10-foot bundle of #40 or #41 chain
- Wrenches or socket set
- Arc welding equipment
- Grinder
- ½ inch round file
- Needle-nosed pliers
- Flathead screwdriver
- K&N style air filter (or similar)
- Small quantity of pipe (about 12 inches)
- 15 lock washers
- Rubber Mallet
- Cutting Wheel
Safety Considerations
- Always wear protective gear, including a helmet, eye protection, gloves, and appropriate clothing.
- Ensure all bolts are tightened securely and replace them with new ones if possible, as the stock hardware may not be the highest quality.
- Do not exceed your skill level or experience. If you are unsure about any aspect of the modification process, seek professional assistance.
- Operate your modified minibike in a safe and controlled environment, away from public roads and traffic.
- Regularly inspect your minibike for any signs of wear or damage, and address them immediately.
Common Mistakes to Avoid
- Not properly aligning the chain after modifying the clutch position.
- Using incorrect welding techniques, resulting in weak or leaky welds.
- Over-tightening bolts, which can damage threads or components.
- Neglecting to inspect and maintain the modified minibike regularly.
- Failing to wear appropriate protective gear.
Pro Tips
- Consider upgrading to a more heavy-duty clutch, such as a Comet Centrifugal Clutch, for improved performance and durability.
- Use new lock washers and apply thread-locking compound (Loctite) to all bolts to prevent them from loosening.
- Regularly lubricate the chain and other moving parts to minimize wear and maximize performance.
- Experiment with different sprocket sizes to fine-tune the gear ratio for optimal top speed.
- Monitor engine temperature closely after bypassing the governor, and adjust accordingly to prevent overheating.
FAQ Section
- Will these modifications void my minibike's warranty?
- Yes, modifying your minibike will likely void the manufacturer's warranty.
- How often should I inspect my modified minibike?
- Regularly inspect your minibike before each ride, paying close attention to the chain, bolts, and other critical components.
- What type of oil should I use in my minibike's engine?
- Consult your engine's owner's manual for the recommended oil type and viscosity.
By following these steps and adhering to safety precautions, you can significantly enhance the performance of your Canadian Tire minibike and potentially achieve speeds exceeding 70 mph. Remember to prioritize safety and proceed with caution. While the thrill of speed is enticing, responsible operation and maintenance are crucial for ensuring a safe and enjoyable riding experience. Good luck, and ride safe!