That clunk, squeal, or rumble coming from your car can be incredibly frustrating. Is it a minor annoyance, or a sign of impending doom for your vehicle? Diagnosing car noises can feel like a daunting task, but with a systematic approach and a little patience, you can often pinpoint the source of the problem and save yourself a trip to the mechanic – or at least be better informed when you do go.
This guide will walk you through the process of identifying common car noises, understanding what they might indicate, and offering potential solutions. We'll focus on a step-by-step methodology, covering everything from gathering information to confirming your diagnosis. Remember that safety is paramount, and if you're ever uncomfortable or unsure, it's always best to consult a qualified professional.
So, let's get started and silence those mysterious sounds!
Step 1: Gather Information – Listen and Observe
Pay Attention to the Details
Before you even start poking around under the hood, take the time to become a detective. The key to a successful diagnosis is detailed observation. Start by pinpointing exactly when the noise occurs. Is it constant, or does it only happen under certain conditions? Note whether it's present at all speeds, only at low speeds, or only when accelerating, braking, or turning. Does the noise change with engine RPM? Try to determine which area of the car the noise seems to be coming from – front, rear, left, or right. Finally, consider any recent maintenance or repairs that might be related. This information will be crucial in narrowing down the possibilities.

Step 2: Consult the Senses – Smell and Feel
Beyond the Audible
While hearing is the primary sense you'll be using, don't underestimate the power of your other senses. A burning smell could indicate overheating brakes, a coolant leak, or an electrical issue. A sweet smell might suggest a coolant leak. A fuel smell clearly points to a fuel system problem. Feel for vibrations, especially in the steering wheel, seats, or floorboards. These vibrations can provide clues about the source of the noise. Remember to be cautious when dealing with potentially hot or hazardous fluids. If you notice anything unusual, document it. Note the color and consistency of any leaking fluids. This information is invaluable to a mechanic if you can't resolve the problem yourself.
Step 3: Check the Obvious – Tires and Brakes
The Most Common Culprits
Start with the simplest and most common sources of car noises: tires and brakes. Inspect your tires for uneven wear, bulges, or embedded objects like nails or screws. Uneven wear can cause a rhythmic thumping or humming sound. Low tire pressure can also contribute to noise. Next, examine your brake pads and rotors. Worn brake pads can cause a squealing or grinding noise, especially when braking. Look for rust, scoring, or cracks on the rotors. A visual inspection of the braking system can often reveal obvious problems. If possible, have someone pump the brakes while you listen for unusual sounds near the wheels. Don't forget to check the parking brake cable for looseness or damage.

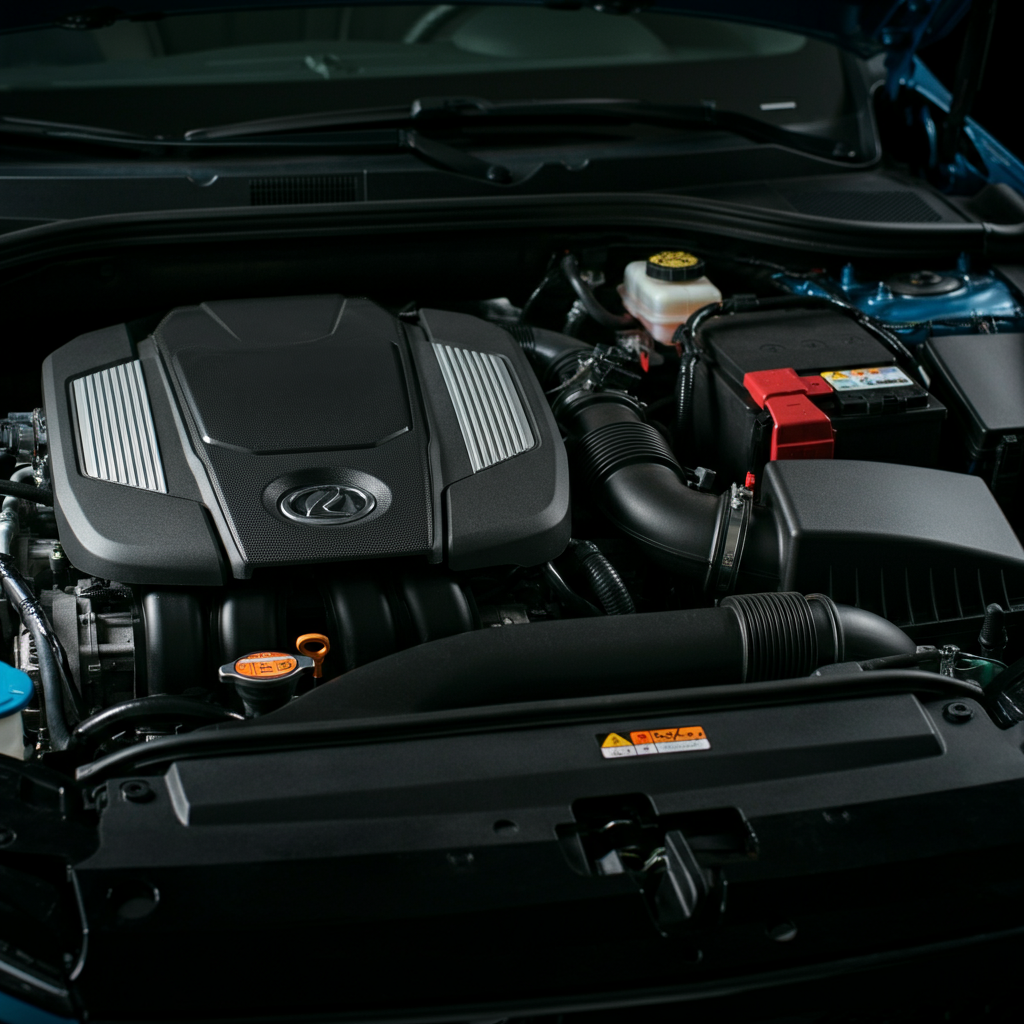
Step 4: Under the Hood – Visual Inspection and Listening
A Closer Look at the Engine Bay
With the engine off and cooled down, open the hood and perform a thorough visual inspection. Look for obvious leaks, loose belts, damaged hoses, or frayed wires. Check the fluid levels (oil, coolant, power steering, brake fluid). Start the engine and listen carefully for any unusual noises. A ticking sound could indicate a valve issue, while a knocking sound might suggest a more serious problem within the engine. Be extremely careful when working around a running engine. Keep your hands and clothing away from moving parts. Use a mechanic's stethoscope (or even a long screwdriver placed against different engine components with your ear to the handle) to help pinpoint the source of the noise. Pay particular attention to the alternator, power steering pump, and air conditioning compressor.
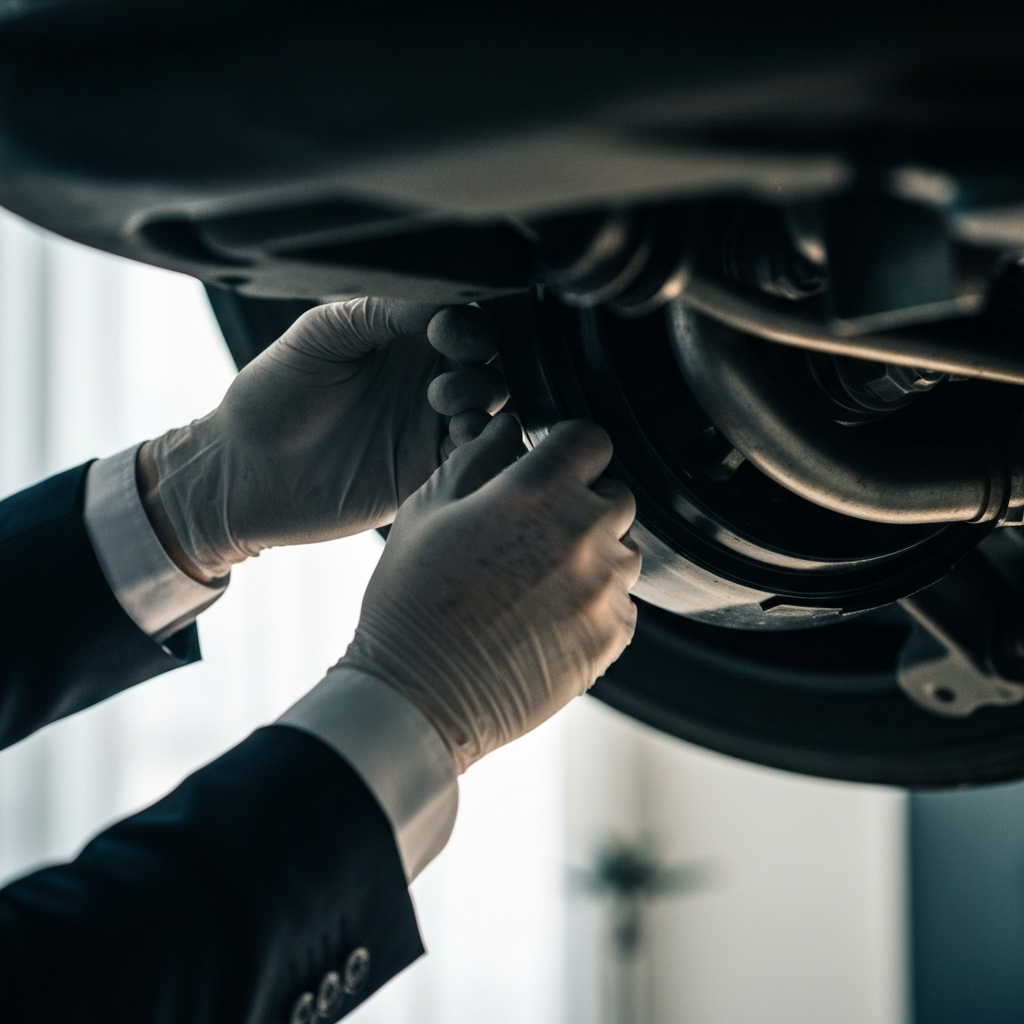
Step 5: Suspension and Steering – Test Driving and Observation
Handling and Control
If the noise seems to be related to handling or steering, carefully test drive the car in a safe environment. Listen for clunking, rattling, or squealing noises when going over bumps or turning the steering wheel. A worn-out suspension component, such as a ball joint, tie rod end, or strut, can cause these types of noises. Pay attention to how the car handles. Does it feel loose or unstable? Does the steering wheel vibrate or pull to one side? Have someone stand outside the car while you slowly turn the steering wheel back and forth, and listen for any noises coming from the suspension components. Be extremely cautious when testing the car's handling, especially if you suspect a steering or suspension problem. Consider taking the car to a mechanic for a professional inspection if you are uncomfortable performing this test yourself.
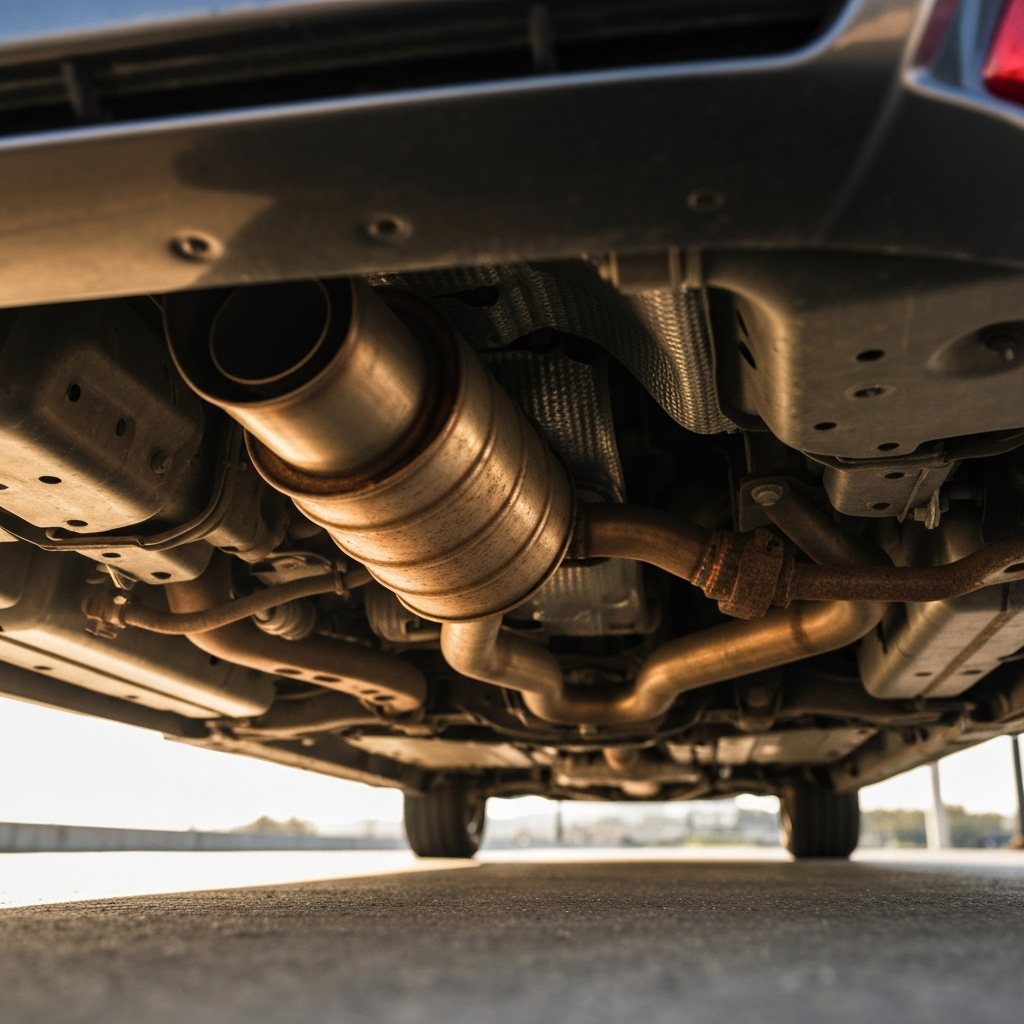
Step 6: Exhaust System – Inspection and Listen
Muffler and Beyond
The exhaust system is another common source of car noises. Inspect the exhaust pipes, muffler, and catalytic converter for rust, leaks, or damage. A rattling noise could indicate a loose heat shield or a broken catalytic converter. A hissing sound might suggest an exhaust leak. Be careful when working around the exhaust system, as it can get very hot. Start the engine and listen for exhaust leaks, especially around the joints and connections. You can sometimes locate leaks by temporarily blocking the exhaust pipe with a rag (be careful not to burn yourself or damage the engine). A change in engine noise when you block the pipe can indicate a leak.
Step 7: Confirm and Fix (or Seek Professional Help)
Putting it All Together
Once you've gathered all the information, try to pinpoint the source of the noise. Review your notes and observations. If you're confident in your diagnosis, you can attempt to fix the problem yourself. Start with the simplest and most common solutions, such as tightening loose bolts, replacing worn brake pads, or topping off fluids. If the problem is more complex, or if you're uncomfortable performing the repair yourself, it's best to seek professional help from a qualified mechanic. Don't hesitate to consult a professional if you're unsure about any aspect of the diagnosis or repair process. Even if you only gather information and present it to a mechanic, you'll have saved them time and potentially reduced your repair bill.

Safety Considerations
- Always work in a well-ventilated area.
- Use jack stands when working under a car. Never rely solely on a jack.
- Wear safety glasses to protect your eyes.
- Disconnect the negative battery cable before working on the electrical system.
- Be careful when working around hot engine parts or fluids.
- If you're not comfortable performing a repair, seek professional help.
Tools or Materials Required
- Jack and jack stands
- Wrench set
- Socket set
- Screwdriver set
- Mechanic's stethoscope (optional)
- Flashlight
- Gloves
- Safety glasses
Common Mistakes to Avoid
- Ignoring the noise hoping it will go away.
- Failing to gather enough information before starting the diagnosis.
- Working without proper safety precautions.
- Attempting repairs beyond your skill level.
Conclusion
Diagnosing car noises can be a challenging but rewarding process. By following a systematic approach, paying attention to detail, and prioritizing safety, you can often identify the source of the problem and save yourself time and money. Remember that if you're ever unsure, it's always best to consult a qualified professional. Good luck, and happy diagnosing!