That unusual clunk, whine, or squeal coming from your car can be more than just annoying – it's often an early warning sign of a developing mechanical problem. Ignoring these sounds can lead to expensive repairs down the road, or worse, a breakdown at an inconvenient time. But before you rush to the nearest mechanic, learning to identify and diagnose these noises yourself can save you significant money and provide valuable insight into your vehicle's health.
This guide will equip you with the knowledge and techniques to pinpoint the source of common car sounds. We'll walk you through a systematic approach, from listening carefully to performing basic inspections, empowering you to communicate effectively with your mechanic or even tackle simple repairs yourself. Remember accurate diagnosis is the key to avoiding unnecessary expenses.
By becoming a savvy listener, you'll be able to distinguish between minor issues and potentially serious problems, allowing you to take proactive steps to maintain your car and keep it running smoothly. Let's get started!
Step 1: Listen Carefully and Identify the Sound
Pinpoint the Sound's Characteristics
The first crucial step is to meticulously listen to the sound and try to define its characteristics. Ask yourself these questions: What kind of sound is it (e.g., squealing, grinding, knocking, hissing)? When does it occur (e.g., only when starting the engine, while braking, when turning, at certain speeds)? Where does it seem to be coming from (e.g., front of the car, rear, underneath, from the engine bay)? Is it a consistent sound, or intermittent? Is the sound affected by engine speed or vehicle speed? The more details you gather, the easier it will be to narrow down the possible causes.

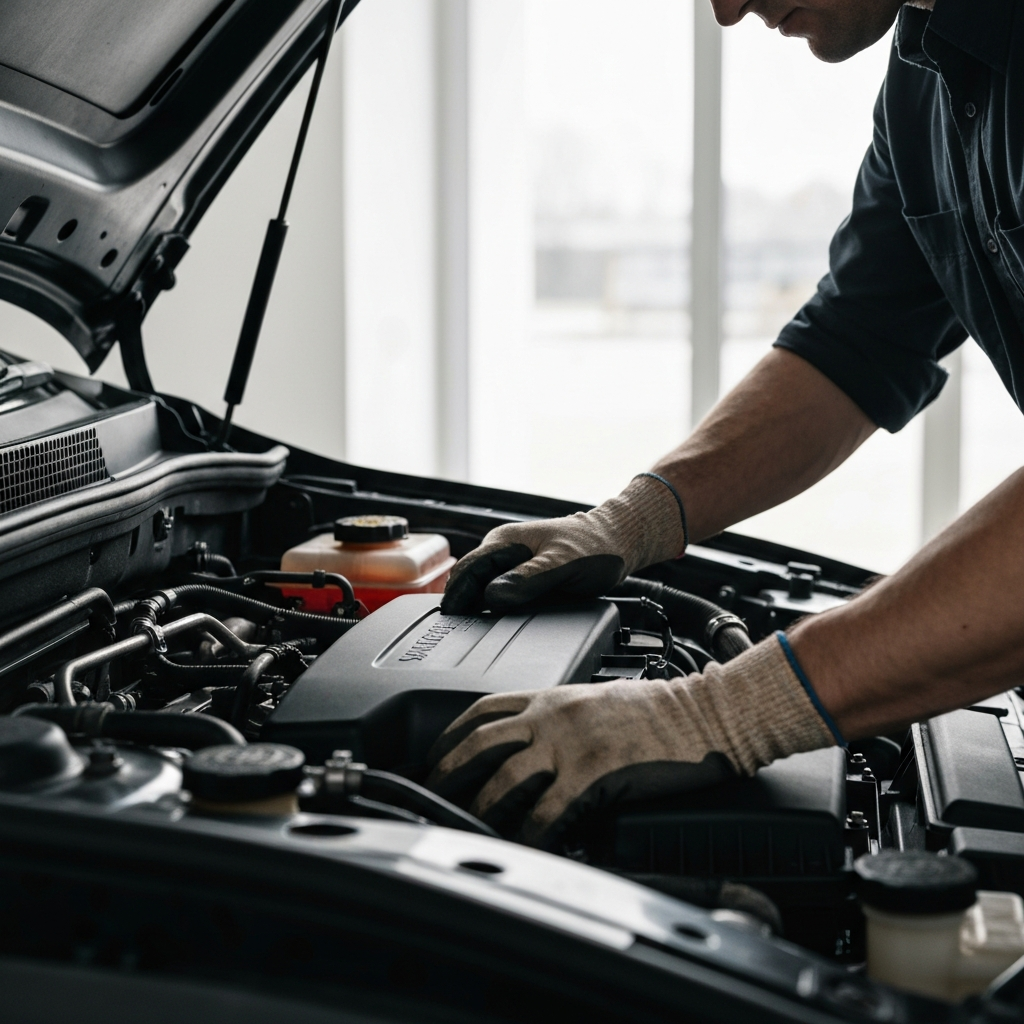
Step 2: Check Under the Hood
Visual Inspection and Component Checks
Once you have a good understanding of the sound, open the hood and perform a visual inspection. Look for any obvious signs of damage, leaks, or loose components. Check the fluid levels (oil, coolant, brake fluid, power steering fluid) and top them off if necessary. Inspect belts for cracks or fraying. Start the engine and listen carefully for the sound's origin. Use a long screwdriver or piece of hose as a stethoscope, carefully placing one end near various engine components while the other end is held to your ear. Exercise extreme caution when working around a running engine – keep your hands and clothing away from moving parts.
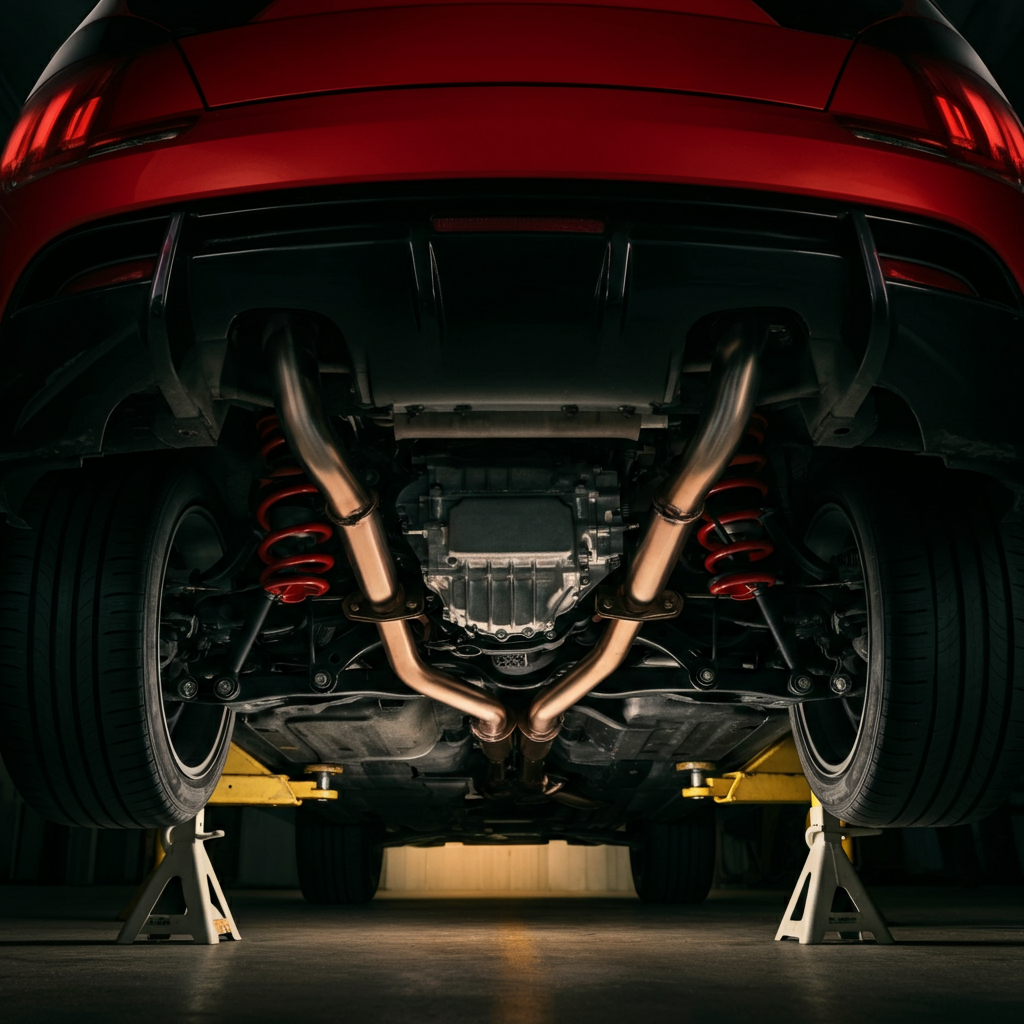
Step 3: Examine the Undercarriage
Suspension and Exhaust System Inspection
Safely lift the vehicle using a jack and jack stands (never work under a car supported only by a jack). Inspect the suspension components (shocks, struts, springs, ball joints, tie rod ends) for damage, wear, or looseness. Check the exhaust system for leaks, rust, or loose connections. A metallic rattling sound could indicate a loose heat shield or catalytic converter. A clunking sound when going over bumps often points to worn suspension components. Safety is paramount: always use jack stands and follow proper jacking procedures. If you are not comfortable lifting the car, take it to a professional.
Step 4: Test the Brakes
Brake Noise Diagnosis
Brake noises are common and often indicate worn brake pads or rotors. A squealing sound when braking usually means the brake pads are worn and need replacing. A grinding sound indicates that the brake pads are completely worn and the rotors are being damaged. A pulsation in the brake pedal could be a sign of warped rotors. Never ignore brake noises, as compromised brakes are a serious safety hazard. If you're not experienced with brake repairs, it's best to have them inspected and repaired by a qualified mechanic.

Step 5: Consider the Environment and Driving Conditions
Contextual Clues for Diagnosis
The environment and driving conditions when you hear the sound can provide valuable clues. Does the sound only occur in wet weather? This could indicate a problem with the serpentine belt slipping. Does the sound only occur when the engine is cold? This could be related to exhaust manifold leaks. Does the sound change depending on the road surface? This could point to suspension issues. Think about these factors and how they might be influencing the sound. Keep a log of when you hear the sound and the conditions under which it occurs.
Tools or Materials Required
- Jack and jack stands
- Wheel chocks
- Wrench set
- Screwdriver set
- Socket set
- Mechanic's stethoscope or long screwdriver/hose
- Flashlight
- Gloves
- Safety glasses
Safety Considerations
- Always use jack stands when working under a vehicle.
- Never work under a car supported only by a jack.
- Disconnect the negative battery cable before working on the electrical system.
- Wear safety glasses to protect your eyes.
- Use gloves to protect your hands.
- Be careful when working around a hot engine or exhaust system.
Common Mistakes to Avoid
- Ignoring the sound in hopes it will go away.
- Misdiagnosing the sound and replacing the wrong parts.
- Working on the car without proper safety precautions.
- Not seeking professional help when needed.
FAQ Section
- Q: My car is making a clicking sound when I turn. What could it be?
- A: A clicking sound when turning is often a sign of a worn CV joint.
- Q: My car is making a whining sound that gets louder as I accelerate. What could it be?
- A: This could be a sign of a failing power steering pump, transmission issue, or differential problem.
- Q: My car is making a rattling sound when I drive over bumps. What could it be?
- A: This is often caused by worn suspension components, such as struts, shocks, or sway bar links.
Conclusion
Diagnosing car sounds can seem daunting at first, but by following a systematic approach and using your senses, you can often pinpoint the source of the problem. Remember to listen carefully, inspect thoroughly, and consider the driving conditions. Don't be afraid to seek professional help when needed. By taking proactive steps, you can catch problems early, prevent costly repairs, and keep your car running smoothly for years to come. Being an informed car owner empowers you to make the best decisions for your vehicle and your wallet.