That persistent rattle, the intermittent squeal, the unsettling thunk – every car owner knows the feeling of dread that comes with a new, unexplained noise emanating from their vehicle. Ignoring these sounds is a gamble; what starts as a minor annoyance can quickly escalate into a major (and expensive) repair. But before you rush to the mechanic, armed with only vague descriptions of "a funny noise," you can take proactive steps to diagnose the problem yourself.
This guide empowers you, the driver, to become an amateur automotive detective. We'll walk you through a systematic approach to identifying the source and nature of common car noises, helping you communicate effectively with your mechanic (if necessary) and potentially saving you time and money. Remember, accurate diagnosis is the key to efficient and cost-effective car repair.
However, always prioritize safety. If a sound is accompanied by a sudden loss of power, steering issues, or brake failure, pull over immediately in a safe location and call for professional assistance. This guide is intended for non-emergency situations and should not replace the expertise of a qualified mechanic.
Step 1: Pinpointing the Location
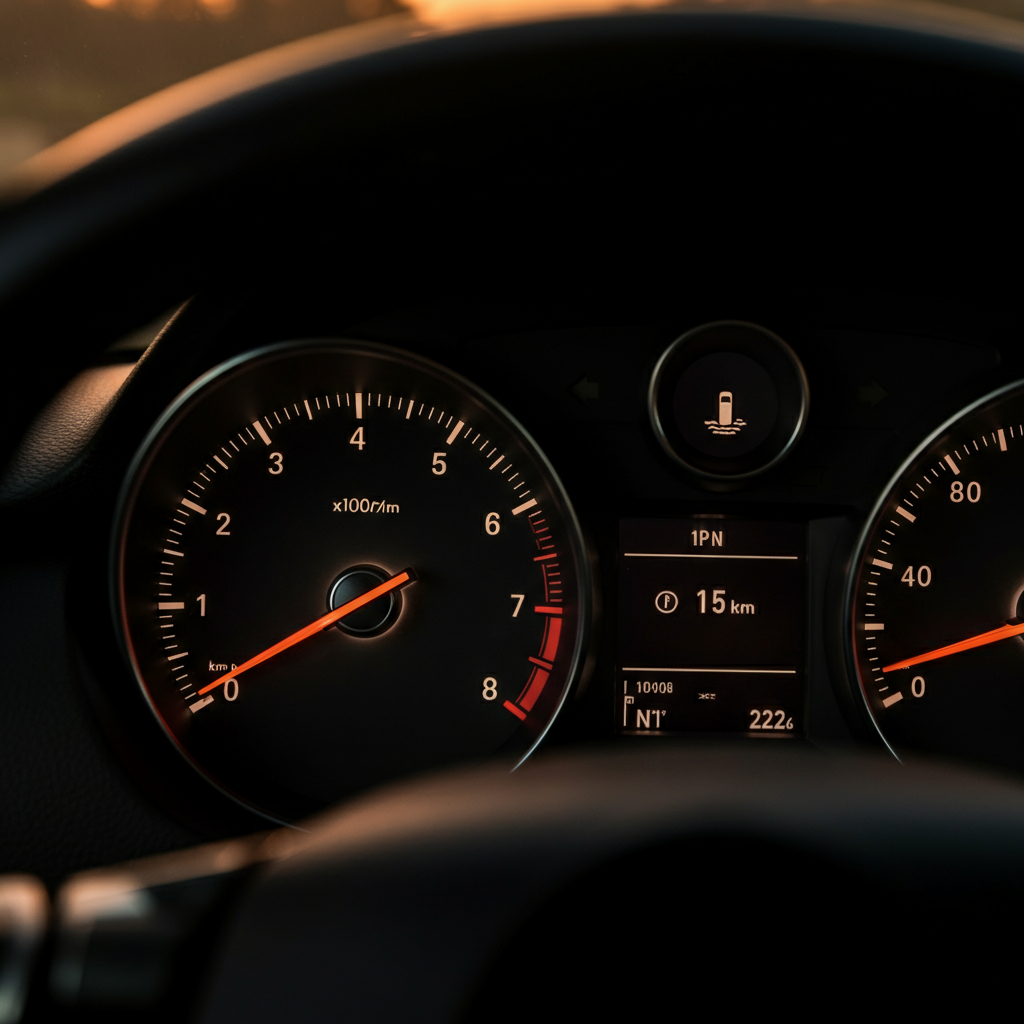
The first step is to narrow down where the sound is coming from. Is it from under the hood, under the car, or from a specific wheel? Have a friend walk alongside the car as you drive slowly (in a safe, quiet area) to help identify the general area. Listen carefully – does the sound seem to be coming from the front, back, left, or right side of the vehicle? Also, consider if the sound changes based on speed, turning, or braking. This information is crucial for further diagnosis.

Step 2: Understanding the Type of Sound
Different sounds indicate different problems. A squealing noise is often related to brakes or belts. A rattling sound could be anything from loose exhaust components to worn suspension parts. A knocking or tapping sound often signals engine issues. A grinding sound is commonly associated with brakes, wheel bearings, or drivetrain problems. Try to describe the sound as precisely as possible. Is it a high-pitched squeal, a low rumble, a sharp click, or a dull thud? The more descriptive you are, the better chance you have of identifying the culprit.

Step 3: Linking the Sound to Specific Actions
Does the sound occur only when you brake, accelerate, turn, or go over bumps? Pay close attention to when the sound appears and disappears. Does the sound get louder or quieter with speed? Does it only happen when the engine is cold? Does it disappear after the car warms up? If the sound is related to braking, for example, it could indicate worn brake pads, rotors, or calipers. If it only occurs when turning, it could be related to wheel bearings or suspension components. The conditions under which the sound occurs are often the most telling clues.
Step 4: Visual Inspection (When Safe)
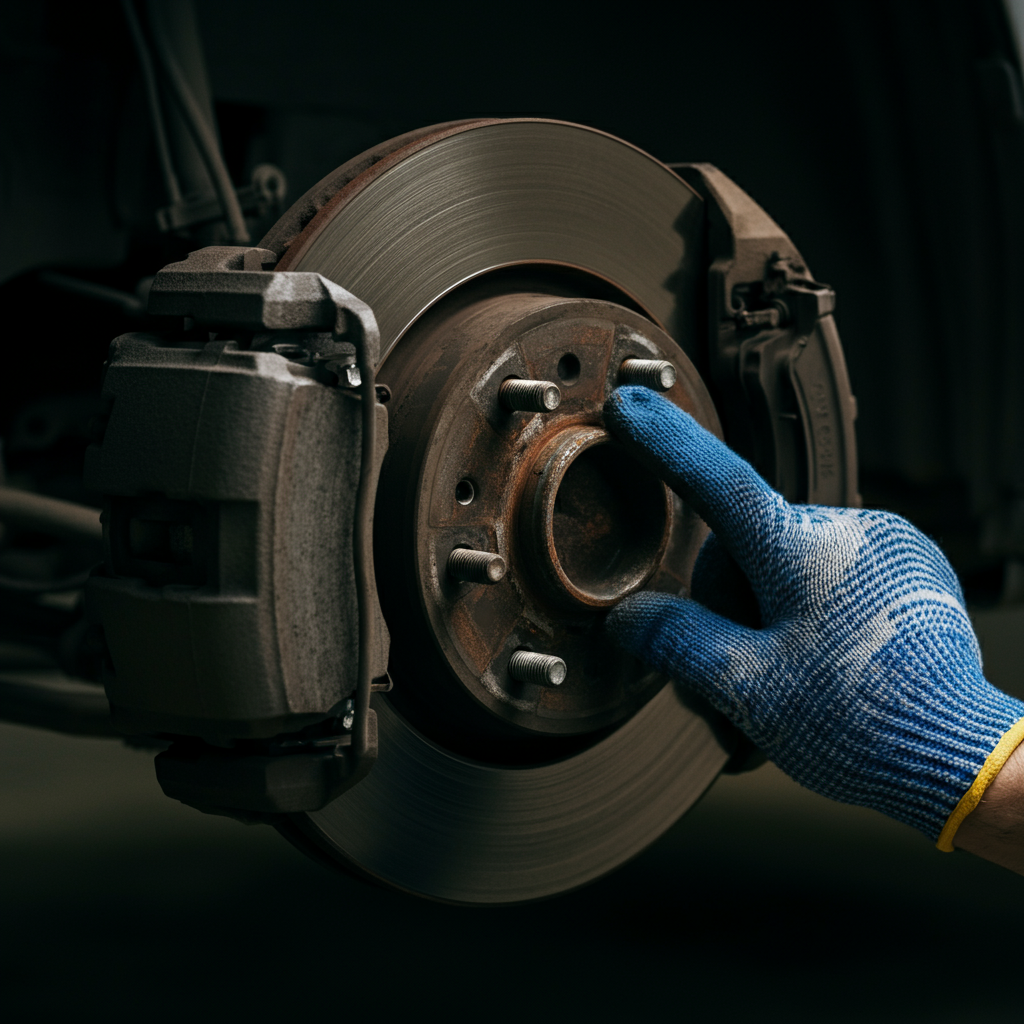
Once you've pinpointed the location and type of sound, perform a visual inspection of the area (when safe to do so). For example, if you suspect a brake problem, look at the brake pads and rotors. Are the pads worn thin? Are the rotors scored or damaged? If you suspect an exhaust leak, look for signs of soot or damage around the exhaust pipes and muffler. Never put yourself in a dangerous situation to inspect your car. If you're not comfortable performing a visual inspection yourself, take it to a mechanic.
Step 5: Recording the Sound (If Possible)
If you're having trouble describing the sound to a mechanic, try recording it with your smartphone. This can be helpful in allowing the mechanic to hear the sound directly and potentially identify the problem more quickly. Be sure to record the sound in a safe environment and avoid distractions. Record multiple short clips under different driving conditions (e.g., accelerating, braking, turning) to provide a comprehensive audio sample.

Step 6: Checking Fluids
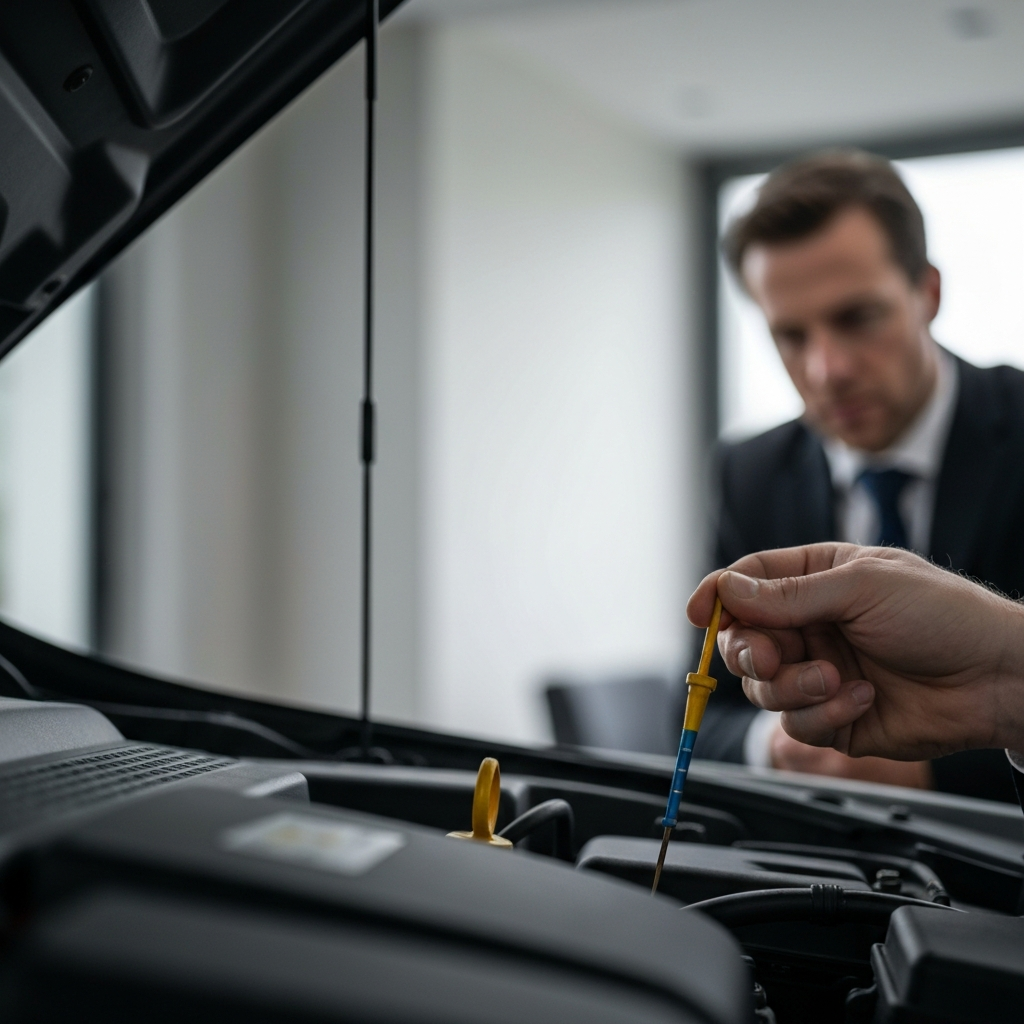
Low fluid levels can often cause unusual noises. Check your engine oil, power steering fluid, brake fluid, and coolant levels. Low power steering fluid can cause a whining noise when turning the steering wheel. Low engine oil can lead to engine knocking or tapping. A coolant leak might not always cause a noise, but a bubbling sound can be audible if air gets into the cooling system.
Step 7: Addressing Car Alarm Issues
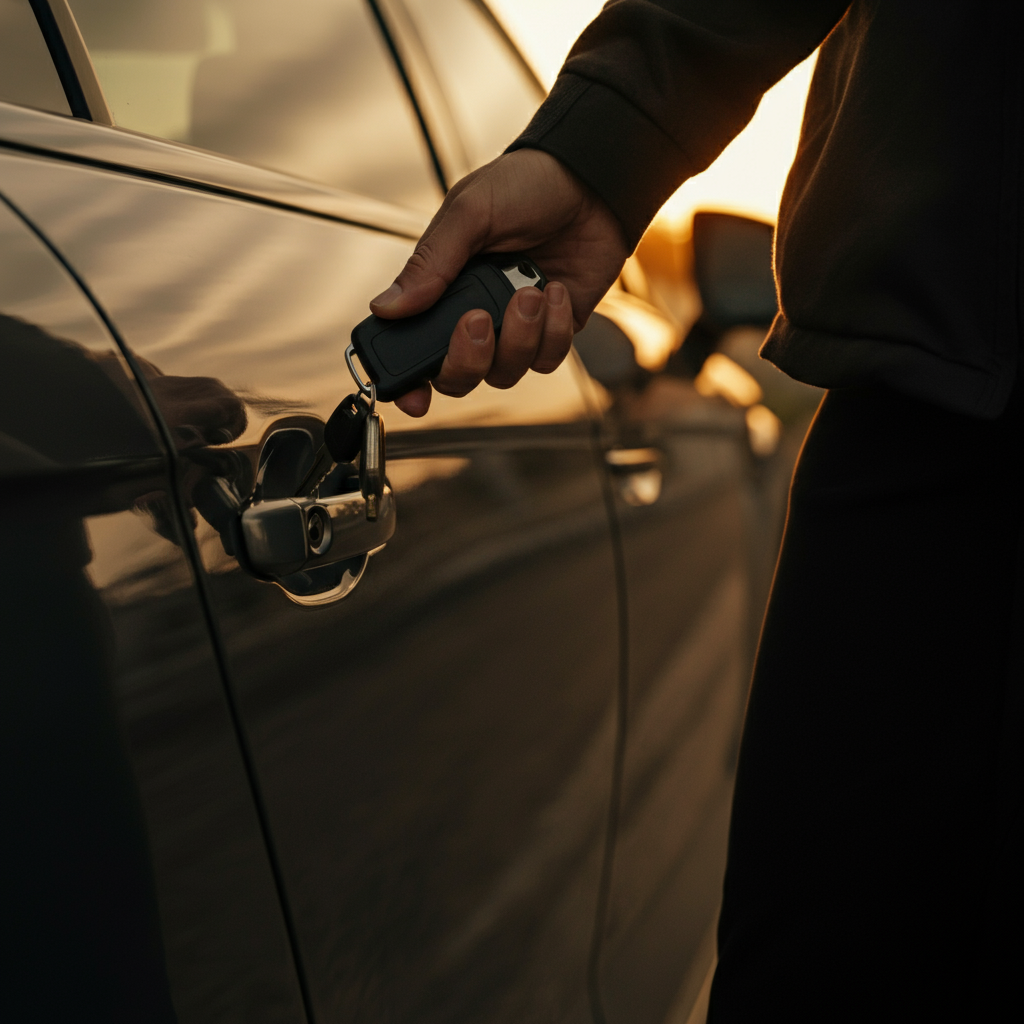
Sometimes, the "sound" isn't a mechanical issue, but rather a malfunctioning car alarm. If the alarm goes off randomly, or refuses to disarm, try these steps. First, unlock the car manually with your key, as the remote might be the source of the problem. Turn the ignition on; sometimes this simple action resets the system. Refer to your car's manual for specific alarm reset procedures, such as turning the key in the door lock a specific number of times. Disconnecting the car battery for a minute can also reset the alarm system. If these steps fail, consult a mechanic; the alarm system may require professional attention.
Tools or Materials Required (Depending on the suspected cause):
- Screwdrivers (various sizes)
- Wrenches (metric and standard)
- Jack and jack stands
- Gloves
- Flashlight
- Smartphone (for recording sounds)
- Owner's manual
Safety Considerations:
- Always work in a well-ventilated area.
- Wear safety glasses to protect your eyes.
- Use jack stands when working under the car.
- Disconnect the battery before working on electrical components.
- Never work on a hot engine.
Common Mistakes to Avoid:
- Ignoring warning signs: Don't delay addressing unusual noises, as they can indicate a more serious problem.
- Over-tightening bolts: This can damage threads and make future repairs more difficult.
- Using the wrong tools: Using the correct tools prevents damage to components and ensures proper repairs.
- Assuming the worst: Start with the simplest and most likely causes before jumping to expensive conclusions.
Conclusion
Diagnosing car sounds can be challenging, but by following a systematic approach and paying close attention to detail, you can often identify the source of the problem. Remember to prioritize safety and consult a qualified mechanic when necessary. With a little patience and persistence, you can become a more informed and proactive car owner.