That mysterious clunk, squeal, or rumble coming from your car can be incredibly frustrating. Ignoring these sounds can lead to expensive repairs down the road, but deciphering them yourself can save you time and money. This guide provides a structured approach to diagnosing common car noises, empowering you to identify the source of the problem and determine the best course of action.
Before diving in, remember that safety is paramount. Always work in a well-ventilated area, wear appropriate safety gear (gloves and eye protection are recommended), and never work under a vehicle supported only by a jack. If you're uncomfortable performing any of these steps, consult a qualified mechanic. This guide is meant to help you narrow down the potential issues before seeking professional help, enabling you to communicate the problem more effectively.
This guide is structured to help you methodically investigate the source of the noise, from identifying when it occurs to pinpointing the affected area. Prepare to get your hands a little dirty as you carefully examine your vehicle. Let's get started!
Step 1: Identify When the Noise Occurs
The first step in diagnosing a car sound is determining when it happens. Is it constant, or does it only occur under specific conditions? Note whether the noise appears: at startup, while idling, when accelerating, while braking, when turning, at certain speeds, or only when the engine is cold or hot. The more specific you can be, the easier it will be to narrow down the potential causes. For example, a squealing noise only when starting the engine is often related to the serpentine belt. A thumping sound that gets faster with increased speed could indicate a tire issue. Pay close attention to all circumstances surrounding the noise.

Step 2: Determine the Location of the Sound
Once you know when the sound occurs, try to pinpoint its location. Is it coming from the front, rear, left, right, under the hood, or underneath the car? Have a friend walk around the vehicle while you recreate the noise (if safe to do so). Try to isolate the general area as best as possible. A noise coming from the front end could indicate suspension or engine issues, while a rear-end noise might be related to the differential or exhaust system. Underneath the vehicle, listen carefully for the location, it might be a loose heat shield or exhaust component.

Step 3: Investigate Common Culprits Based on the Location and Timing
Now that you have the timing and location of the sound, you can begin to investigate potential causes. Here are some common sounds and their likely sources:
Squealing Sounds
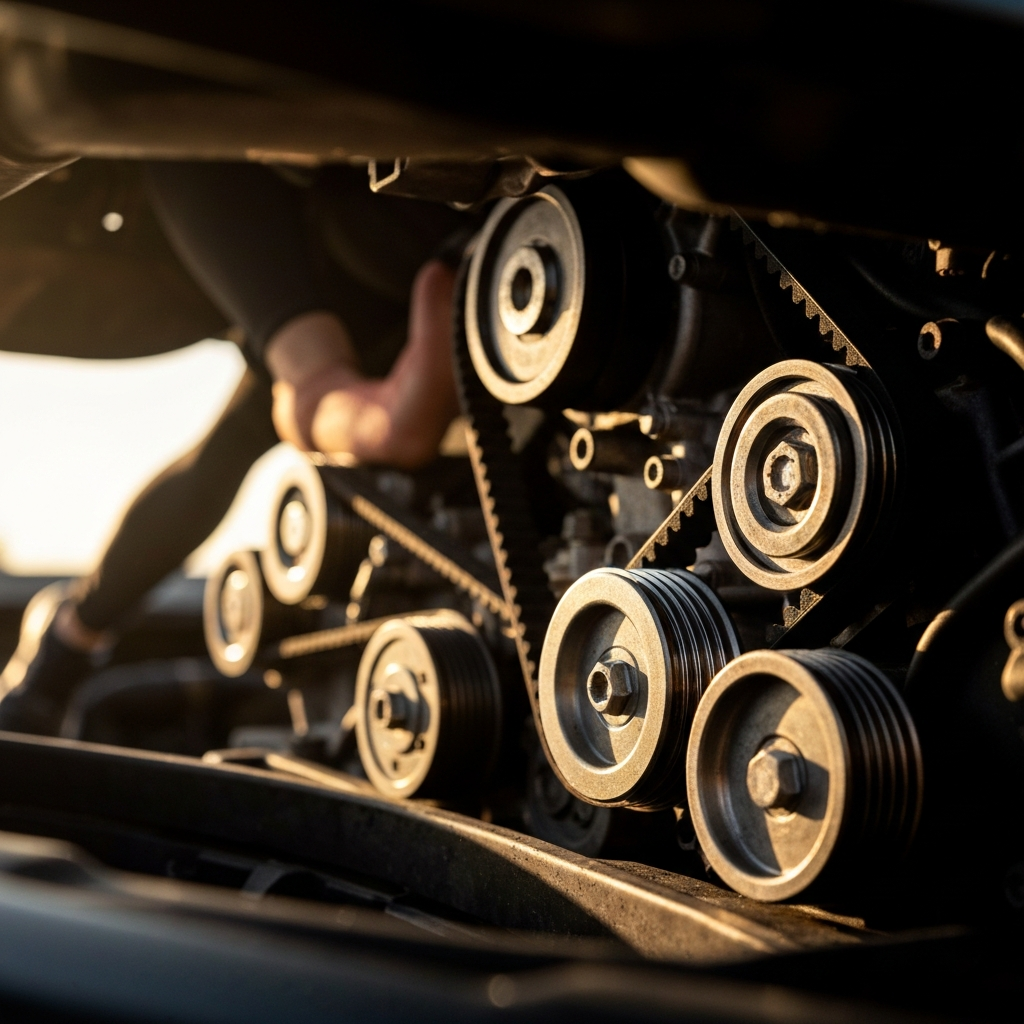
Squealing noises, especially when starting the engine or during acceleration, often indicate a slipping belt. Check the condition of the serpentine belt for cracks, glazing, or looseness. You can also try spraying a small amount of belt dressing on the belt while the engine is running (use sparingly!). If the squealing stops temporarily, the belt is likely the problem. Be extremely careful when working around a running engine; keep hands and clothing away from moving parts. Squealing while braking usually points to worn brake pads or rotors.
Clicking Sounds
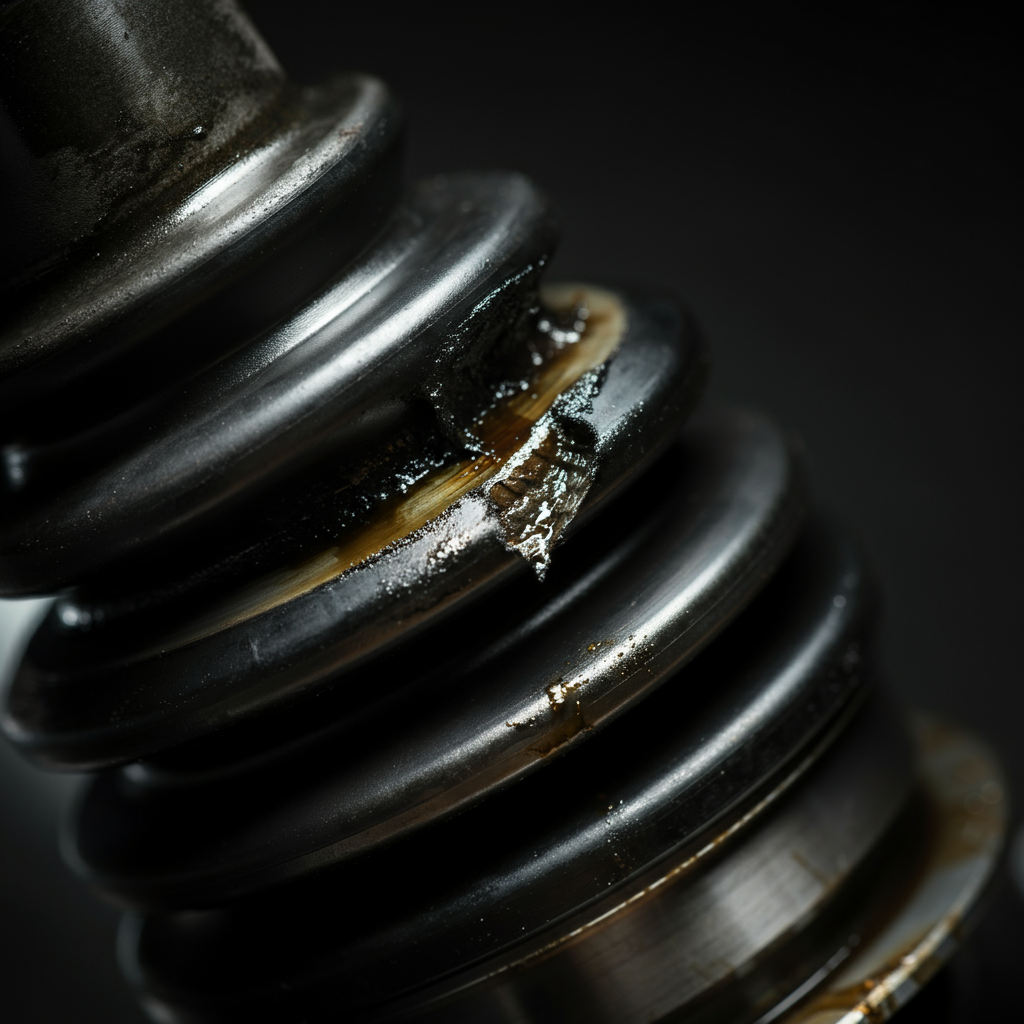
A clicking sound, especially when turning, is often associated with a failing constant velocity (CV) joint. Inspect the CV boots for tears or grease leakage. If the boots are damaged, the joint is likely contaminated and needs replacement. Clicking sounds at startup could indicate a weak starter motor or a low battery. Clicking when the turn signal is on could indicate a burned out bulb.
Thumping Sounds
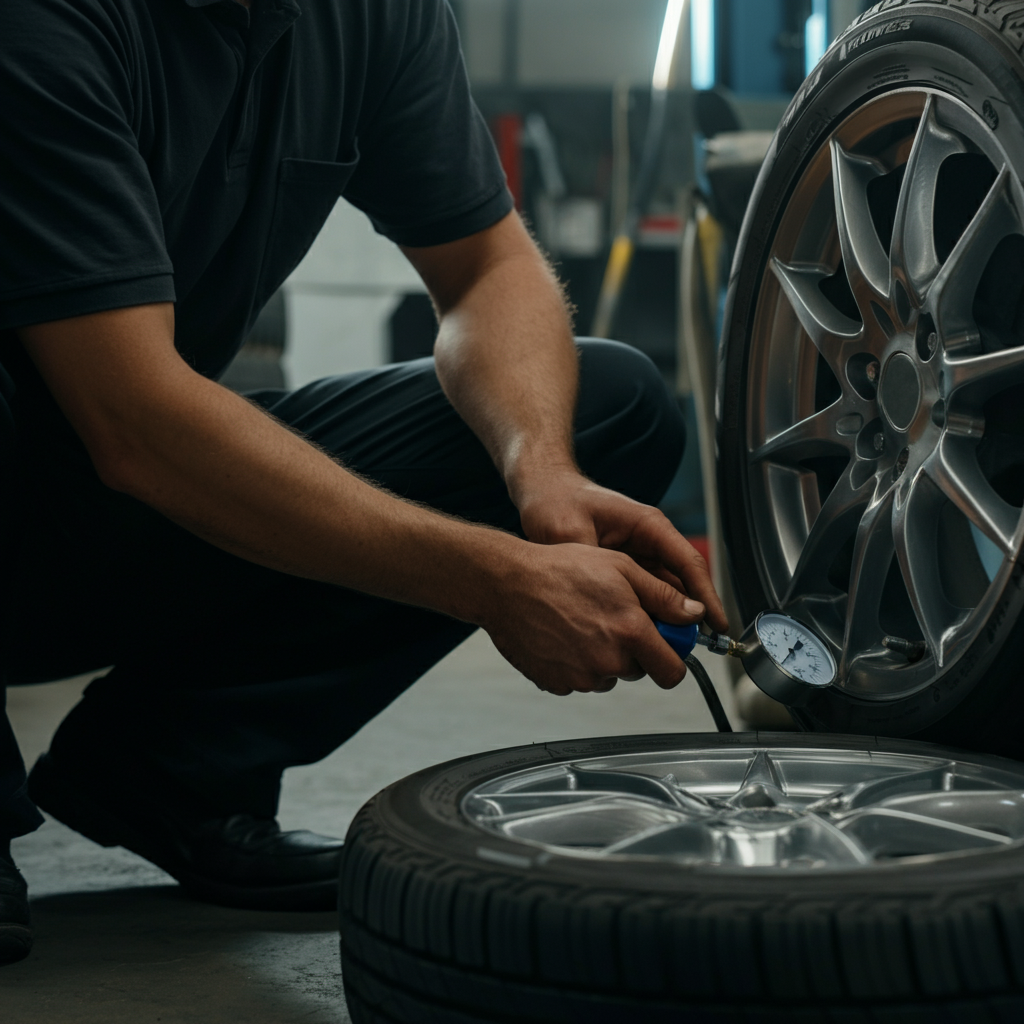
Thumping sounds that increase with speed often indicate a tire issue. Check your tires for bulges, uneven wear, or embedded objects. Also, inspect the wheel bearings. A failing wheel bearing can produce a thumping or grinding noise that changes with speed. A severely damaged tire or failing wheel bearing is a serious safety hazard; address it immediately.
Rattling Sounds
Rattling noises can be tricky to diagnose as they can come from various sources. A loose exhaust component, such as a heat shield or muffler, is a common culprit. Check for any visibly loose or damaged parts. Rattling sounds from under the hood could be related to loose engine accessories or internal engine components. If you suspect internal engine damage, it's best to consult a professional mechanic.
Grinding Sounds
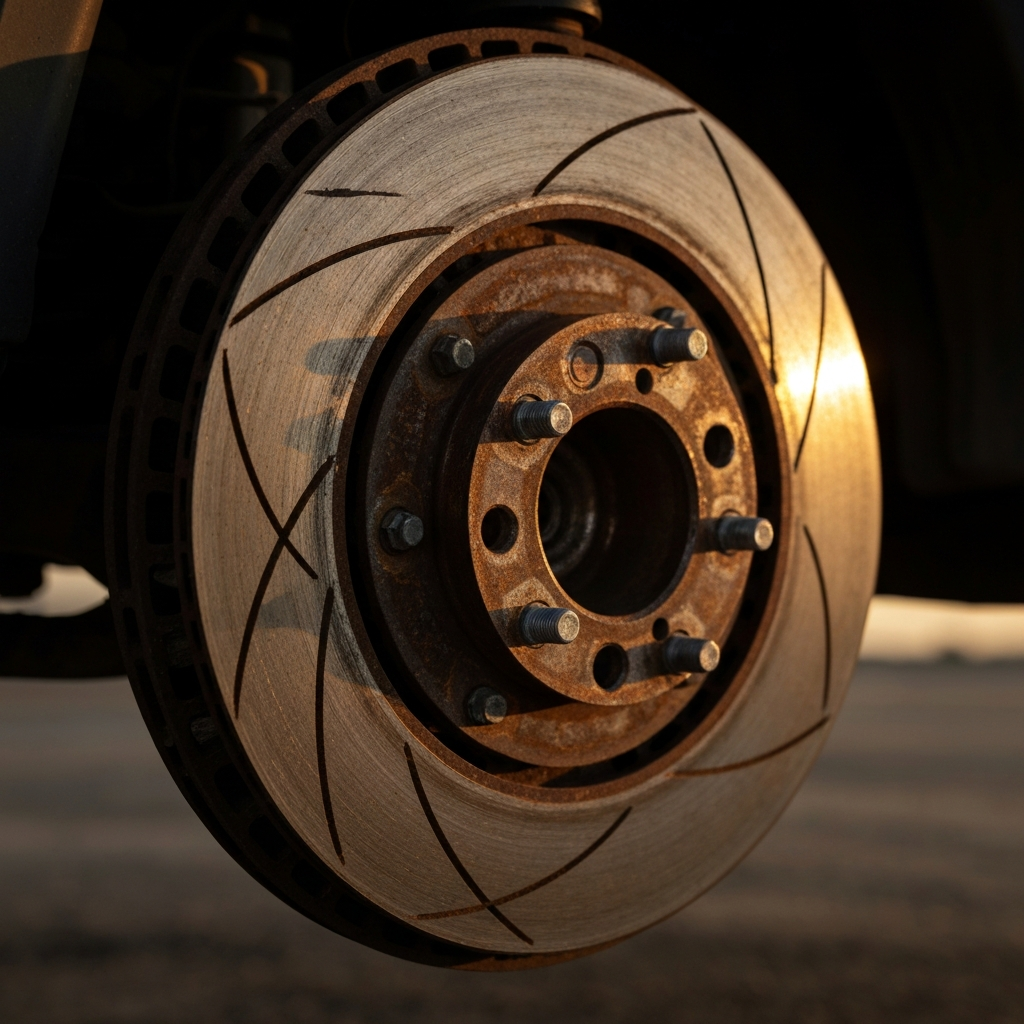
Grinding noises are almost always a sign of serious mechanical issues. Grinding while braking usually indicates severely worn brake pads that are grinding against the rotors. Grinding from the engine or transmission could point to internal damage. If you hear a grinding noise, stop driving the vehicle immediately and have it inspected by a professional. Continuing to drive could cause further damage.
Step 4: Use a Mechanic's Stethoscope (Optional)
For more precise sound localization, consider using a mechanic's stethoscope. This tool allows you to amplify sounds from specific areas of the engine or chassis. Place the probe of the stethoscope on various components while the engine is running or the vehicle is in motion (if safe) to pinpoint the source of the noise. Be cautious when working around moving parts.

Step 5: Consult Your Vehicle's Repair Manual or Online Resources
Your vehicle's repair manual is a valuable resource for diagnosing car problems. It provides detailed information about common issues, troubleshooting procedures, and diagrams of various components. Online forums and databases can also be helpful in identifying potential causes based on the specific make and model of your vehicle.
Tools or Materials Required
* Gloves * Eye protection * Jack and jack stands (if lifting the vehicle) * Wrench set * Screwdriver set * Mechanic's stethoscope (optional) * Serpentine belt dressing (optional) * Vehicle repair manual or access to online resourcesSafety Considerations
* Always wear safety glasses and gloves when working on your car. * Never work under a vehicle supported only by a jack. Use jack stands. * Be careful when working around hot engine components. * Disconnect the negative battery cable before working on electrical components. * Dispose of used fluids properly.Pro Tips
* Record the sound with your phone to help you remember it and share it with a mechanic. * Take detailed notes about when the sound occurs and where it seems to be coming from. * Don't be afraid to ask for help from experienced friends or online communities. * If you're unsure about a repair, consult a qualified mechanic.FAQ Section
Q: How do I know if a noise is serious?
A: Any grinding, knocking, or loud thumping noise should be considered serious and investigated immediately.
Q: Can I ignore a car sound?
A: Ignoring a car sound can lead to more expensive repairs down the road. It's always best to investigate the issue as soon as possible.
Q: How much will it cost to diagnose a car sound at a mechanic?
A: Diagnostic fees vary depending on the mechanic and the complexity of the issue. Expect to pay anywhere from $50 to $150 for a diagnostic inspection.
Conclusion
Diagnosing car sounds can seem daunting, but by following these steps, you can systematically identify the source of the problem. Remember to prioritize safety, take detailed notes, and don't hesitate to seek professional help when needed. With a little patience and persistence, you can save yourself time and money while keeping your vehicle running smoothly. Armed with the knowledge gained here, you're well-equipped to tackle those mysterious car noises!