That sinking feeling when your car starts making a weird noise or the check engine light pops on can be quickly followed by another sinking feeling: the dread of a potentially huge repair bill. But before you resign yourself to handing over your hard-earned cash to a mechanic, consider taking a shot at diagnosing the problem yourself. With a little know-how and some basic tools, you can often pinpoint the issue, or at least narrow it down, saving you both time and money.
This guide will walk you through a systematic approach to car troubleshooting, from gathering information to using diagnostic tools and interpreting the results. Remember, safety is paramount. If you're uncomfortable working on your car or dealing with certain systems, it's always best to consult a professional. But for many common car problems, a DIY diagnosis is within your reach.
By understanding the basics of automotive systems and employing a logical process of elimination, you'll be empowered to make informed decisions about your car repairs. You might even discover that the fix is something you can handle yourself!
Step 1: Gather Information and Symptoms
Observe and Document
Before you even think about popping the hood, take some time to carefully observe and document the symptoms your car is exhibiting. When did the problem start? What were you doing when it happened? What does the noise sound like – is it a grinding, squealing, clicking, or knocking sound? The more detailed information you gather, the easier it will be to pinpoint the source of the problem. Write down everything you notice, including any warning lights that are illuminated on the dashboard.
Step 2: Check the Basics
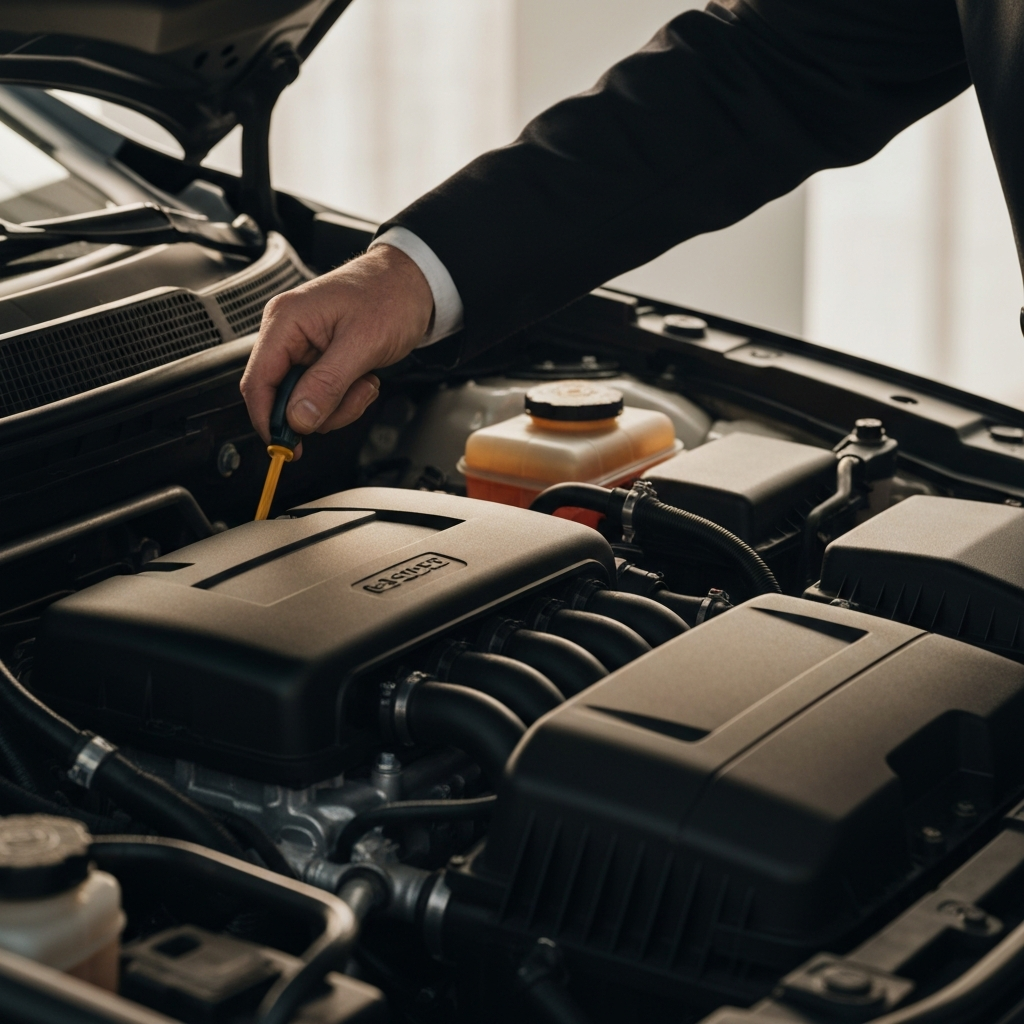
Fluid Levels and Obvious Issues
Often, car problems can be traced back to simple issues like low fluid levels or loose connections. Start by checking your oil level, coolant level, brake fluid, power steering fluid, and windshield washer fluid. Refer to your car's owner's manual for the correct fluid levels and types. Also, inspect your engine compartment for any obvious leaks, damaged hoses, or loose wires. A quick visual inspection can sometimes reveal the culprit before you even need to break out any tools.
Step 3: Read the Error Codes (OBD-II)
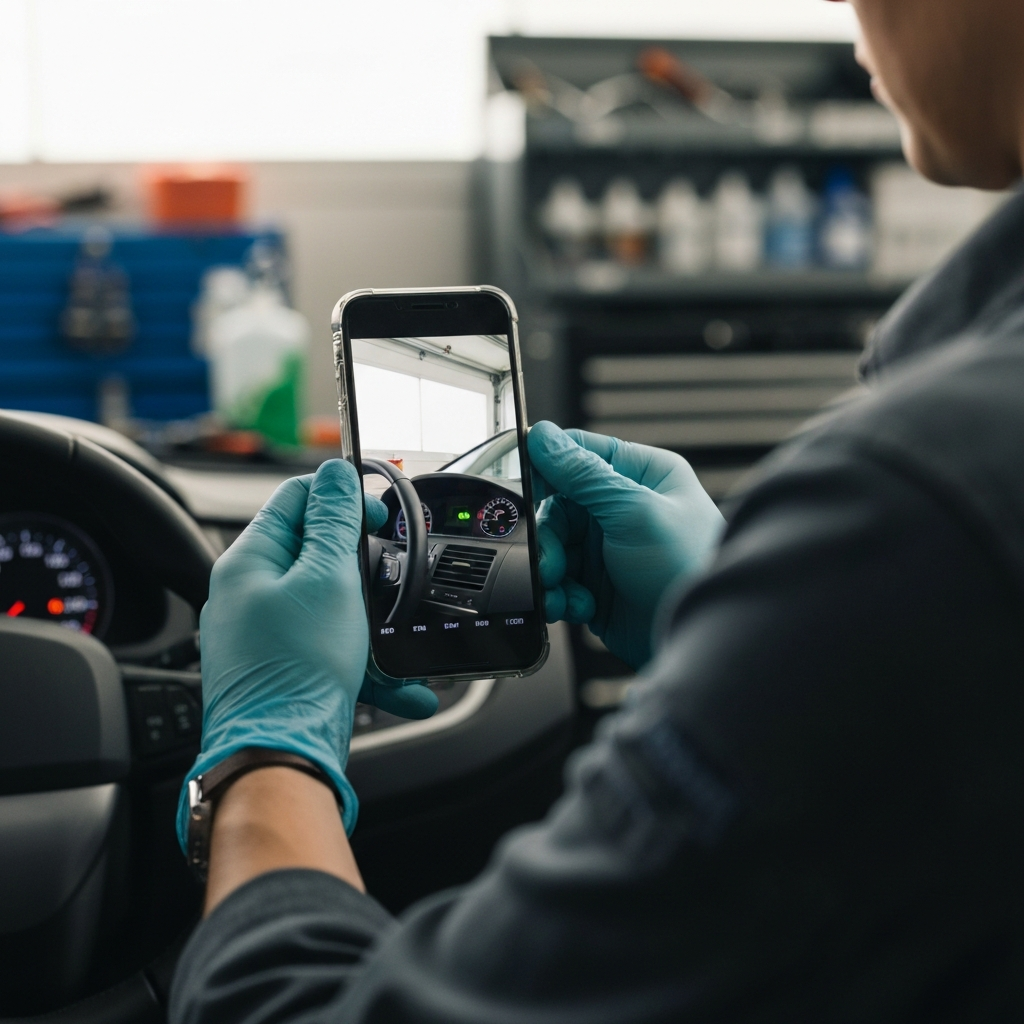
Using an OBD-II Scanner
If your check engine light is on, the next step is to read the error codes stored in your car's computer. You'll need an OBD-II scanner, which is a relatively inexpensive tool that plugs into a port under your dashboard. Many auto parts stores will even loan you a scanner for free. Once connected, the scanner will display a code (or codes) that corresponds to a specific problem area. Keep in mind that an error code doesn't always pinpoint the exact problem; it simply indicates the system where the problem is likely located.

Step 4: Research the Error Codes
Deciphering the Codes
Once you have the error codes, the next step is to research what they mean. There are numerous online resources and automotive forums where you can find detailed explanations of OBD-II codes. For instance, a code like "P0301" typically indicates a misfire in cylinder number 1. Be sure to search for the specific code along with your car's make, model, and year, as the interpretation can sometimes vary. Understanding the potential causes associated with each code will help you narrow down your investigation.
Step 5: Perform Visual Inspections Based on Codes
Targeted Inspection
Now that you have a better understanding of the potential problem area, it's time to perform a more targeted visual inspection. If you have a misfire code, for example, you'll want to inspect the spark plugs, ignition coils, and fuel injectors associated with that cylinder. Look for signs of damage, wear, or loose connections. If the code relates to the oxygen sensor, visually inspect the sensor and its wiring for any obvious issues. This is where your initial symptom observations come into play - do the visual findings align with your earlier notes?

Step 6: Testing Components
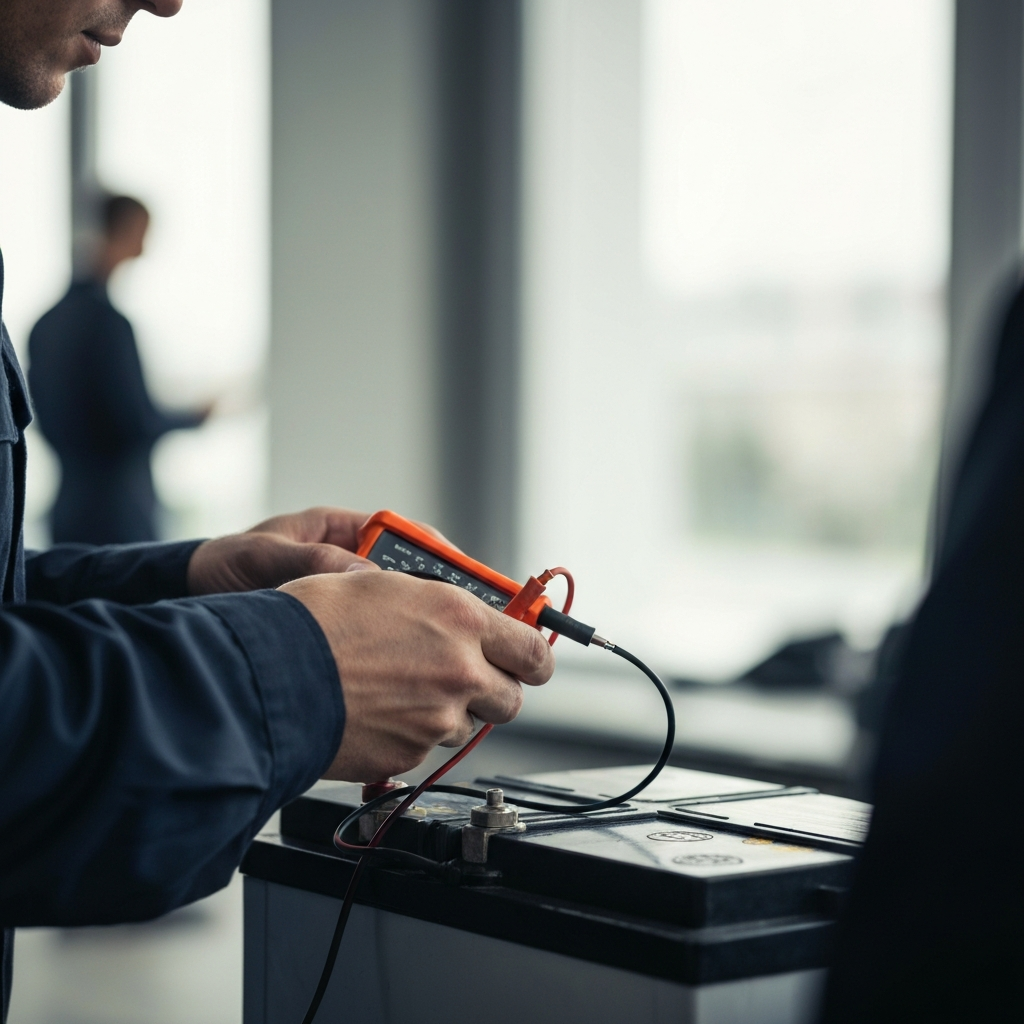
Using a Multimeter
In some cases, a visual inspection won't be enough to determine if a component is faulty. You may need to use a multimeter to test its functionality. A multimeter can measure voltage, resistance, and current, allowing you to check if a sensor or actuator is working within its specified parameters. Refer to your car's service manual for the correct testing procedures and acceptable values for each component. If you're not familiar with using a multimeter, there are plenty of online tutorials that can guide you through the process.
Step 7: Consult Repair Forums and Online Resources
Leveraging the Community
Don't underestimate the power of online automotive communities and repair forums. Chances are, someone else has experienced the same problem you're facing and has documented their troubleshooting process. Search for your car's make, model, year, and the specific symptoms you're experiencing. You might find valuable insights, tips, and even step-by-step repair guides. However, always exercise caution and verify any information you find online with reputable sources before attempting any repairs.

Step 8: Seek Professional Help if Needed
Knowing Your Limits
It's important to recognize when a problem is beyond your skill level or requires specialized tools or equipment. If you've followed the steps outlined above and are still unable to diagnose the issue, or if you're uncomfortable working on a particular system, don't hesitate to seek professional help from a qualified mechanic. Trying to fix something you're not comfortable with can potentially lead to further damage or even injury. The goal is to save money, not create a bigger problem.
Tools or Materials Required
- OBD-II Scanner
- Multimeter
- Socket Set
- Wrench Set
- Screwdrivers (various sizes)
- Pliers
- Jack and Jack Stands
- Safety Glasses
- Gloves
- Car Service Manual
Safety Considerations
Always disconnect the negative battery terminal before working on any electrical components. Use jack stands to support the vehicle when it is raised. Wear safety glasses to protect your eyes from debris. Work in a well-ventilated area when dealing with fluids or chemicals. Never work under a vehicle that is only supported by a jack.
Common Mistakes to Avoid
Assuming an error code points directly to the faulty part. Neglecting to check the basics like fluid levels and connections. Forgetting to disconnect the battery before working on electrical components. Using the wrong tools or fluids for the job. Skipping the research and jumping to conclusions.
FAQ Section
Q: How often should I check my car's fluid levels? A: It's a good idea to check your fluid levels at least once a month, or more frequently if you notice any leaks or unusual symptoms.
Q: Can I clear the check engine light myself after fixing the problem? A: Yes, you can clear the check engine light using an OBD-II scanner. However, the light may reappear if the underlying problem is not fully resolved.
Q: Where can I find a reliable car service manual? A: Car service manuals are available for purchase online or at many auto parts stores. You can also find some information for free on automotive forums.
Conclusion
Diagnosing your car problems yourself can be a rewarding and cost-effective way to maintain your vehicle. By following a systematic approach, gathering information, using diagnostic tools, and leveraging online resources, you can often pinpoint the issue and potentially save a significant amount of money on repair bills. Remember to prioritize safety and seek professional help when needed. With a little knowledge and effort, you can become a more confident and informed car owner.