Hearing a strange noise from your car? Seeing an unfamiliar light on your dashboard? The sinking feeling that something's wrong with your vehicle is never a good one, especially when you think about the potential repair costs. Before you rush to the mechanic, however, you can often diagnose the issue yourself, saving you time and money. By learning to recognize common symptoms and understanding basic car mechanics, you can become your own automotive detective.
This guide will equip you with the knowledge and techniques to confidently troubleshoot car problems. We'll walk you through a systematic approach, covering everything from initial observation to using diagnostic tools. Remember, some repairs require specialized equipment or expertise, so know your limits and prioritize safety. However, with a little know-how, you can tackle many common car problems yourself.
Remember, safety should always be your top priority. If you are not comfortable working on your car, or if the problem seems complex, it is always best to consult a qualified mechanic.
Step 1: Gather Information and Observe
Initial Observation
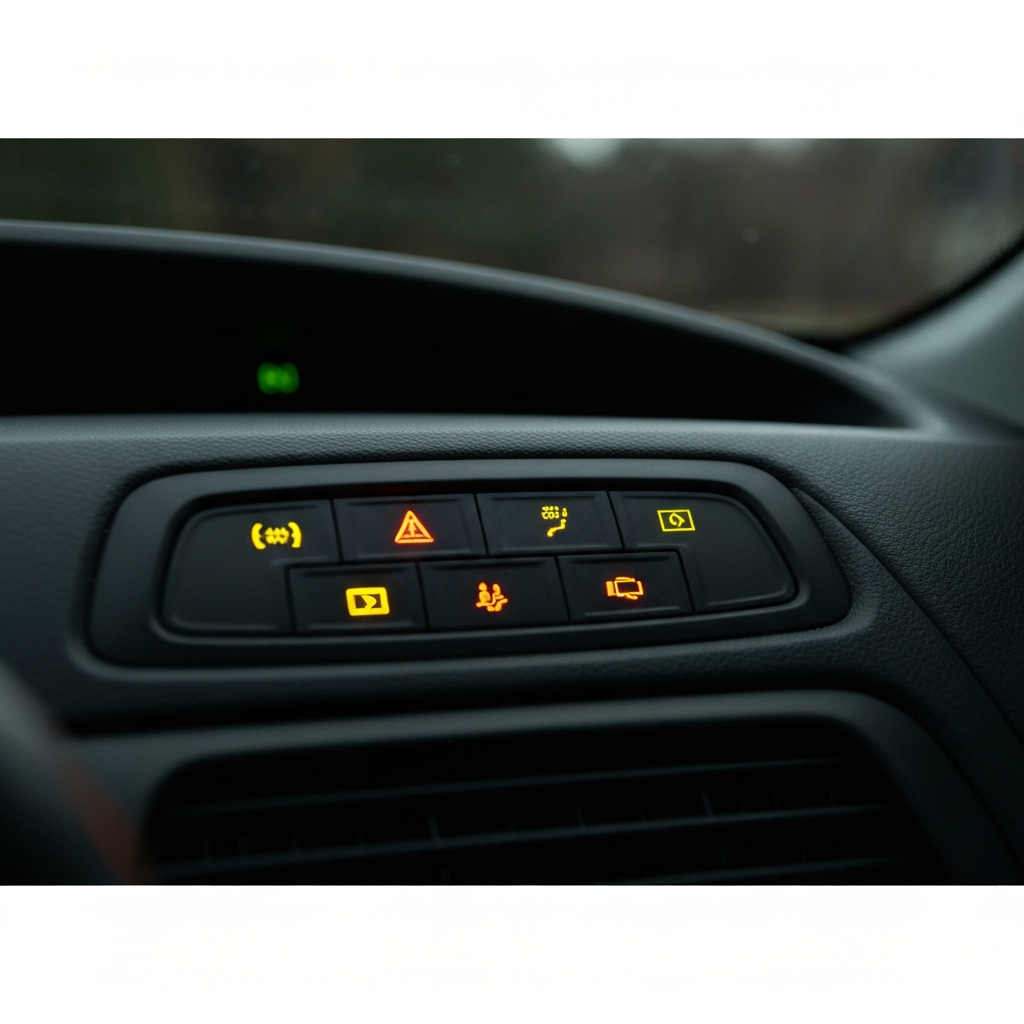
Before you even think about grabbing a wrench, take a moment to carefully observe your car's behavior. When did the problem start? What were you doing when it occurred? Is it constant, or does it only happen under specific conditions, such as when the engine is cold, when turning, or when braking? Note down every detail, no matter how small it may seem. Listen carefully for unusual sounds – squealing, grinding, knocking, hissing. Pay attention to any smells – burning rubber, oil, or coolant. Note any warning lights that appear on the dashboard and what they indicate. This initial information is crucial for narrowing down the possible causes.
Step 2: Check the Fluid Levels
Inspect Essential Fluids
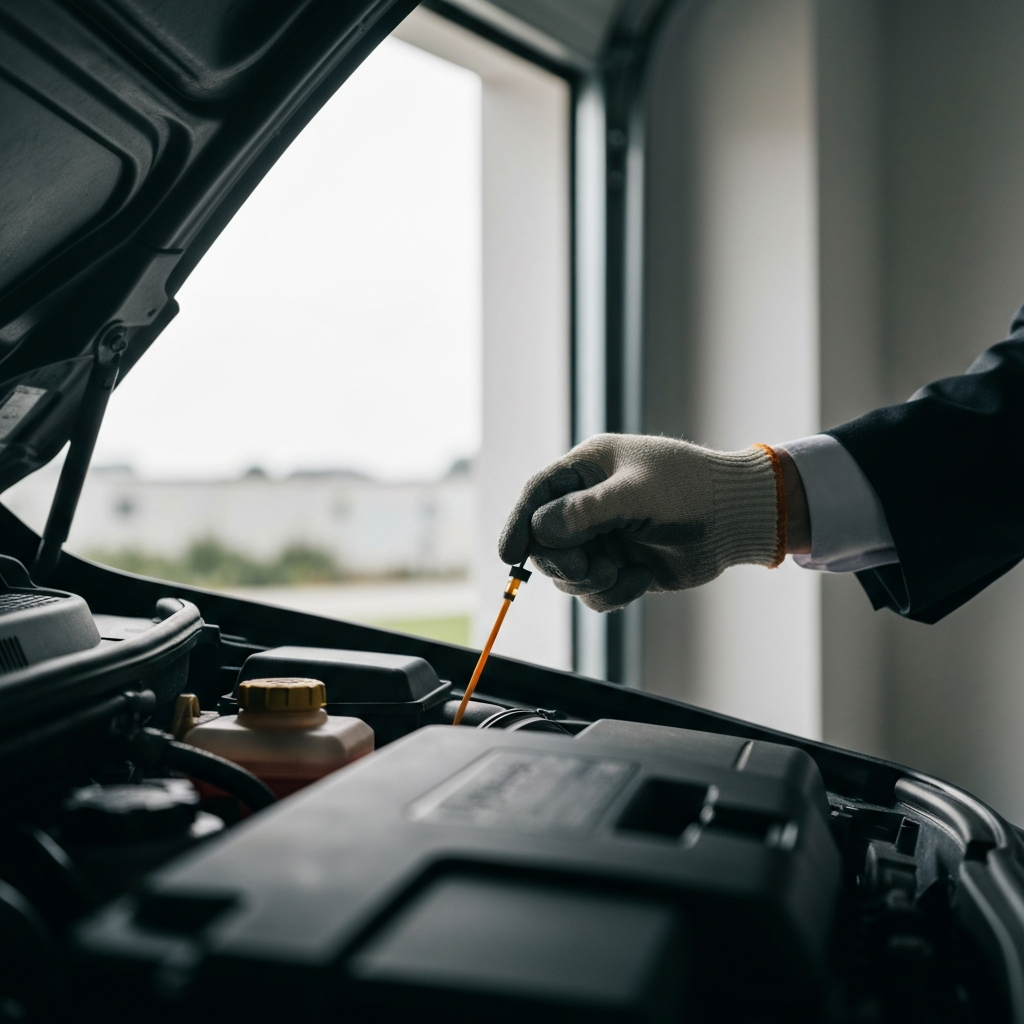
Low fluid levels are a common cause of many car problems. Check the engine oil, coolant, brake fluid, power steering fluid, and transmission fluid (if equipped with a dipstick). Refer to your owner's manual for the location of each dipstick and reservoir. Examine the fluid levels and their condition. Low oil can cause engine damage, low coolant can lead to overheating, and low brake fluid can compromise braking performance. Pay close attention to the color and consistency of the fluids. Milky or frothy oil could indicate a head gasket leak, while dark or gritty transmission fluid suggests it needs changing. If you find any fluids are low, top them up to the correct level and monitor for any leaks.
Step 3: Inspect the Tires
Examine Tire Condition and Pressure
Tires are often overlooked, but they can contribute to a variety of issues, including poor handling, reduced fuel economy, and unusual noises. Check the tire pressure using a tire pressure gauge and inflate them to the recommended pressure listed on the sticker inside the driver's side door jamb or in your owner's manual. Uneven tire wear can indicate alignment issues or suspension problems. Inspect the tires for cuts, bulges, or embedded objects. Also, check the tire tread depth using the penny test (insert a penny upside down into the tread; if you can see all of Lincoln's head, the tread is too low). If you find any issues with your tires, address them promptly, as they can compromise your safety.

Step 4: Listen for Unusual Sounds
Identify the Source of Noises
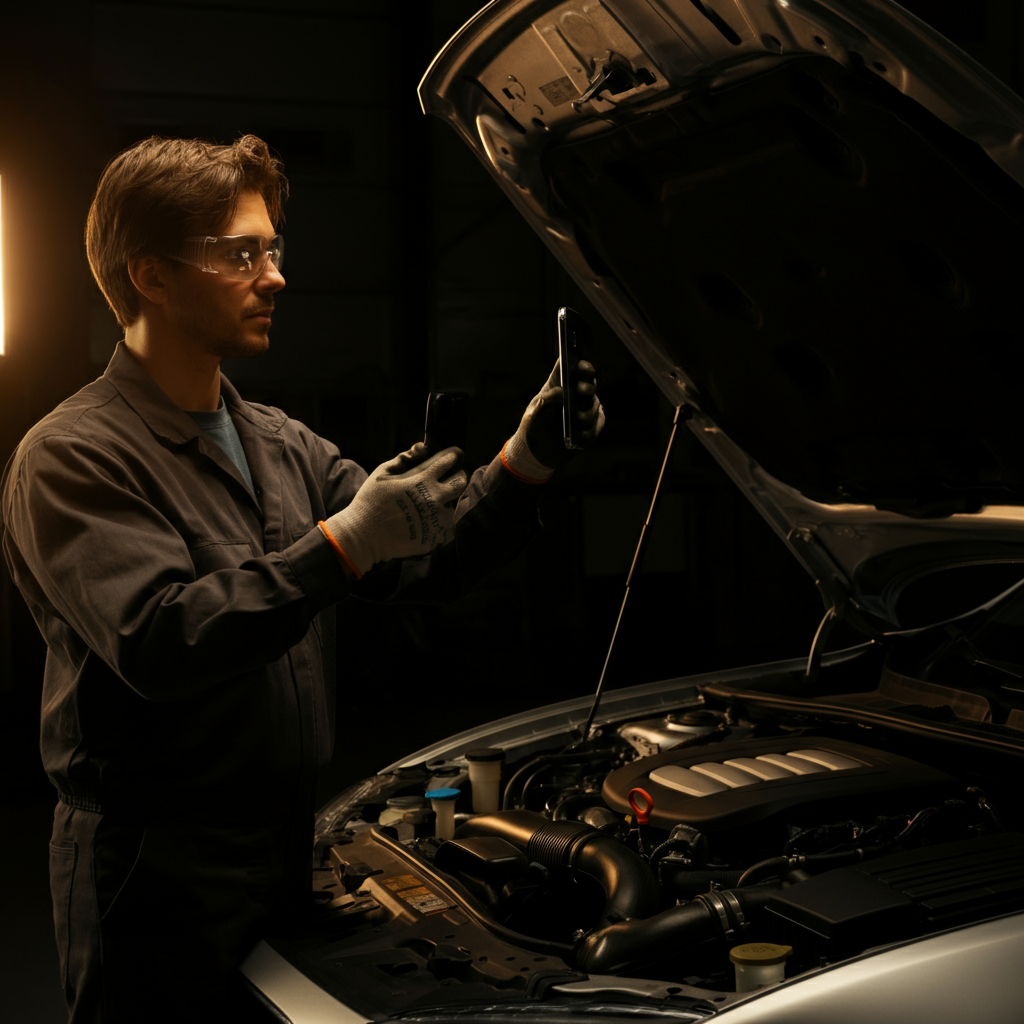
Cars communicate problems through sounds. Learning to distinguish these sounds can greatly aid in diagnosis. A squealing noise when braking could indicate worn brake pads. A grinding noise could suggest worn brake rotors or calipers. A knocking or tapping sound from the engine might point to internal engine issues. A hissing sound could indicate a vacuum leak. Try to pinpoint the location of the noise. Is it coming from the engine, the wheels, the exhaust, or somewhere else? Knowing the location and the conditions under which the noise occurs will help you narrow down the possible causes. If possible, record the sound with your phone for later reference or to show a mechanic if needed.
Step 5: Use an OBD-II Scanner
Read Diagnostic Trouble Codes
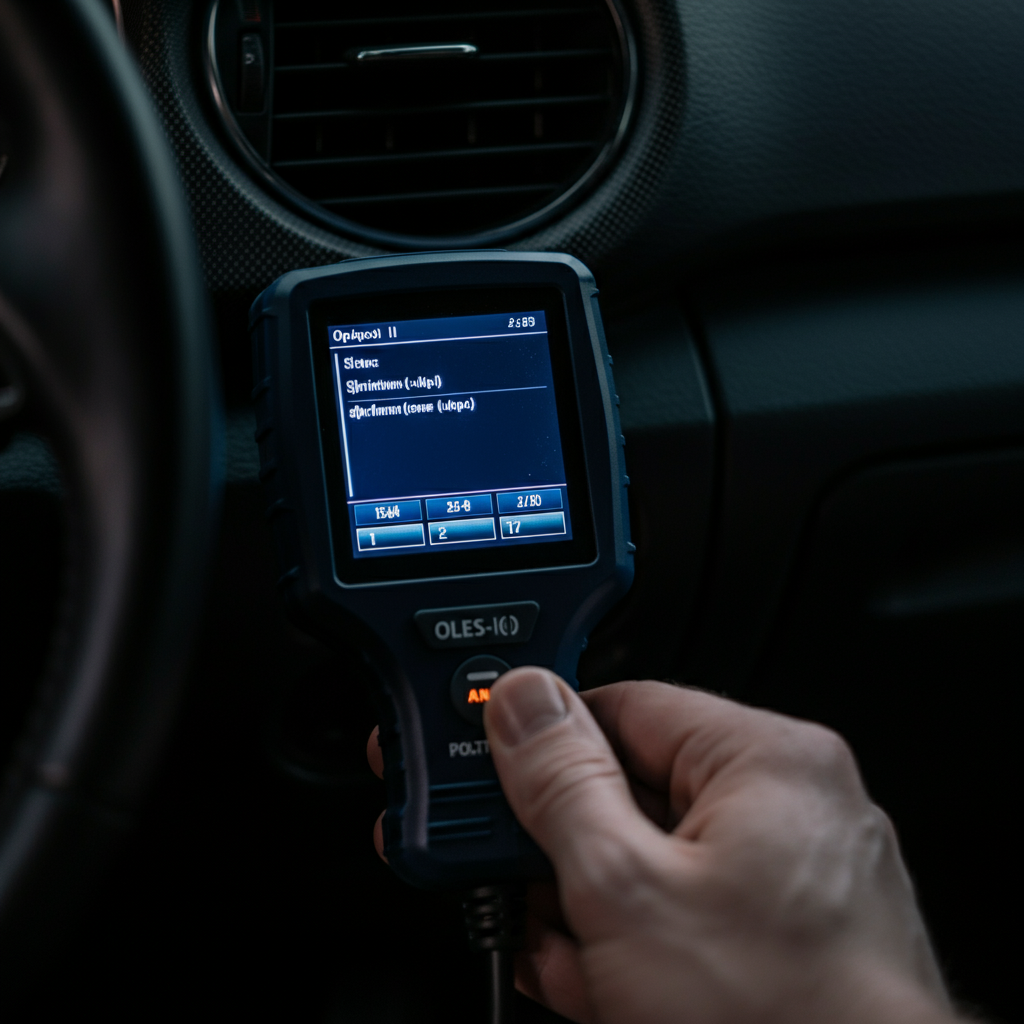
Modern cars have an onboard diagnostic (OBD-II) system that monitors various sensors and systems. When a problem is detected, the system stores a diagnostic trouble code (DTC). An OBD-II scanner is a tool that plugs into the OBD-II port (usually located under the dashboard) and reads these codes. You can purchase a basic OBD-II scanner for under $50. Once you have the code, you can look it up online or in a repair manual to get a description of the problem. Keep in mind that the code is just a starting point; it indicates the system where the problem exists, but further investigation is usually required to pinpoint the exact cause.
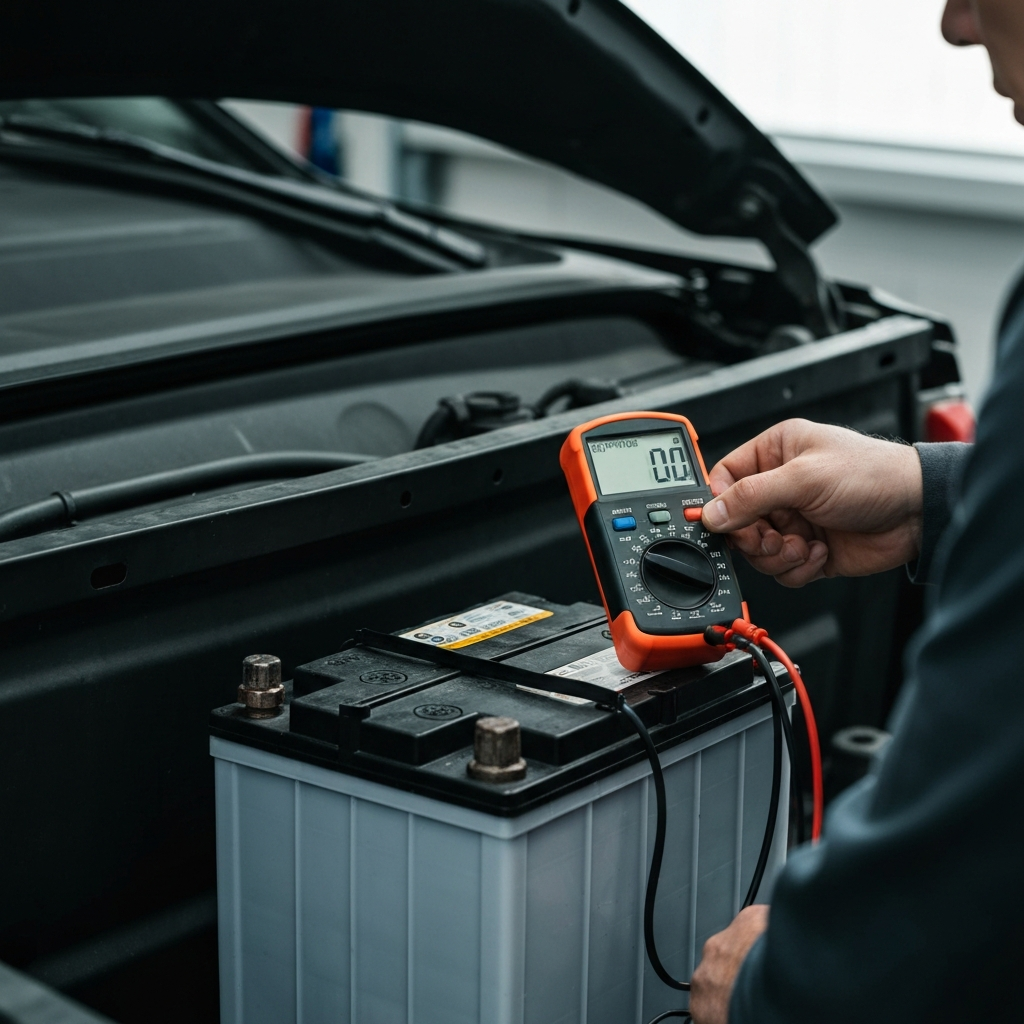
Step 6: Check the Battery and Charging System
Test Battery Voltage and Alternator Output
A weak or failing battery or charging system can cause a variety of problems, including difficulty starting, dim headlights, and electrical malfunctions. Use a multimeter to check the battery voltage. A fully charged battery should read around 12.6 volts. With the engine running, the alternator should be charging the battery at around 13.5 to 14.5 volts. If the voltage is significantly lower or higher, it could indicate a problem with the battery, alternator, or voltage regulator. Visually inspect the battery terminals for corrosion and clean them if necessary. Also, check the battery cables for damage or loose connections.
Safety Considerations
Working on your car can be dangerous if proper precautions are not taken. Always wear safety glasses to protect your eyes. Use jack stands when working under the car to prevent it from falling. Disconnect the negative battery cable before working on electrical components to prevent shocks. Never work on a hot engine. Allow it to cool down completely before attempting any repairs. If you are unsure about any procedure, consult a repair manual or seek professional assistance.
Tools or Materials Required
- OBD-II scanner
- Multimeter
- Tire pressure gauge
- Jack and jack stands
- Wrenches and sockets
- Screwdrivers
- Pliers
- Safety glasses
- Work gloves
- Owner's manual
- Repair manual (optional)
Common Mistakes to Avoid
One common mistake is jumping to conclusions without proper diagnosis. Don't replace parts based on guesswork. Another mistake is ignoring warning signs. Address problems as soon as they appear to prevent them from escalating. Failing to consult the owner's manual is another common mistake. It contains valuable information about your car's systems and maintenance requirements.
Conclusion
Diagnosing car trouble doesn't have to be a mystery. By following a systematic approach, observing carefully, and using the right tools, you can identify many common problems yourself. While some repairs are best left to the professionals, understanding your car's systems and learning basic troubleshooting techniques can save you time and money, and give you a greater sense of control over your vehicle's maintenance. Remember to prioritize safety and consult a mechanic when in doubt.