That unsettling rattle, the persistent squeal, or the mysterious puddle under your car – these are all signs that something isn't quite right. While taking your vehicle to a trusted mechanic is always the safest bet, understanding the basics of car diagnostics can save you time, money, and prevent further damage. This guide will equip you with the knowledge to perform preliminary checks and gather valuable information before you even pick up the phone to schedule a repair.
Think of this as becoming your car's first responder. You won't be performing complex repairs, but you'll be able to identify potential problem areas, describe the symptoms accurately to your mechanic, and even determine if a problem warrants immediate attention. By learning to listen, look, and smell, you can become a more informed and proactive car owner.
This guide emphasizes safety above all else. Never attempt any repairs beyond your skill level, and always prioritize your personal safety. Remember, the goal is to gather information, not to fix the problem yourself if it requires professional intervention.
Step 1: Listen Carefully
Your car's sounds are often the first indicators of trouble. Become familiar with the normal sounds your car makes – the hum of the engine, the whir of the tires on the road, and the click of the turn signals. Any deviation from these normal sounds should be noted. Pay attention to when the sounds occur – are they constant, or do they only happen when you accelerate, brake, or turn?
Specifically, listen for squealing (often indicative of brake issues or worn belts), knocking (potentially related to engine problems), hissing (possible vacuum leak or coolant issue), grinding (brake pads or wheel bearings), or clunking (suspension components). Try to pinpoint the location of the sound as accurately as possible; for example, "a squealing sound coming from the front passenger-side wheel when braking". This detail will be invaluable to your mechanic.
Step 2: Check Your Fluid Levels
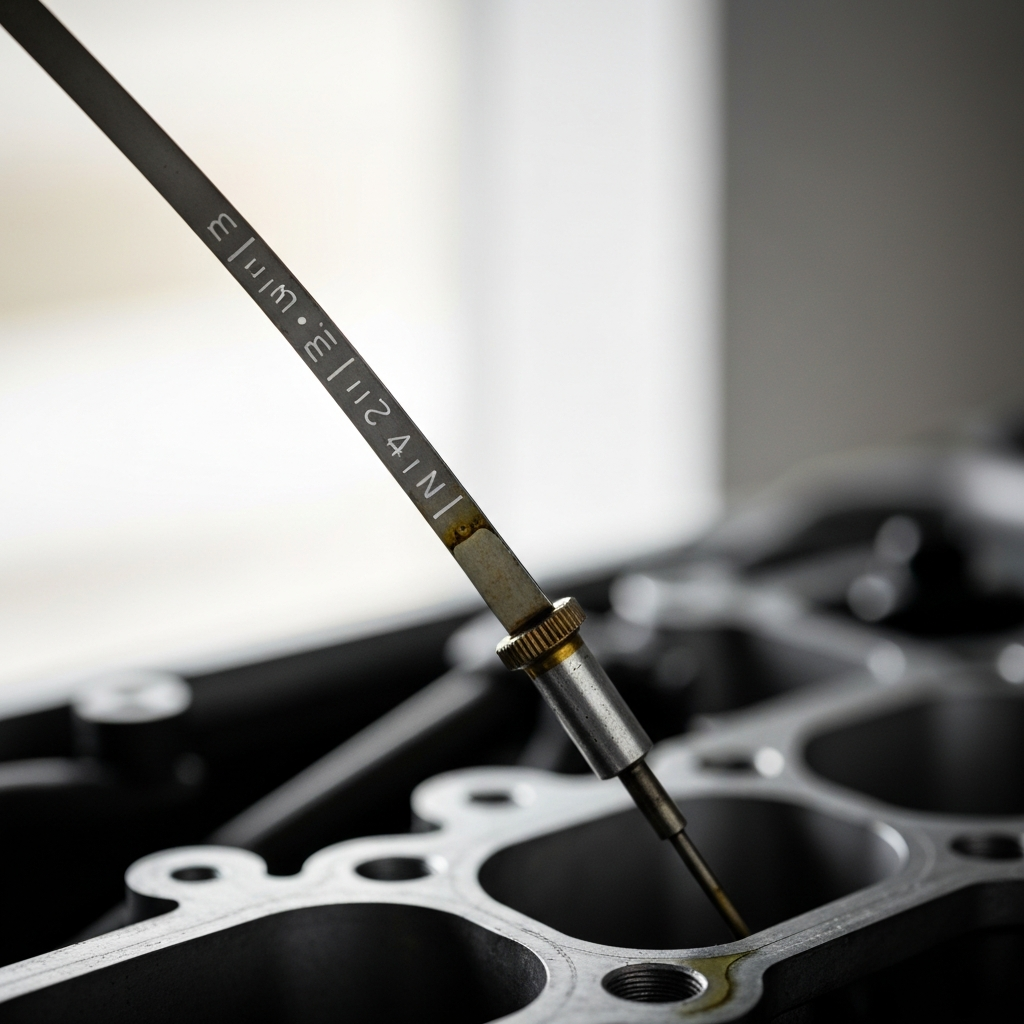
Regularly checking your car's fluid levels is crucial for maintaining its performance and preventing serious damage. Low fluid levels can indicate leaks or excessive consumption, both of which require further investigation. The essential fluids to check are engine oil, coolant, brake fluid, power steering fluid, and transmission fluid (if your vehicle has a dipstick for it).
Refer to your owner's manual for the correct procedure and recommended fluid levels. When checking oil, ensure the engine is cool. For coolant, check the reservoir level, not the radiator cap when the engine is hot. Be cautious when handling brake fluid, as it can damage painted surfaces. Note the color and consistency of each fluid. Milky oil can indicate a head gasket leak, while dark or gritty transmission fluid suggests it needs changing.
Step 3: Inspect Your Tires
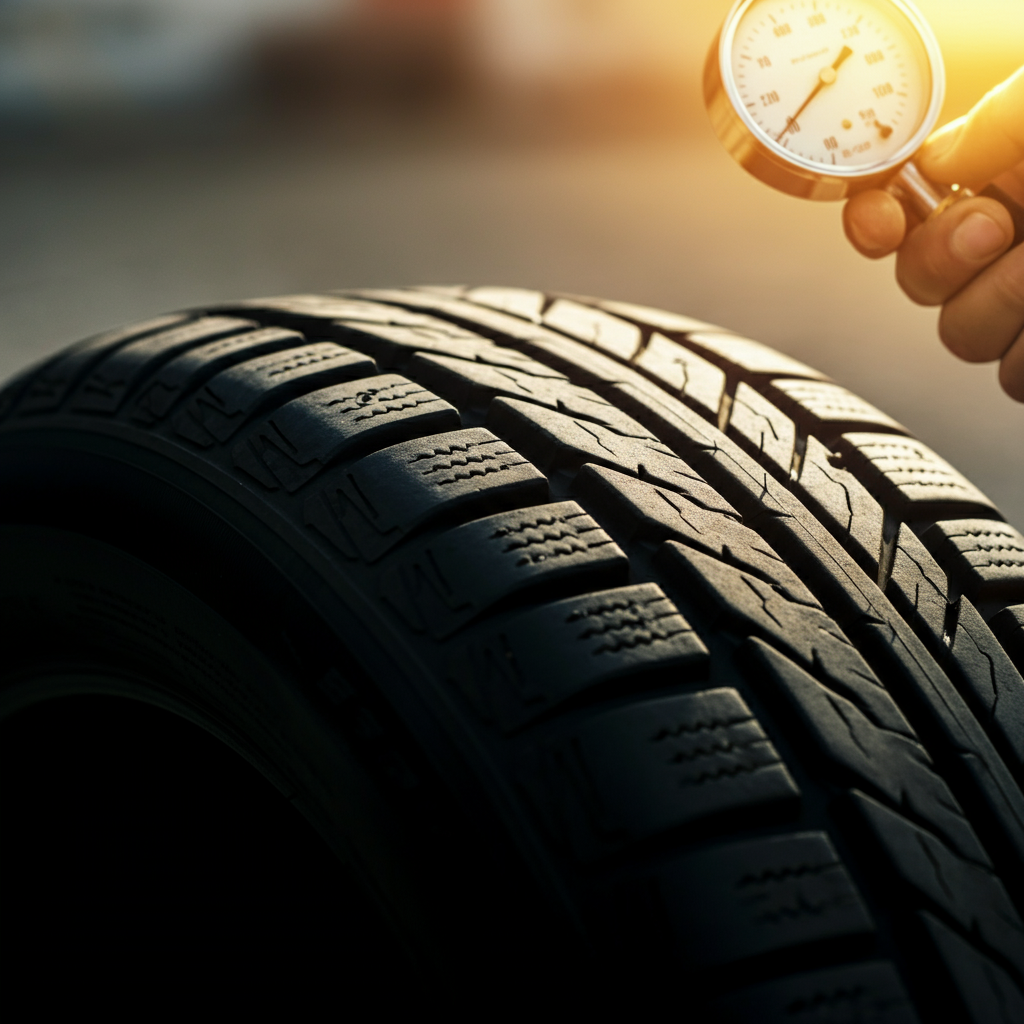
Your tires are your car's only contact with the road, so maintaining them is paramount for safety and performance. Check the tire pressure regularly using a reliable tire pressure gauge. Ensure the pressure matches the manufacturer's recommendations, which are typically found on a sticker inside the driver's side door jamb or in your owner's manual. Uneven tire wear is a telltale sign of alignment issues, suspension problems, or improper inflation.
Inspect the tires for any signs of damage, such as cuts, bulges, or embedded objects. Also, check the tread depth using a tire tread depth gauge or the "penny test" (insert a penny upside down into the tread groove; if you can see all of Lincoln's head, the tread is worn below the legal limit). Rotating your tires regularly helps ensure even wear and extends their lifespan.
Step 4: Look for Leaks
Puddles under your car are never a good sign. Identifying the color and location of the leak can help you narrow down the potential source. Oil leaks are typically brown or black and may originate from the engine or transmission. Coolant leaks are often green, orange, or pink. Brake fluid is usually clear to amber and has a distinct odor. Gasoline leaks smell strongly of fuel and can be very dangerous. Water is usually condensation from the air conditioning system and is generally not a cause for concern.
Place a piece of cardboard under your car overnight to collect any drips. This will make it easier to see the color and location of the leak. If you suspect a fuel leak, do not start the engine and contact a professional immediately. For other leaks, note the color, consistency, and location, and share this information with your mechanic.

Step 5: Check Your Lights
Ensuring all your lights are working properly is essential for safety, especially at night and in inclement weather. Regularly check your headlights (high and low beams), taillights, brake lights, turn signals, and hazard lights. Have someone help you check the brake lights while you press the brake pedal. A burned-out bulb is often a simple fix, but it's important to identify and address it promptly.
If a bulb is frequently burning out, it could indicate a problem with the electrical system. Also, check the lenses of your lights for cracks or damage, as this can reduce their effectiveness. Some modern vehicles have more complex lighting systems, such as LED headlights, which may require professional repair if they fail.

Step 6: Investigate Unusual Smells
Your car can communicate problems through unusual smells as well as sounds. A burning smell could indicate overheated brakes, an electrical short, or burning oil. A sweet smell could be a coolant leak. A rotten egg smell is often a sign of a failing catalytic converter. A musty smell in the cabin could indicate mold or mildew in the air conditioning system. If you smell gasoline, stop driving immediately and have the vehicle inspected.
Try to pinpoint the source of the smell as accurately as possible. Is it coming from the engine bay, the exhaust, or the interior of the car? This information will help your mechanic diagnose the problem more efficiently.

Tools or Materials Required
- Tire pressure gauge
- Tire tread depth gauge (or a penny)
- Funnel
- Clean rags
- Cardboard or drop cloth
- Flashlight
- Gloves
- Owner's manual
Safety Considerations
- Always work in a well-ventilated area.
- Wear safety glasses to protect your eyes.
- Never work under a car supported only by a jack; use jack stands.
- Be careful when handling hot engine components.
- Dispose of used fluids properly.
Common Mistakes to Avoid
- Overfilling fluids.
- Ignoring warning lights.
- Attempting repairs beyond your skill level.
- Neglecting regular maintenance.
FAQ Section
Q: What if I can't identify the source of the problem?
A: That's perfectly okay! The goal of this guide is to help you gather information. If you're unsure, describe the symptoms as accurately as possible to your mechanic.
Q: How often should I check my fluid levels?
A: Check your oil and coolant levels at least once a month. Other fluids can be checked less frequently, as recommended in your owner's manual.
Q: Is it safe to drive with a warning light on?
A: It depends on the warning light. Some lights, such as the low fuel light, are less urgent. However, others, such as the oil pressure light or the check engine light, indicate a potentially serious problem and should be addressed promptly.