Car trouble can be incredibly frustrating, especially when you're unsure of the cause. Mechanics can be expensive, and sometimes you just want to understand what's going on under the hood. Fortunately, with a systematic approach and a little knowledge, you can diagnose many common car problems yourself. This guide will walk you through a process of observation, investigation, and deduction that will empower you to identify the source of your car's woes and decide on the best course of action.
We'll cover everything from using your senses to identify potential issues to interpreting dashboard warning lights and performing basic tests. Remember, safety is paramount. If you're not comfortable working on your car, it's always best to consult a qualified mechanic. However, even a basic understanding of car diagnostics can save you time and money.
Let's get started on your journey to becoming a car troubleshooting expert!
Step 1: Gather Information and Observe
Listen, Look, and Feel
Before you even pop the hood, take a moment to gather as much information as possible. When did the problem start? What were you doing when it occurred? What does it sound like, look like, and feel like? Pay attention to any unusual noises (squealing, grinding, knocking), smells (burning rubber, fuel), or vibrations. Note the conditions under which the problem appears (e.g., only when the engine is cold, only when braking). The more details you collect, the easier it will be to pinpoint the source of the trouble. Don't dismiss anything as insignificant; even a small detail can be a crucial clue.

Step 2: Check the Dashboard Warning Lights
Decoding the Signals
Dashboard warning lights are your car's way of communicating potential problems. While some lights, like the low fuel light, are straightforward, others, like the check engine light, can indicate a range of issues. Don't ignore any warning lights! The check engine light, for example, could signal anything from a loose gas cap to a serious engine malfunction. Consult your owner's manual to understand the meaning of each light. Keep in mind that some warning lights require immediate attention, while others may be less urgent. A flashing check engine light, for instance, often indicates a more severe problem than a steady light.

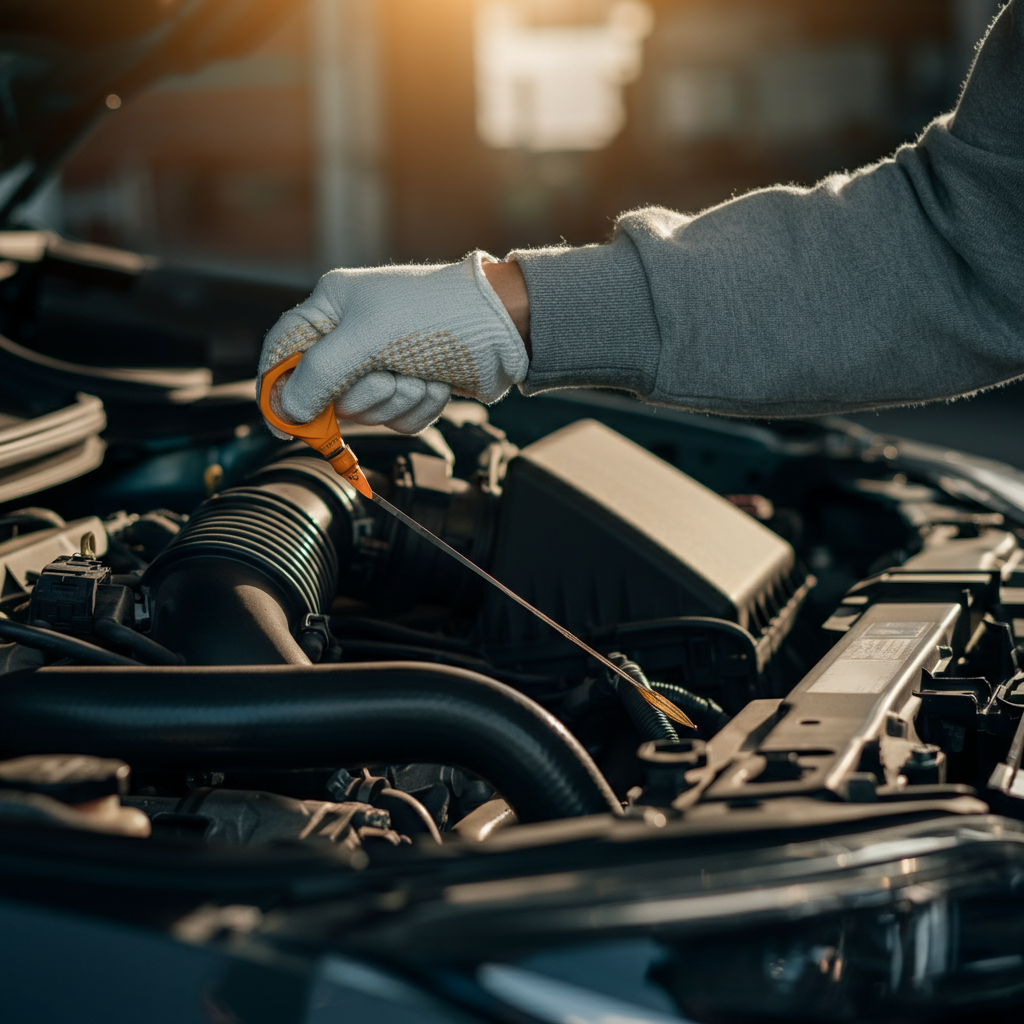
Step 3: Check Fluid Levels
Essential for Car Health
Low fluid levels can cause a variety of problems. Check your engine oil, coolant, brake fluid, power steering fluid, and transmission fluid. Consult your owner's manual for the location of each reservoir and the proper way to check the fluid level. Always use the correct type of fluid when topping up. For example, using the wrong type of transmission fluid can cause serious damage. Look for leaks or signs of contamination around the reservoirs. Low fluid levels can indicate a leak somewhere in the system, which needs to be addressed promptly.
Step 4: Inspect Belts and Hoses
Visual Inspection for Wear and Tear
Belts and hoses are critical components that keep your car running smoothly. Inspect them for cracks, fraying, swelling, or leaks. A worn belt can slip or break, causing the engine to overheat or the power steering to fail. A leaking hose can lead to fluid loss and potential engine damage. Pay close attention to the condition of the belts and hoses, especially those that are exposed to heat and stress. If you notice any signs of wear or damage, replace the affected component as soon as possible. Don't forget to check the tension of the belts as well, as loose belts can also cause problems.

Step 5: Use an OBD-II Scanner (Optional)
Reading Trouble Codes
An OBD-II scanner is a valuable tool for diagnosing car problems, especially those that trigger the check engine light. This device plugs into your car's OBD-II port (usually located under the dashboard) and reads diagnostic trouble codes (DTCs) stored in the car's computer. These codes can provide valuable clues about the nature of the problem. You can purchase an OBD-II scanner online or at most auto parts stores. Be aware that the scanner only provides a code, it's up to you to interpret it correctly. Many codes have multiple potential causes, so further investigation may be needed.

Step 6: Conduct a Basic Spark Test (If Applicable)
Checking for Ignition
If your engine is cranking but not starting, a lack of spark could be the culprit. A simple spark test can help you determine if the ignition system is functioning properly. Disconnect a spark plug wire from the spark plug (use insulated pliers!), insert a screwdriver into the boot, and hold the screwdriver shaft close to a grounded metal surface while someone cranks the engine. A healthy spark will produce a strong blue or white arc. If there's no spark or a weak, yellow spark, there may be a problem with the ignition coil, distributor (if applicable), or other components of the ignition system. Remember to follow all safety precautions when working with the ignition system.

Common Mistakes to Avoid
- Ignoring warning lights: As mentioned before, these are important indicators.
- Using the wrong fluids: Always consult your owner's manual.
- Failing to disconnect the battery: When working on electrical components.
- Not using safety precautions: Wear gloves, eye protection, and work in a well-ventilated area.
- Replacing parts without proper diagnosis: This can be a costly mistake.
Safety Considerations
- Always disconnect the negative battery terminal before working on electrical components.
- Wear safety glasses and gloves to protect yourself from fluids and sharp objects.
- Work in a well-ventilated area, especially when dealing with fuels or solvents.
- Use jack stands when working under the car. Never rely on the jack alone.
FAQ Section
- Q: My check engine light is on, but the car seems to be running fine. Should I still be concerned?
- A: Yes. While the car may seem to be running okay, the check engine light indicates that there's a problem that needs to be addressed. It's best to get it checked out by a mechanic or use an OBD-II scanner to diagnose the issue.
- Q: How often should I check my fluid levels?
- A: It's a good idea to check your fluid levels at least once a month, or more frequently if you notice any leaks.
- Q: Can I diagnose every car problem myself?
- A: Not necessarily. Some problems require specialized tools and knowledge. However, with a systematic approach, you can diagnose many common issues and potentially save yourself time and money.
Conclusion
Diagnosing car trouble can seem daunting, but by following these steps, you can become more confident in your ability to identify and address common problems. Remember to gather information, observe carefully, and use the available tools to your advantage. Safety should always be your top priority, and if you're ever unsure about something, don't hesitate to consult a qualified mechanic. With a little practice and patience, you'll be well on your way to diagnosing car trouble like a pro!