The sinking feeling when your car starts making a strange noise or the check engine light illuminates can be daunting. Immediately thinking about expensive mechanic bills is a natural reaction, but what if you could diagnose many common car problems yourself? With a little knowledge and the right approach, you can save money, time, and gain a better understanding of your vehicle. This guide will provide you with the essential steps and techniques to become your own car detective.
Diagnosing car problems isn't about becoming a master mechanic overnight. It's about learning to observe, listen, and logically deduce the potential causes of issues. By systematically investigating the symptoms, you can often pinpoint the problem or at least narrow it down significantly before seeking professional help. This not only saves you money but also empowers you to communicate more effectively with mechanics, ensuring you get the right repairs.
This guide will cover the fundamental steps of car problem diagnosis, from gathering information to performing basic inspections. We'll also discuss essential tools, safety precautions, and common mistakes to avoid. Get ready to empower yourself with the knowledge to tackle car troubles head-on!
Step 1: Gather Information and Document Symptoms
Before you even pop the hood, gather as much information as possible about the problem. Pay close attention to when the issue occurs, the conditions surrounding it, and any specific noises, smells, or visual cues. For example, does the problem happen only when the engine is cold, during acceleration, or after driving for a long period? Are there any unusual sounds like squealing, grinding, or knocking? Note down everything you observe, even if it seems insignificant; it could be a crucial piece of the puzzle.

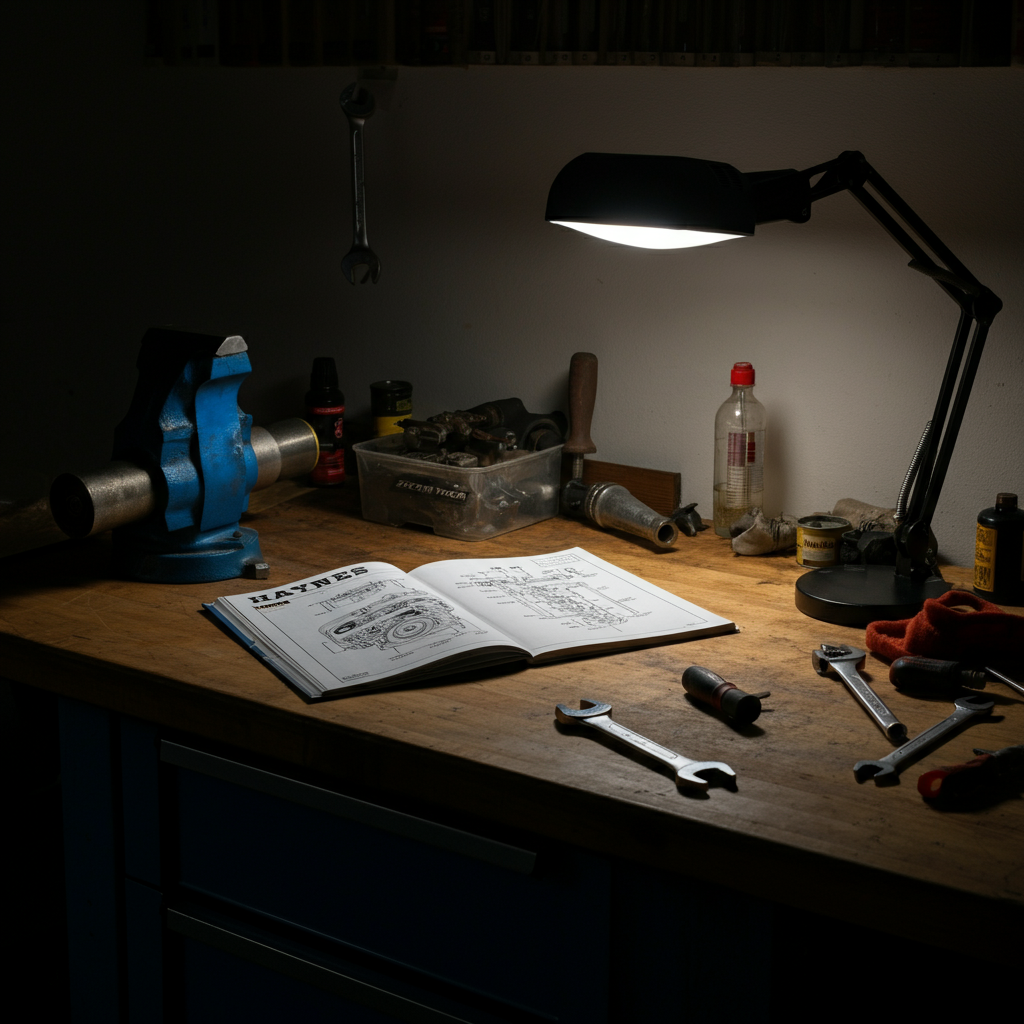
Step 2: Consult Your Owner's Manual and Repair Resources
Your car's owner's manual is a treasure trove of information. It outlines the recommended maintenance schedule, explains the functions of various components, and may even provide troubleshooting tips for common issues. Supplement this with a repair manual specific to your car's make and model (Haynes and Chilton are popular brands), which provides detailed diagrams, repair procedures, and torque specifications. Online forums and YouTube videos can also be valuable resources, but always verify the information with reliable sources before attempting any repairs. Jason Shackelford, an Auto Technician, says “YouTube tutorials from experts provide clearer car repair guidance than text."
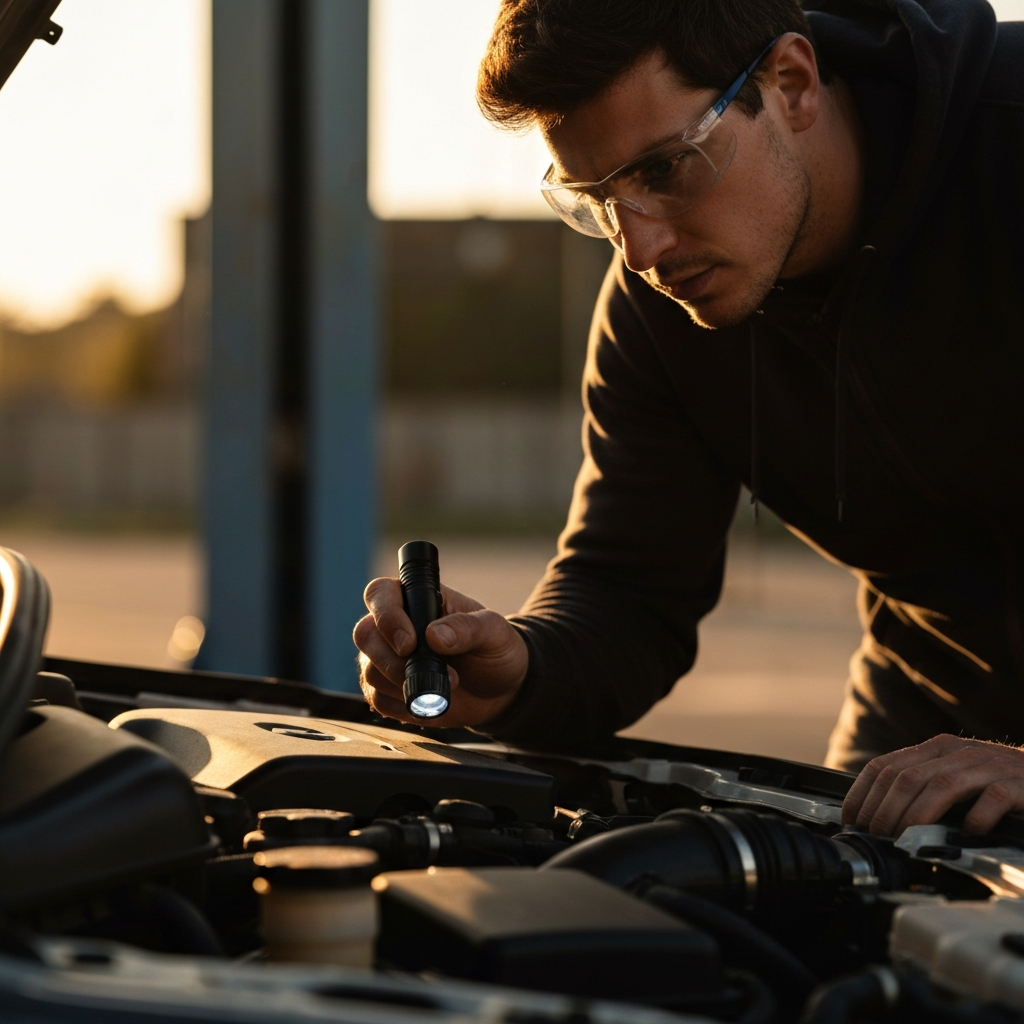
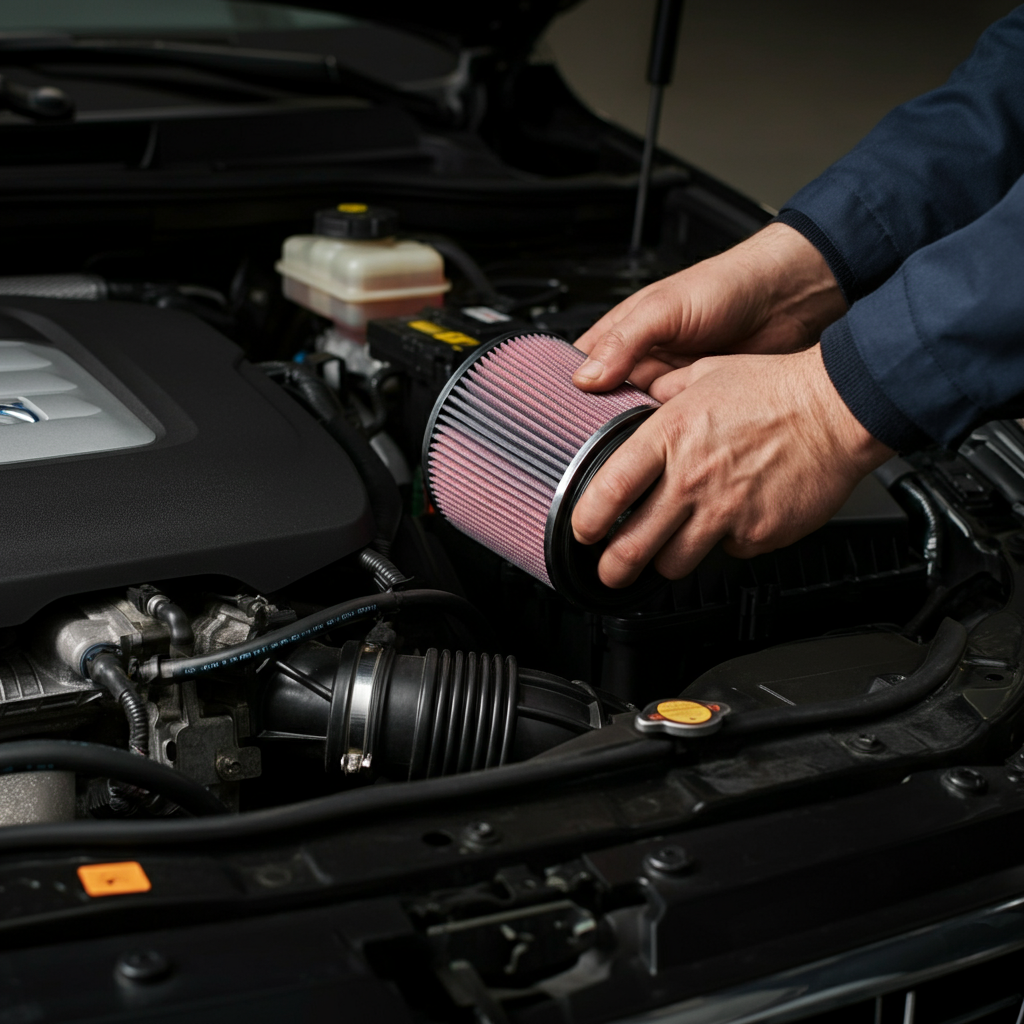
Step 3: Perform a Visual Inspection
A thorough visual inspection can often reveal obvious problems. Start by checking fluid levels, including engine oil, coolant, brake fluid, and power steering fluid. Look for leaks under the car or around engine components. Inspect belts and hoses for cracks, fraying, or swelling. Examine the tires for uneven wear or damage. Also, inspect your car for routine maintenance every 3,000 mi (4,800 km). If the cap or rotor look worn or cracked, they need to be replaced right away.
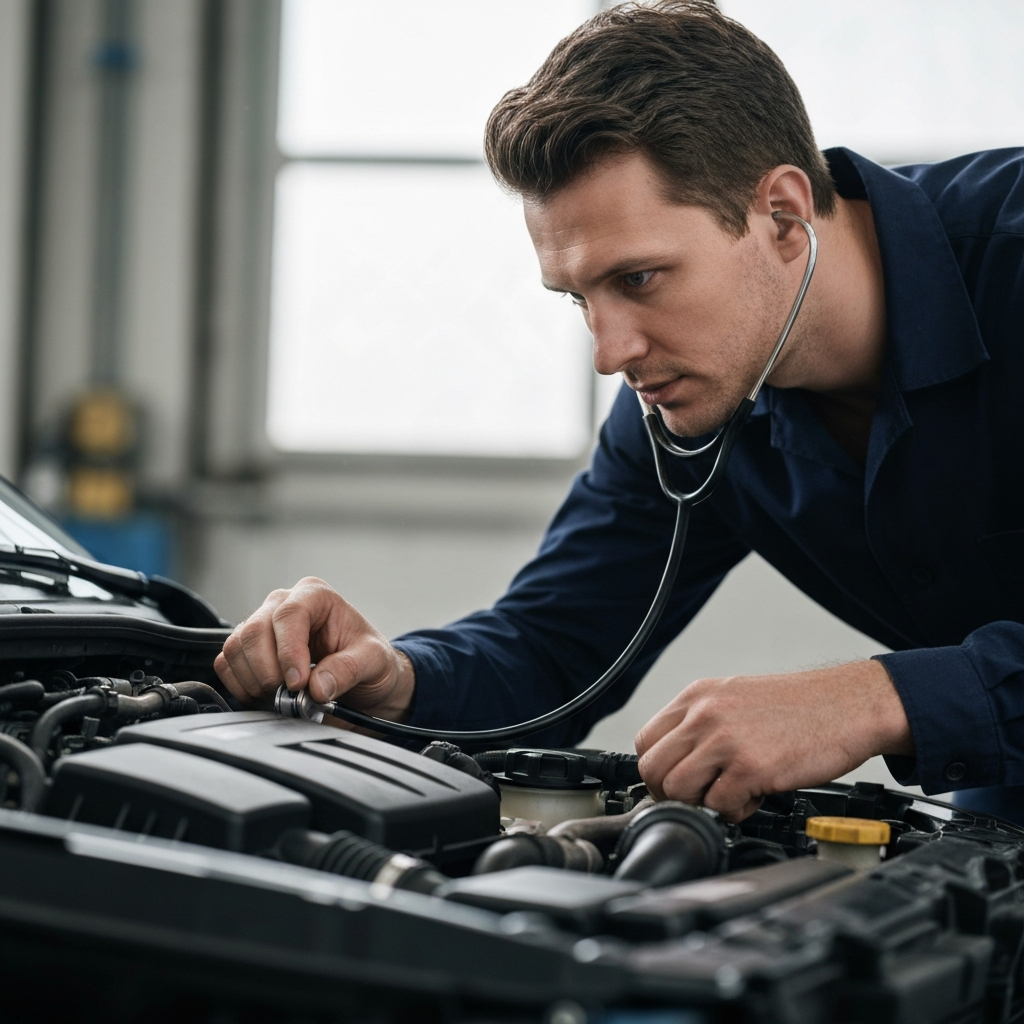
Step 4: Listen Carefully to Unusual Noises
Your car's sounds can tell you a lot about its health. Pay attention to any unusual noises, and try to pinpoint where they are coming from. A high-pitched squeal might indicate a worn belt, while a grinding noise could be a sign of brake problems. Rattling noises often signify loose components, and knocking sounds can be a sign of more serious engine trouble. Use a mechanic's stethoscope or a long screwdriver (with the handle to your ear) to help isolate the source of the sound. Grinding, squeaking, and rattling sounds are often indications that you need to repair your car. Also, check your car when you feel unusual vibrations.
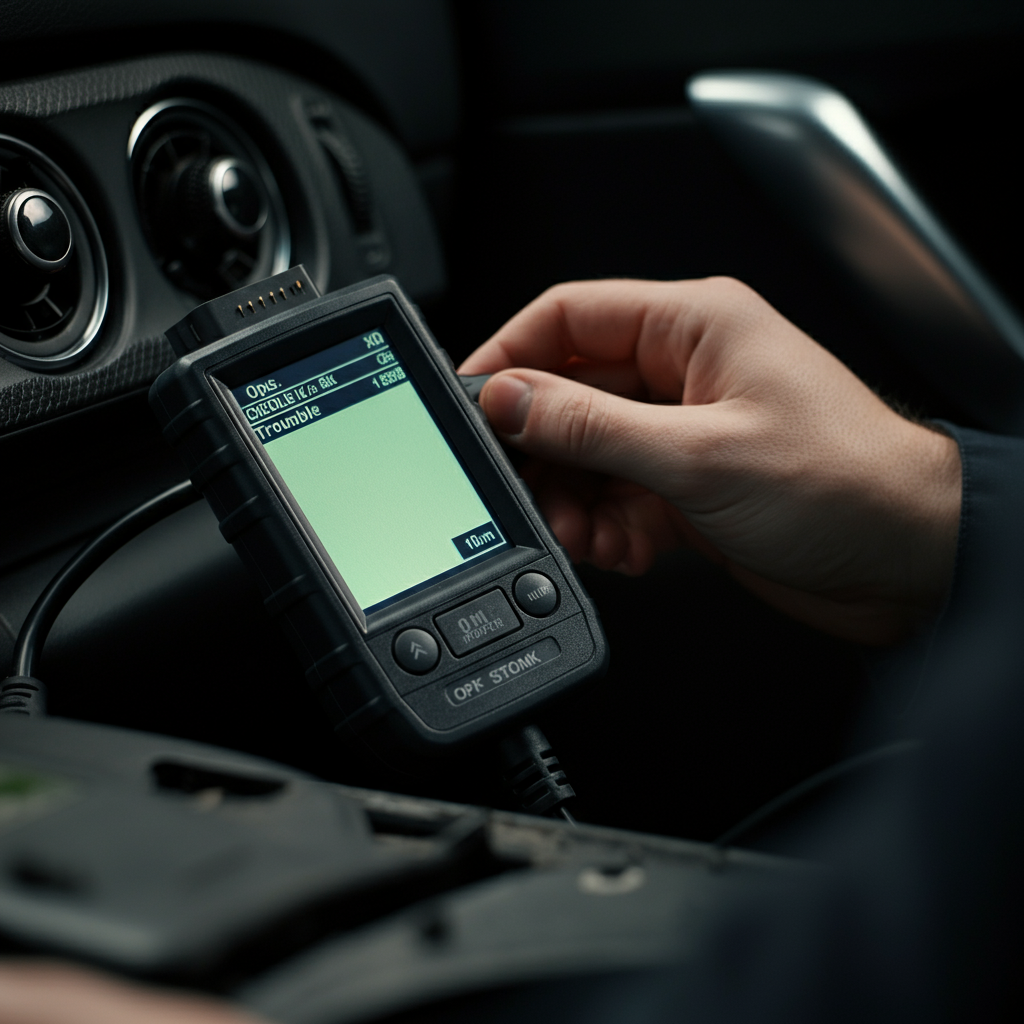
Step 5: Check the Check Engine Light (CEL)
The check engine light is your car's way of telling you something is wrong. While it doesn't pinpoint the exact problem, it provides a trouble code that can help you narrow down the possibilities. You can purchase an OBD II scanner to read the code yourself, or many auto parts stores will read it for free. Once you have the code, research its meaning online or in your repair manual to understand the potential causes and troubleshooting steps. The check engine light should not be taken lightly. If it comes on, inspect your car as soon as possible. Auto part store employees have these diagnostic readers and will even rent them to you. You can also buy your own online.
Step 6: Perform Basic Maintenance Checks and Replacements
Sometimes, the problem is simply due to neglected maintenance. Check and replace the air filter, fuel filter, and spark plugs according to your car's maintenance schedule. These are relatively inexpensive and easy to replace, and they can often resolve performance issues like poor fuel economy or rough idling. A basic toolkit and a workshop manual can get you far when it comes to the health of your car. Replace a worn distributor cap, for instance, to maintain the car’s electrical power. With a few basic tools, the fuel filter and air filter are also easy to swap out to ensure your car continues to run well.
Step 7: Test Drive and Re-evaluate
After performing any checks or repairs, take your car for a test drive. Pay attention to whether the problem has been resolved or if it's still present. If the issue persists, repeat the diagnostic steps and consider seeking professional help. Keep in mind what repair you need to make. If you’re changing a fuse, for instance, you will need to buy a new fuse. If you’re changing the oil, you need an oil pan.

Tools or Materials Required
- Basic toolkit (socket set, wrenches, screwdrivers, pliers)
- OBD II scanner
- Mechanic's stethoscope (optional)
- Repair manual specific to your car's make and model
- Flashlight
- Gloves
- Safety glasses
Safety Considerations
- Always wear safety glasses and gloves when working on your car.
- Disconnect the negative battery cable before working on any electrical components.
- Use jack stands when working under a car that is raised on a jack.
- Never work on a car that is running in an enclosed space due to the risk of carbon monoxide poisoning.
- Exercise care when working around hot car parts, including oil and cooling systems, to avoid scalding injuries.
Common Mistakes to Avoid
- Ignoring symptoms or delaying diagnosis.
- Attempting repairs without proper knowledge or tools.
- Using generic parts instead of those specifically designed for your car.
- Over-tightening bolts or screws.
- Working in an unsafe environment.
Pro Tips
- Take pictures of your car parts so you know how to put them back. Make notes or take a picture with a camera or your phone before you remove them. Then, as you set them aside, keep them ordered the same way you removed them. Try marking the parts with a tag or something like nail polish to indicate alignment.
- Speak with professional car mechanics or other repair enthusiasts when you can. They can give you tips on how to fix various problems.
- Use your eyes. Besides your ears, which you can use to listen for signs that your car has an issue, your eyes are the most important diagnostic tool.
- Keep a maintenance record detailing the type of work done on the car, a description of what was done, and an indication of when the repair happened. Dealers and warranty providers often require maintenance records.
FAQ Section
Q: What do I do if I can't identify the problem?
A: If you've exhausted all your diagnostic efforts and still can't pinpoint the issue, it's best to seek professional help from a qualified mechanic. Provide them with all the information you've gathered, including the symptoms, conditions, and any troubleshooting steps you've already taken.
Q: Is it safe to drive a car with the check engine light on?
A: It depends on the nature of the problem. If the check engine light is flashing, it indicates a serious issue that could damage your engine, and you should avoid driving the car. If the light is on but not flashing, it's generally safe to drive for a short distance, but you should get it checked out as soon as possible. Use your car’s symptoms to diagnose your car. If your car lacks power, you know it is likely an issue with the electrical system, such as a dead battery or blown fuse.
Q: Where can I find reliable repair information?
A: Your car's owner's manual, repair manuals (Haynes, Chilton), reputable online forums dedicated to your car's make and model, and YouTube channels from experienced mechanics are good resources. Always cross-reference information from multiple sources to ensure accuracy.
Conclusion
Diagnosing car problems can seem intimidating, but with a systematic approach and the right resources, you can tackle many common issues yourself. Remember to gather information, consult your owner's manual, perform visual inspections, listen for unusual noises, check the check engine light, and perform basic maintenance checks. By following these steps, you'll not only save money but also gain a deeper understanding of your vehicle and become a more informed car owner. When in doubt, always consult a professional mechanic for complex or potentially dangerous repairs.