Modern cars are complex machines, but diagnosing common problems doesn't require a master mechanic. With a little knowledge, the right tools, and a systematic approach, you can often pinpoint the issue and save yourself time and money. This guide will walk you through the essential steps to effectively diagnose car problems, even if you're not a professional.
Remember, safety is paramount. Before working on any vehicle, ensure it's parked on a level surface, the parking brake is engaged, and the wheels are chocked. If you're unsure about any procedure, consult a qualified mechanic. This guide provides general information and should not be substituted for professional advice.
We'll cover everything from gathering information and performing visual inspections to interpreting warning lights and understanding basic diagnostic tools. Let's get started on your journey to becoming a more confident and capable car owner!
Step 1: Gather Information and Symptoms
Before you even pop the hood, the most crucial step is gathering information about the problem. Think like a detective: what were you doing when the problem occurred? What does it sound like, smell like, or feel like? Is it constant, intermittent, or only happening under specific conditions? Write down everything you can remember about the events leading up to the issue, as well as the symptoms themselves. The more information you have, the easier it will be to narrow down the potential causes. This includes the year, make, and model of the vehicle, as well as the engine type if you know it.

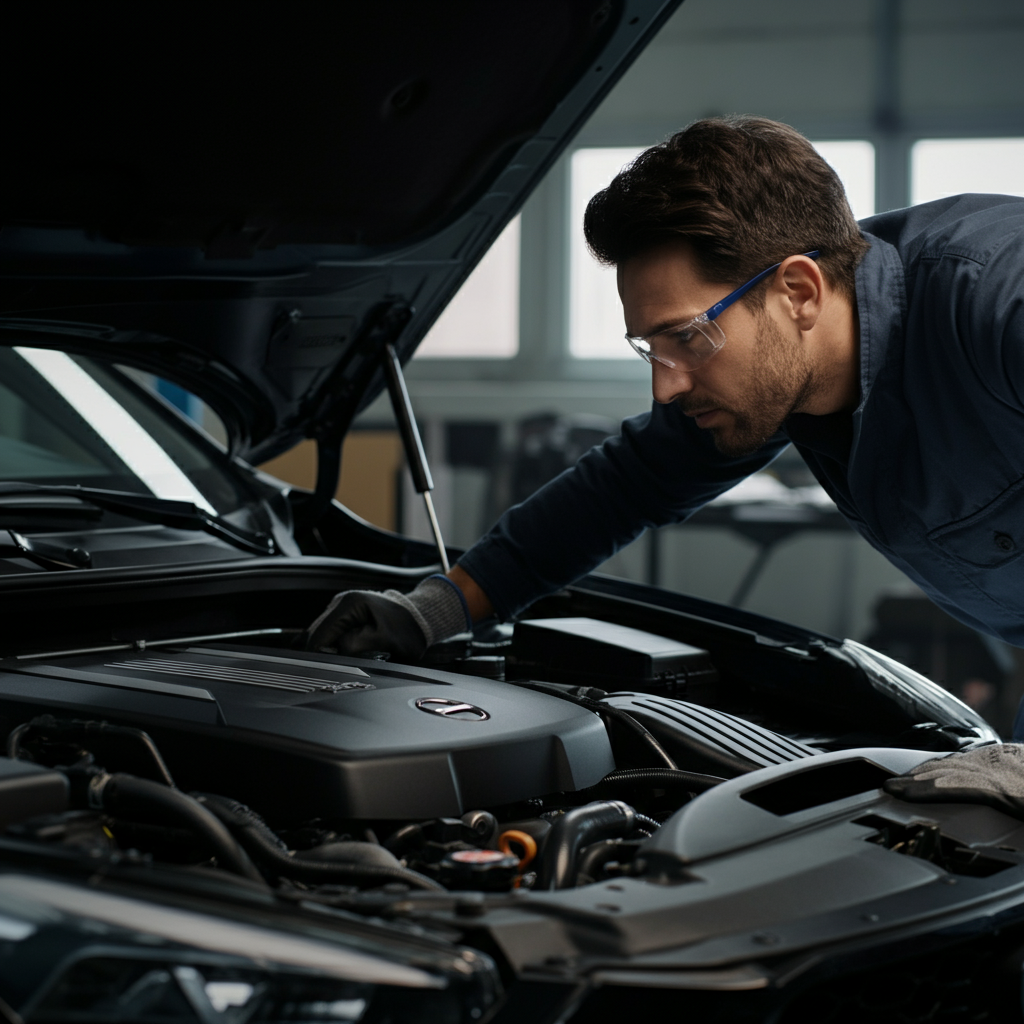
Step 2: Perform a Thorough Visual Inspection
Once you've gathered your information, it's time to get your hands dirty – visually, at least! Start with a walk-around inspection. Check for obvious signs of damage, such as leaks, broken parts, or worn tires. Pay close attention to the area where you suspect the problem is originating. For example, if you hear a squealing noise from the front, inspect the brake rotors and pads. If you smell burning oil, check for leaks around the engine. Don't forget to check fluid levels: engine oil, coolant, brake fluid, power steering fluid, and windshield washer fluid. Low fluid levels can often indicate a leak that's causing other problems.

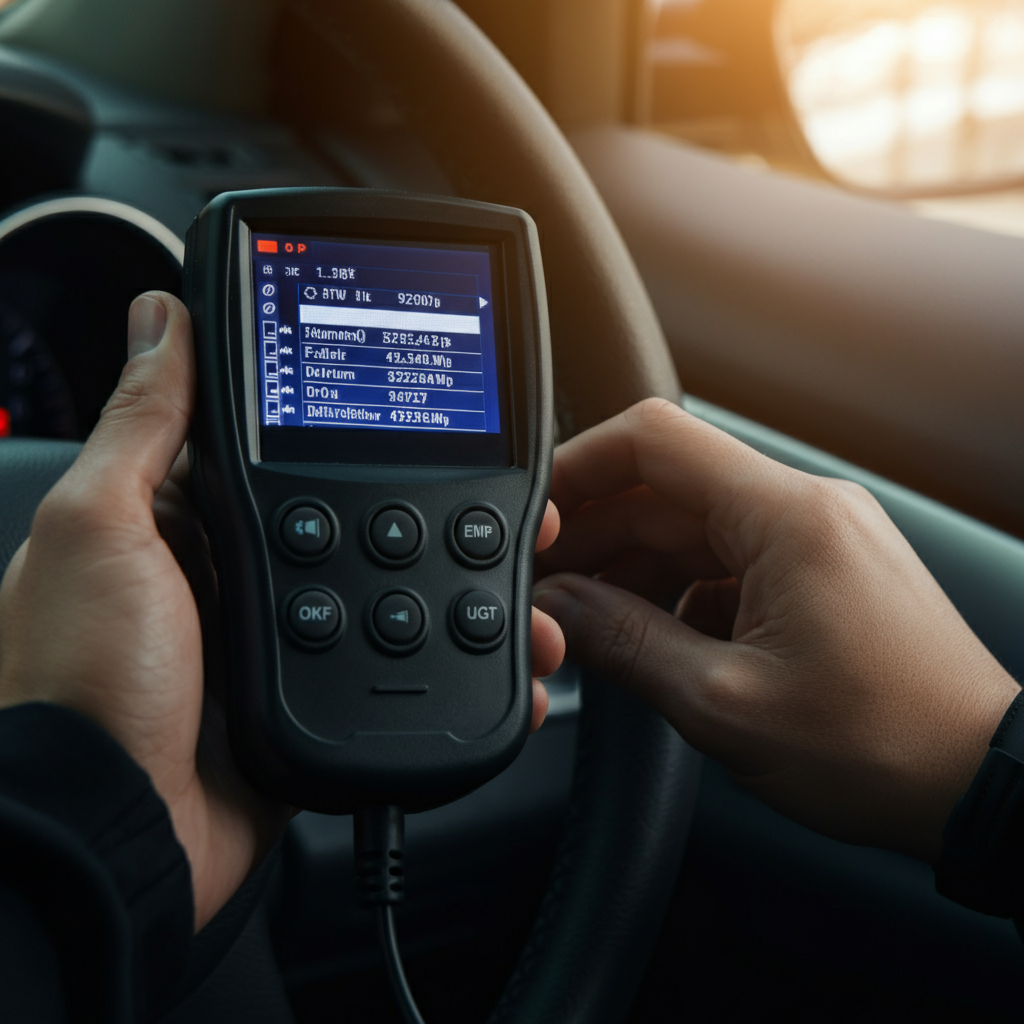
Step 3: Check for Warning Lights and Error Codes
Modern vehicles have a plethora of sensors that monitor various systems. When a problem is detected, a warning light will illuminate on the dashboard. The infamous "Check Engine" light can indicate anything from a loose gas cap to a serious engine problem. An OBD-II scanner is a valuable tool for reading these error codes. These scanners plug into the diagnostic port (usually located under the dashboard) and retrieve the stored codes. Record the codes and research their meaning using a reliable online database or repair manual. Be aware that a code only points to a potential problem area, not necessarily the specific component that needs replacement.
Step 4: Listen Carefully to the Sounds
Your ears can be a powerful diagnostic tool. Pay attention to any unusual noises coming from the engine, transmission, brakes, or suspension. Is there a squealing, grinding, knocking, hissing, or clicking sound? When does the noise occur – when starting the engine, accelerating, braking, or turning? Try to pinpoint the location of the noise. Describing the sound accurately is crucial. For example, a "squealing" sound from the engine bay could indicate a slipping belt, while a "grinding" sound from the brakes could indicate worn brake pads.
Step 5: Test Drive the Vehicle
If the problem only occurs while driving, a test drive is essential. Pay attention to how the vehicle handles, accelerates, brakes, and shifts. Does the engine hesitate or stall? Does the transmission shift smoothly? Does the steering feel loose or unresponsive? Are there any vibrations or unusual noises at certain speeds? Drive the vehicle under the conditions that cause the problem to occur, but do so safely and responsibly. Avoid aggressive driving or maneuvers that could further damage the vehicle.

Step 6: Consult Repair Manuals and Online Resources
Once you've gathered your information, performed a visual inspection, checked for error codes, listened to the sounds, and test-driven the vehicle, it's time to consult repair manuals and online resources. A repair manual specific to your vehicle's year, make, and model will provide detailed information about the various systems and components. Online resources such as YouTube, forums, and parts supplier websites can also be invaluable. Be sure to verify the information you find online with a reliable source, such as a repair manual or a trusted mechanic.

Step 7: Prioritize Your Suspects
Based on your research and observations, you should now have a list of potential causes. Prioritize these suspects based on the likelihood of occurrence, the ease of diagnosis, and the potential cost of repair. Start with the simplest and most common causes. For example, if your "Check Engine" light is on and the code indicates a misfire, start by checking the spark plugs and ignition coils before moving on to more complex problems like fuel injectors or valve issues.
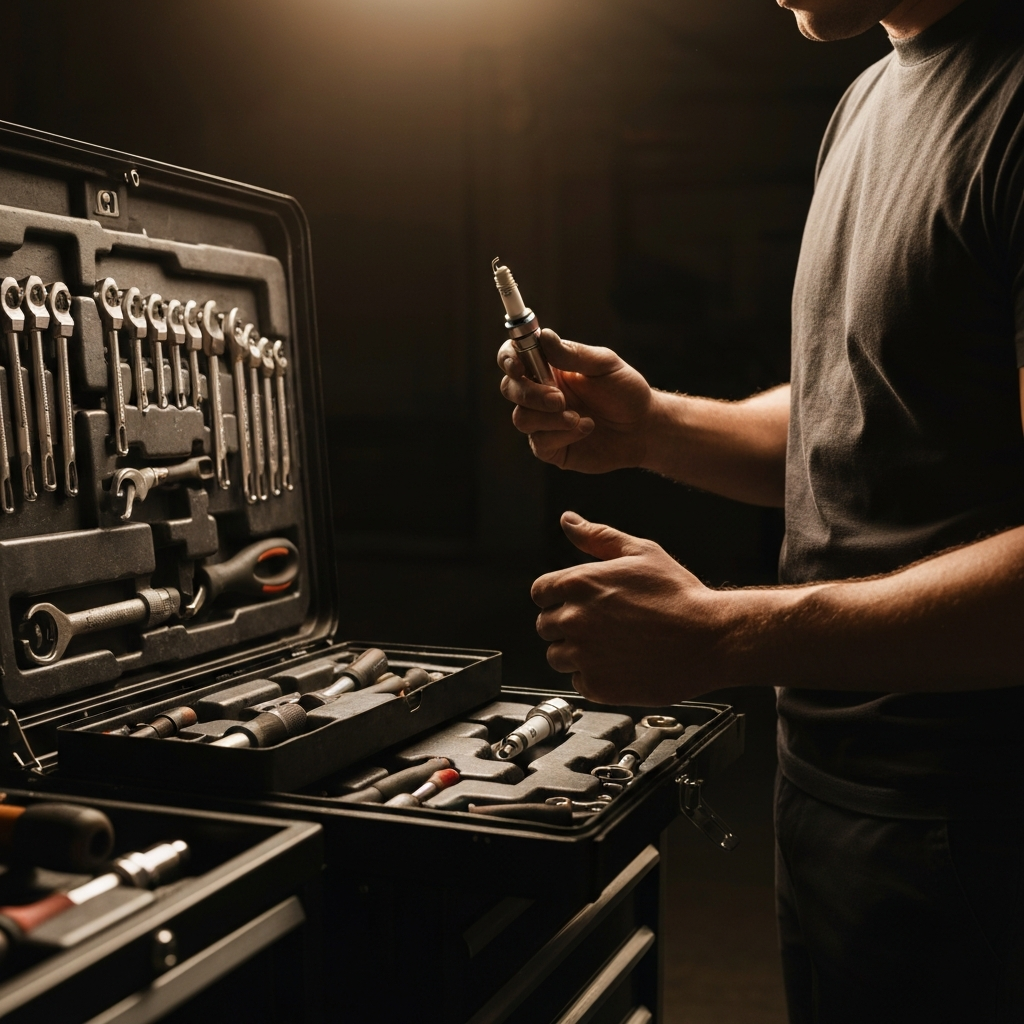
Tools or Materials Required
- OBD-II Scanner
- Basic Hand Tools (wrenches, sockets, screwdrivers)
- Multimeter
- Jack and Jack Stands
- Safety Glasses
- Work Gloves
- Repair Manual (specific to your vehicle)
Safety Considerations
- Always disconnect the negative battery terminal before working on the electrical system.
- Use jack stands to support the vehicle when it's raised. Never work under a vehicle supported only by a jack.
- Wear safety glasses to protect your eyes from flying debris.
- Work in a well-ventilated area, especially when dealing with flammable fluids.
- Consult a qualified mechanic if you're unsure about any procedure.
Conclusion
Diagnosing car problems can seem daunting, but by following these steps, you can significantly improve your chances of pinpointing the issue. Remember to gather information, perform a thorough visual inspection, check for warning lights, listen to the sounds, test drive the vehicle, and consult repair manuals and online resources. By approaching the problem systematically and prioritizing your suspects, you can save yourself time, money, and frustration. And, of course, don't hesitate to seek professional help when needed. Good luck, and happy wrenching!