Building a dune buggy is an exciting project that combines mechanical skill with a passion for off-road adventures. There's nothing quite like the feeling of cruising through the sand in a vehicle you built yourself. While it might seem daunting at first, with the right tools, knowledge, and a bit of elbow grease, you can transform a humble Volkswagen Beetle, or a purpose-built kit, into a thrilling machine ready for the dunes.
This guide will walk you through the entire process, from selecting the right materials and dismantling a donor vehicle to assembling the final product and ensuring it's safe and ready to ride. Whether you're an experienced mechanic or a beginner looking for a challenging project, this guide will provide you with the knowledge and resources you need to successfully build your own dune buggy. We'll cover everything from sourcing parts to making critical safety checks, ensuring your buggy is both fun and reliable.
Remember to always prioritize safety and double-check your work. Let's get started!
Step 1: Choosing Your Building Method
There are a few approaches you can take when building a dune buggy. The most common is to use a classic Volkswagen Beetle as a donor car, particularly the Type 1. Alternatively, you can purchase a dune buggy kit, or even build a custom chassis from scratch. Each method has its pros and cons, so it's important to carefully consider your skills, budget, and available time before making a decision. Using a Beetle provides readily available parts and a familiar platform, while a kit offers a streamlined building process. Building from scratch allows for ultimate customization but requires advanced fabrication skills.

Step 2: Sourcing a Volkswagen Beetle (If Applicable)
If you choose to use a Volkswagen Beetle as the base for your dune buggy, finding a suitable donor car is the next crucial step. The Type 1 Beetle, produced from the late 1930s to the early 2000s, is the ideal candidate due to its simple design and readily available parts. Look for a Beetle with a solid chassis and minimal rust, as this will save you significant time and effort in the long run. Even if the engine is not in perfect condition, many parts can be rebuilt or replaced relatively easily. Online marketplaces, local classifieds, and auto auctions are good places to start your search. Be prepared to inspect potential Beetles thoroughly before committing to a purchase.

Step 3: Disassembling the Beetle (If Applicable)
Once you have your Beetle, the real work begins. The first step is to completely strip the car down to its chassis. This involves removing the body, interior components, engine, and all other non-essential parts. Start by disconnecting the battery and draining all fluids, including fuel and brake fluid. Be sure to label all wires and hoses as you disconnect them to make reassembly easier. Use a combination of wrenches, sockets, and screwdrivers to remove the body panels, seats, and other components. A service manual for the Beetle will be invaluable during this process. Take your time and be methodical to avoid damaging any parts that you plan to reuse.
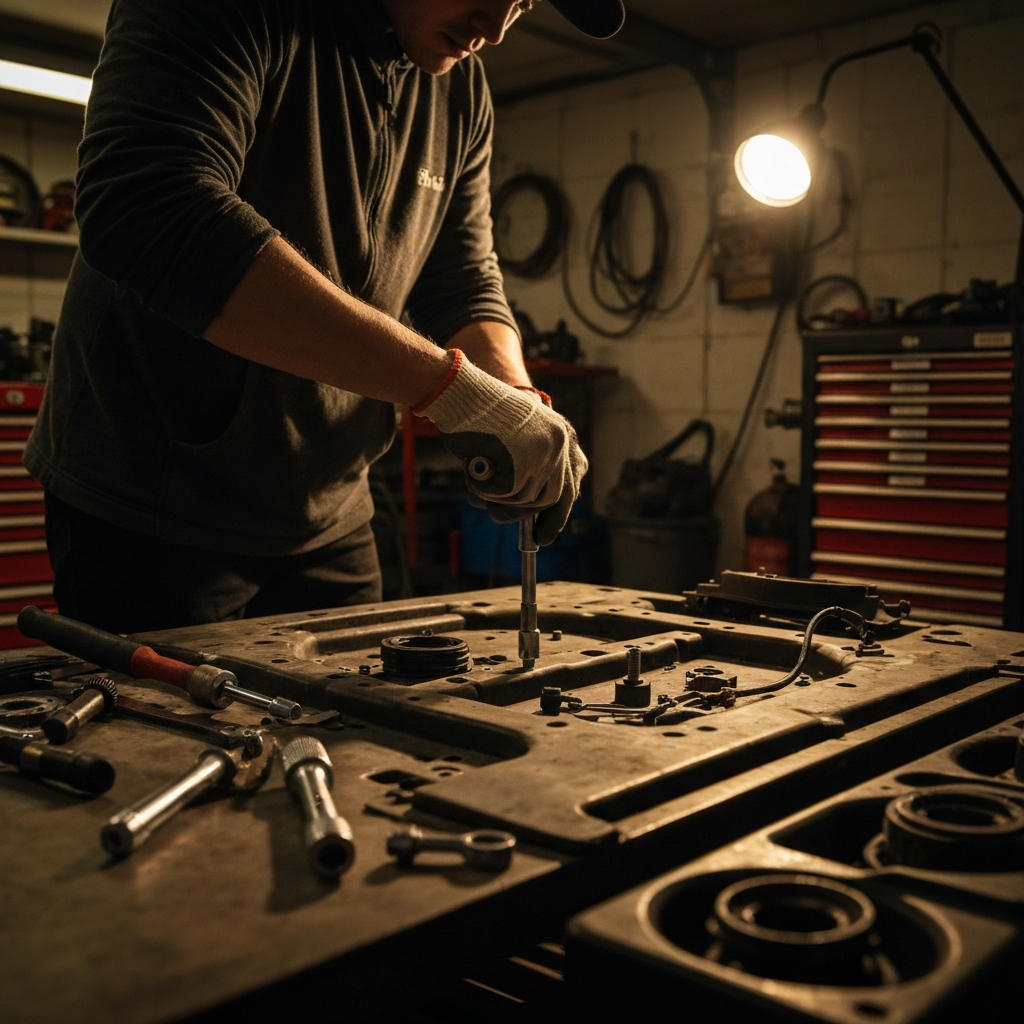
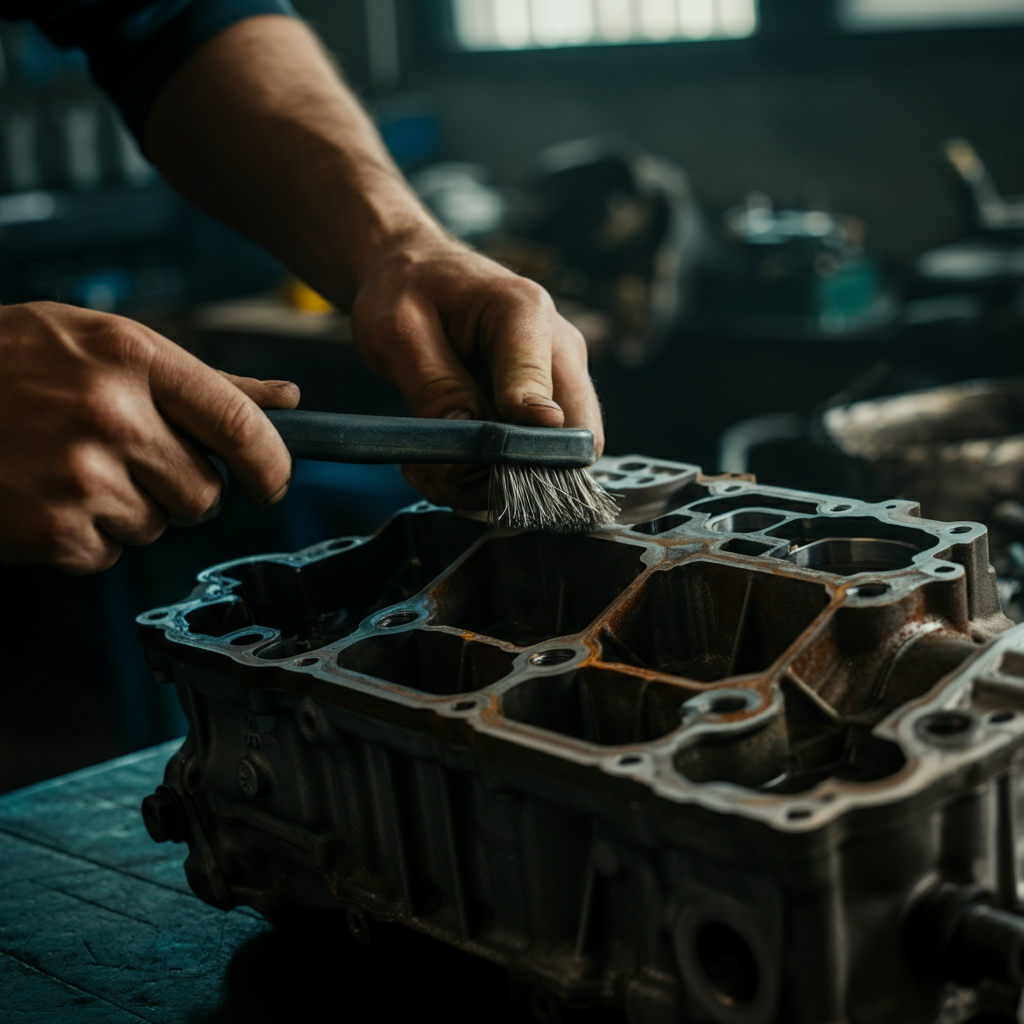
Step 4: Inspecting and Cleaning Parts
With the Beetle disassembled, it's time to inspect all the remaining parts, including the chassis, engine, transmission, and suspension components. Carefully examine the chassis for signs of rust, cracks, or other damage. Clean all parts thoroughly using a wire brush, degreaser, and solvent. Replace any worn or damaged parts with new or rebuilt components. This is also a good time to make any necessary modifications to the chassis, such as reinforcing weak areas or adding mounting points for the dune buggy body. If you are not comfortable with welding or fabrication, consider hiring a professional to perform these modifications.
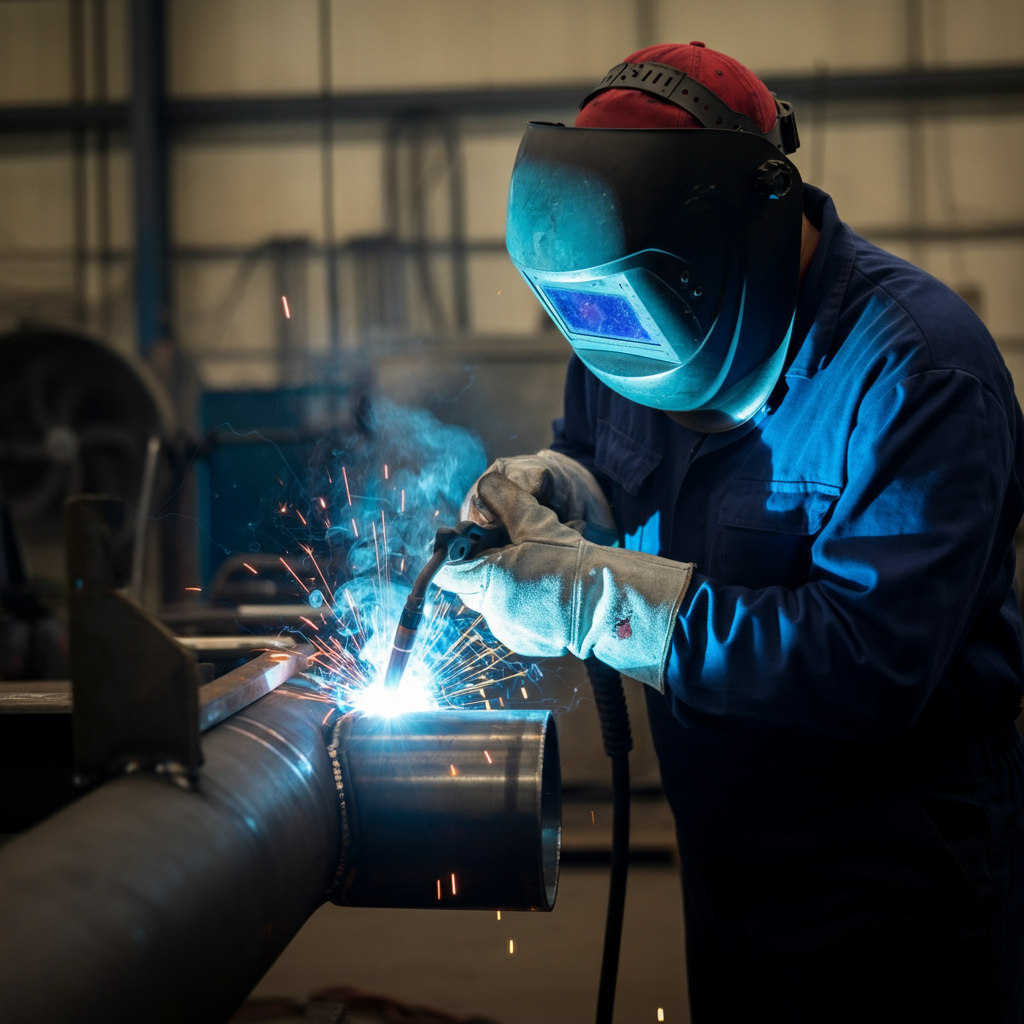
Step 5: Modifying or Assembling the Chassis
Depending on your chosen building method, this step will vary significantly. If you're using a Beetle chassis, you'll likely need to shorten it to improve the buggy's proportions and handling. This involves cutting the chassis in half and welding it back together at a shorter length. This is a critical step that requires precise measurements and strong welds. If you're using a kit, you'll need to assemble the chassis according to the manufacturer's instructions. If you're building from scratch, you'll need to fabricate the entire chassis from steel tubing, following your chosen plans. Ensure the chassis meets all applicable safety standards and is strong enough to withstand the stresses of off-road driving.
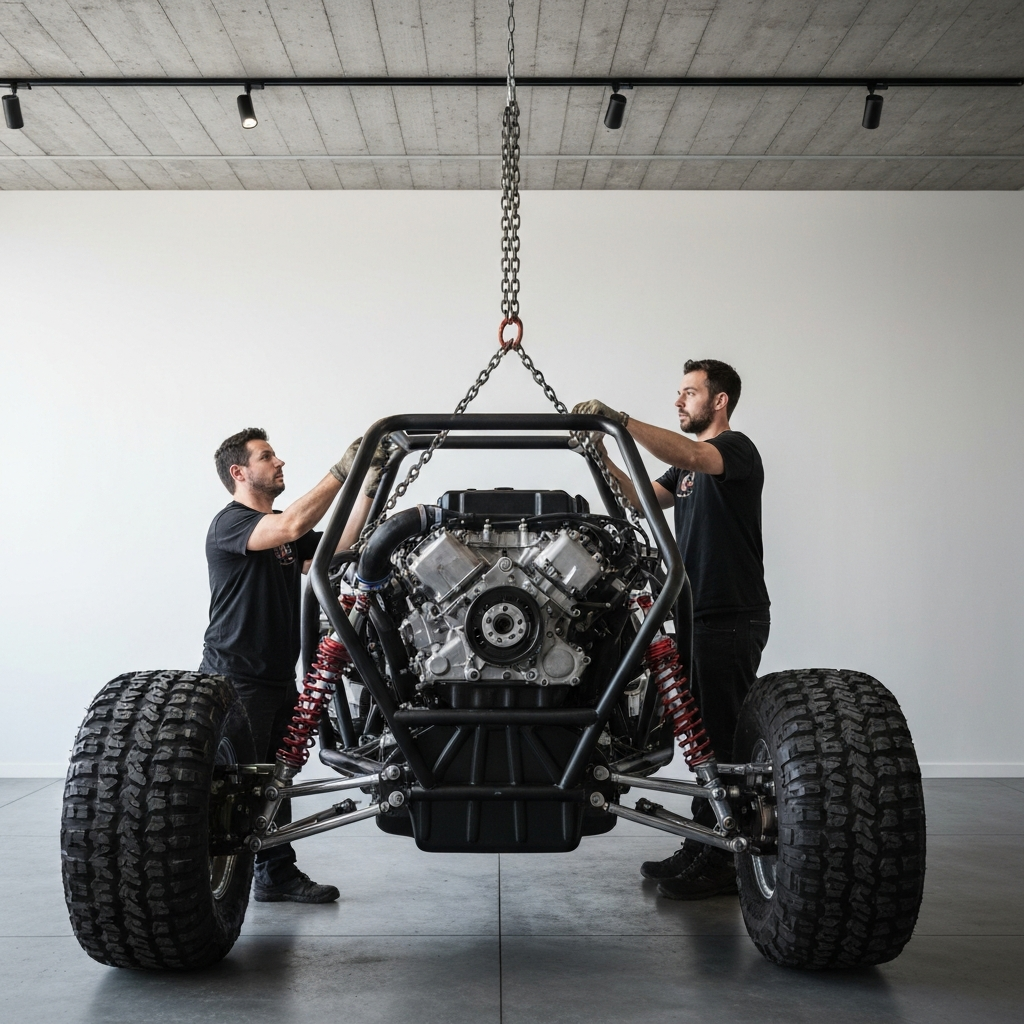
Step 6: Installing the Engine and Transmission
With the chassis prepared, it's time to install the engine and transmission. The VW Beetle engine is a popular choice for dune buggies due to its simplicity, reliability, and readily available parts. Mount the engine securely to the chassis using appropriate engine mounts. Ensure that the engine is properly aligned with the transmission to prevent premature wear and tear. Connect the fuel lines, electrical wiring, and exhaust system. If you're using a different engine, you may need to fabricate custom engine mounts and adapt the wiring and fuel systems accordingly.
Step 7: Installing the Suspension and Brakes
A properly functioning suspension and braking system is essential for both safety and performance. Install the suspension components, including shocks, springs, and control arms, according to the manufacturer's instructions. Ensure that all bolts are tightened to the correct torque specifications. Inspect the brake lines and replace any that are damaged or corroded. Bleed the brakes to remove any air from the system. Test the brakes thoroughly before driving the buggy.

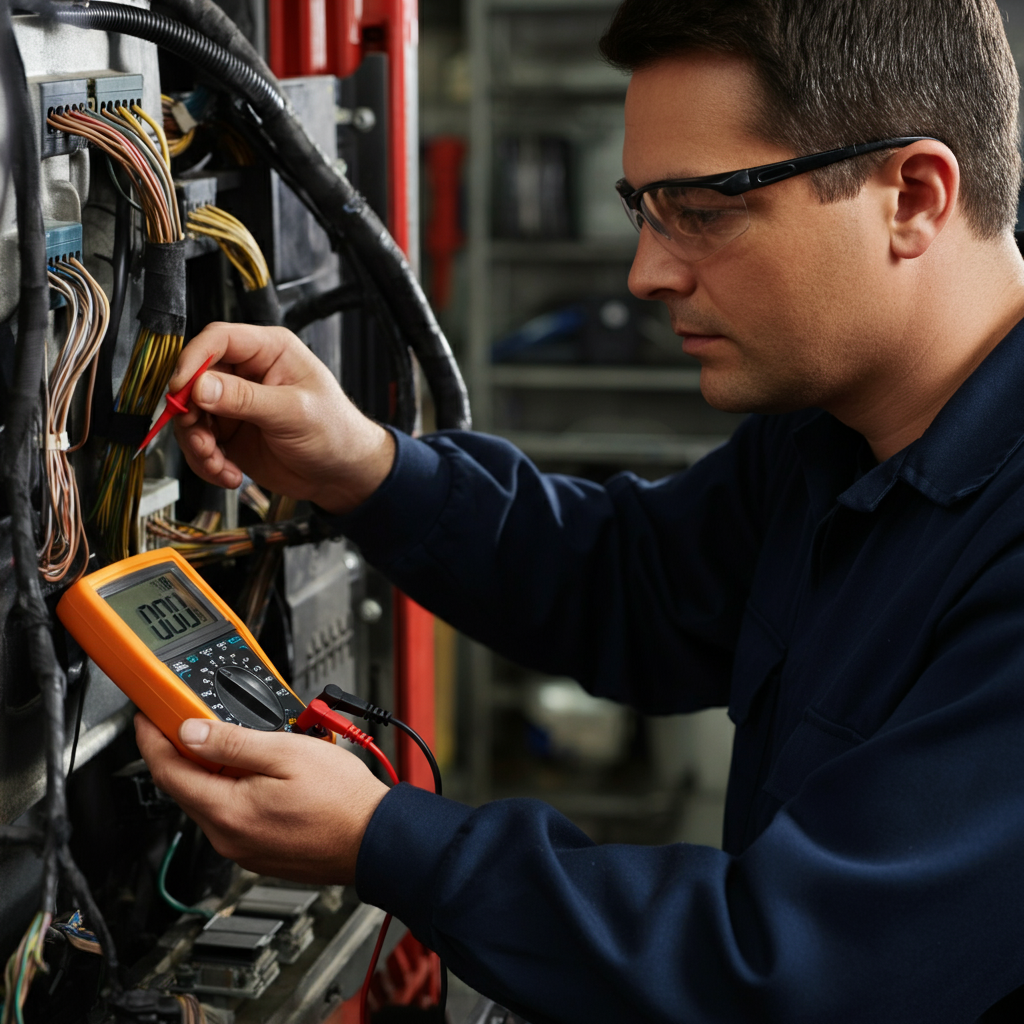
Step 8: Wiring and Electrical Systems
Connect all the electrical wiring, including the headlights, taillights, turn signals, and ignition system. Use a wiring diagram to ensure that all connections are correct. Pay close attention to grounding wires to prevent electrical problems. Install a new battery and test all electrical components to ensure they are functioning properly. Consider adding additional accessories, such as a horn, radio, or auxiliary lights.
Step 9: Installing the Body
The body of a dune buggy can be made from fiberglass, metal, or a combination of both. Fiberglass bodies are lightweight and easy to mold, while metal bodies offer greater durability. Mount the body securely to the chassis using appropriate fasteners. Ensure that the body is properly aligned and that there are no sharp edges or protrusions that could pose a safety hazard. Consider painting or coating the body to protect it from the elements.
Step 10: Final Checks and Adjustments
Before taking your dune buggy for a test drive, perform a thorough inspection of all systems. Check the engine oil, coolant, and brake fluid levels. Ensure that all bolts are tightened and that all wiring connections are secure. Adjust the steering and suspension as needed to achieve optimal handling. Double-check the brakes and ensure they are functioning properly. Finally, make sure that all safety equipment, such as seat belts and roll cage padding, is in place.
Safety Considerations
Building and operating a dune buggy can be dangerous if proper safety precautions are not taken. Always wear appropriate safety gear, including a helmet, eye protection, and gloves. Never drive a dune buggy under the influence of alcohol or drugs. Be aware of the terrain and drive at a safe speed. Inspect the buggy regularly for signs of wear and tear. Ensure that all passengers are wearing seat belts. Never operate a dune buggy on public roads unless it is specifically designed and certified for street use.
Tools and Materials Required
- Wrenches (various sizes)
- Sockets (various sizes)
- Screwdrivers (Phillips and flathead)
- Pliers
- Wire strippers
- Welder
- Grinder
- Drill
- Jack and jack stands
- Engine hoist
- Multimeter
- Wiring diagram
- Service manual
- Engine
- Transmission
- Suspension components
- Brake components
- Wiring harness
- Battery
- Body
Conclusion
Building a dune buggy is a challenging but rewarding project that can provide years of off-road enjoyment. By following the steps outlined in this guide and taking appropriate safety precautions, you can transform a pile of parts into a thrilling machine that's ready for the dunes. Remember to take your time, double-check your work, and always prioritize safety. Happy building!