Tire stickers are a fantastic way to add a personalized and sporty touch to your vehicle. Whether you're aiming for a subtle enhancement or a bold statement, the right tire stickers can dramatically transform your car's appearance. Applying them correctly, however, is crucial for achieving a professional and long-lasting result. This guide will provide you with a comprehensive, step-by-step approach to applying tire stickers, ensuring a flawless finish every time.
Choosing between temporary and permanent tire stickers depends on your desired longevity and commitment. Temporary stickers are ideal for special events or photo shoots, offering easy application and removal. Permanent stickers, on the other hand, provide a durable and lasting modification to your vehicle's aesthetics, withstanding daily wear and tear. Regardless of your choice, proper preparation and application techniques are paramount for optimal adhesion and appearance. This guide covers both types, ensuring you have the knowledge to tackle either project with confidence.
This guide is structured to provide detailed instructions, useful tips, and essential safety considerations. By following these steps carefully, you can achieve a professional-grade result that will enhance the look of your vehicle and turn heads wherever you go. Let's dive in!
Tools or Materials Required
- Tire Stickers (Temporary or Permanent Kit)
- Clean Rags (Microfiber recommended)
- Acetone or Brake Cleaner
- Latex or Nitrile Gloves
- Adhesive (For Permanent Stickers - usually included in the kit)
- Soft Bristle Brush (Optional)
- Touch-Up Cleaner (For Permanent Stickers - usually included in the kit)
- Pliers (For Removing Permanent Stickers - if needed later)
- 220-Grit Sandpaper (For Removing Permanent Stickers - if needed later)
Applying Temporary Tire Stickers
Step 1: Clean the Tire Sidewalls
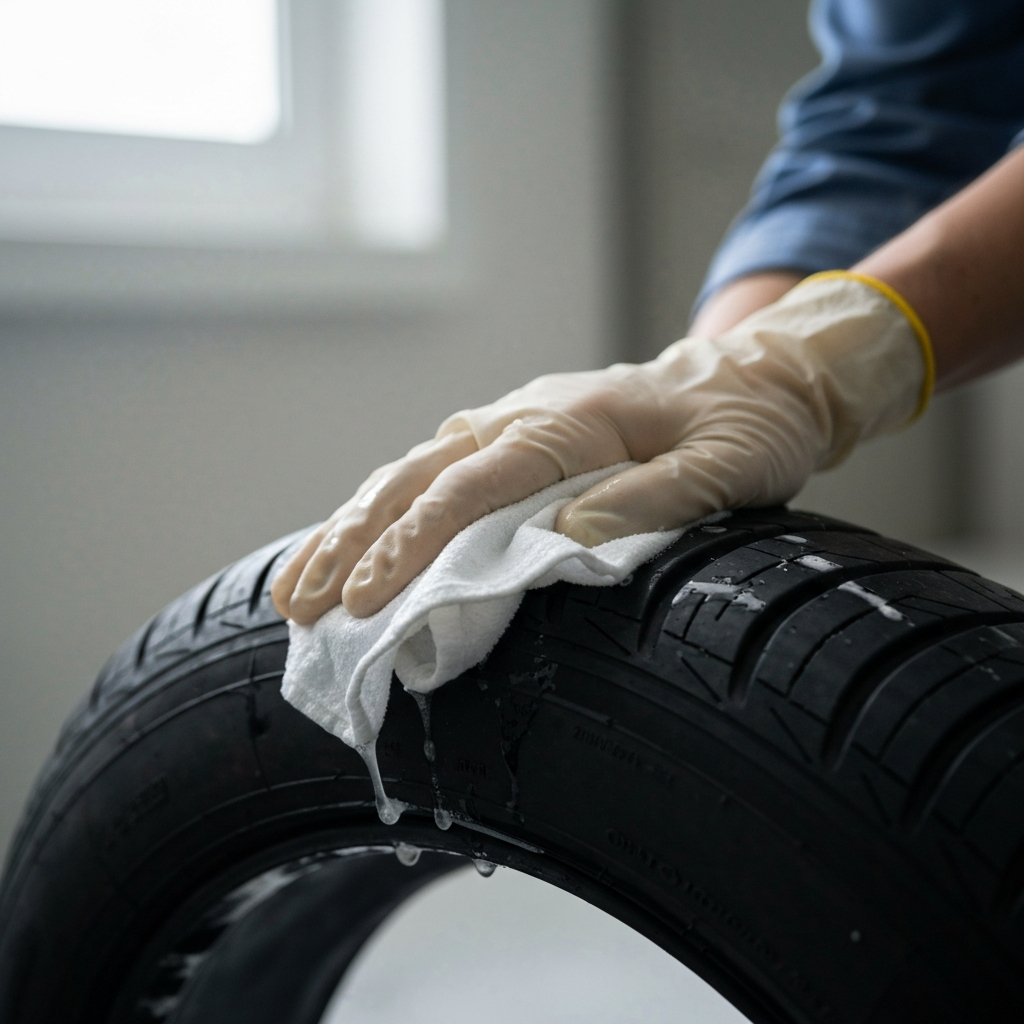
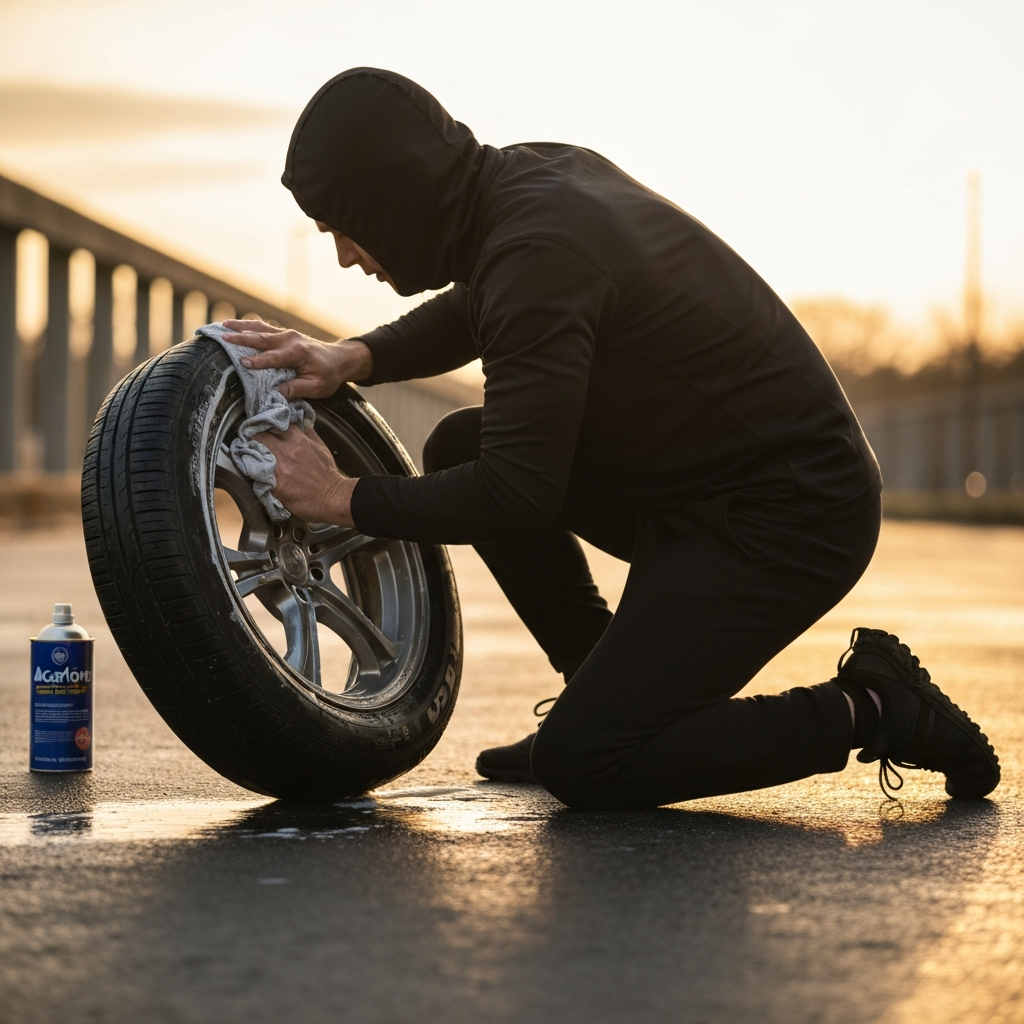
Before applying any sticker, the most important step is thoroughly cleaning the tire sidewalls. Use a clean rag dampened with acetone or brake cleaner to remove all traces of dirt, oil, and grime. Ensure you are working in a well-ventilated area when using these chemicals. Scrub the sidewalls until the rag comes away clean, indicating that all contaminants have been removed. Multiple passes may be necessary, especially on older tires. This provides a clean surface for optimal sticker adhesion.
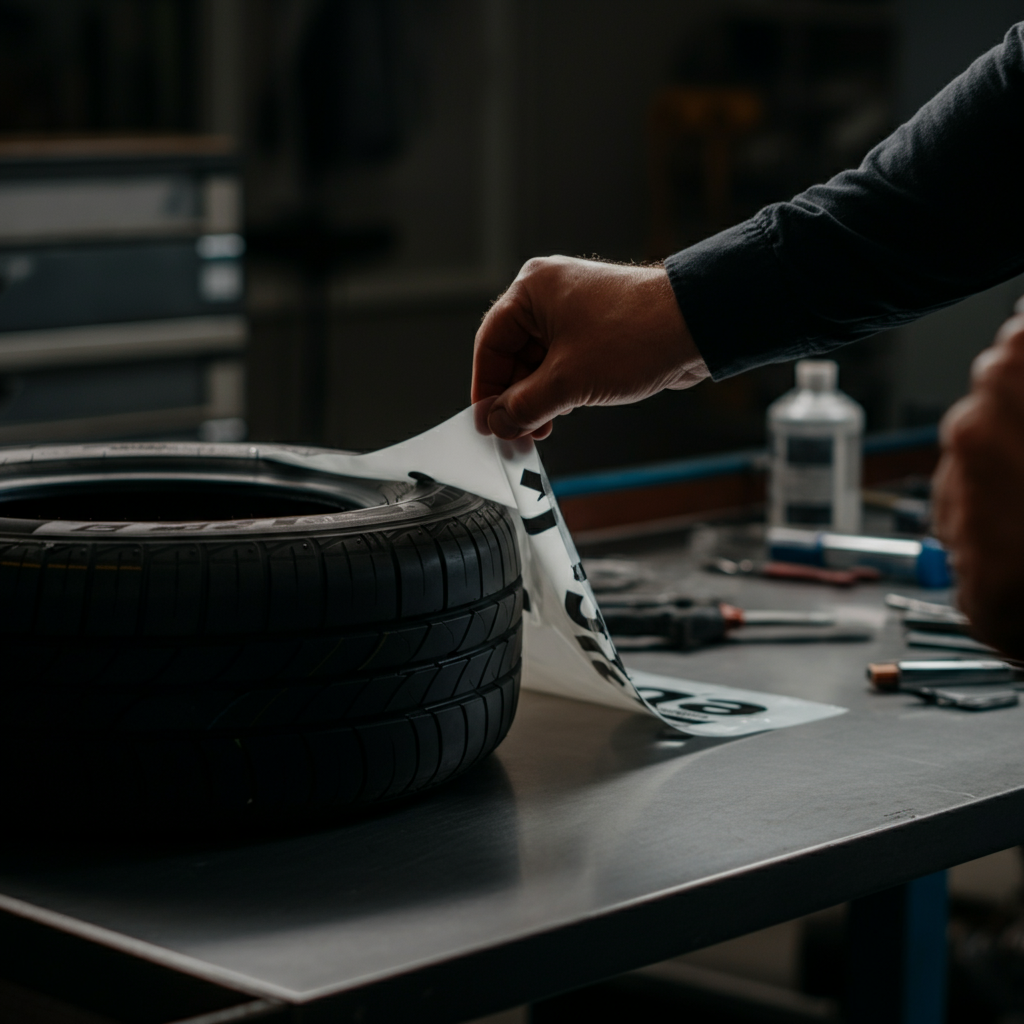
Step 2: Peel the Sticker Backing
Carefully peel the paper backing away from the adhesive side of the temporary tire sticker. Flip the decal over so you’re looking at the back side of the lettering. Proceed slowly to avoid tearing or damaging the sticker. Ensure that all lettering or design elements remain attached to the adhesive layer and do not lift off with the backing. Discard the paper backing once fully removed.
Step 3: Press the Sticker into Place
Line up the sticker on the tire sidewall, ensuring correct positioning and alignment before applying pressure. Use the tire's existing reference lines or sidewall patterns as guides to ensure the decal is straight and centered. Once you are satisfied with the placement, press the sticker firmly onto the rubber surface. Apply even pressure across the entire sticker area to ensure full contact. Avoid trapping air bubbles beneath the sticker, as this can compromise adhesion and appearance.

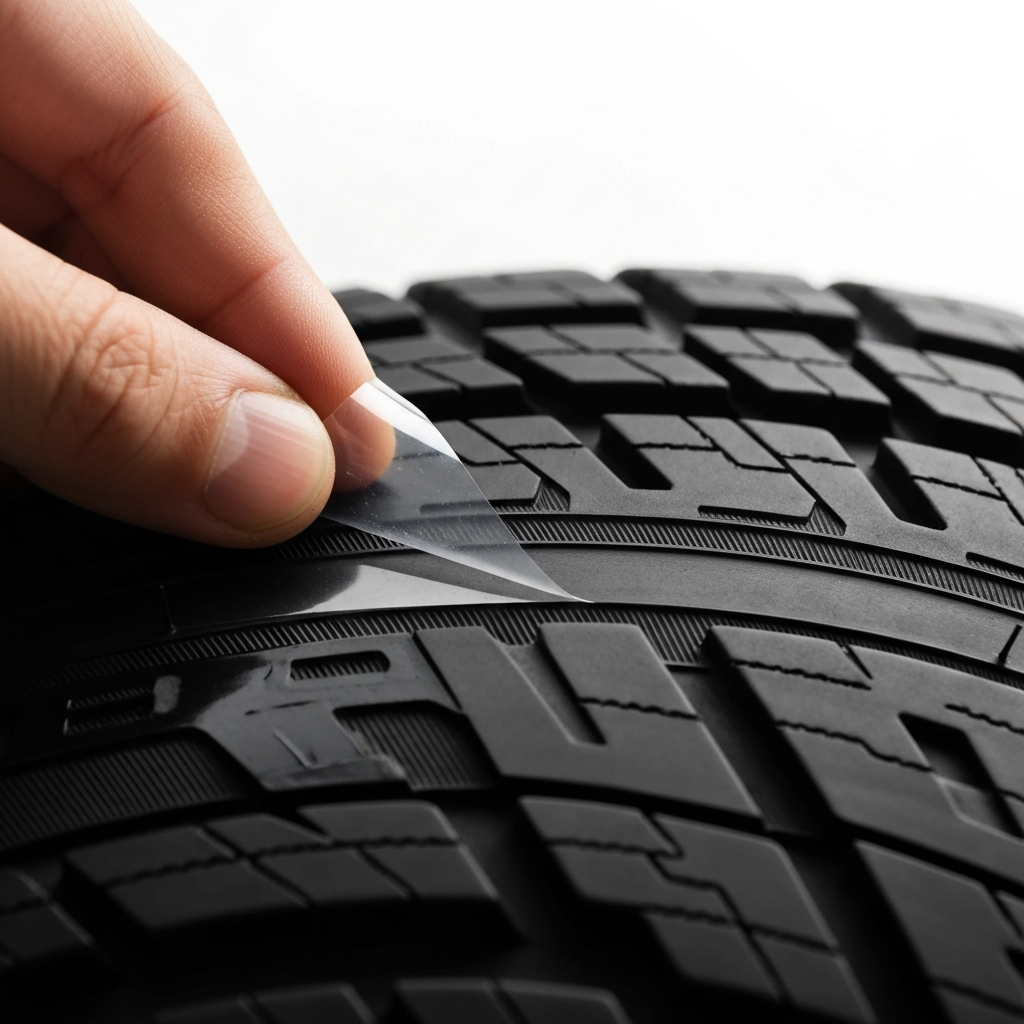
Step 4: Remove the Transfer Film
Carefully and slowly peel the semi-transparent transfer film off the front side of the sticker. This film protects the sticker during application and is no longer needed once the sticker is adhered to the tire. If any of the lettering or design elements start to peel up while removing the film, immediately press the film back down and reapply pressure to those areas. A slow and steady approach is key to preventing damage to the sticker.
Step 5: Apply Final Pressure
After removing the transfer film, apply light, even pressure to the sticker with your fingers. Press down firmly on each letter or design element to ensure everything is securely adhered to the tire surface. Repeat this process at least twice to maximize adhesion and longevity. This step is crucial for preventing the edges of the sticker from lifting over time. Pay special attention to the edges and corners, as these are the most vulnerable areas.
Applying Permanent Tire Stickers
Step 1: Prepare with Gloves
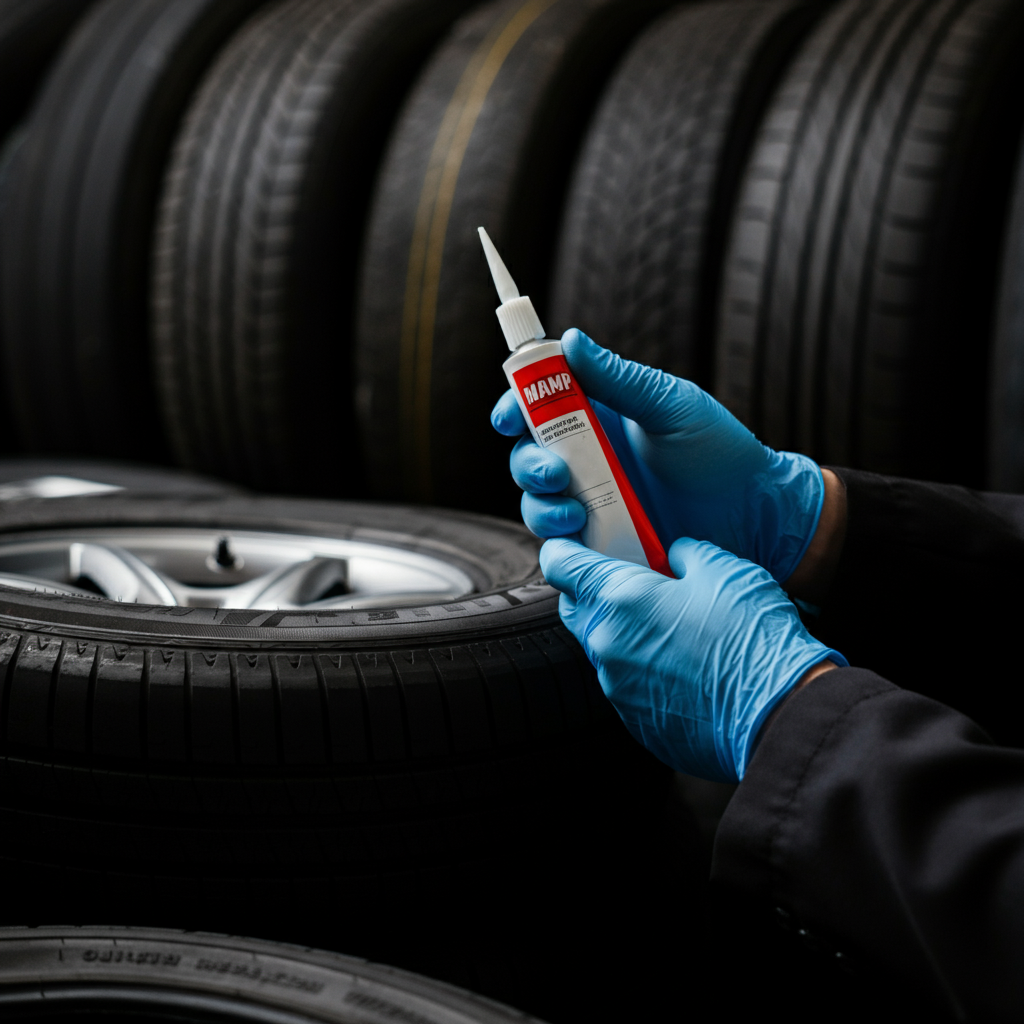
Before starting the application process for permanent tire stickers, it’s important to protect your hands by wearing latex or nitrile gloves. These gloves will shield your skin from harsh chemicals, adhesives, and dirt. Keep the gloves on throughout the entire application to maintain cleanliness and prevent contamination.
Step 2: Thoroughly Clean the Tire Sidewall
Just like with temporary stickers, a clean tire sidewall is essential for permanent sticker adhesion. Use a clean rag and acetone or brake cleaner to scrub the tire surface until all dirt, grease, and tire shine are removed. This step can be time-consuming, often requiring multiple passes with fresh sections of the rag. Continue cleaning until the rag comes away clean, indicating the surface is properly prepared.
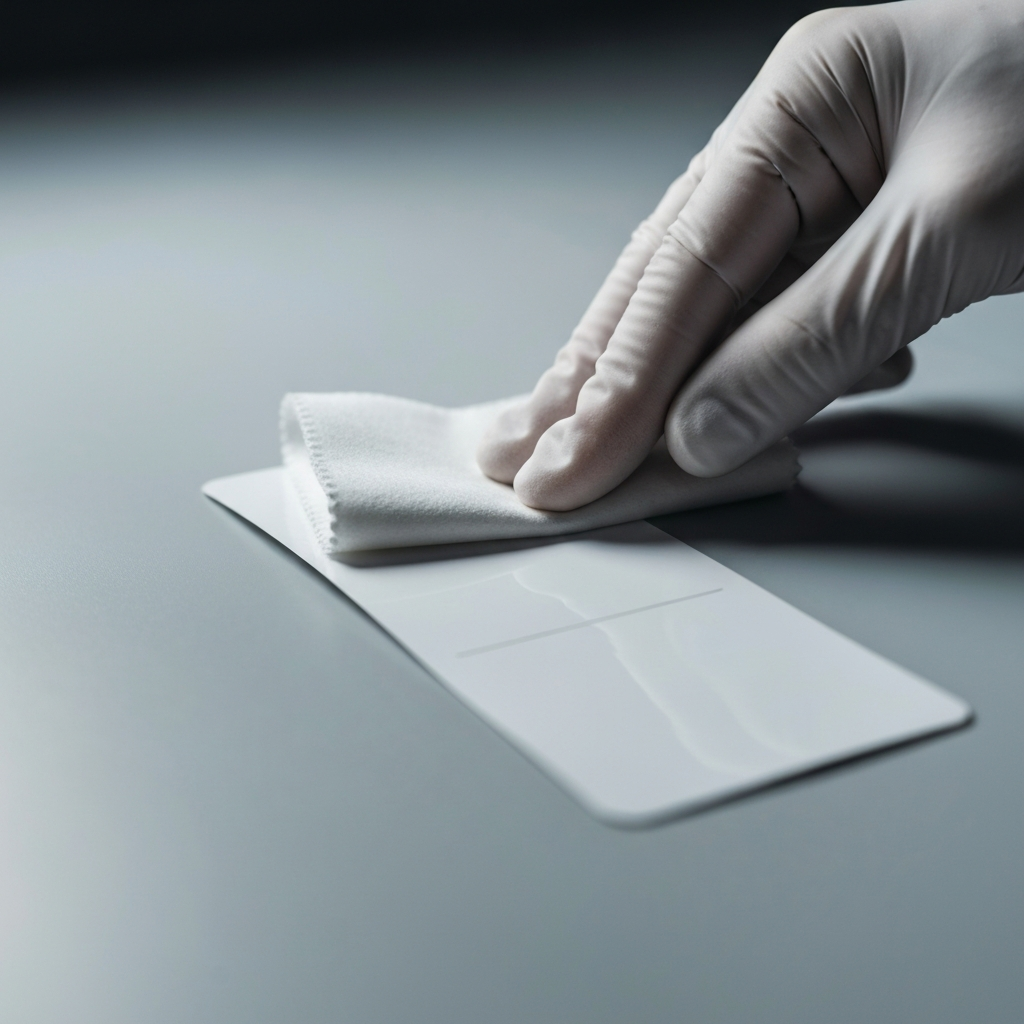
Step 3: Clean the Back of the Decal
Before applying adhesive, wipe down the back of each decal with a clean rag dampened with acetone. This removes any potential contaminants that may have accumulated on the decal's adhesive surface during handling or storage. This step is often overlooked but can significantly improve the bond between the decal and the tire. Allow the decals to air dry briefly after cleaning.
Step 4: Apply Adhesive Evenly
Squeeze a small bead of adhesive onto the back of each decal, following the shape of the letters or design. Use the nozzle of the adhesive tube to spread the adhesive evenly across the entire surface. Avoid applying too much adhesive, as excess can ooze out from the edges when the decal is pressed onto the tire. For larger decals, apply adhesive in sections to prevent it from drying before application.
Step 5: Position and Press the Decal
Carefully position the decal on the tire sidewall, ensuring correct alignment and placement. Once you are satisfied with the position, press the decal firmly onto the tire, applying even pressure across the entire surface for at least 30 seconds. This ensures the adhesive makes good contact with the tire and creates a strong bond. If you applied adhesive in sections, repeat the process for each section.
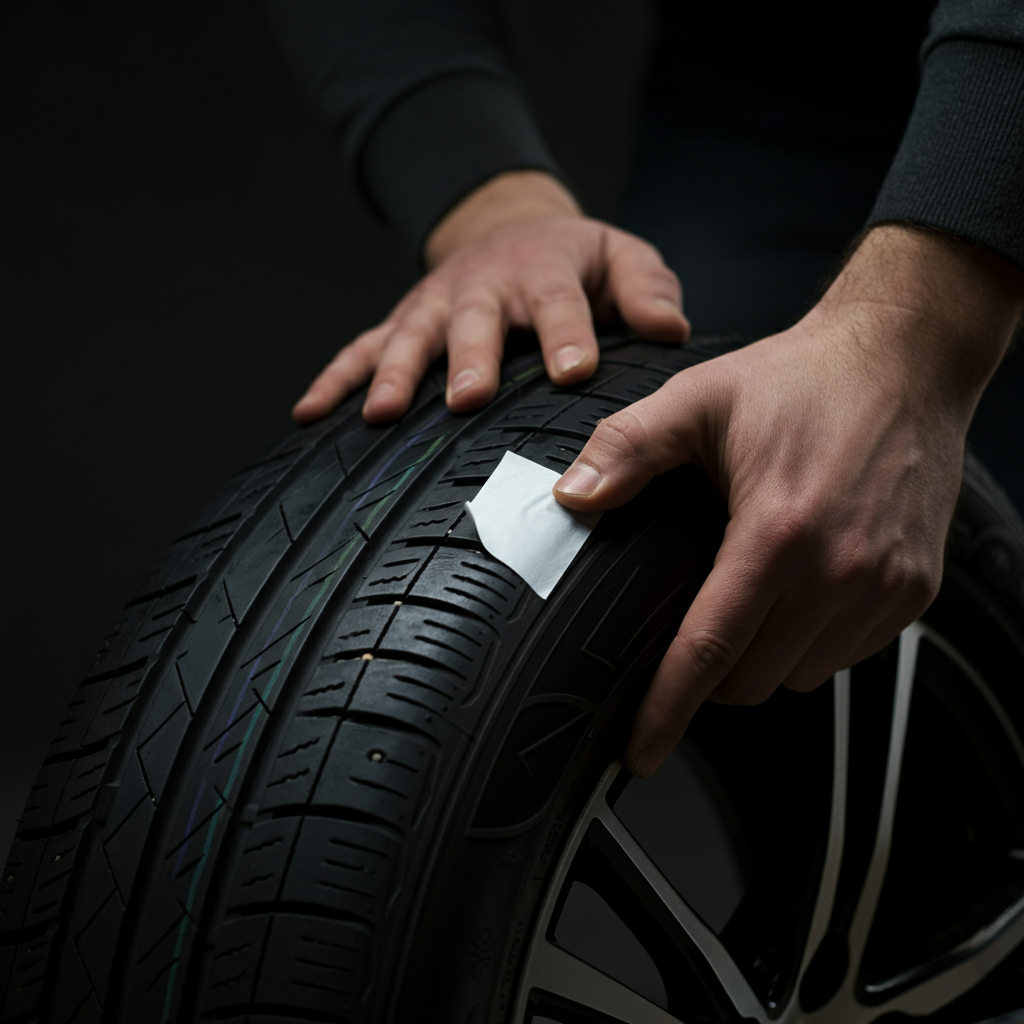
Step 6: Remove the Transfer Film
After allowing the adhesive to set for approximately 10 minutes, carefully peel the transfer film off the front of the decals. Do this slowly and gently to avoid pulling the decal away from the tire. If any areas of the decal lift during this process, immediately press them back down and hold for a few seconds until the adhesive sets. Patience is key during this step to ensure a clean and professional finish.
Step 7: Seal Any Lifting Edges
Inspect the edges of the decals for any signs of lifting or incomplete adhesion. If you find any such areas, apply a small amount of adhesive under the lifted edge and press it firmly onto the tire for 30 seconds. Wipe away any excess adhesive with a clean rag and the provided touch-up cleaner or acetone. Addressing these imperfections is crucial for ensuring the long-term durability of the installation.
Step 8: Allow to Dry Completely
Allow the decals to dry completely for at least 1-2 hours before driving or washing your car. This gives the adhesive ample time to fully cure and form a strong bond with the tire. Avoid using oil-based tire shines or dressings, as these can damage the decals over time. After the drying period, you can resume normal driving and car washing activities.
Common Mistakes to Avoid
- Insufficient Cleaning: Failing to thoroughly clean the tire sidewalls is the most common cause of sticker failure.
- Uneven Adhesive Application: Applying too much or too little adhesive can result in poor adhesion or messy edges.
- Improper Alignment: Take your time to align the stickers correctly before pressing them onto the tire.
- Rushing the Process: Allow sufficient drying time for the adhesive to fully cure.
- Using Harsh Chemicals: Avoid using harsh chemicals or abrasive cleaners that can damage the stickers.
Safety Considerations
- Always work in a well-ventilated area when using acetone or brake cleaner.
- Wear gloves to protect your hands from chemicals and adhesives.
- Avoid getting acetone or brake cleaner on your skin or in your eyes.
- Dispose of used rags and materials properly.
- Keep chemicals and adhesives out of reach of children and pets.
Pro Tips
- Warm the tires slightly with a heat gun or hairdryer before applying the stickers to improve adhesion (use caution to avoid overheating).
- Use a roller or squeegee to apply even pressure to the stickers during application.
- Consider using a clear coat or sealant to protect the stickers from UV damage and abrasion (for permanent stickers).
- Practice on a spare tire or a small, inconspicuous area before applying the stickers to your vehicle.
FAQ Section
- How long do temporary tire stickers last?
- Temporary tire stickers typically last for a few days to a week, depending on driving conditions and exposure to the elements.
- How long do permanent tire stickers last?
- Permanent tire stickers can last for several months to a year or more with proper care.
- Can I wash my car after applying tire stickers?
- Yes, but wait for the recommended drying time (usually 1-2 hours for permanent stickers) before washing your car. Avoid using oil-based tire shines.
- How do I remove permanent tire stickers?
- Use pliers to peel off the stickers. Remove any remaining adhesive with acetone and lightly sand the tire sidewall with 220-grit sandpaper.
Conclusion
Applying tire stickers is a relatively straightforward process that can significantly enhance the appearance of your vehicle. Whether you opt for temporary or permanent stickers, meticulous preparation, careful application, and proper maintenance are key to achieving a professional and long-lasting result. By following the steps outlined in this guide and avoiding common mistakes, you can confidently apply tire stickers and enjoy the enhanced look of your ride for miles to come. Remember to prioritize safety and take your time to ensure a flawless finish.