Garden LED string lights are a fantastic way to add ambiance and charm to your outdoor spaces. However, these delicate strands are often vulnerable to the elements, especially water. Many commercially available lights, even those marketed as "water-resistant," can succumb to moisture damage, leading to corrosion and premature failure. The key weakness lies in the LED terminals, which are highly susceptible to water intrusion.
Fortunately, with a few simple steps, you can significantly extend the lifespan of your garden LED string lights by applying a waterproofing treatment. This guide will walk you through a straightforward process that creates a protective barrier against moisture, ensuring your lights continue to shine brightly for seasons to come. While no treatment is everlasting, this method offers a substantial improvement over leaving your lights unprotected.
This method is particularly useful for solar-powered garden LED string lights, which are increasingly common and convenient, but also exposed to the elements. By taking proactive steps to waterproof your lights, you can enjoy their beauty without constantly worrying about their fragility.
Step 1: Prepare Your Materials
Gather Your Supplies
Before you begin, gather the necessary materials. You'll need a suitable recyclable plastic bottle (one that can accommodate the length of the LED string you want to waterproof), liquid water repellent (specifically designed for outdoor gear like tents), and optionally, acetone for drying the bottle. Ensure everything is clean and completely dry before proceeding. Any existing moisture can compromise the waterproofing process.
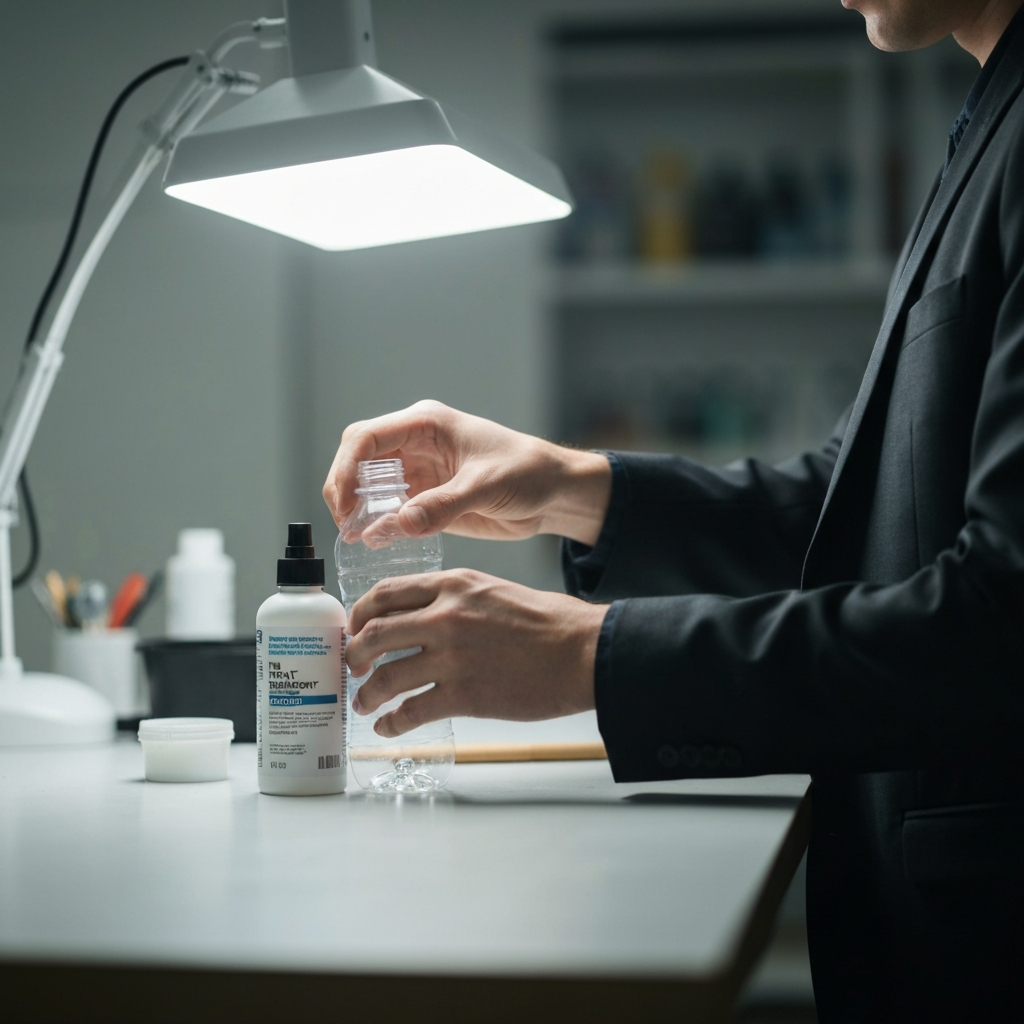
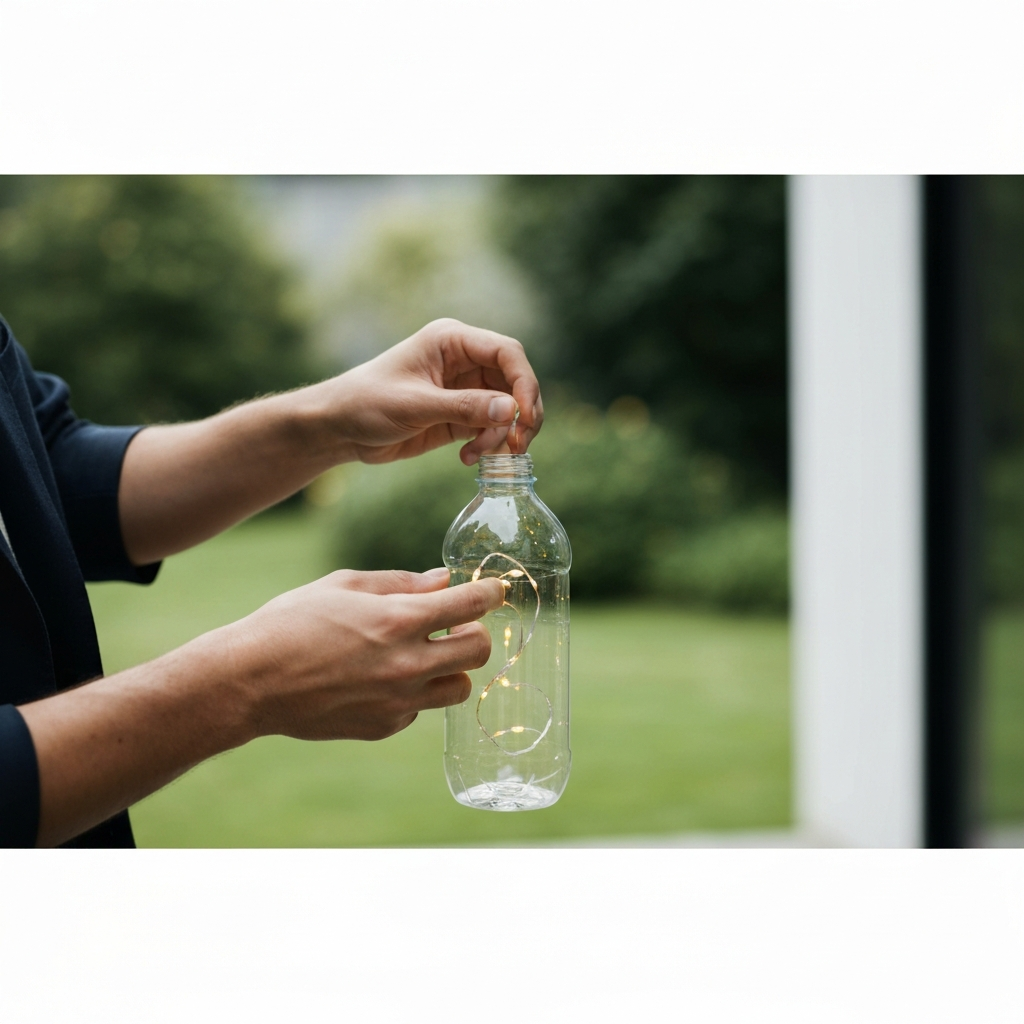
Step 2: Insert the LED String
Carefully Insert the String Lights into the Bottle
Gently insert the section of your LED string lights you wish to waterproof into the prepared plastic bottle. It is crucial to ensure that both the LED string and the inside of the bottle are entirely dry before you begin. Avoid forcing the string; work carefully to prevent damage to the delicate LEDs or wiring. If the string is too long for a single bottle, consider waterproofing it in sections.
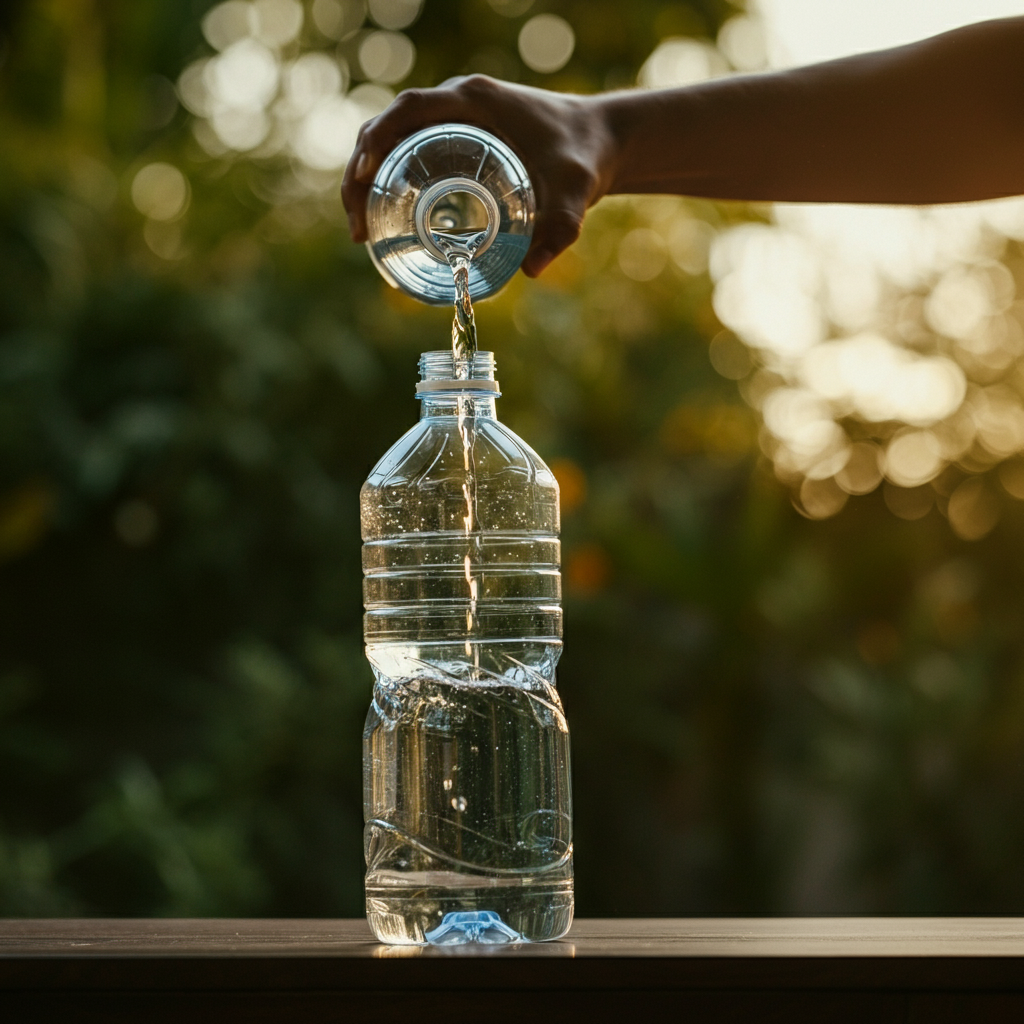
Step 3: Apply the Waterproofing Solution
Submerge and Saturate with Water Repellent
Pour the liquid water repellent into the bottle until it fills approximately three-quarters full. The goal is to fully submerge the LED string in the solution, ensuring that the repellent can penetrate and coat all the critical components, especially around the LED terminals. Use a water repellent intended for tents; these are designed to create a durable and long-lasting hydrophobic barrier.
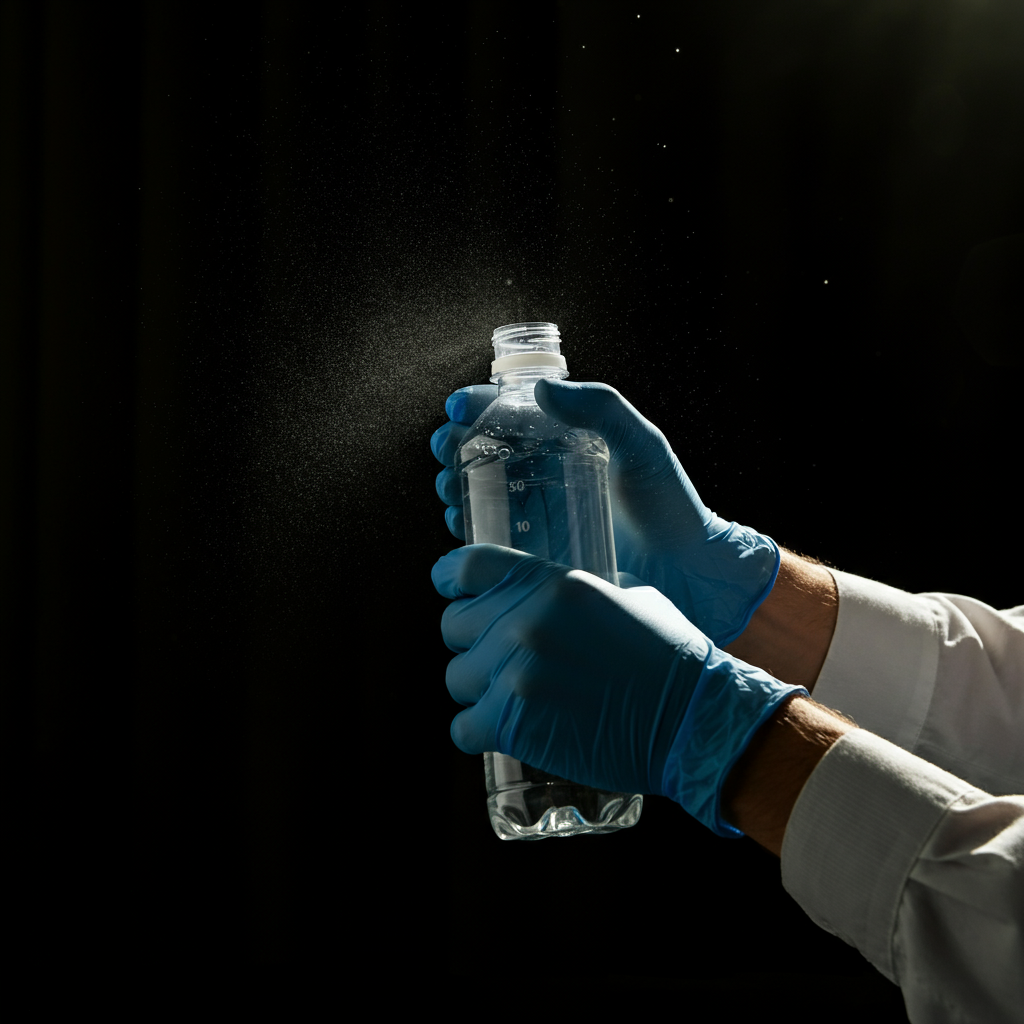
Step 4: Shake and Coat Thoroughly
Distribute the Repellent Evenly
Close the bottle tightly (if possible). If the string is attached to a solar power unit and the bottle cannot be closed, wear surgical gloves to create a seal while shaking. Then, shake the bottle thoroughly for approximately 10 seconds at a time, repeating this process multiple times over a 10-minute period. The aim is to ensure the water repellent liquid reaches every nook and cranny, thoroughly coating the LED terminals and wires. Proper agitation is crucial for effective waterproofing.
Step 5: Remove and Dry
Let the Lights Air Dry
Carefully remove the LED string from the bottle. Pour the remaining water repellent liquid back into its original container for future use. Allow the LED string to air dry completely before using it. The drying time will vary depending on the humidity and temperature, but generally, a few hours is sufficient. Ensure the lights are completely dry before reconnecting them to a power source or hanging them in your garden.
Tools or Materials Required
- Recyclable Plastic Bottle
- Liquid Water Repellent (for tents)
- Acetone (optional, for drying the bottle)
- Surgical Gloves (optional, for sealing the bottle)
Common Mistakes to Avoid
- Using the wrong type of water repellent: Only use water repellents designed for outdoor fabrics like tents. Others might not be effective or could damage the lights.
- Skipping the drying step: Moisture trapped during the process can lead to corrosion.
- Using a dirty or wet bottle: Ensure the bottle is clean and completely dry before starting.
- Forcing the string into the bottle: This can damage the delicate lights.
Pro Tips
- To efficiently and rapidly remove traces of water from the bottle before use, rinse it a couple of times with acetone. Alternatively, you can leave it in a sunny place for a few hours.
- Consider applying this treatment annually to maintain optimal protection. The protective coating may degrade over time due to weather exposure.
Safety Considerations
Always work in a well-ventilated area when using acetone or water repellent. Avoid contact with skin and eyes. Keep these chemicals out of reach of children and pets. Dispose of used containers responsibly according to local regulations.
FAQ Section
- Will this treatment affect the conductivity of the LED lights?
- No, electric contacts can be made waterproof without any detriment to their conductivity.
- How often should I repeat this waterproofing treatment?
- It's recommended to repeat the treatment annually for best results, especially in areas with harsh weather conditions.
- Can I use a different type of sealant instead of tent water repellent?
- While other sealants may offer some protection, tent water repellent is specifically designed to create a durable, hydrophobic barrier that is ideal for outdoor use. We recommend sticking with this proven method.
Conclusion
By following these simple steps, you can effectively waterproof your garden LED string lights and protect them from the damaging effects of moisture. This proactive approach will significantly extend their lifespan, saving you money and ensuring that your outdoor spaces remain beautifully illuminated for years to come. Remember to use the right materials, follow the instructions carefully, and repeat the treatment annually for optimal protection. Enjoy your long-lasting, brilliantly lit garden!