The Uniden HomePatrol series of police scanners are powerful tools for monitoring public safety communications, weather alerts, and more. Their intuitive interface and comprehensive database make them a popular choice for both beginners and experienced scanner enthusiasts. If you've thought about buying and using a HomePatrol police scanner, you've made a great choice! This guide will walk you through the setup, operation, and advanced features of your HomePatrol, ensuring you get the most out of your device.
This isn't just a basic instruction manual. We'll delve into the nuances of scanner operation, explore practical tips for optimal performance, and address common pitfalls that users often encounter. Get ready to unlock the full potential of your Uniden HomePatrol.
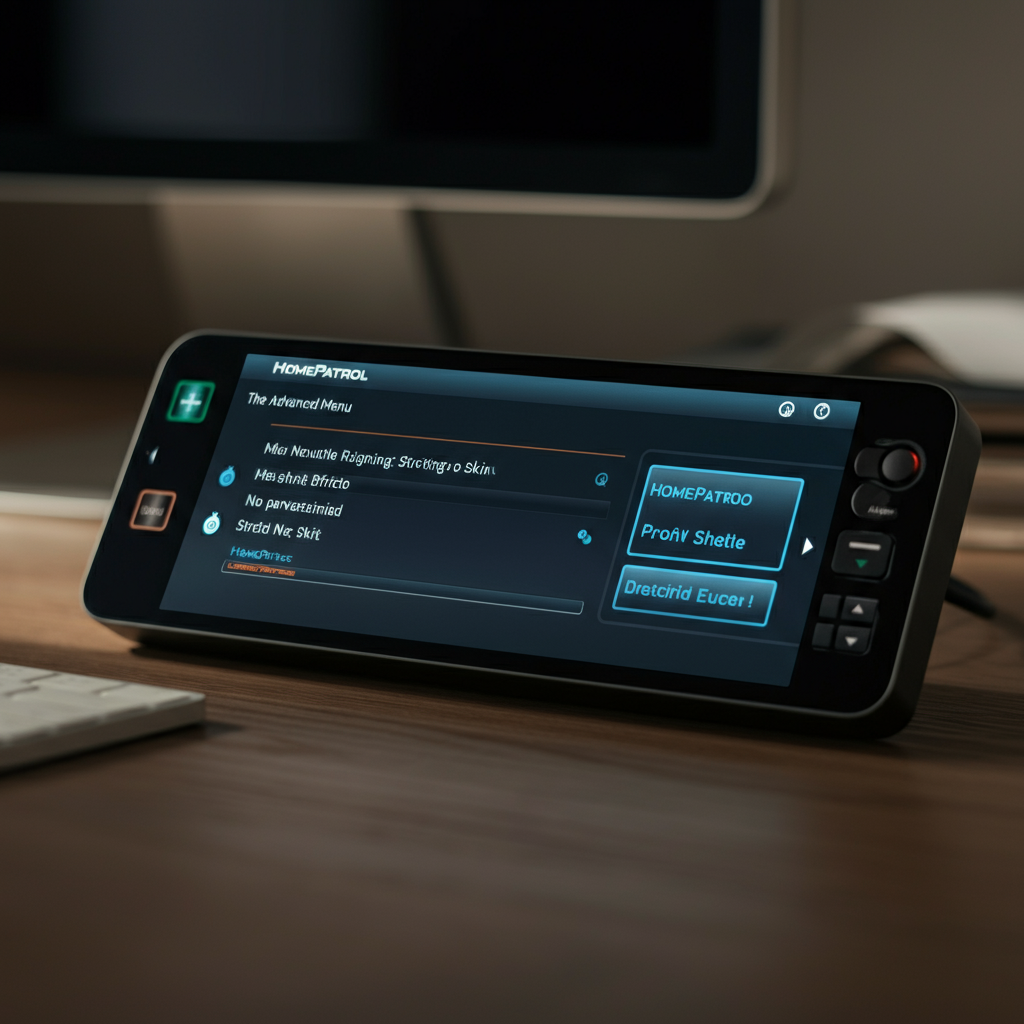
Let's break down how it works in this article.
Step 1: Setting Up Your HomePatrol Device
Initial Unpacking and Installation
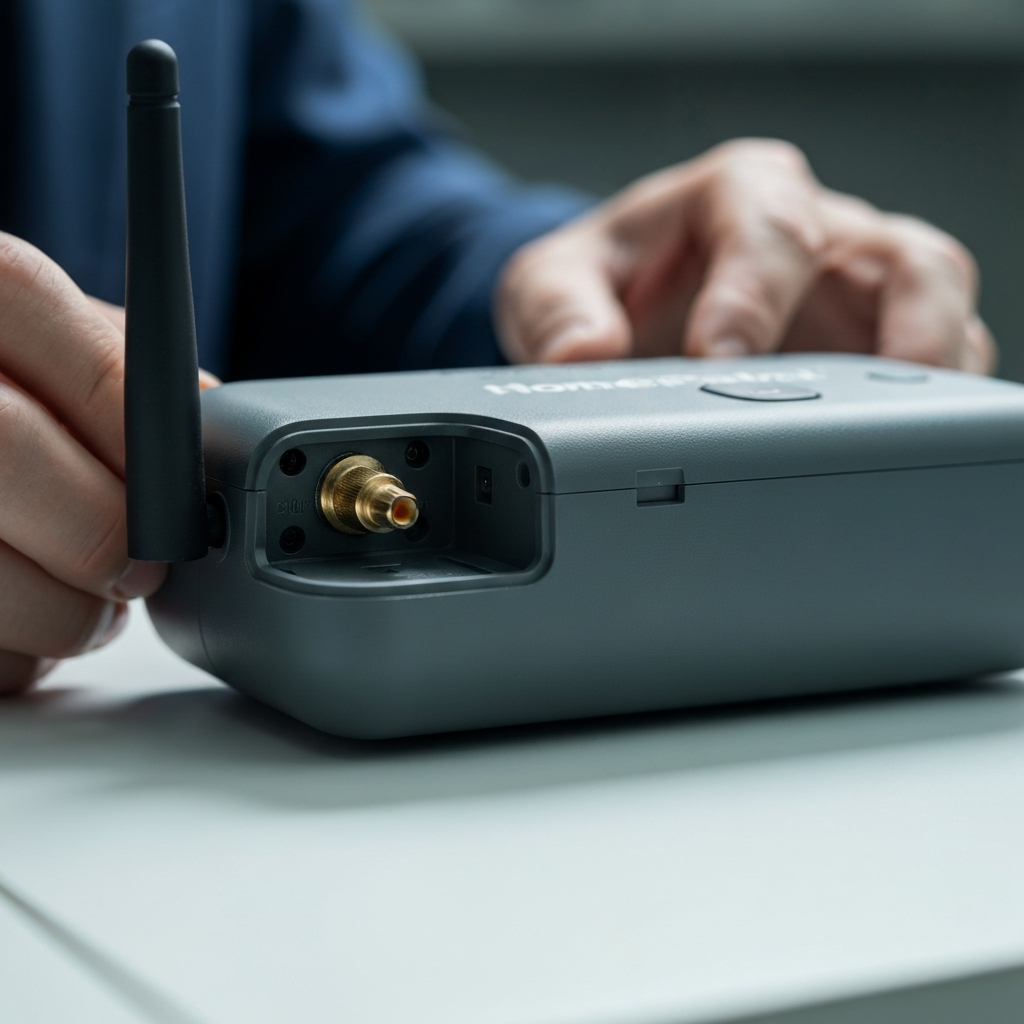
The first step is unpacking your HomePatrol and ensuring all components are present. This includes the scanner unit, antenna, rechargeable batteries (if included), USB cable (potentially with a power brick depending on the model), and a base stand. Uniden's HomePatrol-II doesn't include a power brick for their mini-USB to USB Type-A cord, so you'll need to power and charge it from a wall outlet. Insert the rechargeable batteries into the battery compartment, connecting the power cord as described in the manual. Then, attach the antenna. For initial setup, the included antenna is usually sufficient. You need to insert rechargeable batteries and connect their power cord. Uniden's HomePatrol-II doesn't include a power brick for their mini-USB to USB Type-A cord, so you'll need to power and charge it from a wall outlet. If you choose not to power it, you can plug it into your computer if it has a USB Type-A slot. Devices older than HomePatrol-II came with a power brick and a USB Type-A cord. You need to attach their antenna, if you aren't using your own antenna connected to your building or home. You need to place their base down and affix the device to this base. Place the device in its base for stability.
However, these are all things you can do without any tools. Tightening by hand is all that is required if you are only installing their antenna. It may get a little more complicated if you have to install your own antenna too, with adjusting it to focus on certain elements. You may want to get an electrical installer to help you with it before setting it up on your HomePatrol device.
Run through the device setup instructions the first time you set up the device. It'll ask for some pieces of information, such as your owner card, time zone, location ZIP code, and letting it run and program in the NFM analog and digital channel frequencies and trunked Talk Group IDs for your area, and more.
Step 2: Understanding Buttons and Ports
Familiarizing Yourself with the Device's Physical Layout
The Uniden HomePatrol has a number of buttons and ports, each with a specific function. Understanding these is crucial for efficient operation. On the top of the device, you'll find the power button and volume rocker switch. Press and hold the power button until it beeps and the screen illuminates to turn the device on or off. Use the volume rocker to adjust the sound level. There is also a volume rocker switch on the top left corner with the volume down on the direct left of the switch, and a volume up on the direct right. These buttons will further control other factors during playback, but their main uses are for volume control.
On the right side, there are some connector plug-in areas, including the power/USB cord and a GPS connector cord-entry. On the bottom, there is a place for the stand to hold it up. The bottom of the device should meet the hold of the device. You'll feel a slight "thump" when the two align. On the left side, you'll find the antenna or antenna connection (top left), along with a headphone jack (bottom left). HomePatrols don't have wireless capabilities to listen via Bluetooth, and so only wired headphones can be plugged in.
On the front is where all the action is. On the left-hand side of the front, you'll find the set of device speakers and HomePatrol/HomePatrol-II logo; while on the right side of the front, you'll find the scanner's screen and "Uniden" logo. HomePatrol-II's logo is between two sets of speakers. However, for the 1st generation HomePatrol, the logo indicated just HomePatrol. There's also a Charge light - indicating when the device is charging your batteries (if you have rechargeable ones installed). When the light is red, it's charging; when the light is green, it's ready to listen to. On the device's back, you'll find the battery case/cover, a battery case lock, and device information such as the model, power requirement, FCC ID and info, Canadian info, and compliance stubby information, with the barcode containing your serial number.

Step 3: Navigating the Screen and Controls
Mastering the Touchscreen Interface
The touchscreen is the primary interface for controlling your HomePatrol. Understanding its layout and functions is key to effective use. Although each layer of the database is divided into three parts, each part can be locked to scan each portion of the database by tapping between the name and the arrow on the right side of the line. Think of each line as a segment connecting from the widest portion of the database to the narrowest portion of the database, where each station is housed. More than one line can be locked; however, you should only have to lock one layer. Most people leave their device scanning the airwaves on their device, but some people restrict it to certain types of systems. People near state borders may find systems in other states within your listening area. If you don't want them, you can mark them as avoided. Although not easily found and not shown until you read through the Help screen, the top layer is the System Name and contains your group items within the database. But as you drill down into Department and Channel Name, you'll find each channel getting lower and more specific to just that item. Within just the Channel line, you'll find information about the channel. Not only is the name of the channel there, but it also lists an icon for the type of service the channel provides, the type of service it provides, and either the channel frequency or trunked system identification "channel."
In the submenu (on the right side of each line), you have five options: Avoid, Advance, Info, Prev, Next. Each one performs different options. Avoid becomes your station/system/department block - similar to blocking on social networks. Pressing once temporarily avoids the station until you cycle your device off and on again, or to permanently avoid them, tap Avoid and tap "Make Permanent" when asked. Holding down the Avoid button will send you to your Avoid submenu. Advanced has additional system options, but differs in the type of Advanced options you are finding out about. Advanced System contains many disabled options for some systems, including "Edit Current System", "Site Information", "Analyze System", and "Discovery Mode". Advanced Department contains only one disabled option for most systems, including Edit Current Department. Advanced Channel contains four disabled options - Edit Current Channel, Save Sub Audio, Save Talk Group ID, and Save Unit ID - and one enabled option - Add to Favorites List. Info provides system, department, or channel details and is more of a readable section box about the scanning area. Prev/Next allow you to move from one station to the next individually, manually, stepping back and forth from one station to the next. These are rarely used in most spots, but can be useful when two stations are reporting within the same system or department, and one station sounds better or closer than the other.
Step 4: Controlling Your Scanner
Utilizing the Top and Bottom Controls
The top and bottom of the HomePatrol screen provide access to a range of controls that fine-tune your scanning experience. At the top of the screen, you'll find buttons customizing what's scanned: Squelch, Range, Atten, GPS, Help, a padlock, signal, and battery icon. Squelch helps minimize bad signals and strengthen and control the strength of the signals the HomePatrol is looking for. You can increase and decrease the squelch by using your volume switch along the top side of the device. Range sets how many systems are searched within your scanner's region based on your location and the scanner's locations. Lower ranges bring in smaller numbers of stations; higher ones bring in more. You can select ranges between 0 and 30mi, though the "best" setting will depend on personal preference. You can increase and decrease the range by using your volume switch along the top side of the device. If you put in too much range and pull in too many stations, your device may give you a "Many channels are selected" warning. You will either need to scan and listen (with the Listen button), change the range (Range), or select fewer services from the small area search (Service). Atten for attenuation, to decrease extra interference in areas where bad signals are common. GPS will tell you the status of a connected GPS device, if plugged in. For the GPS menu, hold your finger down on this button for two seconds. Help allows you to read the Help information about the buttons on the main screen. If you hold it down, you'll reset your position and personal info. Lock - with the padlock button - allows you to lock and unlock the screen's controls - preventing unnecessary tapping. The signal icon indicates the received signal's strength (whether good or bad). The battery icon - shows your battery condition and whether it is charging or the power is connected to the device screen.
At the bottom of your device, you'll find more option menus and other features, which are less commonly used. Menu allows you to set your options through your setup menu. This menu will be talked about shortly. Replay allows you to replay the previous transmissions. Hold it to go into the Replay menu option. Replay doesn't work when the batteries aren't installed or are low on battery power. Record allows you to record the heard transmissions. Pressing it once begins recording; pressing it again stops and saves the recording. Holding this button brings you to your Record menu. This process is described in Record a Session on a Uniden HomePatrol. Record doesn't work when the batteries aren't installed or are low on battery power, either. Mute allows you to turn off the volume to stop hearing transmissions. However, it does so for only 30 seconds. If you'd like to do this permanently, select Permanent when asked. If at any time you'd like to go back to scanning on any of these menus, you'll have a Listen button to return there. However, some menus you'll also have a Back button, bringing you back one menu at a time.
Step 5: Exploring the Menu System
Customizing Your Scanning Experience
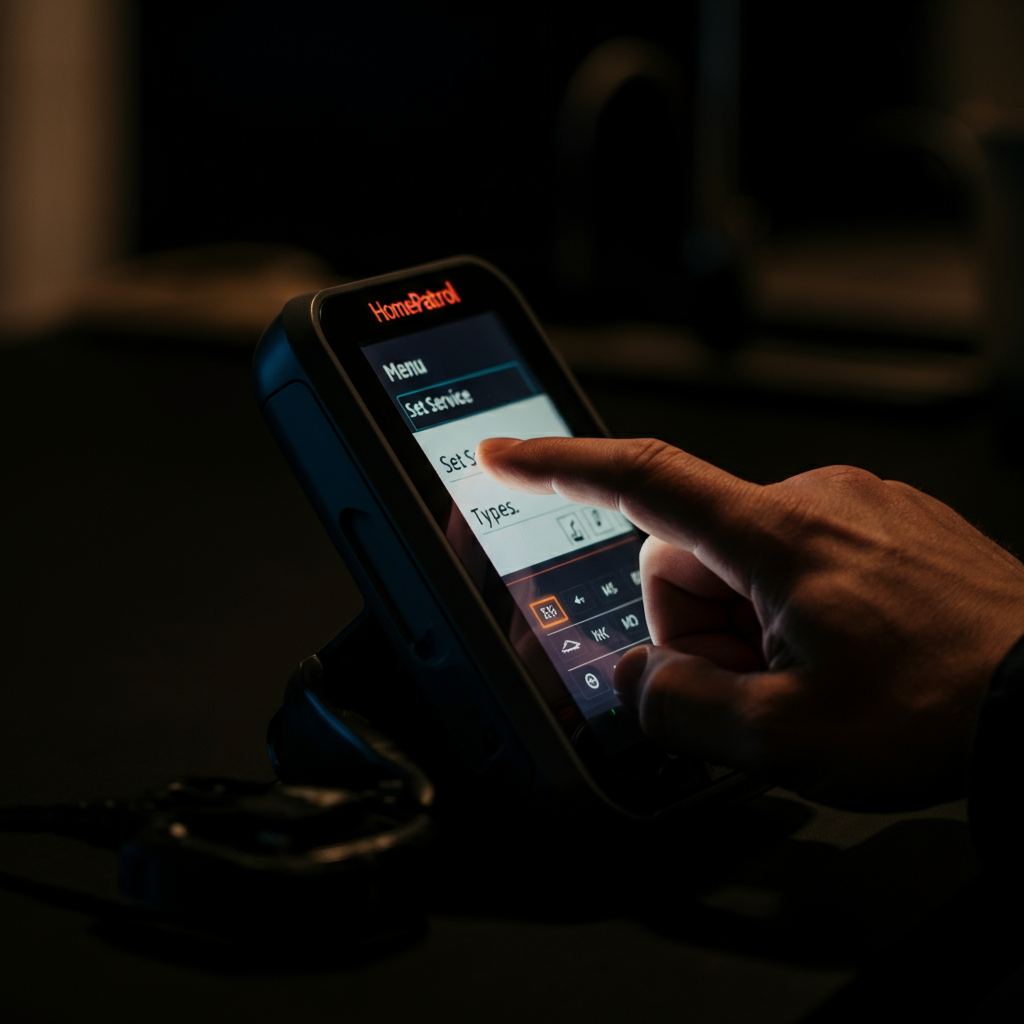
The Menu system is where you'll find options to customize your HomePatrol to suit your specific needs and preferences. You can tap the Menu button, to the left of Replay, in the bottom left corner of the screen. Set Your Location allows you to change your location information. It contains buttons to change your location by Zip Code (Enter Zip Code), by City (Enter City), by Auto Location (Auto Locate), by Manual location (Manual Location Input), by GPS sensor (Set Up GPS), by Range (also found via the top bar, as Set Range), saving the location to enter another location (to take the device between places, Save Location) and Review Location (to switch Locations). Auto-Locate maximizes your range to 30mi, but often misses the mark as to pinpointing where you truly are. Set Service Types will give you types of services to listen to. It includes default values, and those you can tap to select and deselect. With this device, you have Aircraft, Business, Corrections, Emergency Ops, EMS Dispatch, EMS-Tac, EMS-Talk, Federal, Fire Dispatch, Fire-Tac, Fire-Talk, Ham, Hospital, Interop, Law Dispatch, Law Tac, Law Talk, Media, Military, Multi-Dispatch, Multi-Tac, Multi-Talk, Other, Public Works, Railroad, Schools, Security, Transportation, Utilities, Racing Officials, Racing Teams, and several Custom banks numbered 1 to 8. Uniden preprograms these options into the device by default: EMS Dispatch, Fire Dispatch, Law Dispatch, and Multi Dispatch services. However, many others can be made available on the device. Not all service types are within all areas. However, some common ones that most people listen to are already set up when it's shipped to you, so you don't have to set them up yourself. Audio Options contains options for setting the Audio AGC and for hearing tones for Screen Taps. Weather Mode gives you a way to hear NOAA's Weather station (Monitor NOAA Weather), or to set the Weather Alert Standby station (if there's more than one station nearby).
For general listening, you need to select a channel station. Browse through it's 10 stations to find the closest one, then listen to the clearest one. Your available stations include 162.55, 162.4, 162.475, 162.425, 162.45, 162.5, 162.525, 161.65, 161.775, and 163.275 MHz. In some areas, there may be more than one frequency broadcasting NOAA weather report continuous loops. With the Weather Alert Standby station, you can have the device search for the closest station. However, be forewarned, it may give false readings and tests in the early mornings when tests aren't wanted. You may not want to enable this option, because while it's ideal to listen to from the Advanced Menu, it's unwanted because it runs all the time, and as it scans, it'll stop on that station. On this screen, you'll two essentially two sections. One section includes the station information (displaying the monitored channel designation and frequency, but also the counties it's monitoring for (if chosen). That top isn't tappable, but is for viewing only. Below that, you'll see the alerts. You'll see the type of alert typed out, and on it's right a poorly drawn graphic of designating the type of alert it is. Tap this line and you'll hear the alert as it first appeared. If there are more than one alert, you can tap the up and down arrows towards the bottom of the screen. The bottom of the screen includes a Listen button (to return to general radio scanning), a Back button to return to your Weather Mode menu, a "Search for new" to have your device find the best Weather Monitoring frequency to listen for updates, and a Location to Set Local Counties list. Display Options gives you on-display options. These include setting the contrast (Set Contrast), the backlight level (Set Backlight Level), the ability to auto-dim (Auto Dim: On/Off), the ability for device to power save (Power Save: On/Off), Unit ID Display (On/Off), two bizarre ones (MotorolaP25 TGID Format: DEC/HEX) and (EDACS TGID Format) and a Font Size reading from 8-12. Owner Information lists your owner information card and your ability to change it. You can list your name line, your Address 1 and 2 (preferably your real address, but can be your email too, just used in case the device gets misplaced if you want it returned to you), your Phone number line, your Email line (represented as E-Mail), a comment (up to you what you might want to say there), and press Finish when ready. To move between lines, you need to move via the Next button, and there's no skipping directly to the end from before these set lines. Manage Favorites List gives you the ability to save stations for later listening. You'll have two options Select Database to Monitor and Create New List. Advanced Menu gives you more options, and will be talked about very shortly.
Step 6: Diving into the Advanced Menu
Unlocking Additional Features and Customization
The Advanced Menu offers a range of less frequently used, but still valuable, options for experienced users. With Advanced Mode, you'll have options to scan additional stations, including using traditional methods (scanning single frequencies), with a few extra steps. You must access it via Menu > Advanced Menu. After the first few, you'll find options that very few need to access, hidden deeper in this menu. On the first page, you'll have several options: Select Nationwide Systems provides options to add additional frequencies from the nationwide database. Options that are disabled vary by country and are split into two types: Canada (CAN) and the USA. Canadian options provided here include Amateur Radio - CAN, Common Military - CAN, Environment Canada - CAN, General Public Use - CAN, Immigration and Customs Enforcement, Interop - CAN, Maritime Channels - CAN, and Rail - CAN. United States options include: Air Shows - USA, Amateur Radio - USA, American Red Cross - USA, Bureau of Alcohol Tobacco Firearm - All System, Citizens Band (CB) - USA, Civil Air Patrol - USA, Coast Guard - USA, Common Aviation - USA, Common Business - USA, Common Federal - USA, , Common Military - USA, Customs and Border Protection - USA - All System, Family Radio Service (FRS) - USA, Federal Disaster - USA, General Mobile Radio Service, Itinerant Business - USA, Maritime - USA, Multi-Use Radio Service (MURS), National Interoperability, National Weather Service - USA, National Incident Radio Support Center, National Interoperability Fire Center - USA, Public Safety - USA, Railroads - USA, and Wireless Microphones - USA. Options you didn't enable will also be included in your Avoid list. If you ever want to come back and listen to them at a later date, yet avoided them on this menu, double-check your Avoid list and remove each one you'd like to listen to again. Advanced Option is only available if you have registered for "extreme features" from this page. However, there's a purchasable key linking you to these extreme features. Quick Frequency Entry allows you to listen to single analog traffic through the provided NFM modulation frequencies. Set Auto Shutoff allows you to have the device shut off after a set period of time. Set Clock allows you to change the color, or turn off/on the ability to have the device change the date for DST options (from the DST: (answer) button) Set Charge Time allows you to set the max time it will take to charge the batteries (based on mAh). Avoid Options gives you the ability to change the way avoids are handled (in Default Avoid (type)) between Temporary and Permanent, and Review Avoid List (to review systems that are currently being avoided. Check this list every 3-6 months, and upon every major work and/or life-change that changes your location. Mute Options allows you to change the time for muting in Default Mute, the level of muteness in Mute Level, and the Silence type (for Reception, Keytap, or Both). To get to page 2, you must press the continue button in the bottom right corner. This continue button will look like a wide, lowercase-v. There's also a ^ which later allows you to get back to page 1, just to the left of the lowercase v button.
By the time you get to page 2, you'll have options very few will need, or that will need but rarely be accessed. Replay Options allows you to set the replay duration (for the time to replay before the current time) and to review all your replay recordings. Standby Options allows you to set the type of default mode when connected separately to external power, and battery power with the "Default Mode External Power" and "Default Mode Battery Power" between "Clock Standby, WX Standby, and All Off" Restore Options allows you to reset the device. Clear User data not only returns the device to factory settings, but it'll empty its Avoid list. Its favorites list, recording sessions, weather event records, discovery logs, and analysis logs are also deleted. With Reset User Settings, your HomePatrol will reset to factory defaults, with nothing else being reset or touched. Version Information shows you the main firmware version, sub firmware version, database version, help version, and ESN number/code.
Pro Tips
- Uniden helped RadioReference compile their database, and RadioReference is now a big source of HomePatrol database information. It runs a large third-party group based on tech and police-scanning HomePatrol enthusiasts.
Safety Considerations
As a HomePatrol user/listener, you can't legally listen to telephone conversations (whether this is from cordless, corded, or cellular), pager conversations, or scrambled signals. According to FCC rules, if you arrive on one, you are bound in strict confidence and can't legally say anything about what was said to anybody, and you must turn the station off or to other stations. These stations aren't found on the main database, but if you go searching by frequencies, you'll occasionally encounter these. All of the main HomePatrol database is okay to listen to, though - just don't try and visit the area where the action is happening. On occasion, your device may pick up signals from baby monitors and similar devices. You may not take action or listen to these either. If you do listen to these, or modify the device to pick up these signals, you may be faced with fines and/or jail time.
Common Mistakes to Avoid
- Forgetting to update the database regularly: The radio frequency landscape is constantly changing. Keeping your database up-to-date is critical for accurate scanning. Use the Uniden Sentinel software to update your database regularly.
- Setting an excessively large range: A very large range setting can overload the scanner with too many signals, slowing down the scanning process and making it difficult to find the channels you want. Start with a smaller range and increase it as needed.
- Ignoring the squelch setting: A properly adjusted squelch setting is essential for clear reception.
FAQ Section
- Q: How often should I update the HomePatrol database?
- A: At least once a week, or more frequently if you know of recent changes in your area.
- Q: What is the best range setting for my area?
- A: Start with a 10-mile range and adjust as needed based on the density of radio traffic in your area.
- Q: Can I use an external antenna with my HomePatrol?
- A: Yes, using an external antenna can significantly improve reception, especially for distant or weak signals.
Conclusion
The Uniden HomePatrol is a versatile and powerful tool for monitoring radio communications. By understanding its features, navigating its menus, and following the tips in this guide, you can maximize your scanning experience and stay informed about events in your community. With regular database updates and careful adjustments to settings like range and squelch, you'll be well-equipped to explore the world of radio scanning.