While digital video has largely replaced analog formats, the charm and unique aesthetic of VHS and VHS-C recordings remain appealing. Perhaps you're archiving family memories, creating a retro-style film project, or simply revisiting a classic technology. This guide provides a comprehensive, step-by-step approach to recording events using a VHS or VHS-C camcorder.
The process involves more than just pressing record. Understanding the nuances of tape formats, camera settings, and potential pitfalls is crucial for capturing quality footage. This guide focuses on optimizing your recordings and preserving them for future generations. We will walk you through the pre-production, production, and post-production stages to create a compelling and visually authentic experience.
Whether you're a seasoned video enthusiast or new to the world of analog recording, this guide provides the knowledge needed to effectively capture memories and creative content on VHS and VHS-C.
Step 1: Gather Your Equipment
Preparing Your Gear
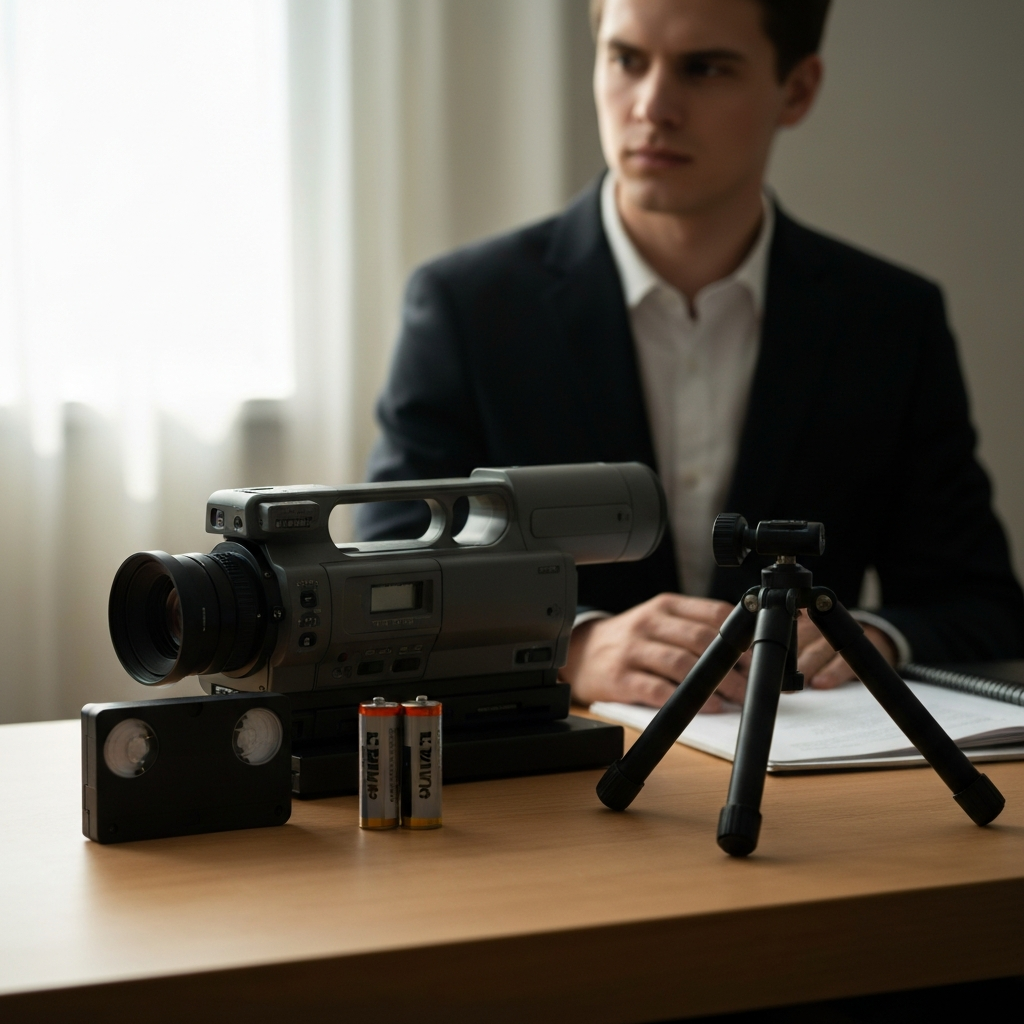
Before you can start recording, you need to assemble the necessary equipment. This includes a functioning VHS or VHS-C camcorder, a blank VHS or VHS-C tape (matching your camcorder's format), charged batteries (or an AC adapter), and potentially a tripod for stable shots. Ensure the tape is compatible with your camcorder. Attempting to force an incompatible tape can damage the camcorder's mechanism. Consider having extra batteries on hand, as recording can quickly drain power.
Step 2: Inspect and Prepare the Tape
Ensuring Tape Readiness
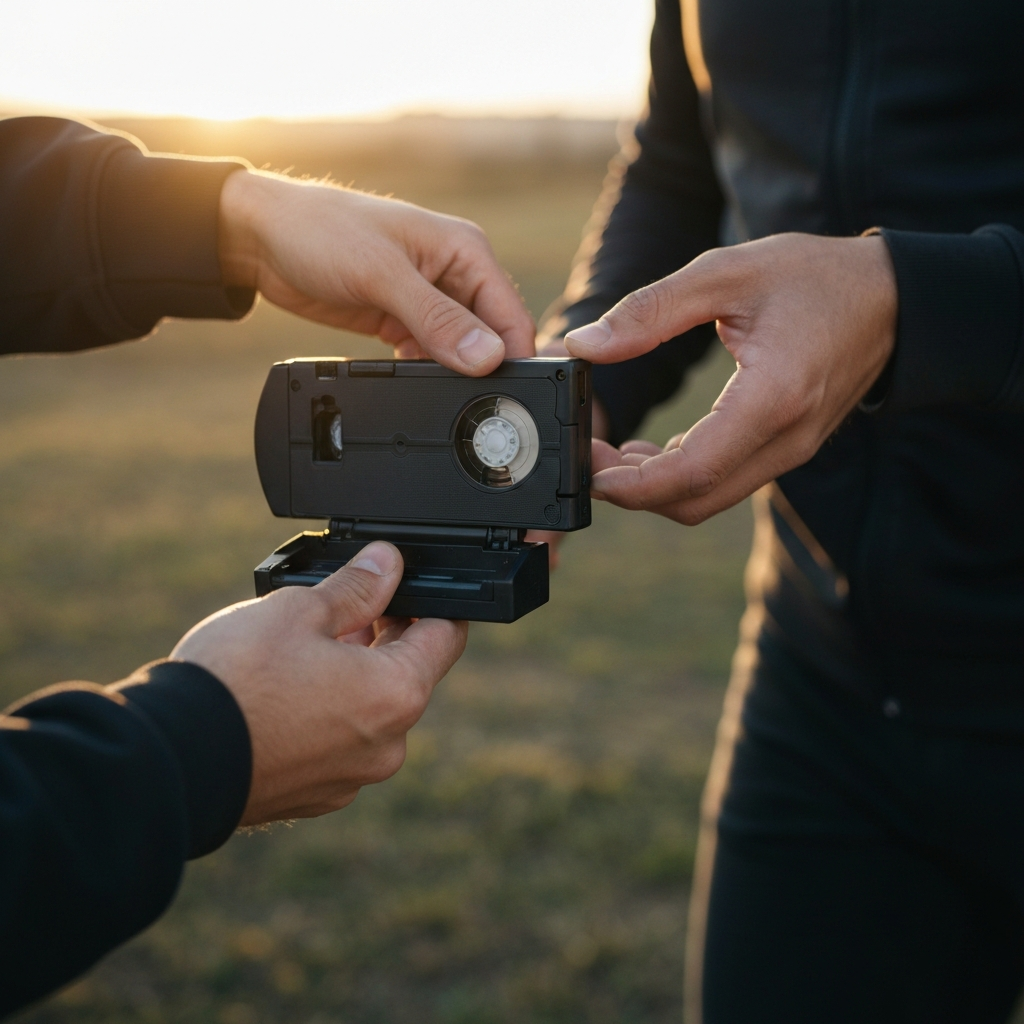
Examine the VHS or VHS-C tape before inserting it into the camcorder. If the tape is used, rewind it to the beginning to prevent recording over existing footage unless that is your intention. Check the tape for any visible damage, such as tears or creases, which can cause the camcorder to malfunction or damage its recording heads. If using a VHS-C tape, confirm that you have a VHS adapter (PlayPak) if you intend to play it back on a standard VCR.

Step 3: Loading the Tape
Inserting the Media
Locate the tape loading mechanism on your camcorder. This typically involves pressing an "Eject" button to open the tape compartment. Gently insert the tape into the compartment, ensuring it is properly aligned. Avoid forcing the tape; it should slide in smoothly. Once the tape is fully inserted, close the tape compartment securely. If the compartment doesn't close easily, recheck the tape alignment.
Step 4: Power On and Adjust Settings
Camera Activation and Configuration
Turn on the camcorder using the power switch or button. Allow the camera to initialize, which may take a few seconds. Familiarize yourself with the camera's basic settings, such as zoom, focus, and exposure. If your camcorder has a date/time stamp function, ensure it's properly set. Incorrect settings can detract from the overall viewing experience. Consult your camcorder's manual for specific instructions on adjusting these settings.

Step 5: Framing and Composition
Visual Considerations
Compose your shot by looking through the viewfinder or LCD screen. Pay attention to framing, ensuring that your subject is well-positioned within the frame. Use the zoom function to adjust the focal length and create a tighter or wider shot. Consider the rule of thirds to create a visually appealing composition. Avoid placing your subject directly in the center of the frame. Ensure your shot is level, unless you're intentionally using a tilted angle for artistic effect.

Step 6: Recording the Event
Initiating and Managing Capture
Press the record button to begin recording. A red light or indicator on the camcorder will typically illuminate to confirm that recording is in progress. Record a few seconds of "buffer" footage before and after the desired action to provide editing flexibility later. If you need to pause the recording, use the pause button. Pressing the record button again will resume recording without creating a hard cut. Avoid abruptly stopping and starting the recording frequently, as this can wear down the tape heads.

Step 7: Post-Recording Procedures
Tape Handling and Preservation
Once you've finished recording, press the stop button. Allow the tape to come to a complete stop before ejecting it from the camcorder. Depending on your camcorder model, you may need to rewind the tape before ejecting it. After ejecting the tape, protect it from dust, moisture, and extreme temperatures. Store the tape in a cool, dry place, away from direct sunlight and magnetic fields. If you are not intending to record over this tape, break the record-protect tab on the tape to prevent accidental erasure.

Step 8: Playback and Review
Verifying and Quality Check
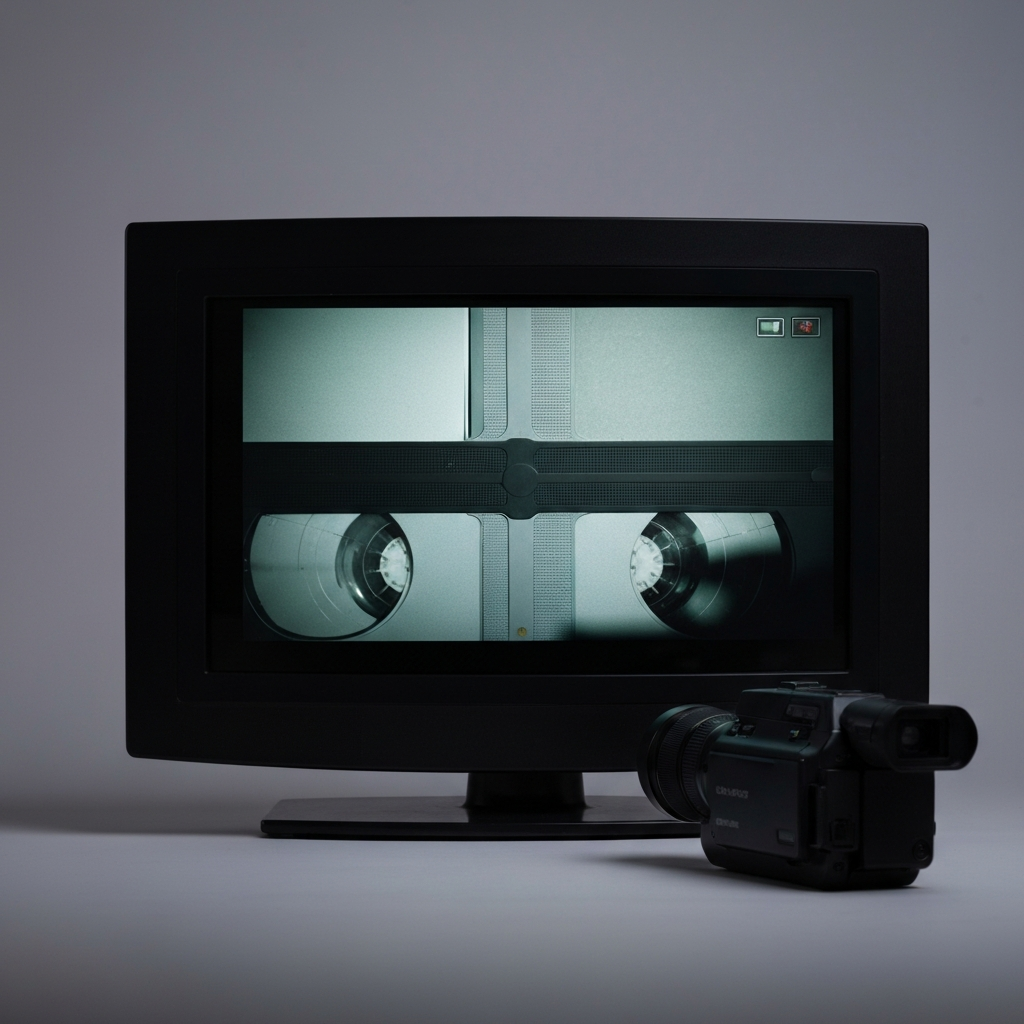
To review your footage, you can either play the tape back on the camcorder's built-in screen (if equipped) or connect the camcorder to a television using the appropriate AV cables. Check the audio and video quality, paying attention to any distortion, noise, or tracking issues. If you encounter problems, consult your camcorder's manual for troubleshooting tips.
Common Mistakes to Avoid
- Using incompatible tape formats.
- Forcing a tape into the camcorder.
- Recording over valuable footage without backing it up.
- Storing tapes in unfavorable conditions.
- Ignoring the camera's settings (focus, exposure, white balance).
Pro Tips
- Use a tripod for stable shots, especially when zooming.
- Record in well-lit environments to minimize noise.
- Clean the camcorder's heads periodically to maintain image quality.
- Experiment with different camera angles and compositions.
- Consider adding external microphones for improved audio.
Safety Considerations
- Always use the correct power adapter for your camcorder.
- Avoid using the camcorder in wet or humid environments.
- Never attempt to repair the camcorder yourself unless you are a qualified technician.
FAQ Section
Q: Can I use a VHS-C tape in a standard VCR?
A: No, you need a VHS adapter (PlayPak) to play VHS-C tapes in a standard VCR.
Q: How do I prevent accidental erasure of my recordings?
A: Break the record-protect tab on the tape after recording.
Q: My camcorder is displaying a "DEW" warning. What should I do?
A: Allow the camcorder to dry completely before using it again. This warning indicates condensation inside the device.
Conclusion
Recording events with a VHS or VHS-C camcorder offers a unique and nostalgic experience. By following these steps and paying attention to detail, you can capture high-quality footage and preserve your memories for years to come. Remember to handle your equipment with care, understand the nuances of the tape format, and address any potential problems proactively.