Keeping your Garmin Nuvi GPS device updated is crucial for accurate navigation, access to the latest road information, and optimal performance. Outdated maps can lead to frustrating detours, missing points of interest, and an overall unreliable experience. Fortunately, updating your Garmin Nuvi is a straightforward process, whether you choose to use Garmin's official software or explore alternative map sources.
This guide will walk you through two primary methods for updating your Garmin Nuvi. The first method utilizes Garmin Express, the official software designed for seamless updates. The second method explores the use of community-created maps, offering an alternative for users who prefer open-source solutions or encounter issues with Garmin Express. We'll provide detailed instructions, troubleshooting tips, and important considerations for each approach, ensuring a smooth and successful update process.
Before you begin, ensure you have a stable internet connection, your Garmin Nuvi device, and a compatible USB cable to connect it to your computer. Let's get started!
Step 1: Download and Install Garmin Express
1.1 Access the Garmin Express Website
Begin by navigating to the official Garmin Express download page. You can find it by searching "Garmin Express" on your preferred search engine or directly visiting https://www.garmin.com/en-US/software/express/. Ensure you are on the official Garmin website to avoid downloading potentially harmful software from unofficial sources. This software is the primary tool for managing and updating your Garmin device.

1.2 Download the Correct Version for Your Operating System
On the Garmin Express website, you'll find download options for both Windows and macOS. Select the version that corresponds to your computer's operating system. Click the appropriate "Download" button (e.g., "Download for Windows" or "Download for Mac"). The download should begin automatically. The download size is typically around 50-100MB, so it shouldn't take too long with a decent internet connection. Be patient during the download process; interrupting it could result in a corrupted installation file.
1.3 Install Garmin Express on Your Computer
Once the download is complete, locate the installation file (usually in your Downloads folder). Double-click the file to begin the installation process. Follow the on-screen instructions carefully. You'll likely need to accept the terms and conditions and choose an installation location. On Windows, you might be prompted to allow the application to make changes to your device; click "Yes" to proceed. On macOS, you might need to drag the Garmin Express icon to the Applications folder. The entire installation process should only take a few minutes. If you encounter any errors during installation, ensure you have administrator privileges on your computer.
Step 2: Connect Your Garmin Nuvi to Your Computer
2.1 Prepare Your Garmin Nuvi and USB Cable
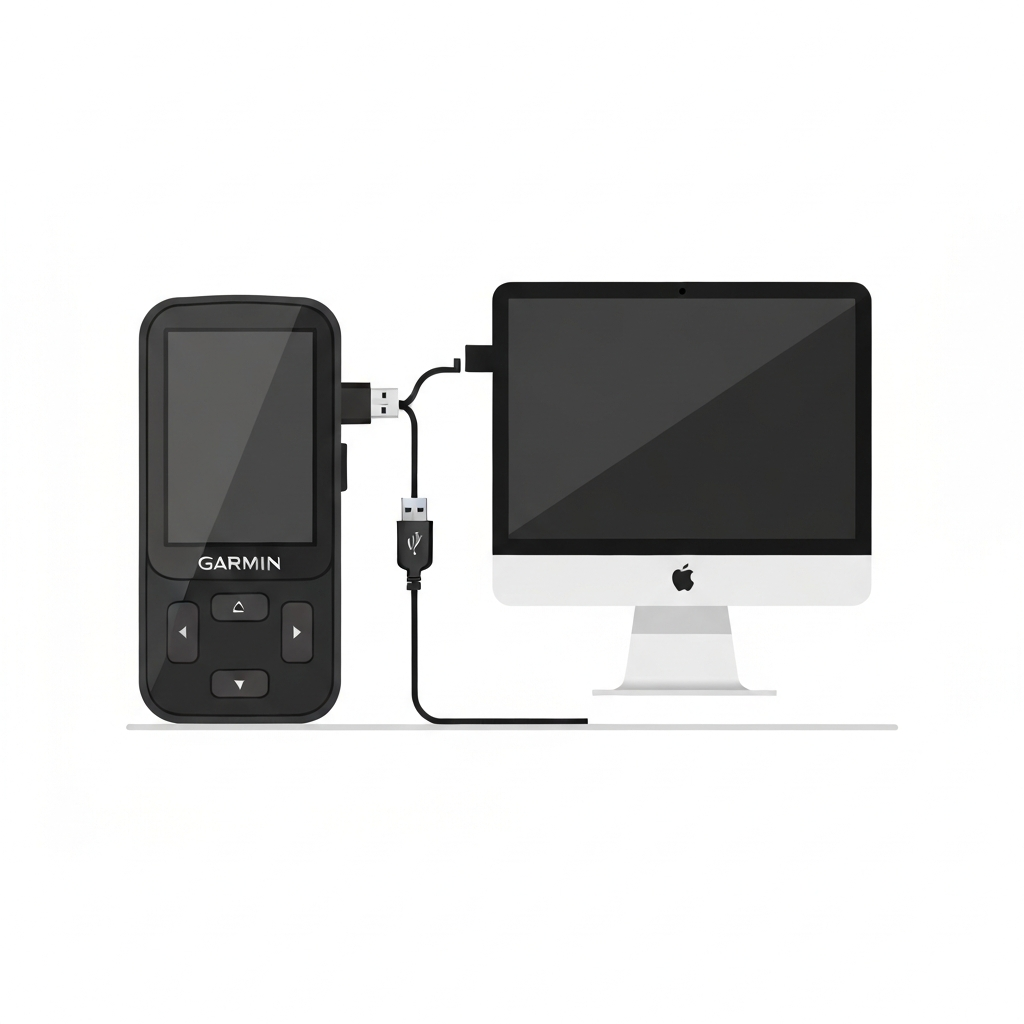
Ensure your Garmin Nuvi is powered on or has sufficient battery charge. Use the USB cable that came with your device or a compatible USB data cable. Some charging cables might not transfer data, so it's important to use a cable specifically designed for data transfer. Locate the USB port on your Garmin Nuvi. It's typically a mini-USB or micro-USB port. Connect the smaller end of the USB cable to your Nuvi and the larger USB-A end to a USB port on your computer.
2.2 Connect to Your Computer
Plug the USB cable into an available USB port on your computer. Avoid using USB hubs if possible, as they can sometimes cause connection issues. A direct connection to your computer's USB port is generally more reliable. Once connected, your computer should recognize the Garmin Nuvi as a removable drive. You might see a notification pop up on your computer indicating that a new device has been detected. If your computer doesn't recognize the device, try a different USB port or restart your computer.
2.3 Open Garmin Express
Launch the Garmin Express application you installed in Step 1. If it doesn't open automatically after installation, find it in your Start Menu (Windows) or Applications folder (macOS) and double-click the icon to open it. Garmin Express might take a few moments to load, especially on older computers. Be patient and allow the application to fully initialize before proceeding.
Step 3: Add Your Garmin Nuvi to Garmin Express
3.1 Start the Device Setup Process
In Garmin Express, click the "Get Started" button. This will initiate the device setup process. Garmin Express will attempt to detect any connected Garmin devices. If your Nuvi is properly connected, it should appear in the list of available devices. If it doesn't appear automatically, click the "Add a Device" button. This will prompt Garmin Express to search again for connected devices.
3.2 Add Device
Once your Garmin Nuvi is detected, select it from the list and click "Add Device". Garmin Express will then guide you through a series of on-screen instructions to complete the setup process. You might be asked to register your device or create a Garmin account if you haven't already. Follow the prompts carefully to ensure your device is properly registered and linked to your Garmin account. This process can take a few minutes, depending on your internet connection speed.
3.3 Complete the Setup
Follow any on-screen instructions to finish setting up your Garmin Nuvi and open the dashboard. The dashboard is the main page within Garmin Express where you can manage your device, view available updates, and access other features. You should see information about your Garmin Nuvi, such as its model number, serial number, and the status of its maps and software. This confirms that your device has been successfully added to Garmin Express.
Step 4: Install Available Updates
4.1 Navigate to the Update Section
On the Garmin Express dashboard, look for an "Install All" or "Updates Available" button. This button indicates that there are updates available for your Garmin Nuvi, including map updates and software updates. Click this button to begin the update process. Garmin Express will then download and install the latest updates onto your device. The update process can take a significant amount of time, depending on the size of the updates and your internet connection speed.
4.2 Start the Installation Process
Click "Install All" to start the update process. Garmin Express will display a progress bar indicating the status of the download and installation. It's crucial to keep your Garmin Nuvi connected to your computer and powered on throughout the entire update process. Interrupting the update can cause errors or even render your device unusable. Be patient and allow the updates to complete fully.
4.3 Wait for Updates to Complete
The update process can take anywhere from 30 minutes to several hours, depending on the size of the map updates and your internet speed. During this time, avoid disconnecting your Garmin Nuvi or closing Garmin Express. Once the updates are complete, Garmin Express will display a confirmation message. You can then safely disconnect your Garmin Nuvi from your computer. Ensure you eject the device properly from your operating system before disconnecting the USB cable to prevent data corruption.
Step 5: Using Maps from Other Sources
5.1 Understand OpenStreetMap
OpenStreetMap (OSM) is a collaborative project to create a free editable map of the world. It's a valuable alternative to Garmin's official maps, especially for regions where Garmin's coverage is limited. OSM maps are created and maintained by a community of volunteers, so their accuracy and detail can vary depending on the area. Downloading and installing OSM maps on your Garmin Nuvi can provide access to up-to-date road information and points of interest that might not be available on Garmin's official maps. However, be aware that OSM maps might not be as polished or consistently accurate as commercial maps.
5.2 Download OSM Map Data
To download OSM map data, visit a website that provides pre-compiled Garmin-compatible map files based on OpenStreetMap data. Several websites offer this service; search for "OSM Garmin maps" to find a suitable provider. Select the region or area you want to download. The download size can vary significantly depending on the area covered. Once the download is complete, you'll have a .img file containing the map data.
5.3 Copy the Map File to Your Garmin Nuvi
Connect your Garmin Nuvi to your computer using a USB cable. Ensure your Nuvi is in "USB Mass Storage" mode (you might need to configure this in the Nuvi's settings). On your computer, locate the Garmin Nuvi's storage drive. Open the "Garmin" folder (if it exists; otherwise, create a new folder named "Garmin"). Copy the downloaded .img map file into the "Garmin" folder. If there is already a file named gmapsupp.img, either rename it, back it up, or ensure that the new map covers a different region than the previous map to avoid conflicts. The copy process can take some time, depending on the size of the map file.
5.4 Activate the New Map
Disconnect your Garmin Nuvi from your computer. Power on the device. Navigate to the map settings menu (usually under "Tools" > "Settings" > "Map" > "Map Info"). You should see a list of available maps, including the new OSM map you copied. Enable the new map and disable any overlapping or conflicting maps, particularly the pre-installed Garmin base map, to avoid display issues. Experiment with enabling and disabling different maps to find the configuration that works best for your needs. Remember to only have one custom named 'gmapsupp.img' active at any time.
Tools or Materials Required
- Garmin Nuvi GPS device
- Computer (Windows or macOS)
- USB cable (compatible with your Garmin Nuvi)
- Stable internet connection
Common Mistakes to Avoid
- Using an incompatible USB cable (some charging cables don't transfer data)
- Interrupting the update process (can cause errors or brick your device)
- Downloading Garmin Express from unofficial sources (risk of malware)
- Not having enough storage space on your Garmin Nuvi (consider using an SD card)
- Forgetting to eject the device properly from your computer before disconnecting the USB cable
- Enabling overlapping maps, causing display issues
FAQ Section
- Q: How long does it take to update a Garmin Nuvi?
- A: The update process can take anywhere from 30 minutes to several hours, depending on the size of the updates and your internet connection speed.
- Q: Do I need a Garmin account to update my Nuvi?
- A: While not strictly required for all updates, having a Garmin account is recommended for accessing the latest features and managing your device.
- Q: Can I update my Garmin Nuvi without a computer?
- A: No, Garmin Nuvi devices typically require a computer and Garmin Express for updates.
- Q: What if Garmin Express doesn't recognize my device?
- A: Try a different USB port, restart your computer, or ensure your Garmin Nuvi is in USB Mass Storage mode.
- Q: Are OpenStreetMap maps as accurate as Garmin's official maps?
- A: Accuracy can vary depending on the region. OSM maps are often very detailed in some areas but might lack the polish and consistency of commercial maps.
Conclusion
Updating your Garmin Nuvi is essential for maintaining accurate navigation and enjoying the best possible experience. By following the steps outlined in this guide, you can confidently update your device using Garmin Express or explore the world of community-created maps with OpenStreetMap. Remember to be patient during the update process, avoid common mistakes, and consult the FAQ section for answers to frequently asked questions. Keep your Nuvi updated, and happy travels!