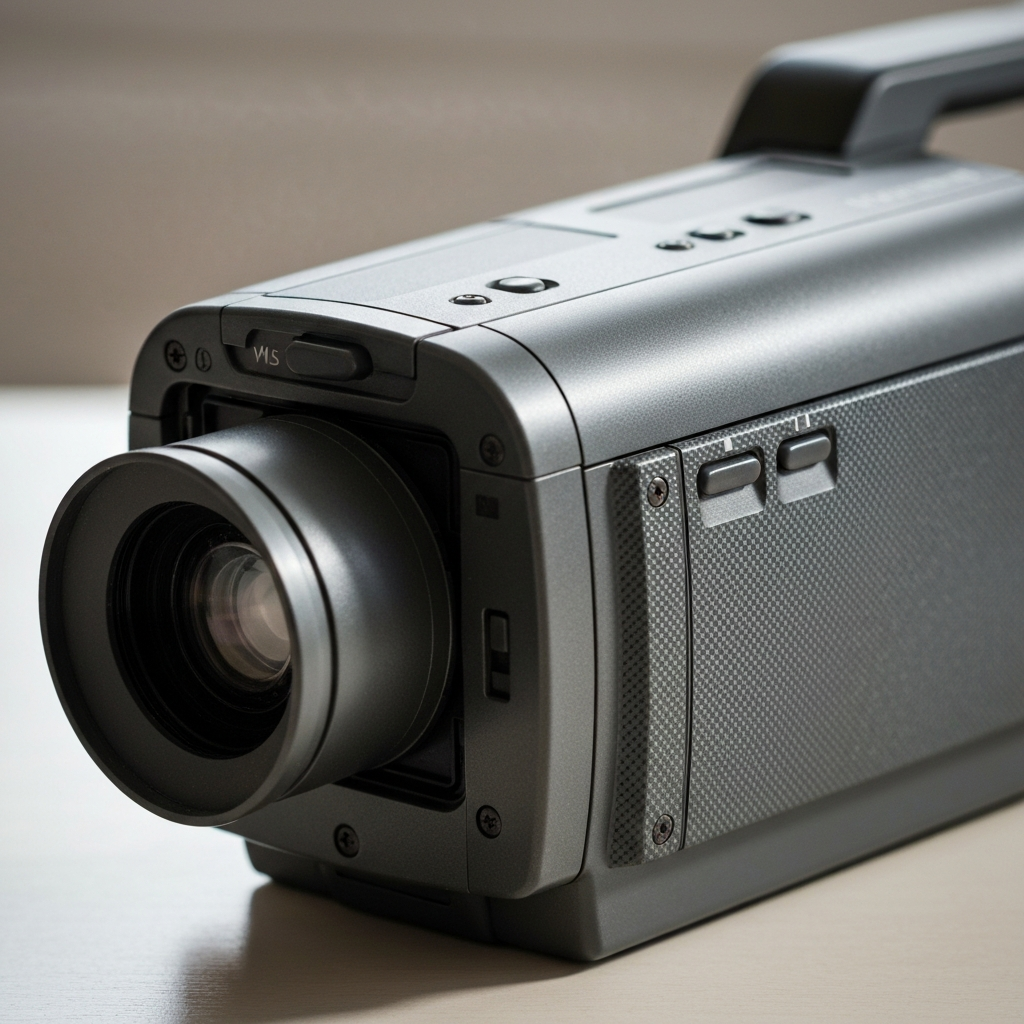
While modern digital cameras and smartphones have largely replaced them, VHS and VHS-C camcorders hold a certain nostalgic charm, and in some cases, might be the only option available. They offer a unique, vintage aesthetic, and understanding how to operate them can be surprisingly rewarding. Whether you've unearthed an old family camcorder or are deliberately seeking out this retro technology, this guide will walk you through the process of recording events using these classic devices.
This guide is designed to be comprehensive, covering everything from pre-production preparations to post-production care. We'll delve into the specifics of handling both VHS and VHS-C formats, addressing potential pitfalls and offering practical tips to ensure your recordings capture those precious memories effectively. Prepare for a trip down memory lane – or a dive into a world you never knew existed!
It might seem daunting, but the process is quite straightforward once you understand the basics. Let's begin!
1. Pre-Production Preparations
Before you even think about pressing the record button, some essential preparations are necessary to ensure a smooth and successful recording session. Taking the time to complete these steps will significantly reduce the risk of encountering problems mid-event and help you achieve the best possible results.
2. Gather Your Materials
The first step is to gather all the necessary equipment. You'll need: the VHS or VHS-C camcorder itself, a compatible blank tape, charged batteries (or a power adapter, if your camcorder uses one), and a lens cleaning cloth. Make sure the tape is the correct format for your camcorder. Trying to force an incompatible tape can damage the camcorder. Consider having extra tapes and batteries on hand, especially for longer events.
3. Inspect and Prepare the Tape
Carefully inspect the blank tape for any signs of damage. Ensure the write-protect tab (VHS) or switch (VHS-C) is in the record position. For VHS tapes, the tab should be intact (not broken off); for VHS-C, the switch should not be in the "protect" position. If using a previously recorded tape, be aware that the new recording will overwrite the old footage. For optimal results, use a new tape or one that has been thoroughly rewound. Rewinding can be done within the camera or with a separate rewinder. Using a separate rewinder will save on wear and tear of your camcorder's motor.
4. Insert the Tape
Locate the tape compartment on your camcorder. This usually involves pressing an "Eject" button. Insert the tape into the compartment, making sure it's oriented correctly. Most camcorders have a diagram showing the correct orientation. Gently close the tape compartment. Forcing it can damage the mechanism. Listen for a click or other indication that the compartment is securely closed.
5. Power Up and Initial Setup
Install fresh batteries or connect the power adapter. Turn on the camcorder. Most camcorders have a power switch or a button labeled "On/Off." Once powered on, the camcorder may perform a self-check. If there's a date/time display, check if it's accurate. An inaccurate date/time often means the internal clock battery needs replacement. Some camcorders require setting the date and time before recording.
6. Familiarize Yourself with the Controls
Before recording, take some time to familiarize yourself with the camcorder's controls. Locate the record button, zoom controls, focus adjustment (if available), and any other relevant settings. Practice using these controls to get a feel for how they work. Refer to your camcorder's user manual if you're unsure about the function of any particular control.
7. Adjust the Viewfinder
Look through the viewfinder (or flip-out screen if your VHS-C camcorder has one). Adjust the diopter (if available) to achieve a clear and focused image. The diopter is usually a small dial located near the viewfinder. This ensures that the image is sharp for your eyesight. Some cameras have a small adjustment knob; others may require you to rotate the entire eyepiece.
8. Remove the Lens Cap
Don't forget to remove the lens cap! It sounds obvious, but it's a common mistake. Most lens caps are tethered to the camcorder with a strap, so you don't lose them. Keep the cap safe so it can be used to protect the lens during storage. Check that the lens itself is clean and free of smudges. Use a lens cleaning cloth for best results.

9. Recording the Event
Now that you've completed the pre-production steps, you're ready to record your event. Remember to think about framing, composition, and audio quality to create a memorable recording.
10. Framing and Composition
Consider the framing of your shots. Decide what you want to include in the frame and how you want to arrange the elements. Use the zoom controls to get closer or further away from the subject. Avoid sudden, jerky movements. Hold the camcorder steady to prevent shaky footage. Resting it on your shoulder or using a tripod can help with stability.
11. Audio Considerations
Be mindful of the audio quality. Built-in microphones on older camcorders are generally not great. Avoid recording in noisy environments if possible. If you're recording speech, try to position the camcorder as close as possible to the speaker. Wind noise can be a problem, especially outdoors. Some camcorders have a wind filter setting that can help reduce wind noise.
12. Press Record!
When you're ready to start recording, press the record button. A red light or indicator should illuminate, confirming that the camcorder is recording. Allow a few seconds of lead-in time before the action begins. This gives you some flexibility when editing later.
13. During Recording
Try to maintain a steady hand and avoid excessive zooming or panning. If you need to zoom, do it slowly and smoothly. Vary your shots to keep the recording interesting. Include wide shots, medium shots, and close-ups. Be aware of your surroundings and avoid accidentally blocking the microphone or bumping into objects.
14. Pausing and Stopping
When you want to pause the recording, press the record button again. This will stop the recording but leave the tape ready to continue. To stop the recording completely, press the stop button. It's generally a good idea to pause the recording between scenes rather than stopping and starting it repeatedly. This minimizes the number of breaks in the recording.
15. Post-Production: After the Event
After the event is over, there are a few important steps to take to ensure your recording is preserved properly and can be easily viewed.
16. Stop Recording and Eject the Tape
Ensure the recording is stopped. Press the eject button to remove the tape from the camcorder. Handle the tape carefully to avoid damaging it.
17. Protect Your Recording
Set the write-protect tab or switch on the tape to prevent accidental erasure. For VHS tapes, break off the small plastic tab on the cassette. For VHS-C tapes, slide the protect switch to the "protect" position. Once protected, the tape cannot be accidentally recorded over.
18. Rewind the Tape
Rewind the tape to the beginning. You can do this using the camcorder's rewind function, a VCR (for full-size VHS tapes or VHS-C tapes in an adapter), or a dedicated tape rewinder. Using a dedicated rewinder reduces wear on the camcorder or VCR mechanism. Rewinding can take a significant amount of time, depending on the length of the recording.
19. Review the Footage
Play back the recording to check the audio and video quality. This is your last chance to identify any problems and decide if you need to re-record any portions of the event (if possible). Pay attention to the sound quality, image clarity, and overall composition. If you notice any issues, consider making notes for future recordings.
20. Label the Tape
Label the tape clearly with the date, event, and any other relevant information. Use a permanent marker to write on the label. Accurate labeling will make it easier to find the recording later. Consider creating a simple index or log of the contents of the tape.
21. Store the Tape Properly
Store the tape in a cool, dry place away from direct sunlight and magnetic fields. Excessive heat or humidity can damage the tape. Store tapes upright to prevent them from warping. Protect the tape from dust and dirt. Ideally, store tapes in their original cases.
Tools or Materials Required
- VHS or VHS-C Camcorder
- Blank VHS or VHS-C tape
- Charged Batteries or Power Adapter
- Lens Cleaning Cloth
- Permanent Marker
- Labels
- Optional: Tape Rewinder
Common Mistakes to Avoid
- Forgetting to remove the lens cap.
- Using an incompatible tape format.
- Failing to protect the recording from accidental erasure.
- Recording in noisy environments.
- Shaky camera work.
- Poor framing and composition.
- Not labeling tapes properly.
Safety Considerations
- Handle camcorders and tapes with care to avoid damage.
- Do not attempt to repair a camcorder yourself unless you are qualified to do so.
- Use only compatible batteries and power adapters.
- Avoid exposing tapes to extreme temperatures or humidity.
Pro Tips
- Practice using the camcorder before recording an important event.
- Use a tripod for stable shots.
- Pay attention to lighting and avoid recording in overly bright or dark environments.
- Vary your shots to keep the recording interesting.
- Record extra footage to give you more options when editing (if applicable).
FAQ Section
- Q: Can I convert VHS tapes to digital formats?
- A: Yes, you can convert VHS tapes to digital formats using a VCR and a video capture device. There are also professional services that offer this conversion.
- Q: How long do VHS tapes last?
- A: VHS tapes can degrade over time, especially if stored improperly. Under ideal conditions, they may last for several decades. However, regular use and exposure to harsh environments can shorten their lifespan.
- Q: Where can I find blank VHS or VHS-C tapes?
- A: Blank VHS and VHS-C tapes can be difficult to find in retail stores. You may be able to find them online through retailers like Amazon or eBay. Consider checking thrift stores and estate sales.
Conclusion
Recording events with a VHS or VHS-C camcorder offers a unique and nostalgic experience. While the technology may be outdated, understanding the fundamentals of operation, paying attention to detail, and taking proper care of your equipment will ensure that your memories are captured and preserved for years to come. By following the steps outlined in this guide, you can confidently embark on your retro recording journey and create recordings that will be treasured for generations.