Living in a studio apartment presents a unique set of challenges, primarily centered around space optimization and privacy. The open-concept design, while airy and modern, often blurs the lines between living, sleeping, and working areas. This is where a strategically chosen room divider can be a game-changer, transforming a single room into distinct, functional zones. But choosing the right divider requires careful consideration of your needs, style, and budget.
This guide will walk you through various room divider options, from simple and affordable solutions to more elaborate and permanent installations. We'll explore the pros and cons of each, providing detailed instructions and expert tips to help you make the best choice for your space. Whether you're a renter looking for temporary solutions or a homeowner ready for a more permanent change, we've got you covered.
Beyond just creating visual separation, a good room divider can also enhance storage, improve acoustics, and even add a touch of personality to your studio. Think of it as more than just a barrier; it's an opportunity to redefine your living space and make it truly your own. Let's dive in and discover the perfect room divider for your studio apartment.
Step 1: Assess Your Needs and Space
Understanding Your Goals
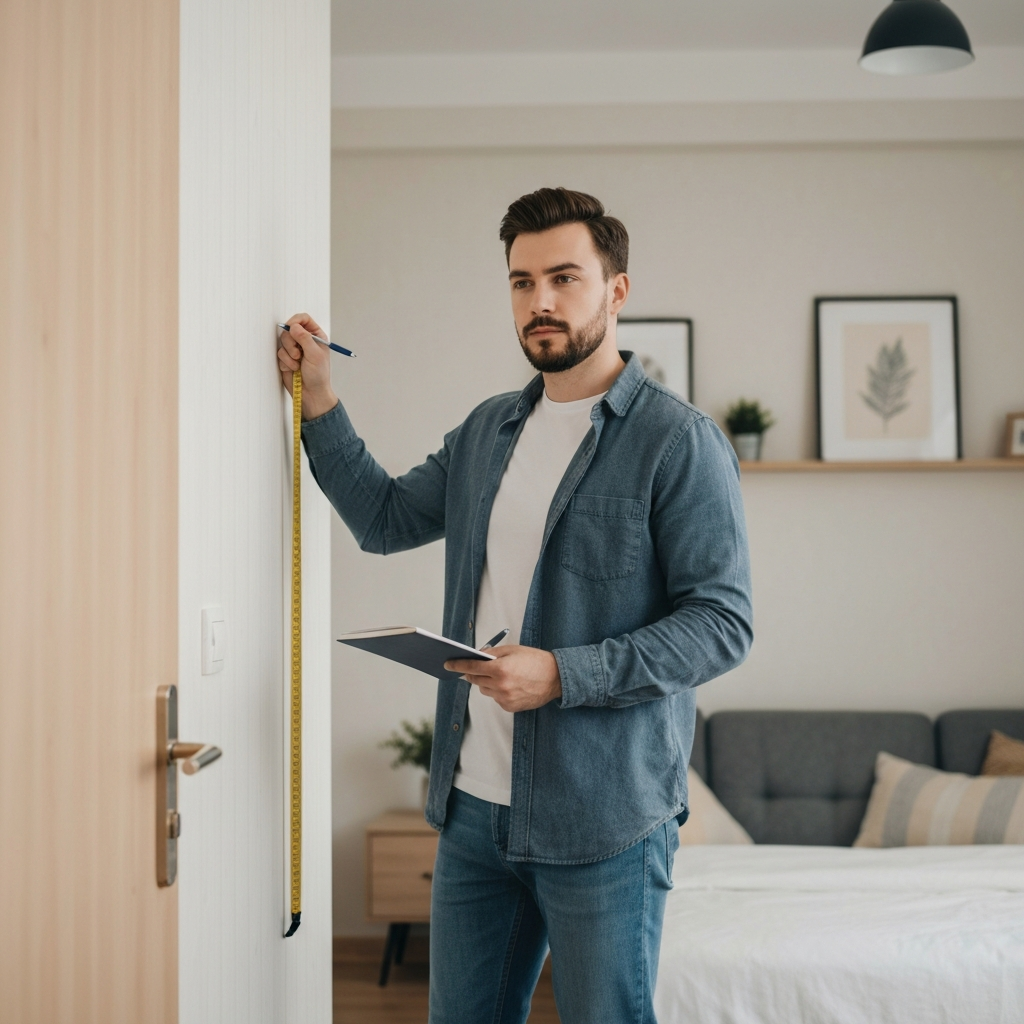
Before you even start browsing room divider options, take a moment to analyze your needs and the characteristics of your studio apartment. What do you hope to achieve with a room divider? Are you primarily seeking privacy for your sleeping area, or do you want to create a dedicated workspace? Consider how much light you want to allow through the divider and whether you need it to offer any soundproofing. Think about the existing decor of your studio and what style of divider would complement it best. Also, meticulously measure the space where you intend to place the divider, accounting for furniture and traffic flow. Failing to accurately assess your needs and space constraints can lead to choosing a divider that is either ineffective or visually jarring.
Step 2: Explore Different Room Divider Options
Screens and Dividers
Screens and folding dividers are among the most versatile and budget-friendly options. These portable solutions come in a wide array of materials, from lightweight fabric panels to sturdy wooden frames with decorative inserts. The key advantage is their flexibility – you can easily move or fold them away when not needed. Consider the opacity of the screen: solid panels offer maximum privacy, while semi-transparent screens allow light to filter through. Bamboo screens are a stylish choice for adding texture and a natural element to your decor. Metal-and-glass dividers offer a modern, industrial aesthetic. Bear in mind that cheaper fabric dividers might lack durability, and larger screens can be bulky to store when not in use.
Step 3: Fabric or Beaded Curtains
Adding Softness and Style
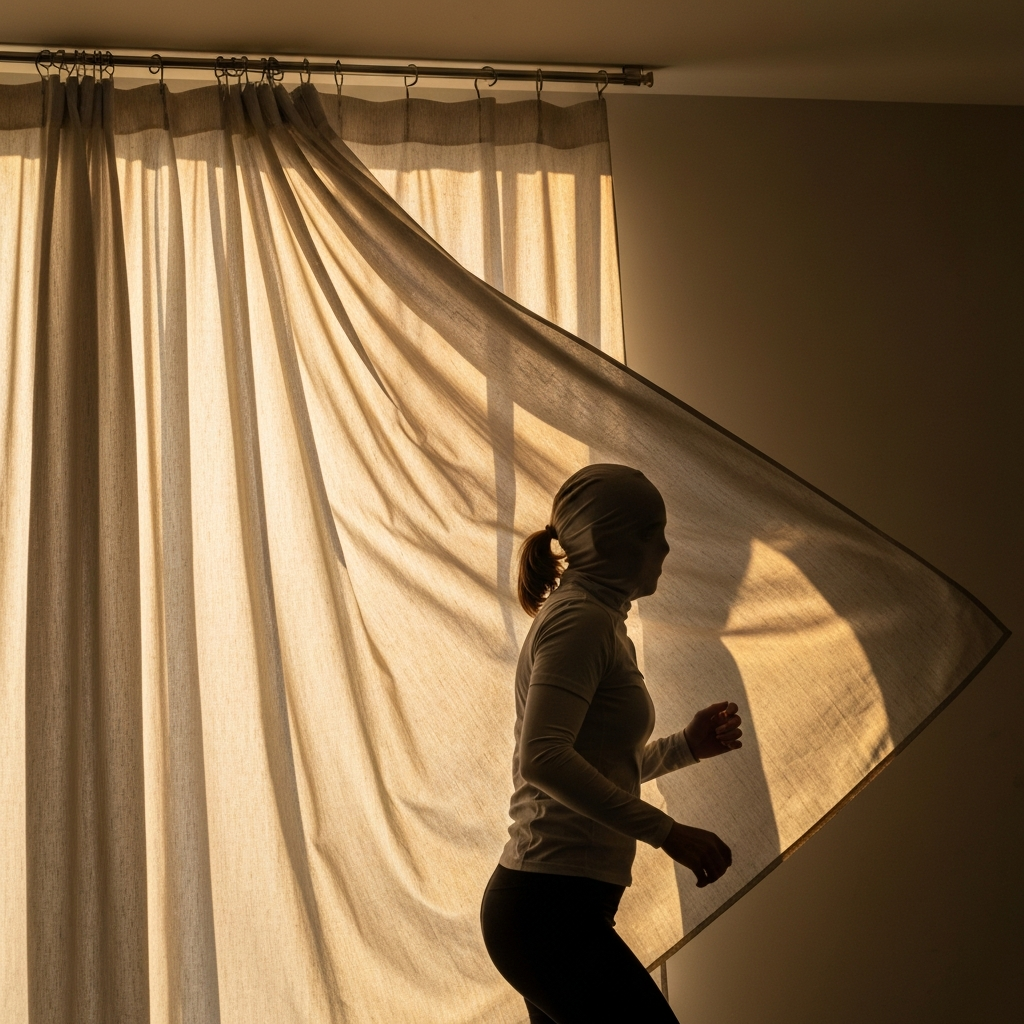
For a more bohemian or whimsical touch, consider using fabric or beaded curtains as room dividers. Fabric curtains offer a simple and customizable solution – you can choose from a vast selection of colors, patterns, and textures to match your decor. Opt for heavier fabrics for greater privacy or sheer materials for a light and airy feel. Beaded curtains, while less practical in terms of privacy, can add a unique and artistic flair to your studio, creating a semi-transparent barrier that allows light to dance through. To install curtains, you'll need a curtain rod and mounting hardware, which can be either permanently installed or tension-mounted for a no-drill solution. Keep in mind that curtains may require regular cleaning, and beaded curtains can be prone to tangling.
Step 4: Shelves and Bookcases
Dual-Purpose Dividers
Shelves and bookcases offer a practical and space-saving solution by combining room division with storage. A tall bookcase can effectively create a visual barrier while providing ample space for books, decor, and other belongings. Closed-back shelves offer greater privacy, while open shelves allow light to pass through, maintaining a sense of openness. When using shelves as dividers, ensure they are stable and properly secured to the wall, especially if they are tall or heavily loaded. Consider the depth of the shelves – shallower shelves may be better suited for narrow spaces, while deeper shelves can accommodate larger items. Strategically placed items on the shelves can also enhance the visual appeal and personalize your space.

Step 5: Tall Furniture as Dividers
Repurposing Existing Pieces
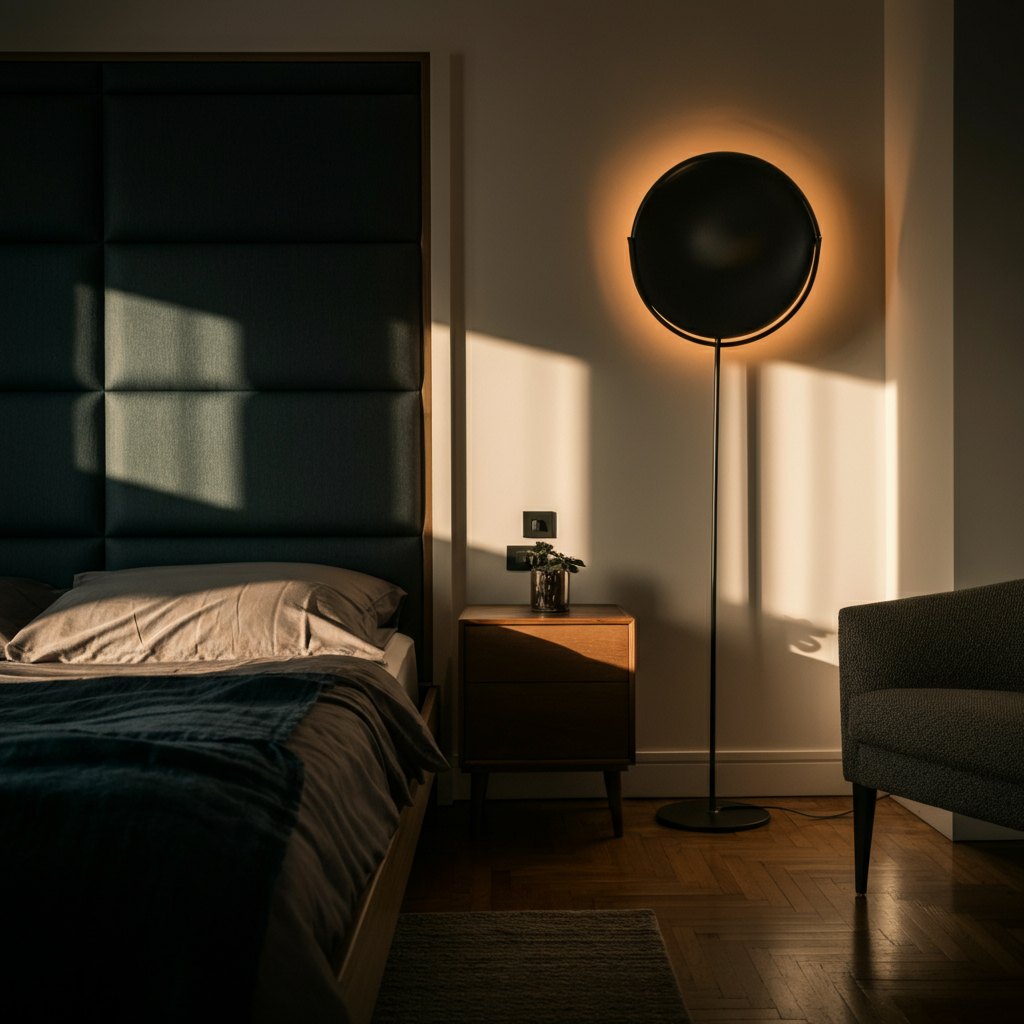
Don't underestimate the potential of your existing furniture to act as room dividers. A tall headboard, a strategically placed wardrobe, or even a large entertainment center can effectively delineate different zones within your studio. This approach is particularly useful if you're on a tight budget or want to minimize additional purchases. When using furniture as dividers, consider its height and width – taller and wider pieces will provide greater visual separation. Experiment with different furniture arrangements to find the most effective configuration for your space. You might need to rearrange existing furniture to accommodate the new “divider” piece. Also, consider how the placement will affect traffic flow and functionality within your studio.
Step 6: Implementing Tall Plants
Bringing Nature Indoors
For a subtle and organic room divider, consider using tall plants. Strategically placed plants can create a soft visual barrier while adding a touch of greenery and freshness to your studio. Choose plants with dense foliage and varying heights to create a layered effect. Consider the lighting conditions in your studio – some plants thrive in bright light, while others prefer shade. You can also use a combination of real and artificial plants to achieve the desired effect. Be mindful of the maintenance requirements of real plants, including watering, pruning, and fertilization. Also, ensure that the plants are placed in stable pots to prevent them from tipping over.
Tools or Materials Required
- Measuring tape
- Level
- Drill (if installing hardware)
- Screwdriver
- Curtain rod and hardware (if using curtains)
- Shelving unit or bookcase
- Plants and pots (if using plants)
- Cleaning supplies
Common Mistakes to Avoid
- Choosing a divider that is too small or too large for the space.
- Blocking natural light with an opaque divider.
- Failing to secure shelves or bookcases to the wall.
- Using flimsy materials that are easily damaged.
- Ignoring the overall aesthetic of the studio.
Safety Considerations
- Ensure that any hardware is properly installed to prevent accidents.
- Avoid using unstable furniture as dividers.
- Be mindful of trip hazards, especially with screens and curtains.
- Keep plants watered and properly maintained to prevent mold or pests.
Pro Tips
- Use mirrors strategically to enhance the sense of space.
- Incorporate storage solutions into your room divider design.
- Choose colors and textures that complement your existing decor.
- Experiment with different arrangements to find the most effective layout.
FAQ Section
- Q: Can I use a room divider in a rental apartment?
- A: Yes, but you should choose temporary and non-permanent options like screens, curtains, or furniture. Check with your landlord before making any permanent changes.
- Q: How do I clean a fabric room divider?
- A: Follow the manufacturer's instructions. Most fabric dividers can be spot-cleaned with a mild detergent and water.
- Q: What is the best room divider for soundproofing?
- A: Solid-core doors or dense, multi-layered fabric screens offer the best soundproofing capabilities.
Conclusion
Dividing a studio apartment effectively can significantly improve its functionality and aesthetics. By carefully assessing your needs, exploring different room divider options, and considering practical factors like budget and space constraints, you can create a living space that is both comfortable and stylish. Remember to prioritize safety, experiment with different layouts, and don't be afraid to get creative. With the right room divider, you can transform your studio apartment into a well-defined and personalized home.