In today's digital landscape, protecting your online accounts is more crucial than ever. Microsoft Authenticator is a free app that provides an extra layer of security for your Microsoft, work, school, and even other online accounts like Google and Facebook. By using multi-factor authentication (MFA), Authenticator helps ensure that even if someone knows your password, they won't be able to access your account without your approval from your registered device. This guide will walk you through setting up Microsoft Authenticator for various types of accounts, ensuring a secure and seamless experience.
This robust application can be used in several ways, including as an alternative sign-in method, for two-step verification, or even for passwordless login. Each of these methods provides a unique level of security and convenience, tailored to your specific needs. The flexibility of Microsoft Authenticator makes it an invaluable tool for anyone looking to enhance their online security posture.
Whether you're a seasoned tech enthusiast or just starting to explore the world of online security, this guide provides clear, step-by-step instructions to help you configure Microsoft Authenticator effectively. We'll cover everything from installing the app to backing up your accounts and transferring them to a new phone, ensuring you're always protected. Let's get started!
Step 1: Install the Microsoft Authenticator App
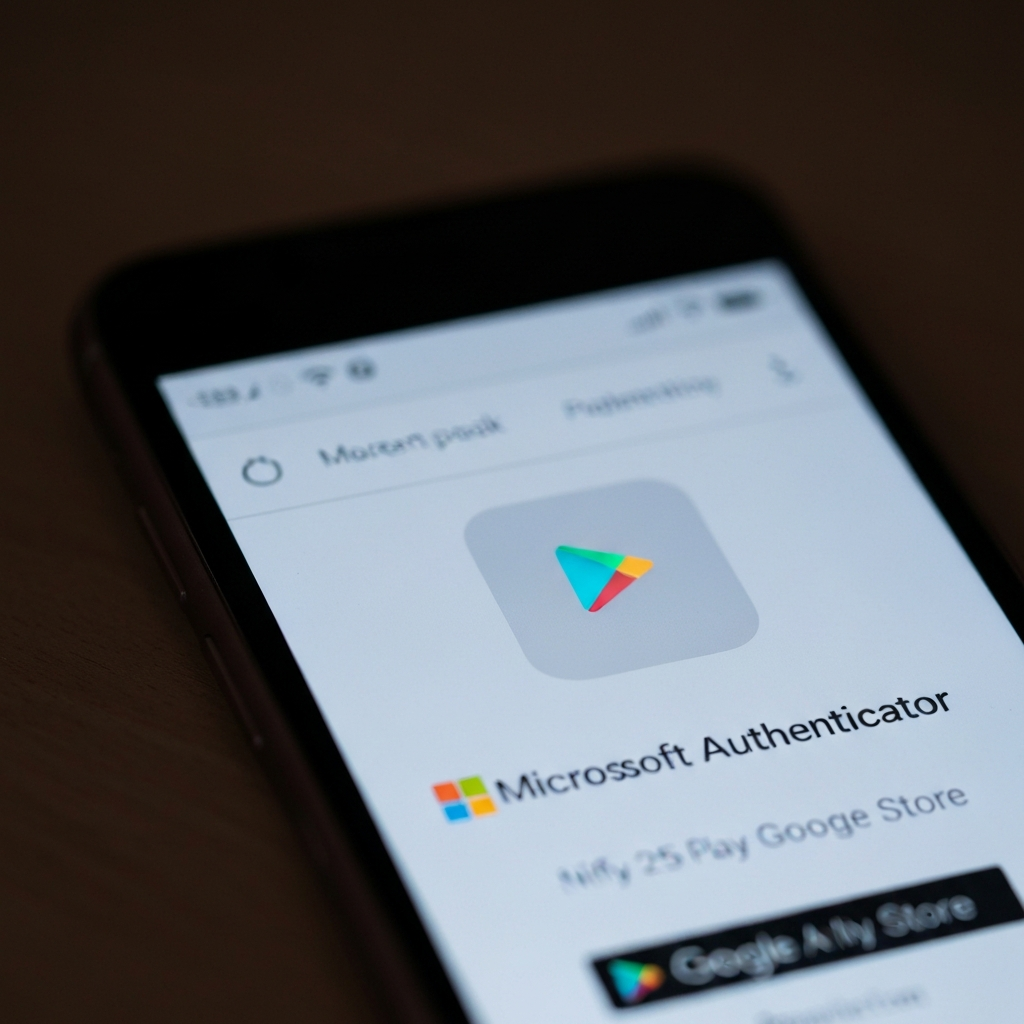
Before you can begin securing your accounts, you'll need to download and install the Microsoft Authenticator app on your smartphone. This app is available for both Android and iOS devices. Head over to the Google Play Store (for Android) or the App Store (for iOS) and search for "Microsoft Authenticator." Once you've found it, download and install the app.
Make sure you download the official Microsoft Authenticator app to avoid potential security risks associated with unofficial apps. Double-check the developer name to ensure it is indeed Microsoft Corporation before proceeding with the installation. This simple precaution can save you from a world of trouble later on.
Step 2: Set Up Authenticator for a Personal Microsoft Account
To enhance the security of your personal Microsoft account, you can set up Authenticator in a few different ways: as an alternative sign-in option, for two-step verification, or for passwordless login. The most common way is to use it for two-step verification. Consider enabling passwordless login for an even more streamlined and secure experience.
Begin by navigating to your Microsoft account's advanced security settings. You can find this by searching for "Microsoft account security settings" in your preferred search engine or by directly accessing it through the Microsoft website after logging in. Ensure you have your Microsoft account credentials ready to proceed.

Step 2.1: Adding a New Way to Sign In or Verify (Alternative Sign-in)
If you choose to add Authenticator as an alternative sign-in method, click "+ Add a new way to sign in or verify" within the security settings. Then, select "Use an app." The next screen may ask if you've already installed the Authenticator app. If you have, choose "Set up a different authenticator app" and tap "Next". If not, tap "Get it now" and follow the on-screen instructions to install it.
When prompted to choose between different authenticator apps, always opt for the official Microsoft Authenticator to ensure compatibility and security. Open the app, tap the "+" icon, and choose "Personal Account". Then select the option to "Scan a QR code" and use your phone's camera to scan the code displayed on your computer screen.
Step 2.2: Enabling Two-Step Verification
For the most common method, enable two-step verification by clicking "Turn On" under the "Two-step verification" section. Follow the on-screen instructions. During this setup, you will be provided with recovery codes. It's absolutely critical that you store these recovery codes in a safe and accessible location. These codes are your lifeline if you ever lose access to your phone or Authenticator app.
Consider printing the recovery codes and storing them in a secure physical location, such as a safe or lockbox. Additionally, you can save them in a password manager or encrypted digital note, ensuring redundancy in case one method fails. Don't rely solely on one method of storing these codes.

Step 2.3: Enabling Passwordless Account
To use passwordless login, scroll down within the security settings and enable "Passwordless Account." You'll be prompted to click "Next" and verify your account. This method eliminates the need to enter a password, relying solely on the Authenticator app for verification. This offers a more secure and seamless login experience.
Bear in mind that passwordless login requires a device that supports biometric authentication, such as fingerprint scanning or facial recognition. Ensure your device's biometric security is properly configured for maximum protection. Regularly update your device's operating system to receive the latest security patches.
Step 3: Set Up Authenticator for a Work or School Account
If your employer or school provided you with a Microsoft account, setting up Authenticator follows a slightly different process. First, ensure you have the Microsoft Authenticator app installed on your mobile phone.
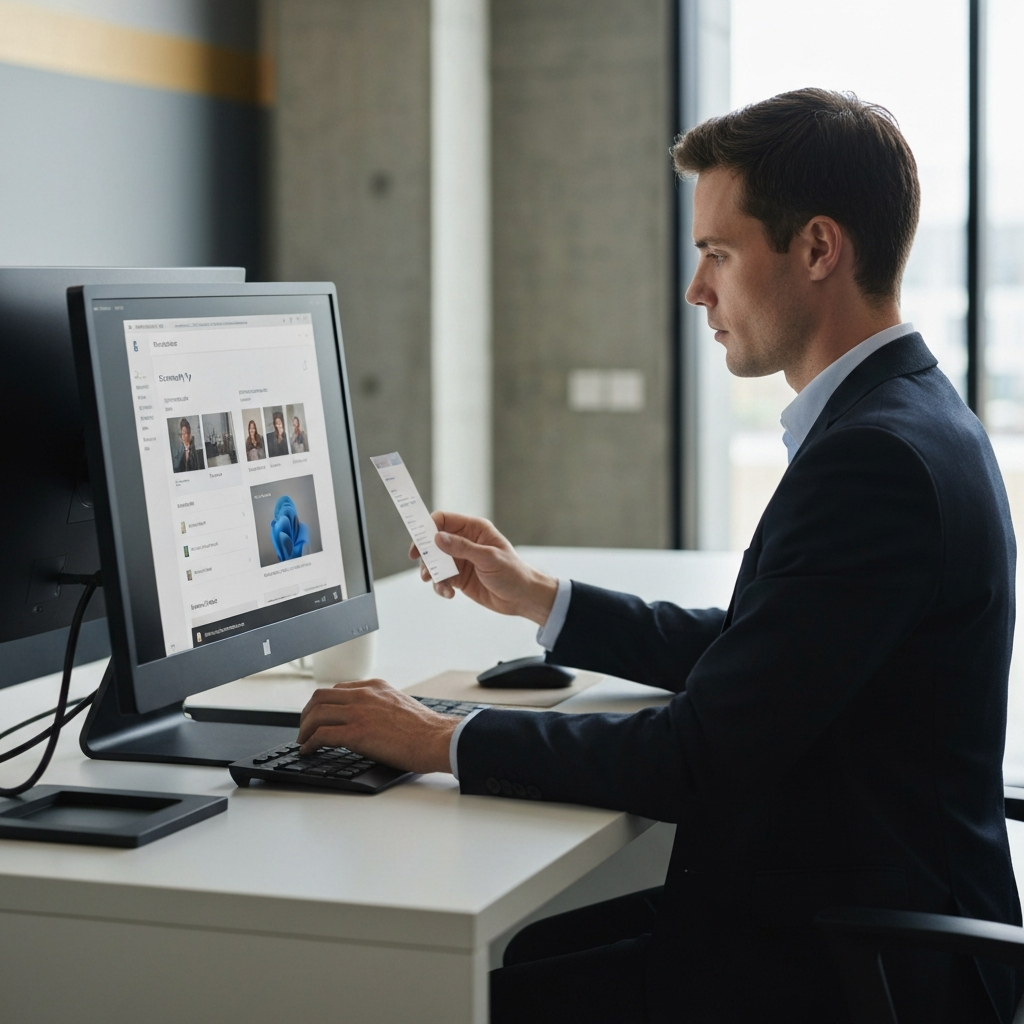
Begin by signing in to your Security info settings on your Microsoft Dashboard. This is usually accessible through your organization's portal or by directly visiting the Microsoft login page and entering your work or school account credentials. If you don't see a page called "Security info" after signing in, look for "Additional security verification", check the box next to "Authenticator app," then click "Configure". Follow any on-screen instructions to scan the QR code.
Step 3.1: Adding Authenticator as a Sign-in Method
Click "+ Add sign-in method" to add Authenticator as a login option. A menu will appear; select "Microsoft Authenticator" and click "Add". You will be prompted to install the Authenticator app if you haven't already done so. Clicking "Next" will display a QR code on your screen.
Now, switch to your phone. Open the Microsoft Authenticator app and tap the "+" icon, then select "Add account". A list of account types will appear. Choose "Work or school account" and then "Scan a QR Code". This will activate the camera within the Authenticator app.

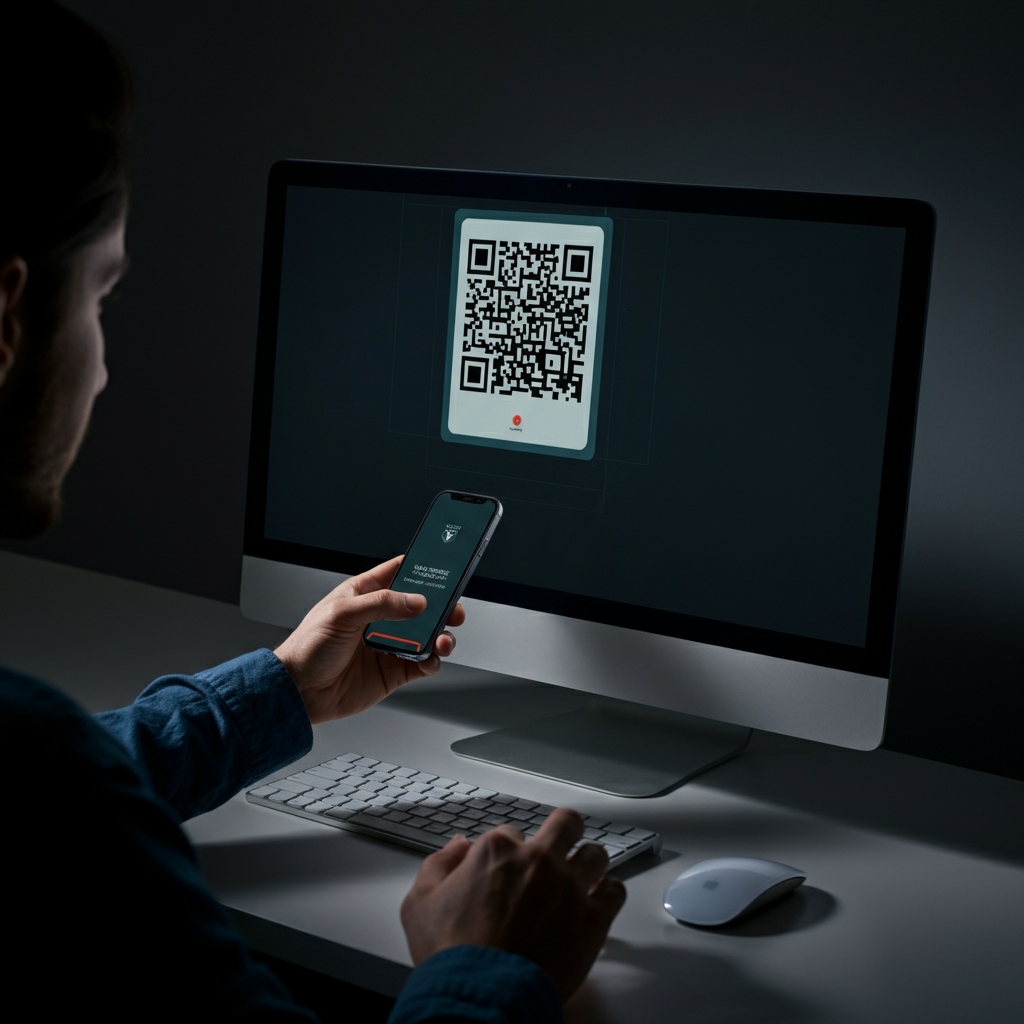
Step 3.2: Scanning the QR Code
Use your phone's camera to scan the QR code displayed on your computer screen. Once the code is scanned, Microsoft Authenticator will guide you through the final account setup steps. If you're unable to scan the QR code (this is common if you work for the government or in a highly secured environment), select "Sign in with your credentials instead," and follow the on-screen instructions to log in manually. This will involve entering your username and password directly into the Authenticator app.
Step 4: Set Up Authenticator for Other Accounts (e.g., Google, Facebook, Amazon)
Microsoft Authenticator isn't just for Microsoft accounts; it can also be used to secure other online accounts that support two-factor authentication. The first step is again, ensuring you have the Microsoft Authenticator app installed on your phone.
Enable two-step verification on your preferred account (e.g., Google, Facebook, Amazon). You'll typically find this option in the account settings under sections like "password," "sign-in," or "security." Look for the option to enable two-step verification. When prompted, choose the option to use an Authenticator app. This process will usually generate a QR code for you to scan with Microsoft Authenticator.
Step 4.1: Adding the Account to Authenticator
Open the Microsoft Authenticator app and tap the "+" icon, then select "Add account". A list of account types will appear. Choose "Other Account". At this point, the app might request permission to access your phone's camera. Follow the on-screen instructions to grant the necessary permissions.
Use your phone to scan the QR code displayed by the service you're setting up two-step verification for (e.g., Google, Facebook). Once the code is scanned, follow the on-screen instructions to complete the setup. Depending on the service, there might be additional steps to complete on your computer or within the service's mobile app. Be sure to follow these prompts to ensure the setup is complete.
Step 5: Using Microsoft Authenticator to Sign In
Once you've set up Authenticator for your accounts, using it to sign in is straightforward. Log in to the site or service as you normally would by entering your username and password. After successful username/password authentication, you will be prompted to complete an additional step to log in. If you're using passwordless sign-in, you'll be prompted to enter a code instead of your password during the initial login attempt.
Select the option to sign in with Microsoft Authenticator. If you're signing in to a Microsoft account, select "Send notification." If not, you may need to choose a similar option, or you might be asked to enter a code. You might need to select "Other ways to sign in", followed by "Approve a request on my Microsoft Authenticator app."
Step 5.1: Verifying Your Login
Open Microsoft Authenticator on your phone. The app will display a list of accounts you've added. If you're signing in to a Microsoft account and chose to send a notification to your phone, tap the notification to approve the sign-in.
For other sites, you will likely see a numeric code in the app or on the service you're trying to sign in to. Open Authenticator (or tap the notification), select the correct number from the options provided, then tap "Approve." If you're prompted to enter a code, enter the one-time code generated by Microsoft Authenticator into the website or application you're logging into. To copy the code, simply tap it within the Authenticator app. Remember that the code refreshes every 30 seconds, so enter it quickly before it expires.
Step 6: Backing Up Microsoft Authenticator
Backing up your Microsoft Authenticator data is crucial to ensure you don't lose access to your accounts if you lose your phone or switch to a new device. The process differs slightly depending on whether you are using an iPhone (iOS) or an Android device.
Step 6.1: Backing Up on iPhone (iOS)
Microsoft Authenticator backs up to iCloud on iPhones, making it easy to restore your accounts. First, ensure that iCloud Drive is enabled. In your iPhone's Settings app, tap your name at the top, select "iCloud," and tap "Drive." Toggle on "Sync this iPhone" if it's turned off. Then, return to the iCloud settings and select "Passwords." If "Sync this iPhone" is off, turn it on. Open the Microsoft Authenticator app, tap the menu icon (☰) and select "Settings." Toggle on "iCloud Backup."
Failing to enable iCloud Drive and Passwords can result in a failed backup and potential loss of access to your accounts during restoration. Double check these settings to ensure they are enabled before activating the iCloud Backup within the Authenticator app.
Step 6.2: Backing Up on Android
To back up your Authenticator data on Android, open the Authenticator app and tap the menu icon (⋮). Tap "Settings." Toggle on "Cloud backup." Select your Microsoft account and tap "OK". This will back up your accounts to the cloud, allowing for easy restoration on a new device.
Ensure that you have a strong and secure password for the Microsoft account that you use for cloud backup. Compromising your Microsoft account could give unauthorized individuals access to your Authenticator data. Consider enabling two-factor authentication on your Microsoft account for added security.
Step 7: Transferring Microsoft Authenticator to a New Phone
If you upgrade to a new phone, restoring your Microsoft Authenticator data is simple, provided you enabled backups as described above. Download the Authenticator app on your new phone and sign in. If you're signed in with the same iCloud or Google account you used to back up your data, any accounts with one-time passwords will be restored automatically. For passwordless sign-in accounts, tap "Sign In" on the account and log in to restore it.
If you no longer have access to the iCloud, Google, or Microsoft account you used with Authenticator on your old phone, you won't be able to restore your Authenticator data. It's essential to maintain access to these accounts to ensure a smooth transfer process. Consider creating backup recovery methods for your iCloud and Google accounts.
Step 7.1: Removing Your Old Device
If you still have your old device, remove it from Authenticator after restoring your accounts on your new phone. Otherwise, codes and notifications may be sent to the wrong device. To remove an account from Authenticator, tap the account you want to remove, tap the gear icon, and tap "Remove Account."
Once you've removed the accounts from your old device, consider performing a factory reset to wipe all personal data. This will help protect your privacy and prevent unauthorized access to your accounts. Failing to remove your accounts and factory reset your old device poses a significant security risk.
Common Mistakes to Avoid
- Not backing up your Authenticator data: This can lead to losing access to your accounts if you lose your phone.
- Losing your recovery codes: These codes are crucial if you lose access to your Authenticator app.
- Downloading unofficial versions of the app: Only download the official Microsoft Authenticator app from the Google Play Store or App Store.
- Using a weak password for your Microsoft account: A strong password protects your Authenticator backups.
- Not removing your old device after transferring Authenticator: This can lead to notifications being sent to the wrong device.
Pro Tips
- Enable biometric authentication (fingerprint or facial recognition) within the Authenticator app for added security.
- Regularly update the Microsoft Authenticator app to ensure you have the latest security patches and features.
- Consider using a password manager to store your recovery codes securely.
- Enable account recovery options for your Microsoft, Google, and other accounts to ensure you can regain access if needed.
- Review your security settings regularly to ensure everything is configured correctly and your accounts are protected.
FAQ Section
- Can I use Microsoft Authenticator on multiple devices?
- No, Microsoft Authenticator is designed to be used on a single device for security reasons.
- What if I lose my phone and don't have my recovery codes?
- Contact Microsoft support or the support for the specific service you're trying to access. They may have alternative methods to verify your identity.
- Does Microsoft Authenticator work with all websites and services?
- No, it only works with websites and services that support multi-factor authentication and allow the use of an authenticator app.
- Is Microsoft Authenticator free to use?
- Yes, Microsoft Authenticator is a free app.
- Can I use Microsoft Authenticator for my work and personal accounts on the same phone?
- Yes, you can add multiple accounts (both work and personal) to the Microsoft Authenticator app on the same phone.
Conclusion
Setting up Microsoft Authenticator is a simple yet powerful way to enhance your online security. By following the steps outlined in this guide, you can effectively protect your Microsoft, work, school, and other online accounts from unauthorized access. Remember to back up your data, store your recovery codes safely, and keep the app updated to ensure maximum security. Embracing multi-factor authentication with Microsoft Authenticator is a critical step in safeguarding your digital life.