Technology is integral to modern life, but it doesn't always cooperate. From frustrating error messages to mysterious slowdowns, tech problems can disrupt your workflow and cause unnecessary stress. The good news is that many common tech issues can be resolved with a systematic approach to troubleshooting. This guide will provide you with the fundamental steps and strategies needed to diagnose and fix basic tech problems, empowering you to become your own tech support.
We'll cover a range of issues, from software glitches to hardware malfunctions, focusing on the most common problems faced by beginner users. By understanding these principles, you'll gain the confidence to tackle a wider variety of tech challenges. Remember, troubleshooting is a process of elimination, and patience is key. Don't be afraid to experiment, but always proceed with caution and back up your data when necessary.
This guide emphasizes a methodical approach, ensuring you don't overlook simple solutions. It's designed for anyone new to troubleshooting, regardless of their technical background. By the end of this guide, you'll be equipped with the knowledge and skills to resolve common tech problems effectively and efficiently.
Step 1: Identify the Problem
Before you can fix anything, you need to clearly define what's broken. Avoid vague descriptions like "my computer is slow." Instead, focus on specifics: "My computer takes 5 minutes to boot up" or "Microsoft Word crashes every time I try to save a document." The more precise you are, the easier it will be to find a solution. Note the exact error messages that appear; these are crucial clues that can point you directly to the source of the issue. Write down the symptoms you're experiencing, as this record will be helpful as you work through the troubleshooting process.

Step 2: Restart the Device
It may sound cliché, but restarting your device is often the simplest and most effective solution. A restart clears the device's memory, closes all running programs, and resets the operating system. This can resolve many temporary software glitches and conflicts. Think of it as giving your device a fresh start. For computers, ensure you're using the "Restart" option rather than just turning it off and on, as the restart process performs additional cleanup tasks. For smartphones and tablets, a forced restart (holding the power button for an extended period) might be necessary if the device is unresponsive.

Step 3: Check the Connections
Loose or faulty connections are a common source of problems, especially with external devices like monitors, printers, and external hard drives. Make sure all cables are securely plugged into both the device and the wall outlet (if applicable). Try different ports if available, as one port might be malfunctioning. If you're using Wi-Fi, ensure your device is connected to the correct network and that the router is functioning correctly. Visually inspect the cables for any signs of damage, such as fraying or kinks. A damaged cable can cause intermittent connectivity issues that are difficult to diagnose.

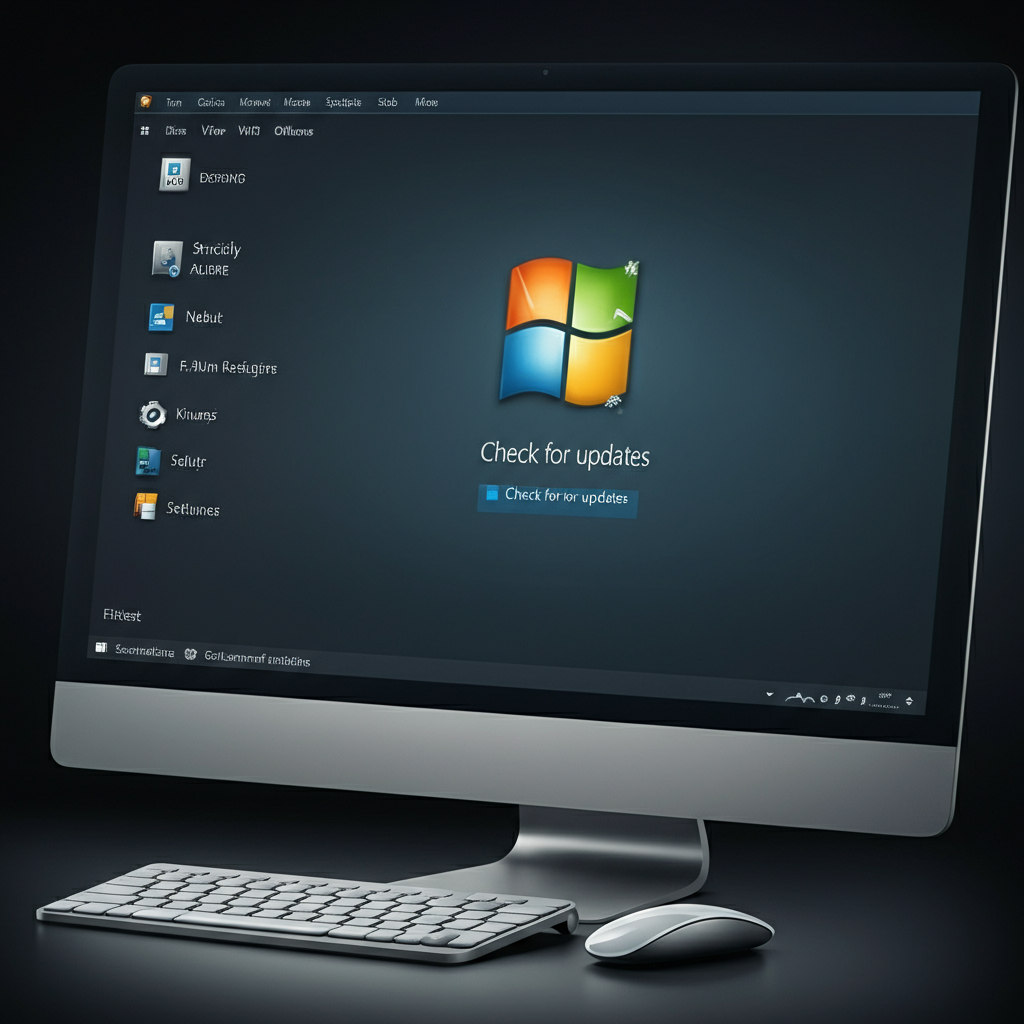
Step 4: Update Software and Drivers
Outdated software and drivers can cause compatibility issues and performance problems. Ensure your operating system, web browser, and other frequently used applications are up to date. Similarly, update the drivers for your hardware components, such as your graphics card, printer, and network adapter. Most operating systems offer automatic update features, but it's a good idea to manually check for updates periodically. Check the manufacturers' websites for the latest drivers, as they often provide more up-to-date versions than the ones offered through your operating system's update tool. Failing to update drivers can cause conflicts and is a very common problem.
Step 5: Run a Virus Scan
Malware can wreak havoc on your system, causing slowdowns, crashes, and even data loss. Run a full system scan with your antivirus software to detect and remove any malicious programs. Make sure your antivirus software is up to date with the latest virus definitions to ensure it can identify the newest threats. Consider using a second opinion scanner, a standalone tool that can detect malware that your primary antivirus software might miss. Many free and reputable second opinion scanners are available online.

Step 6: Check for Conflicting Programs
Sometimes, software conflicts can cause unexpected problems. If you've recently installed a new program, it might be interfering with existing software. Try uninstalling the new program to see if the issue resolves. If the problem persists, consider performing a clean boot, which starts Windows with a minimal set of drivers and startup programs. This can help you identify if a background program is causing the conflict. To perform a clean boot, use the System Configuration utility (msconfig) in Windows. Always document any changes you make so you can revert back to the original configuration if needed.

Step 7: Use System Restore (Windows) or Time Machine (macOS)
If you're still experiencing problems, consider using System Restore (Windows) or Time Machine (macOS) to revert your system to a previous state when it was working correctly. These tools create snapshots of your system configuration, allowing you to undo changes that might be causing the issue. Remember that System Restore typically doesn't affect your personal files, but Time Machine can restore both system files and personal data, depending on your backup settings. Be sure to back up any important data before performing a restore, just in case.

Step 8: Search Online Forums and Support Pages
Chances are, someone else has encountered the same problem you're facing. Search online forums, support pages, and knowledge bases for solutions. Be specific in your search query, including the error message, device model, and software version. When searching online, be wary of untrustworthy sources and avoid downloading files from unknown websites. Stick to official support forums and reputable tech websites.

Tools or Materials Required
- Screwdrivers (Phillips and flathead)
- Canned air
- Cleaning cloths
- Antivirus software
- USB drive (for backups)
Common Mistakes to Avoid
- Ignoring error messages
- Not backing up data before troubleshooting
- Downloading software from untrusted sources
- Making changes without documenting them
- Assuming the worst-case scenario immediately
FAQ Section
Q: My computer is running very slowly. What should I do?
A: Start by restarting your computer. Then, run a virus scan, check for software updates, and close any unnecessary programs. If the problem persists, consider upgrading your hardware or reinstalling your operating system.
Q: My printer is not printing. What should I do?
A: Check the power and USB connections. Ensure the printer is turned on and connected to your computer. Check the ink levels and replace cartridges if necessary. Update the printer driver and try printing a test page.
Q: My Wi-Fi connection is not working. What should I do?
A: Restart your router and modem. Make sure your device is connected to the correct network. Check the Wi-Fi password. Update the network adapter driver. If the problem persists, contact your internet service provider.
Conclusion
Troubleshooting tech problems can seem daunting, but by following a systematic approach and remaining patient, you can resolve many common issues yourself. Remember to clearly identify the problem, try simple solutions first, and document your steps. With practice, you'll become more confident and proficient at troubleshooting, saving you time and money in the long run. Don't be afraid to seek help from online resources or professional support when needed. By combining knowledge, patience, and resourcefulness, you can conquer most tech challenges that come your way.