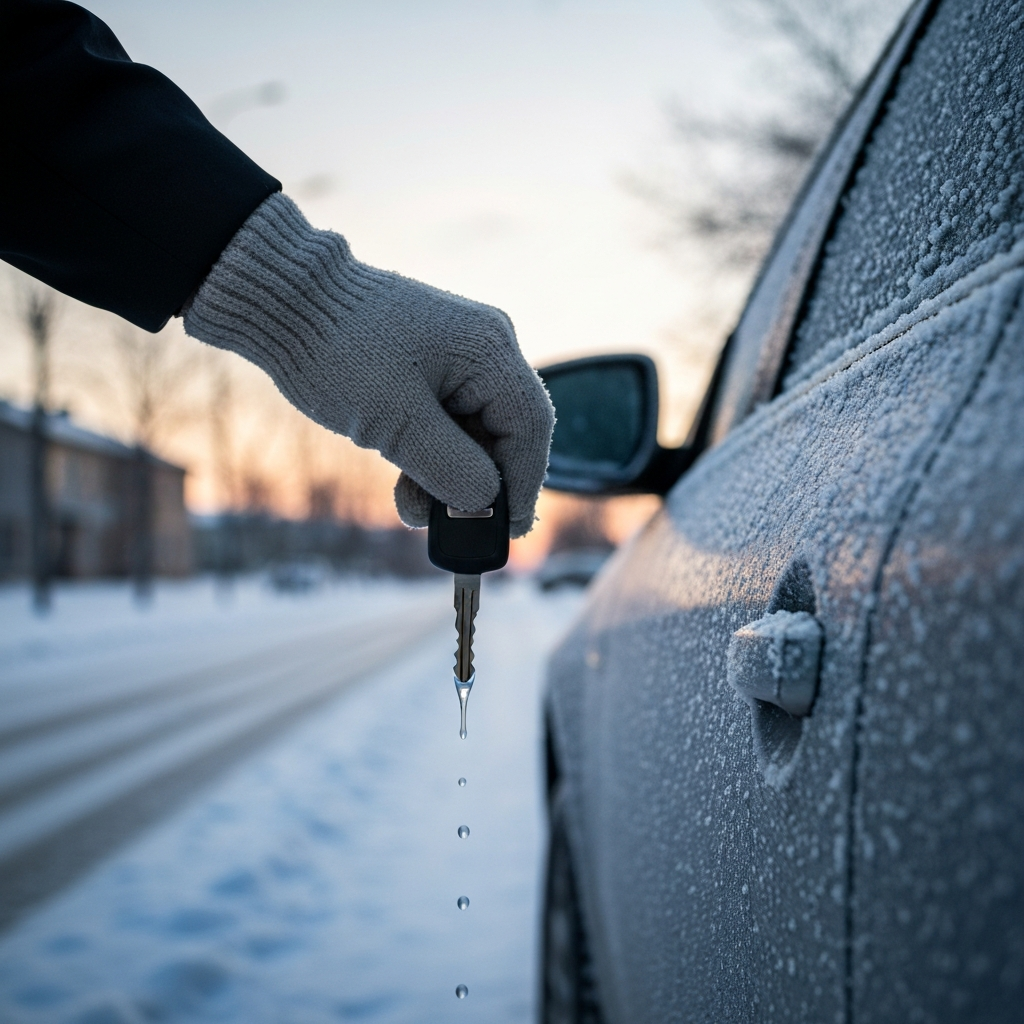
Frozen locks are a frustrating winter reality. Being locked out in the cold is not only inconvenient but can also be dangerous. Fortunately, with the right preventative measures, you can significantly reduce the chances of your outdoor locks freezing. This guide will provide you with practical steps and expert tips to keep your locks functioning smoothly throughout the winter months.
The key to preventing frozen locks lies in understanding the problem: moisture. When water gets inside the lock mechanism and freezes, it expands, seizing the lock and preventing the key from turning. Our goal is to keep moisture out or to displace it with substances that won't freeze easily. This guide covers various methods suitable for different types of locks, from door locks and car locks to padlocks.
Remember, prevention is always better than cure. While we'll also discuss solutions for already-frozen locks, focusing on these preventative steps will save you time, effort, and potential headaches during the harsh winter season. Let's get started on ensuring your locks remain operational, no matter the weather.
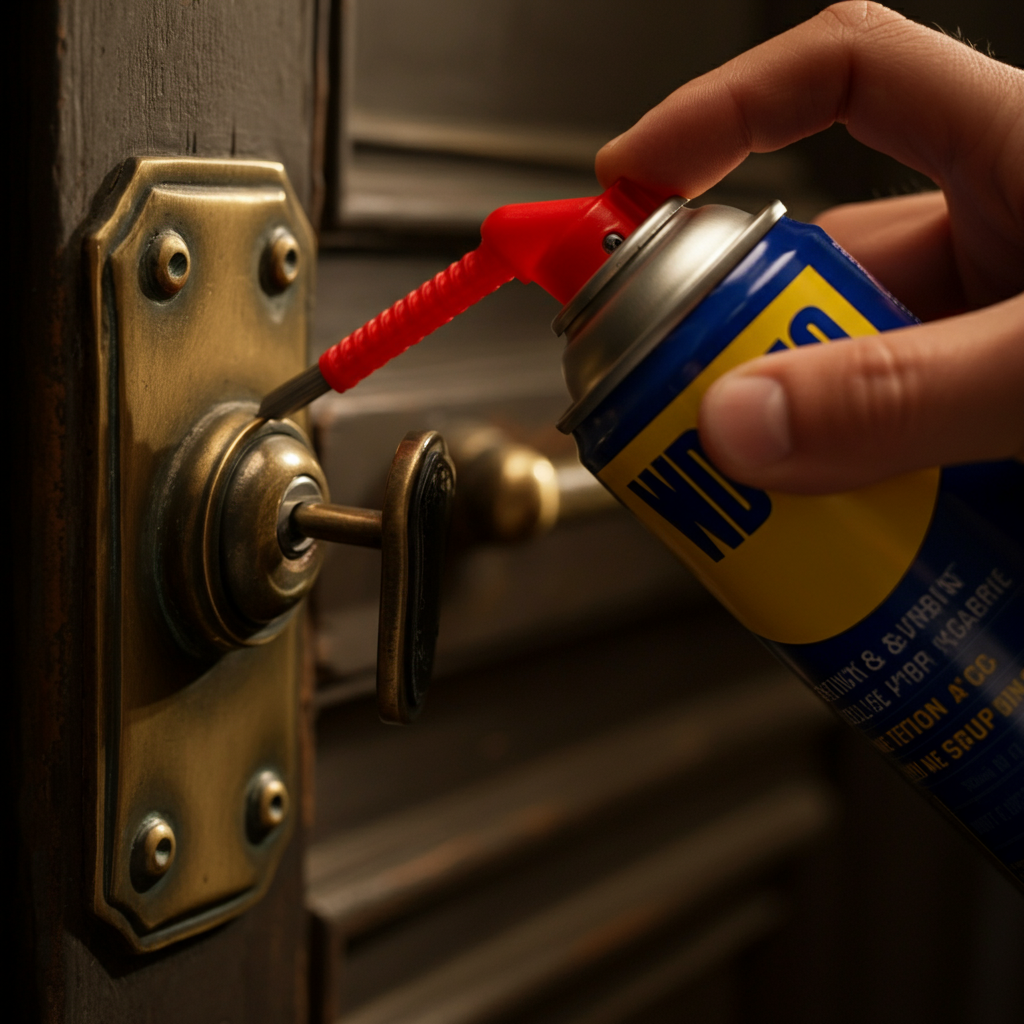
Step 1: Lubricate with WD-40
WD-40 is a widely available and effective lubricant that helps displace moisture and prevent freezing. Apply WD-40 directly into the lock cylinder before the onset of freezing temperatures. Insert the nozzle of the WD-40 can directly into the keyhole and give it a generous squirt, ensuring the lubricant penetrates deep into the lock mechanism. For areas with consistently cold winters, repeat this application every one to two weeks for optimal protection. WD-40 works by creating a barrier against water, preventing it from settling and freezing within the lock.
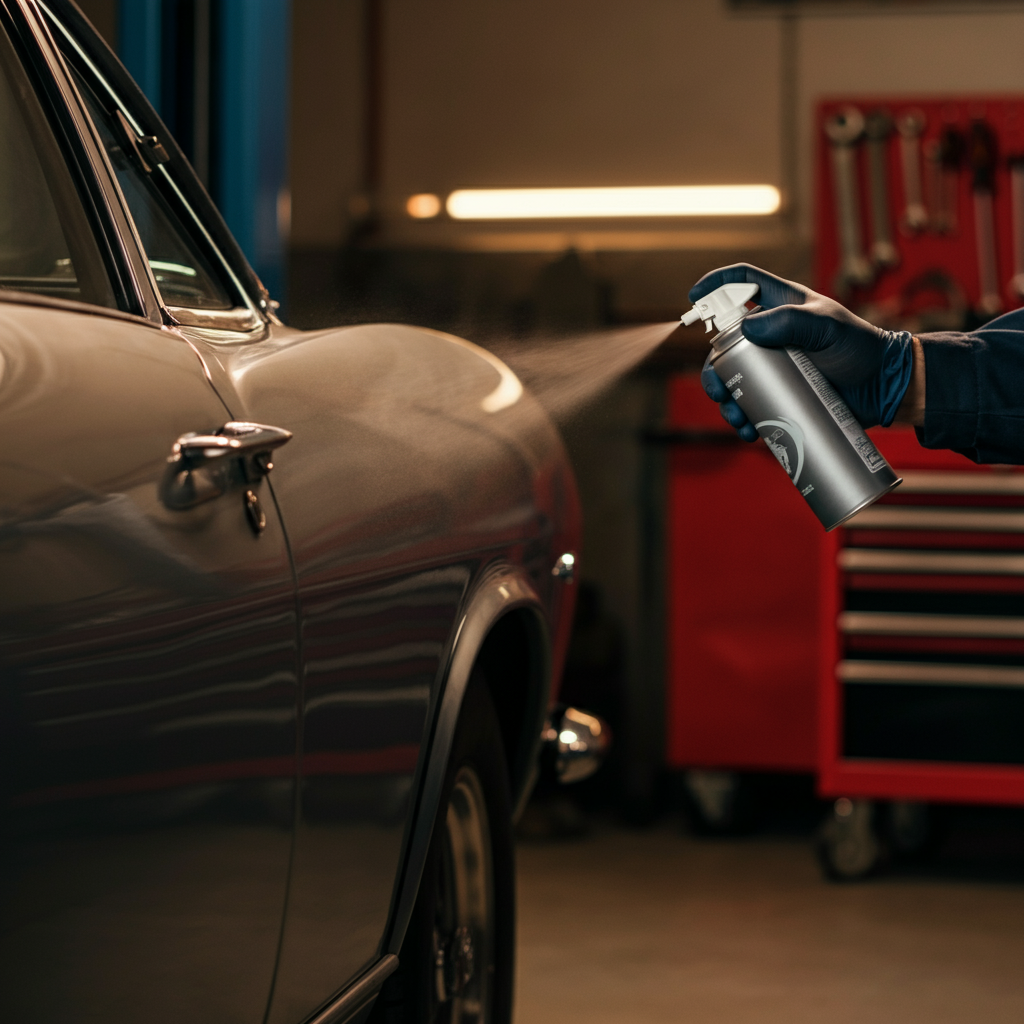
Step 2: Utilize Graphite Powder or Spray
Graphite is another excellent lubricant, particularly well-suited for locks that experience frequent use or are exposed to harsh conditions. Unlike WD-40, graphite is a dry lubricant, meaning it won't attract dirt and grime over time. Graphite spray is easy to apply; simply insert the nozzle into the keyhole and give it a short burst. For powdered graphite, you can use a puffer applicator or gently tap the container while holding it near the lock opening. Graphite is especially effective for car locks, where WD-40's odor might be undesirable. Remember to work the key in and out of the lock several times after applying the graphite to distribute it evenly.
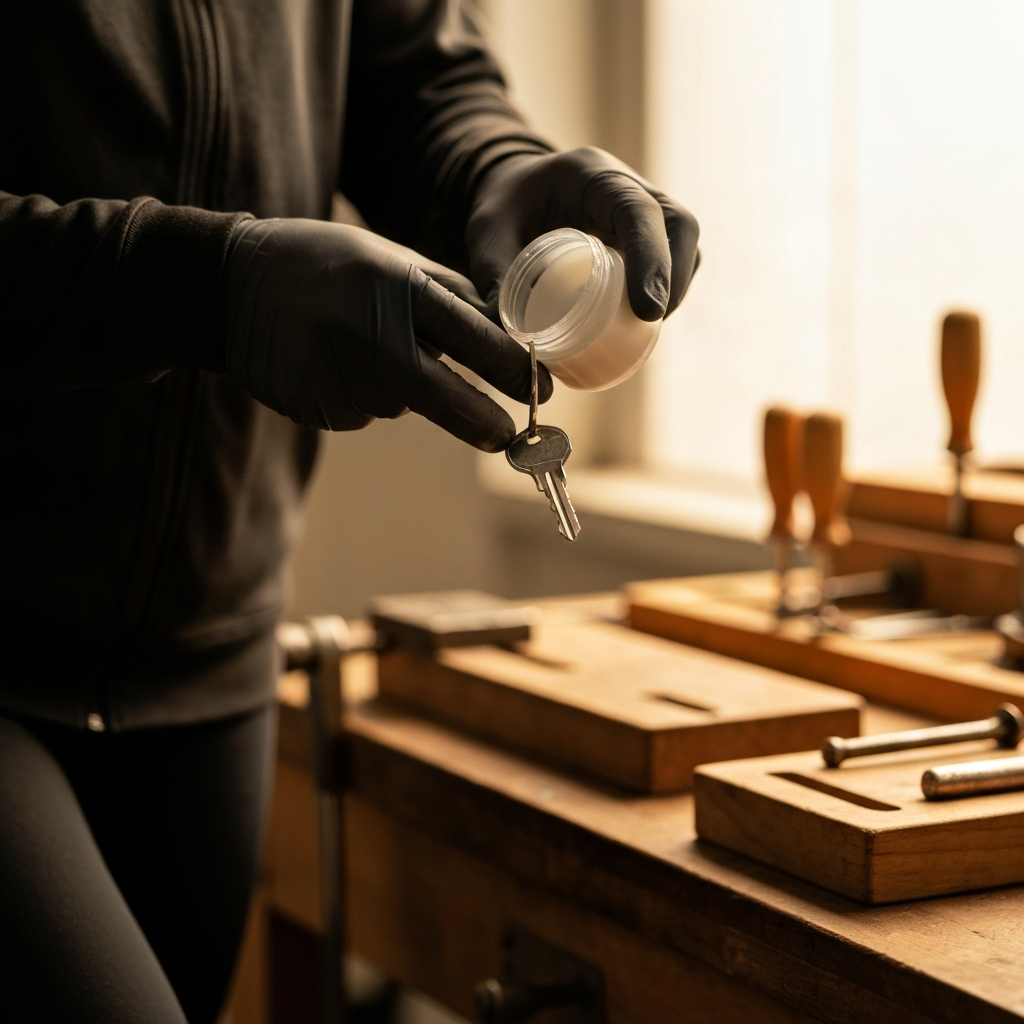
Step 3: Apply Petroleum Jelly (Vaseline)
Petroleum jelly, or Vaseline, is a readily available alternative to WD-40 and graphite. Its thick, water-resistant consistency helps to prevent moisture from entering the lock. To apply, coat your key with a thin layer of petroleum jelly, then insert and remove it from the lock several times to coat the internal mechanism. Be cautious not to use too much petroleum jelly, as excessive amounts can attract dirt and potentially gum up the lock over time. This method is best suited for keyed locks and not combination locks. Regularly reapply throughout the winter season, especially after rain or snow.
Step 4: Employ Compressed Air
Compressed air can be used to blast out any existing moisture inside the lock cylinder. This method is especially useful as a first step before applying a lubricant. Insert the nozzle of the compressed air can directly into the keyhole and give it several short bursts. Compressed air is a temporary solution, as it doesn't prevent moisture from re-entering the lock. Always follow up with a lubricant or covering to protect the lock from further moisture intrusion. This is a great way to prepare the lock for one of the other preventative measures described in this guide.

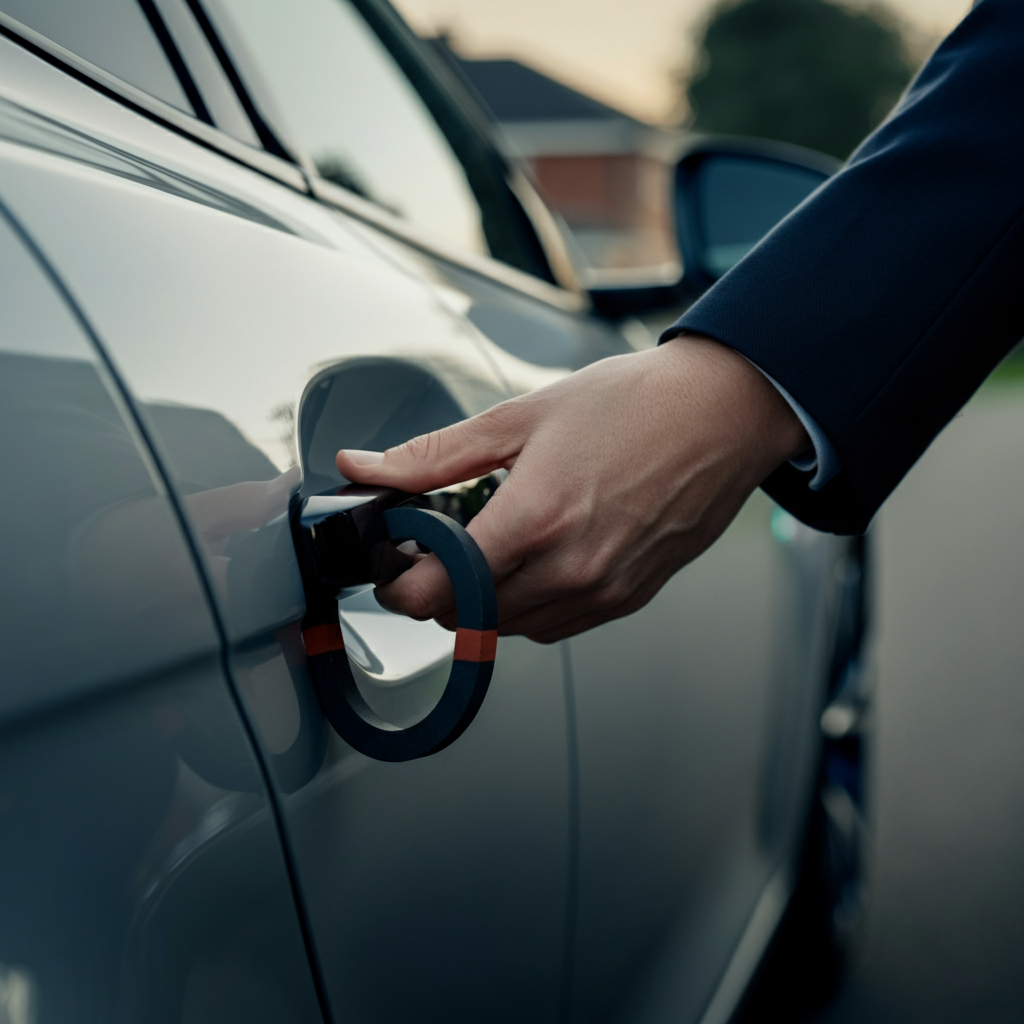
Step 5: Shield the Lock with a Magnet
A strong magnet placed over the keyhole can effectively prevent moisture from entering the lock. Ensure the magnet is large enough to completely cover the opening. This method is particularly useful for car locks and padlocks. Choose a magnet that is strong enough to stay in place even in windy conditions. Keep the magnet in your car's glove compartment or a convenient location for easy access. Remove the magnet before inserting your key, and replace it immediately after use to maintain protection.
Step 6: Cover Padlocks with a Protective Material
For padlocks, covering them with a thick, dry material such as a wool sock can provide an extra layer of insulation and protection against moisture. Slip the sock over the padlock and secure it tightly to prevent it from falling off. Ensure the sock is completely dry, as a wet sock can freeze to the lock and exacerbate the problem. This method works best in conjunction with lubrication. This technique is primarily applicable to padlocks and won't work for door or car locks.
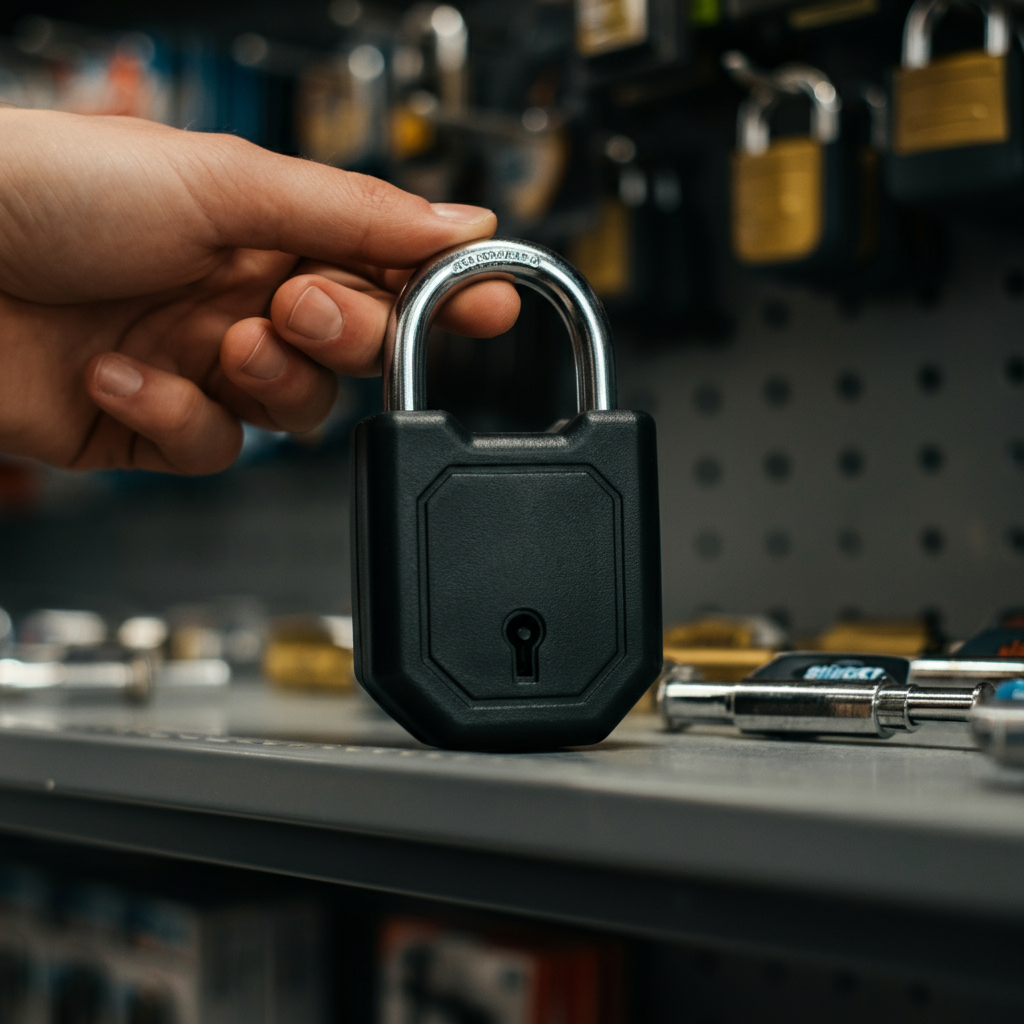
Step 7: Invest in Weatherproof Locks
Consider replacing standard locks with weatherproof models designed to resist freezing and corrosion. These locks typically feature a plastic or rubber casing that shields the internal mechanism from the elements. While weatherproof locks are more resistant to freezing, they are not entirely immune. Regular maintenance and lubrication are still necessary to ensure optimal performance. Look for locks specifically designed for outdoor use and cold weather conditions.
Step 8: Use Hand Sanitizer or De-Icing Spray for Frozen Locks
If your lock does freeze, don't force the key! Applying hand sanitizer to the key or using a commercial de-icing spray can help to melt the ice. The alcohol in hand sanitizer acts as a solvent, lowering the freezing point of water and dissolving the ice. Apply a generous amount of hand sanitizer to the key and insert it into the lock, wiggling it gently back and forth. De-icing sprays are specifically formulated for this purpose and may be more effective. However, never use hot water, as it can refreeze inside the lock and make the problem worse.
Tools or Materials Required
- WD-40 or graphite lubricant
- Petroleum jelly (Vaseline)
- Compressed air
- Strong magnets
- Wool socks (for padlocks)
- Hand sanitizer or de-icing spray
- Weatherproof locks (optional)
Common Mistakes to Avoid
- Using excessive amounts of lubricant, which can attract dirt.
- Using hot water to thaw a frozen lock.
- Forcing the key in a frozen lock, which can break the key.
- Neglecting regular maintenance and lubrication.
- Using wet socks to cover padlocks.
Safety Considerations
- Wear safety glasses when using compressed air to protect your eyes.
- Avoid using flammable lubricants near open flames.
- If you are unable to open a frozen lock, consider calling a locksmith.
Pro Tips
- Park your car in a sunny spot whenever possible to help prevent locks from freezing.
- Keep a de-icing spray or hand sanitizer in your car or home for emergencies.
- Regularly inspect your locks for signs of wear and tear.
FAQ Section
- Q: How often should I lubricate my locks during the winter?
- A: In areas with severe winters, lubricate your locks every one to two weeks. In milder climates, monthly lubrication may be sufficient.
- Q: Can I use cooking oil to lubricate my locks?
- A: No, cooking oil can become sticky and attract dirt, which can damage the lock. Use a dedicated lock lubricant such as WD-40 or graphite.
- Q: What should I do if my key breaks inside the lock?
- A: Contact a locksmith immediately. Do not attempt to remove the broken key yourself, as you may cause further damage.
Conclusion
Preventing your outdoor locks from freezing is a simple yet crucial task during the winter months. By implementing these strategies, such as regular lubrication, shielding locks from moisture, and investing in weatherproof options, you can significantly reduce the risk of being locked out in the cold. Remember, proactive maintenance is key to ensuring your locks function smoothly throughout the winter. Stay prepared, stay safe, and enjoy a worry-free winter season!