Petulla, those golden-brown pockets of fried dough, hold a special place in Albanian culinary tradition. Passed down through generations, they represent comfort, celebration, and the simple joy of sharing a delicious meal. Whether you're looking to recreate a cherished family recipe or experience a new cultural delight, mastering petulla is surprisingly achievable. This guide will walk you through each step, ensuring your petulla turn out light, airy, and utterly irresistible.
The beauty of petulla lies in its versatility. Enjoy them sweet, drizzled with honey or jam, or savory, crumbled with feta cheese. They're equally satisfying plain, offering a blank canvas for your culinary creativity. Don't be intimidated by the yeast dough; with a little patience and the right techniques, you'll be frying up batches of these delightful treats in no time. Get ready to embark on a culinary adventure that will tantalize your taste buds and warm your heart.
This guide offers detailed instructions, practical advice, and insider tips to ensure your success. We'll cover everything from preparing the dough to achieving that perfect golden-brown hue. So, gather your ingredients, roll up your sleeves, and let's get started!
Tools or Materials Required
- 2 large bowls
- Spoon for mixing batter
- Deep pan for frying
- 2 large trays
- Paper towels
- Plastic wrap
- Towel
Ingredients
- 1 egg
- 1 1/2 cups (350 ml) warm water
- 1 1/2 cups (350 ml) warm milk
- 1 tablespoon (8 g) salt
- 1 tablespoon (8 g) dry yeast
- 5 1/4 cups (672 g) all-purpose flour, plus extra for dusting
- Vegetable oil, for frying and oiling bowls
- 1 tablespoon (15 ml) olive oil
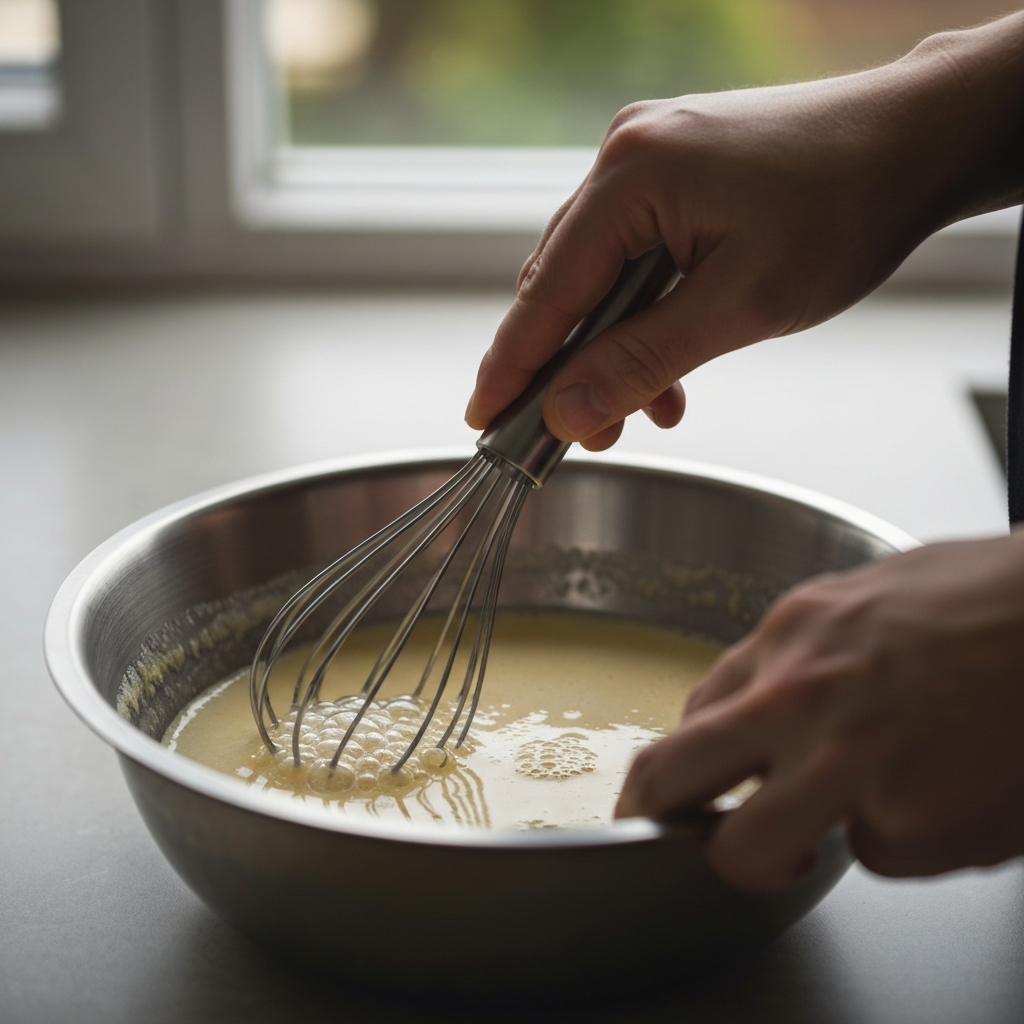
Step 1: Combine Wet Ingredients
In a large bowl, whisk together the egg, warm water, and warm milk. The water and milk should be warm to the touch, not hot, to activate the yeast without killing it. Once combined, add the salt and dry yeast to the mixture. Stir thoroughly until the yeast is completely dissolved, ensuring it's evenly distributed. Finally, incorporate the olive oil, which adds richness and helps the dough's elasticity.
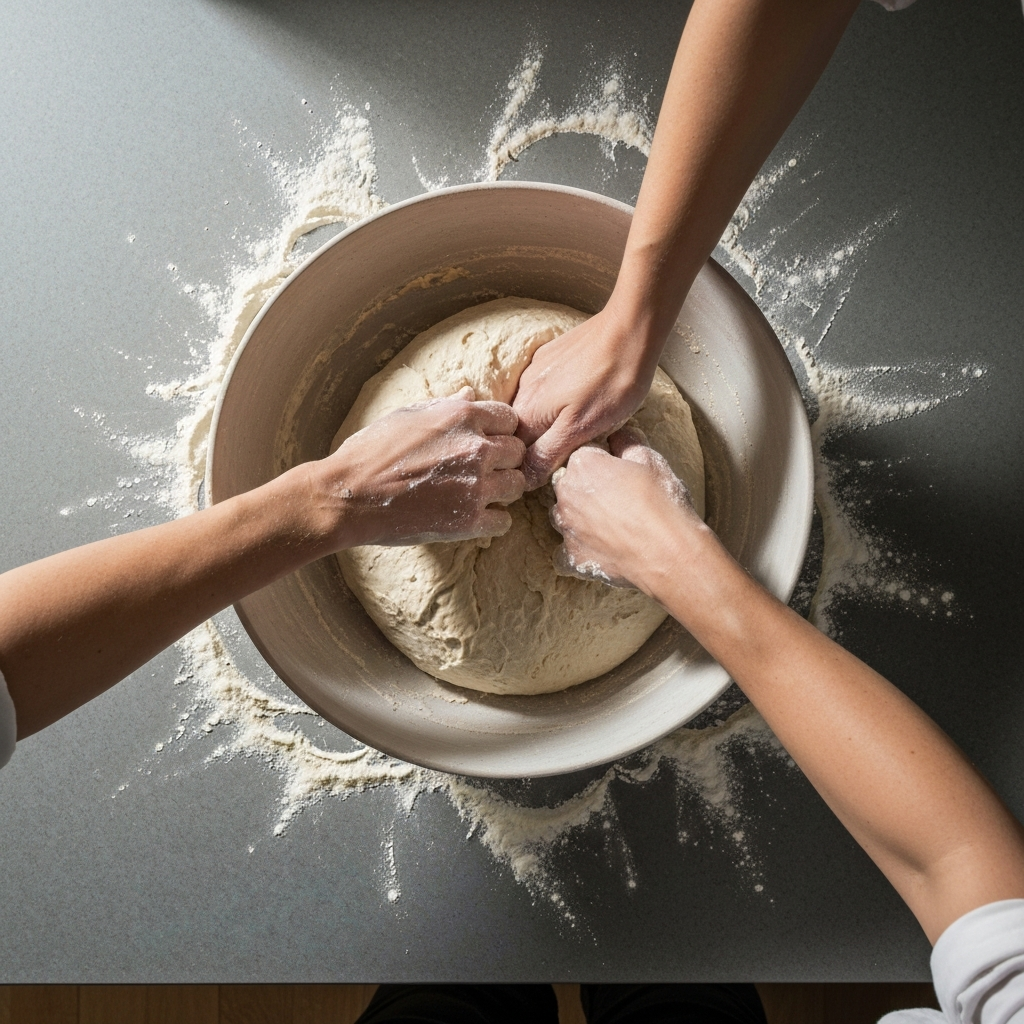
Step 2: Incorporate the Flour
Gradually add the flour to the wet ingredients, about one cup at a time. Using your hand, gently mix the flour into the batter with a scooping and folding motion. This technique helps to avoid overmixing and keeps the dough light. Continue mixing for approximately 5-7 minutes until the dough starts to come together. The dough should be slightly sticky and soft. If the dough is too sticky, add more flour, one tablespoon at a time, until you achieve the desired consistency. Avoid adding too much flour, as this can result in dense petulla. If the dough becomes too hard, add water, one tablespoon at a time, until you've reached the ideal consistency.
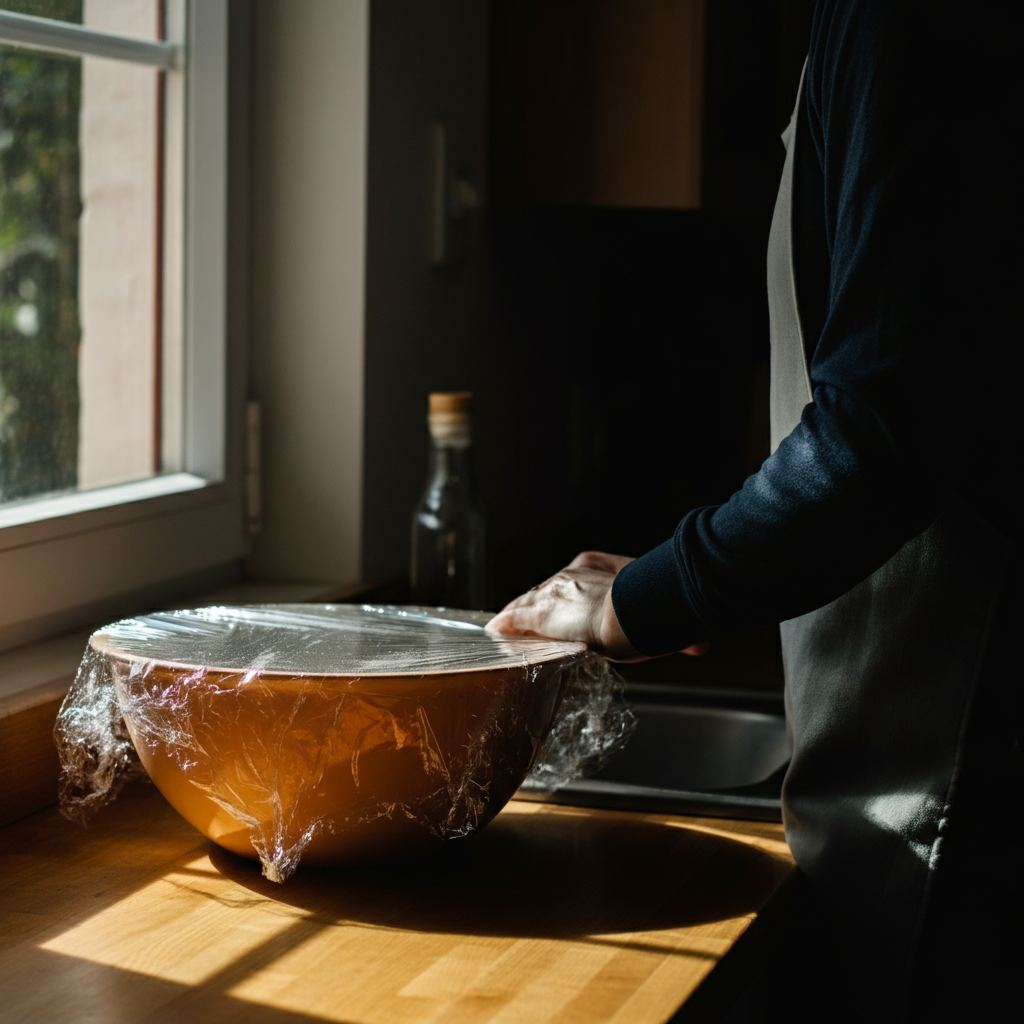
Step 3: First Proofing
Lightly oil a separate large bowl with vegetable oil. Transfer the dough into the oiled bowl, turning it to coat all sides. This prevents the dough from sticking as it rises. Cover the bowl tightly with plastic wrap, then cover with a clean kitchen towel. Place the bowl in a warm, draft-free location and allow the dough to rest and rise for one hour. The dough should approximately double in size during this time. If your kitchen is cold, consider placing the bowl in a slightly warmed oven (turned off!) or near a warm appliance.
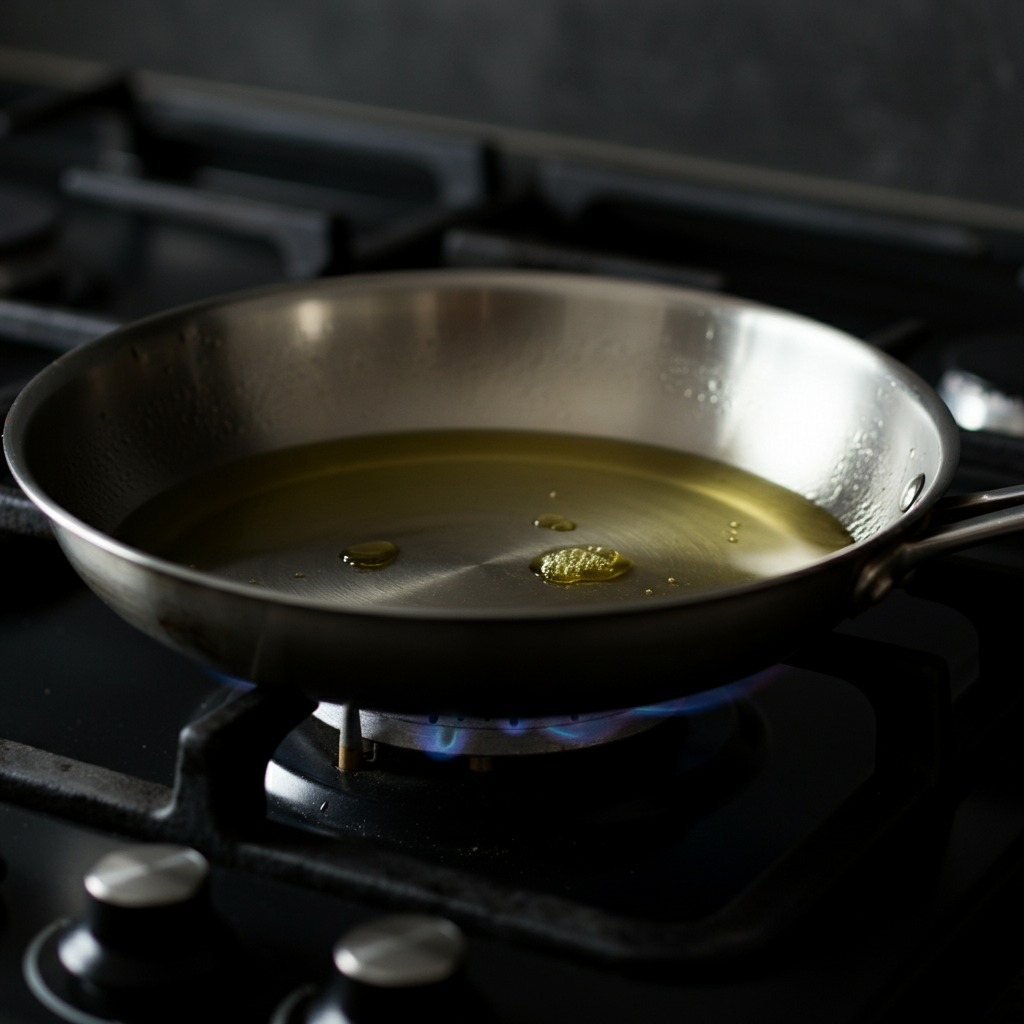
Step 4: Preparing the Frying Station
After the dough has rested, it's time to prepare for frying. Place a deep pan on the stovetop and pour in vegetable oil to a depth of about 2 centimeters. Ensure the pan is stable and won't tip easily. Turn the stove on to medium heat. Monitor the oil temperature closely; it should be hot enough to fry the petulla quickly and evenly without burning them. You can always add more oil to the pan as needed throughout the frying process.
Step 5: Shaping the Dough
Before handling the risen dough, lightly oil your palms with vegetable oil. This prevents the dough from sticking to your hands and makes it easier to shape. Gently deflate the dough and then divide it into small, egg-sized balls. Place the dough balls onto a lightly oiled tray or plate as you work. Continue oiling your hands as needed to prevent sticking.
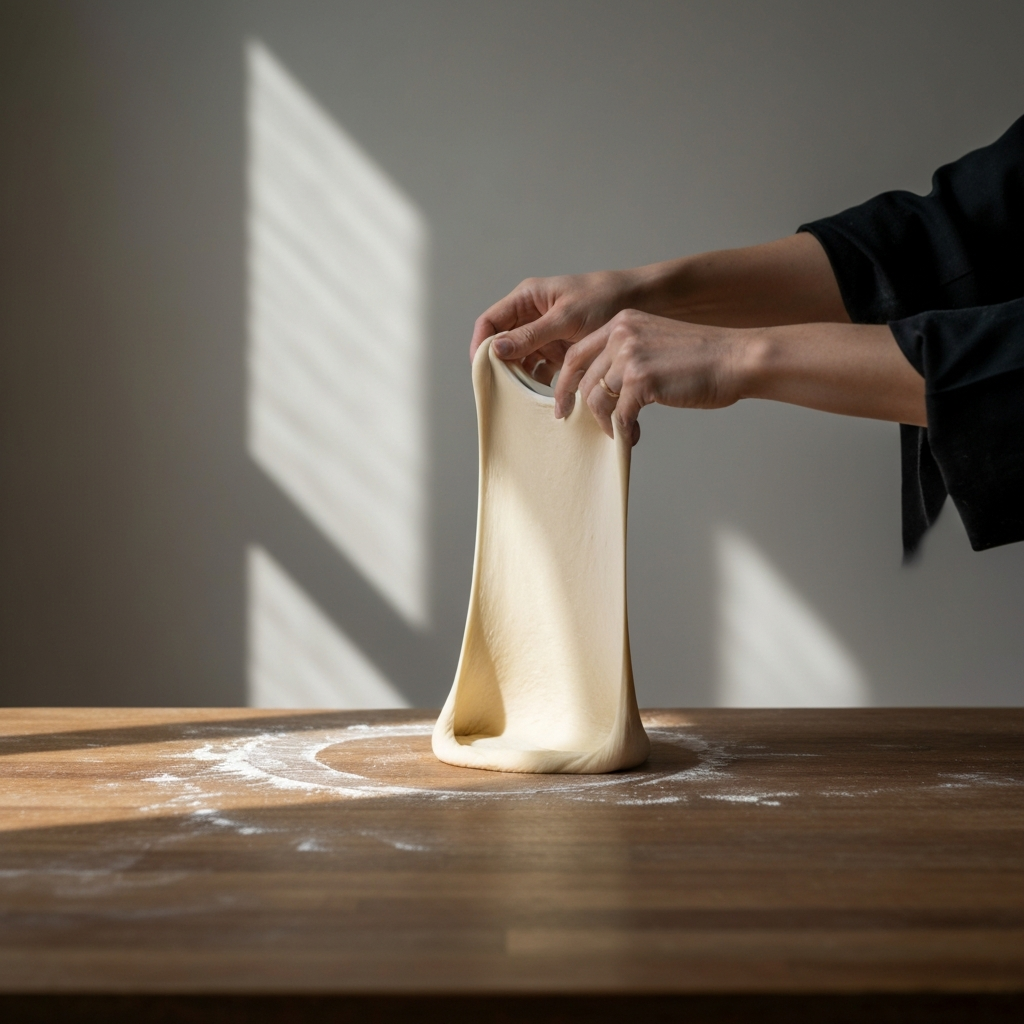
Step 6: Stretching the Dough
Take each ball of dough and gently stretch it into a thin disc shape. Use your fingers and thumbs to pinch, pull, and rotate the dough, working from the center outwards. Aim for a disc shape that is approximately 4-5 inches in diameter. The edges should be slightly thinner than the center. This helps the petulla puff up nicely when frying.
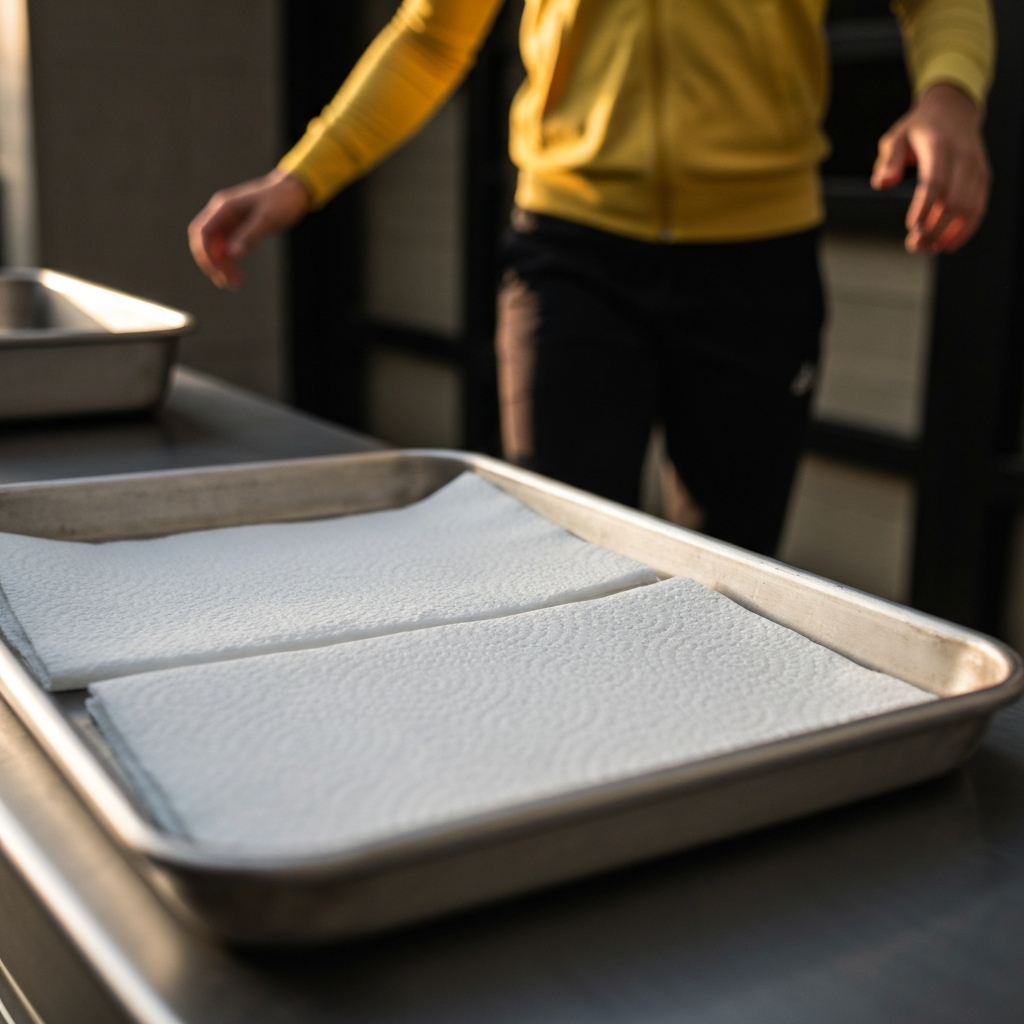
Step 7: Preparing for Frying
Before you start frying, prepare a tray lined with paper towels. This will be used to drain the excess oil from the cooked petulla, ensuring they're not overly greasy. Keep this tray close to the stovetop for easy access. The prepared tray is important for both taste and presentation.
Step 8: Testing the Oil Temperature
By the time you've finished shaping the dough, the oil should be hot enough for frying. To test the oil temperature, drop a small piece of dough into the pan. If the dough sizzles immediately and turns golden brown within seconds, the oil is ready. If it doesn't sizzle or browns too quickly, adjust the heat accordingly.
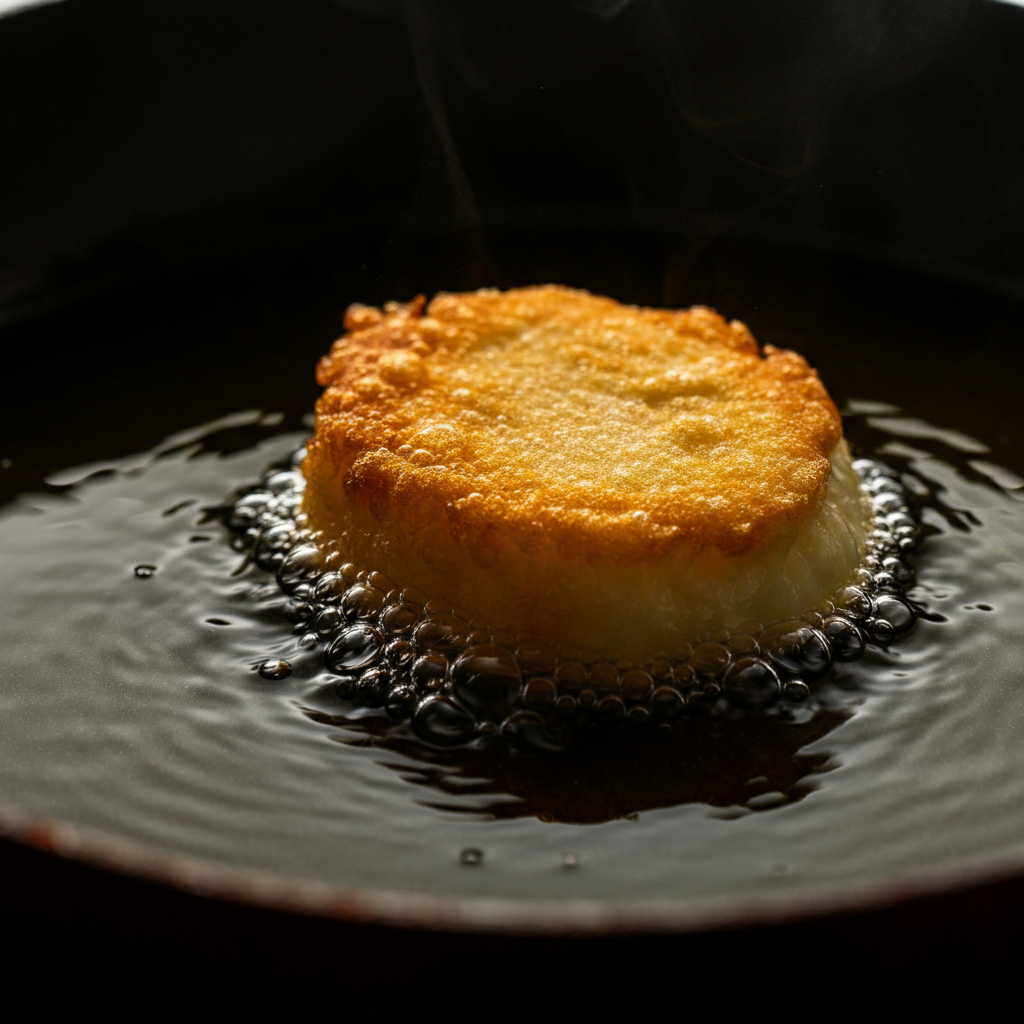
Step 9: Frying the Petulla
Carefully drop 3-4 shaped pieces of dough into the hot oil, depending on the size of your pan. Avoid overcrowding the pan, as this will lower the oil temperature and result in soggy petulla. Cook each side of the dough until it turns a light golden brown color, approximately 2-3 minutes per side. Use a slotted spoon or spatula to flip the petulla and monitor their color closely to prevent burning.
Step 10: Draining and Serving
Once the petulla are fully cooked and golden brown, carefully remove them from the oil using a slotted spoon or spatula. Place them on the paper-towel-lined tray to absorb any excess oil. While they're still warm, lightly season them with salt. Petulla are best enjoyed fresh and warm. Serve immediately with your favorite toppings, such as honey, feta cheese, jam, or simply on their own.
Common Mistakes to Avoid
- Overmixing the Dough: This can lead to tough petulla. Mix just until the ingredients come together.
- Using Oil That's Not Hot Enough: The petulla will absorb too much oil and become soggy.
- Overcrowding the Pan: The oil temperature will drop, and the petulla will not cook evenly.
- Adding too much flour: Results in a dry, dense petulla.
Pro Tips
- For extra fluffy petulla, try adding a teaspoon of baking powder to the dough.
- Experiment with different flavorings, such as cinnamon or orange zest.
- Leftover petulla can be reheated in the oven or toaster oven for a few minutes.
FAQ Section
- Can I make the dough ahead of time?
- Yes, you can prepare the dough up to 24 hours in advance. Store it in the refrigerator after the first proofing. Bring it to room temperature before shaping and frying.
- Can I freeze petulla?
- Yes, you can freeze cooked petulla. Let them cool completely before freezing in an airtight container. Reheat in the oven or toaster oven.
- Why are my petulla not puffing up?
- The oil may not be hot enough, or the dough may not have proofed sufficiently.
Safety Considerations
- Always exercise caution when working with hot oil.
- Use a deep pan to prevent oil splatters.
- Never leave hot oil unattended.
- Keep a fire extinguisher nearby in case of emergency.
Conclusion
Making petulla is a rewarding experience that connects you to a rich culinary heritage. By following these steps and paying attention to the details, you can create delicious, authentic petulla that will impress your family and friends. Remember to be patient with the dough, monitor the oil temperature, and don't be afraid to experiment with different toppings and flavors. With a little practice, you'll be a petulla pro in no time, sharing the warmth and joy of this traditional treat.