Electronics, the science of harnessing and controlling electricity, can seem daunting to newcomers. However, with a systematic approach and a willingness to experiment, anyone can grasp the fundamental principles and begin building their own circuits. This guide is designed to provide a clear and accessible pathway into the world of electronics, covering everything from basic concepts to practical applications.
Whether you're a student looking to supplement your coursework, a hobbyist eager to create your own gadgets, or simply curious about the inner workings of the devices around you, this guide will equip you with the knowledge and skills you need to succeed. Remember that learning electronics is a journey, not a race. Start with the fundamentals and gradually build your expertise. With patience and persistence, you'll be amazed at what you can achieve.
Let's embark on this exciting journey of discovery and innovation!
Step 1: Understanding Basic Electrical Concepts
Before diving into circuits and components, it's crucial to grasp the core concepts that govern electricity. These concepts include voltage, current, resistance, and power. Voltage (measured in volts) is the electrical potential difference that drives current through a circuit. Current (measured in amperes) is the rate of flow of electrical charge. Resistance (measured in ohms) opposes the flow of current. And power (measured in watts) is the rate at which energy is transferred or consumed. Understanding the relationship between these four concepts is fundamental to understanding how circuits work.

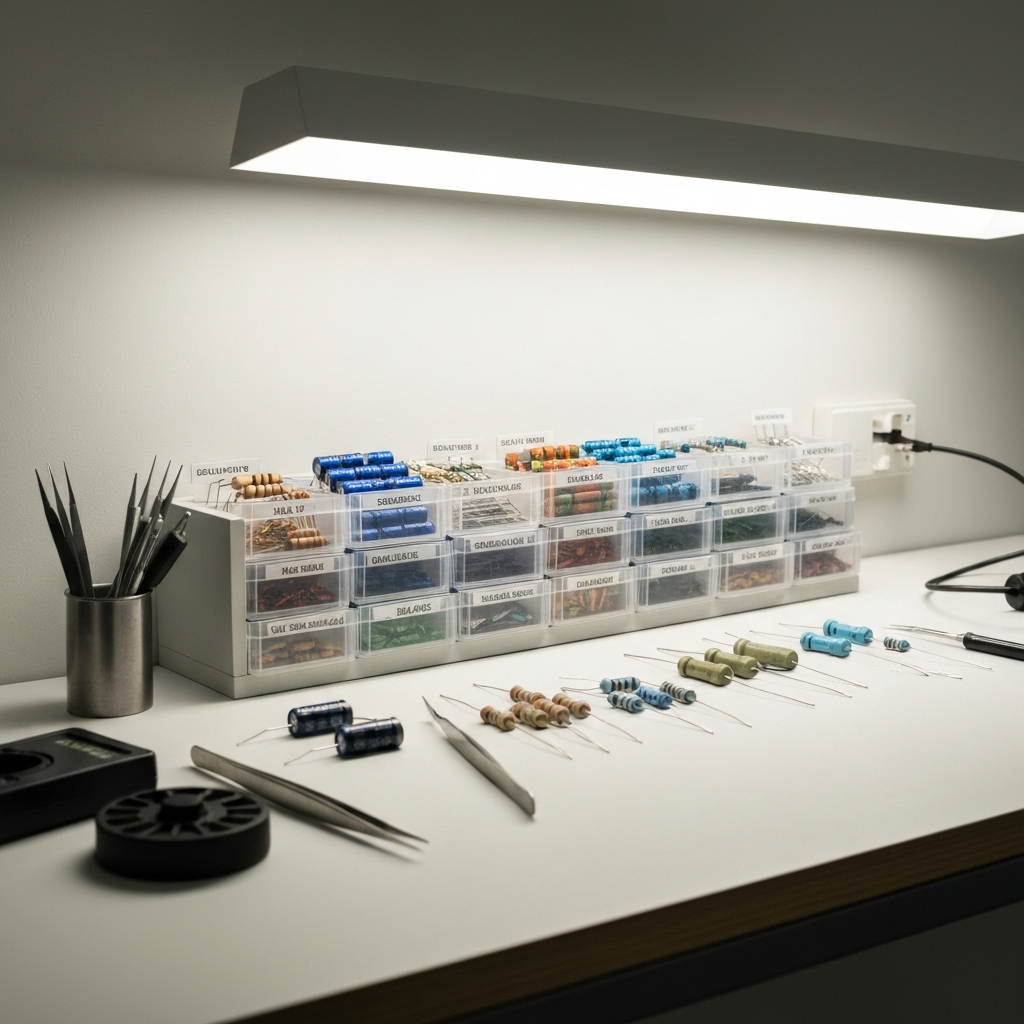
Step 2: Familiarizing Yourself with Electronic Components
Electronic components are the building blocks of any electronic circuit. Common components include resistors, capacitors, diodes, transistors, and integrated circuits (ICs). Resistors limit the flow of current. Capacitors store electrical energy. Diodes allow current to flow in only one direction. Transistors act as electronic switches or amplifiers. And ICs are complex circuits integrated onto a single chip. It’s important to learn to identify each component, understand its function, and be able to read its specifications. For instance, you should be able to identify the value of a resistor from its color code.
Step 3: Reading Circuit Diagrams (Schematics)
A circuit diagram, also known as a schematic, is a visual representation of an electronic circuit. It uses symbols to represent components and lines to represent connections. Learning to read circuit diagrams is essential for understanding how circuits are designed and how they function. Start by familiarizing yourself with the common symbols for resistors, capacitors, transistors, and other components. Then, practice tracing the flow of current through the circuit to understand how the components interact. Mastering circuit diagrams is like learning to read a map – it allows you to navigate the complex world of electronics.

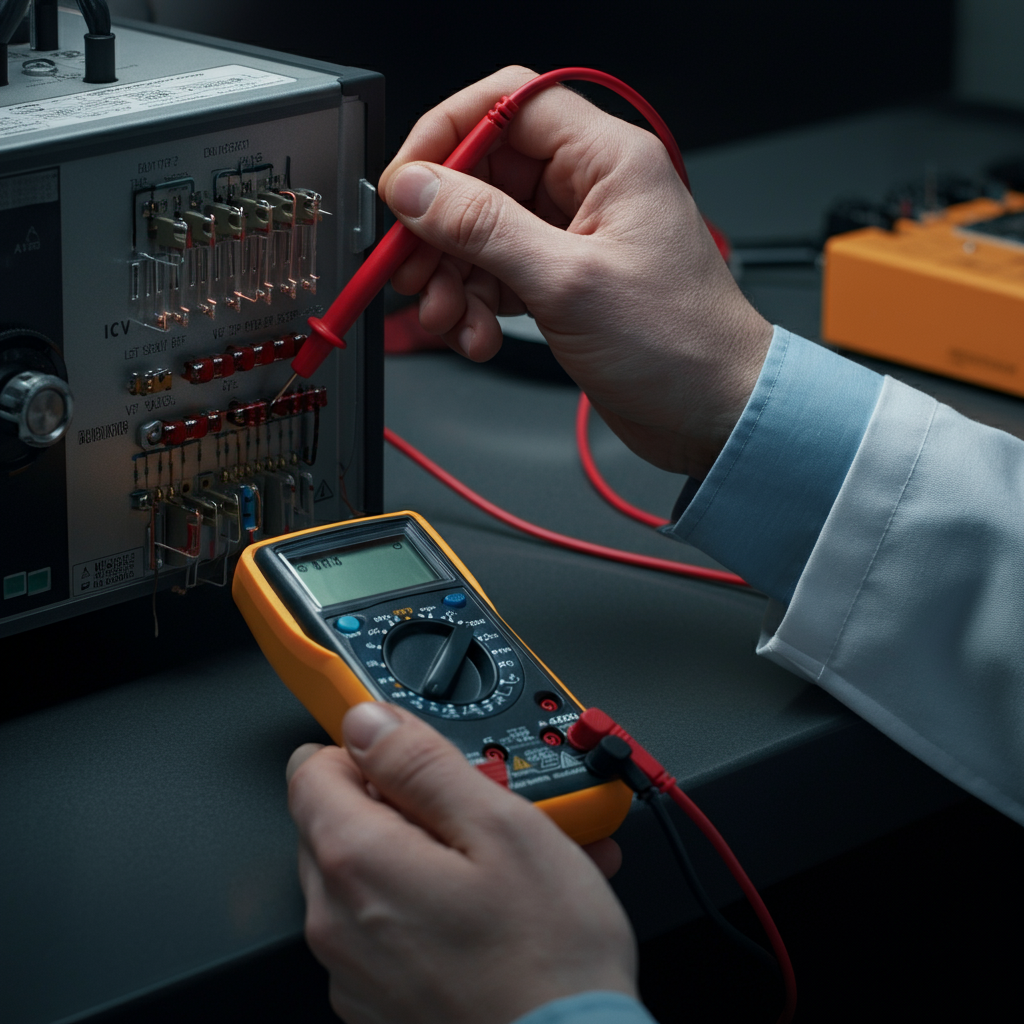
Step 4: Using a Multimeter
A multimeter is an indispensable tool for any electronics enthusiast. It can measure voltage, current, resistance, and continuity, allowing you to diagnose problems and verify circuit performance. To use a multimeter, select the appropriate measurement setting (voltage, current, or resistance) and connect the probes to the circuit. Be sure to observe the correct polarity when measuring voltage or current. Always start with the highest voltage or current range and then gradually decrease it to obtain a more accurate reading. This protects the multimeter from being damaged by excessive current.
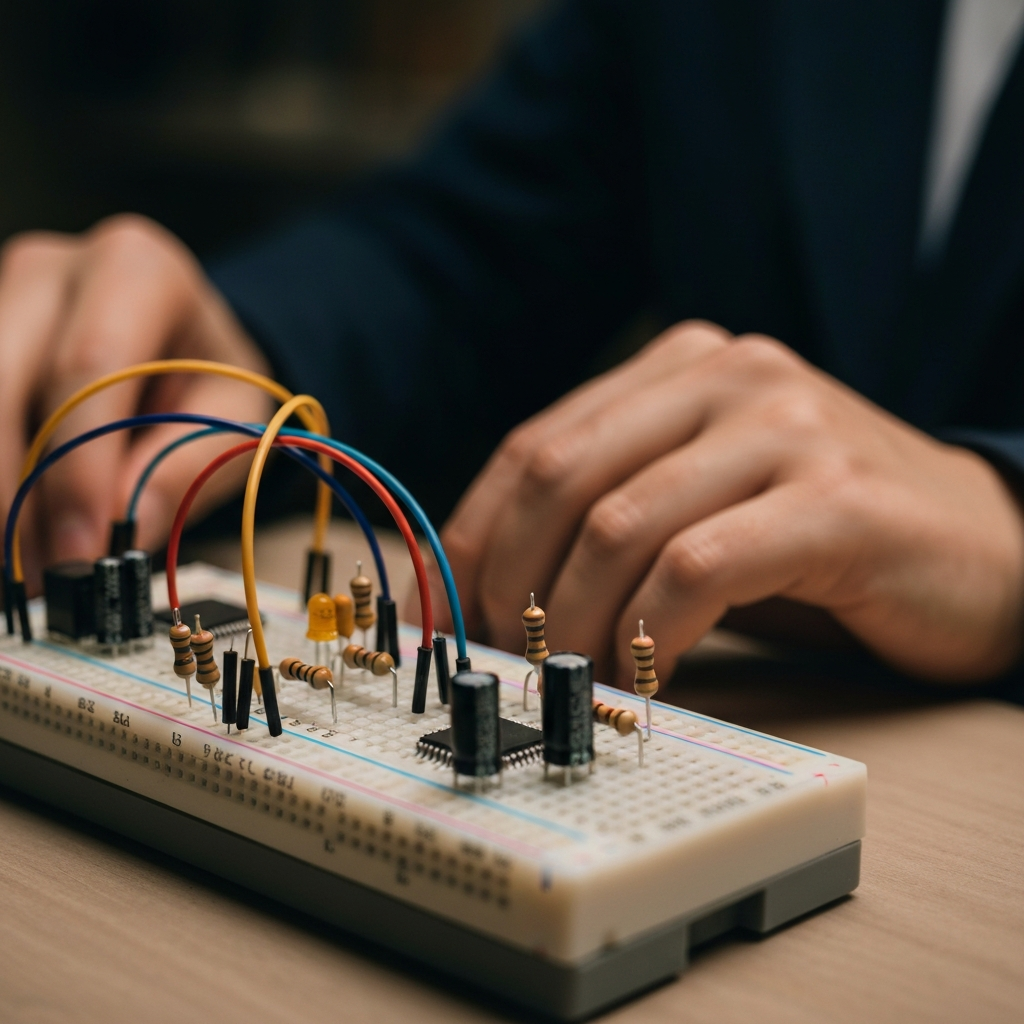
Step 5: Building Simple Circuits on a Breadboard
A breadboard is a solderless prototyping tool that allows you to easily build and test electronic circuits. It consists of a grid of interconnected holes that accept component leads and wires. To build a circuit on a breadboard, simply insert the components into the appropriate holes according to your circuit diagram. Use jumper wires to connect the components and create the desired circuit configuration. Breadboards are a safe and convenient way to experiment with circuits without the need for soldering.
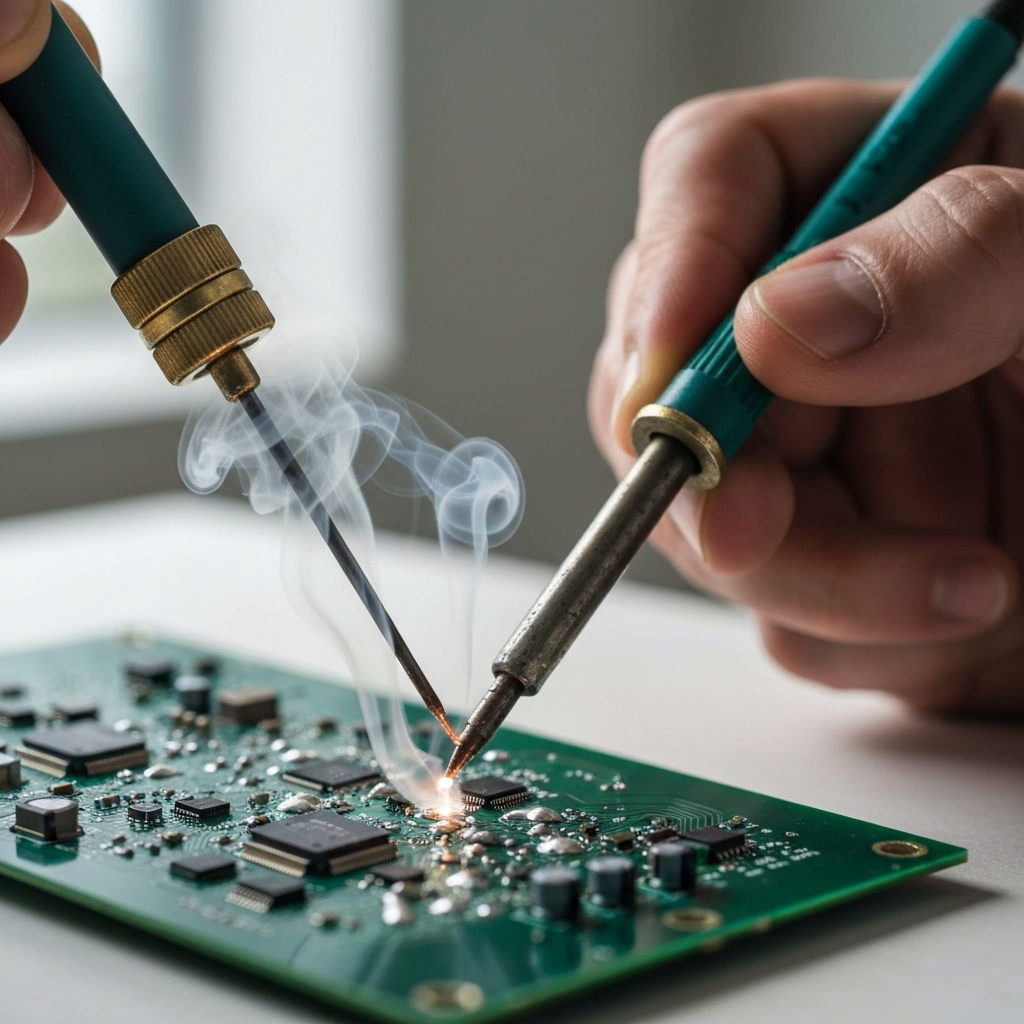
Step 6: Soldering Techniques (Optional, but Recommended)
While breadboards are useful for prototyping, soldering provides a more permanent and reliable connection. Soldering involves melting solder (a metallic alloy) to create a strong electrical and mechanical bond between components. To solder correctly, clean the surfaces to be joined, apply heat with a soldering iron, and then apply solder to the heated joint. The solder should flow smoothly and evenly, creating a shiny, concave fillet. Practice soldering on scrap components before working on your actual project. Safety glasses are a MUST!
Tools or Materials Required
- Multimeter
- Breadboard
- Jumper wires
- Resistors
- Capacitors
- Diodes
- Transistors
- LEDs
- Power supply (e.g., batteries, DC power supply)
- Soldering iron (optional)
- Solder (optional)
- Wire strippers/cutters
- Safety glasses
Safety Considerations
- Always work in a well-lit and ventilated area.
- Never work with live circuits. Disconnect the power supply before making any changes to the circuit.
- Use safety glasses to protect your eyes from solder splashes and flying debris.
- Be careful when using a soldering iron. It can cause burns.
- Dispose of electronic waste properly.
Common Mistakes to Avoid
- Connecting components backwards (e.g., LEDs, diodes).
- Using the wrong resistor value.
- Applying too much voltage to a component.
- Short-circuiting the power supply.
- Not double-checking your circuit before applying power.
Pro Tips
- Start with simple projects and gradually increase the complexity.
- Keep a detailed notebook of your experiments and observations.
- Don't be afraid to ask for help from online forums or experienced electronics enthusiasts.
- Learn to troubleshoot common circuit problems, such as shorts, opens, and incorrect component values.
- Invest in quality tools and components.
FAQ Section
Q: What is the best way to learn electronics?
A: Start with the basics, build simple circuits, and gradually increase the complexity. Hands-on experience is key.
Q: Do I need to be good at math to learn electronics?
A: A basic understanding of algebra is helpful, but you don't need to be a math whiz to get started.
Q: Where can I find circuit diagrams?
A: Many websites and books provide circuit diagrams for various projects.
Q: What is the most important safety precaution to take when working with electronics?
A: Always disconnect the power supply before making any changes to the circuit.
Conclusion
Learning electronics is a rewarding and empowering experience. By understanding the fundamental concepts, familiarizing yourself with electronic components, and practicing circuit building, you can unlock a world of creativity and innovation. Remember to prioritize safety, be patient, and never stop learning. With dedication and perseverance, you'll be well on your way to becoming a skilled electronics enthusiast.