Installing window film is a cost-effective way to improve your home's energy efficiency, reduce glare, and increase privacy. By creating an extra layer of insulation, window film helps to keep heat in during the winter and out during the summer, leading to lower energy bills and a more comfortable living environment. This guide provides a detailed, step-by-step approach to ensure a successful and long-lasting application.
This project is suitable for DIY enthusiasts of all skill levels, although patience and attention to detail are crucial. Proper preparation and technique are essential to achieve a professional-looking result free of bubbles, wrinkles, and peeling edges. Taking the time to do it right the first time will save you time and money in the long run.
Before you begin, gather all the necessary tools and materials and read through the entire guide. Familiarize yourself with each step to ensure a smooth and efficient installation process. With the right approach, you can significantly improve your home's comfort and energy efficiency with window film.
1. Prepare the Window
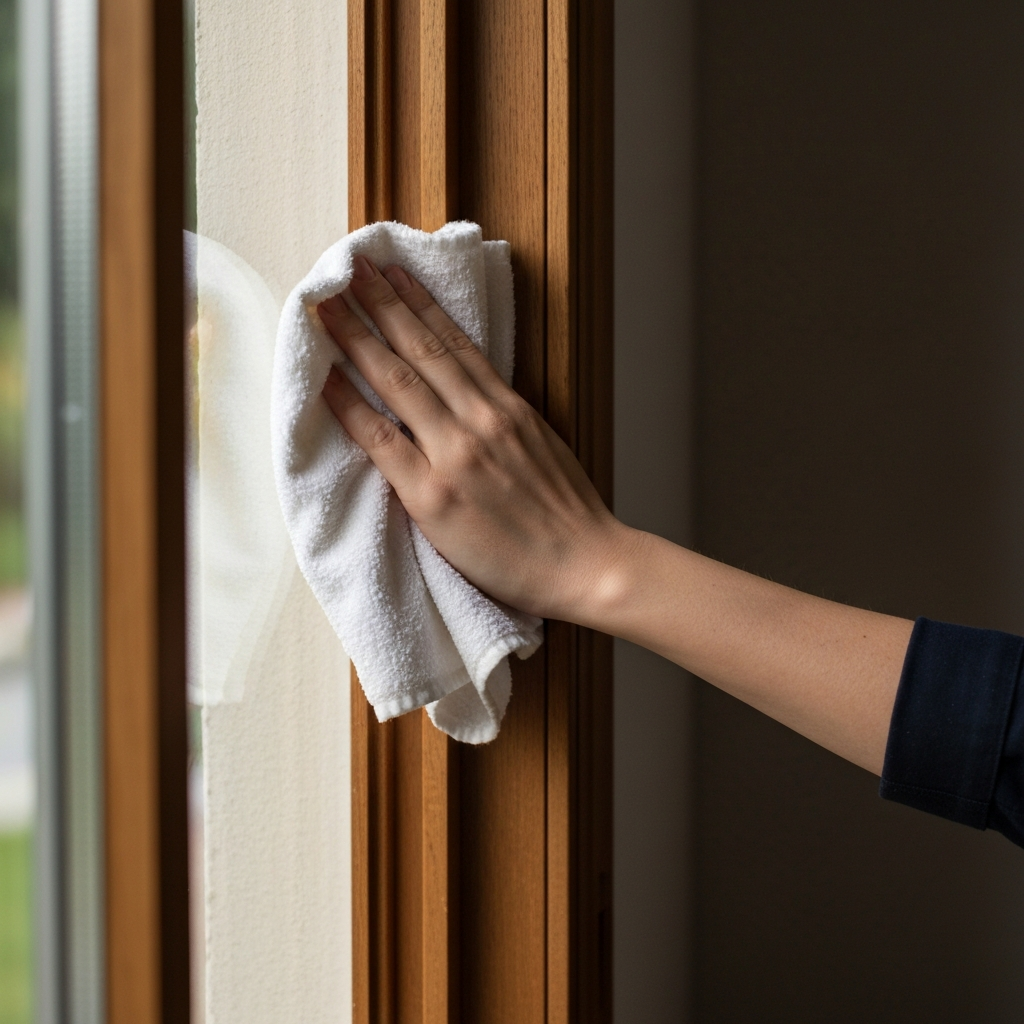
Thorough preparation is the foundation of a successful window film installation. Begin by cleaning the window frame and glass meticulously. Remove any dirt, dust, grease, or old adhesive residue. Use a glass cleaner and a lint-free cloth or squeegee to achieve a spotless surface. For stubborn residue, try a specialized adhesive remover. Ensure the window and frame are completely dry before proceeding. Check the window for any loose paint or caulking; repair these areas to ensure a smooth and stable surface for the film to adhere to.
2. Measure and Cut the Window Film
Accurate measurement and cutting are essential for a professional finish. Measure the width and height of the windowpane carefully. Add an extra inch or two to each dimension to allow for trimming after application. Use a sharp utility knife or scissors and a straight edge to cut the film to the measured size. Work on a clean, flat surface to avoid scratching or damaging the film. Double-check your measurements and cuts before proceeding to the next step. It's always better to cut the film slightly larger than needed and trim it down later, rather than ending up with a piece that's too small.

3. Apply the Film
The application process requires patience and a steady hand. Start by peeling off the protective liner from the window film, exposing the adhesive side. Spray the adhesive side of the film and the window generously with a slip solution (usually a mixture of water and a small amount of mild detergent). This allows you to reposition the film easily. Carefully align the film with the top edge of the windowpane, leaving an even overlap on all sides. Gently press the film onto the glass, working from the center outwards to avoid trapping air bubbles.

4. Squeegee the Film
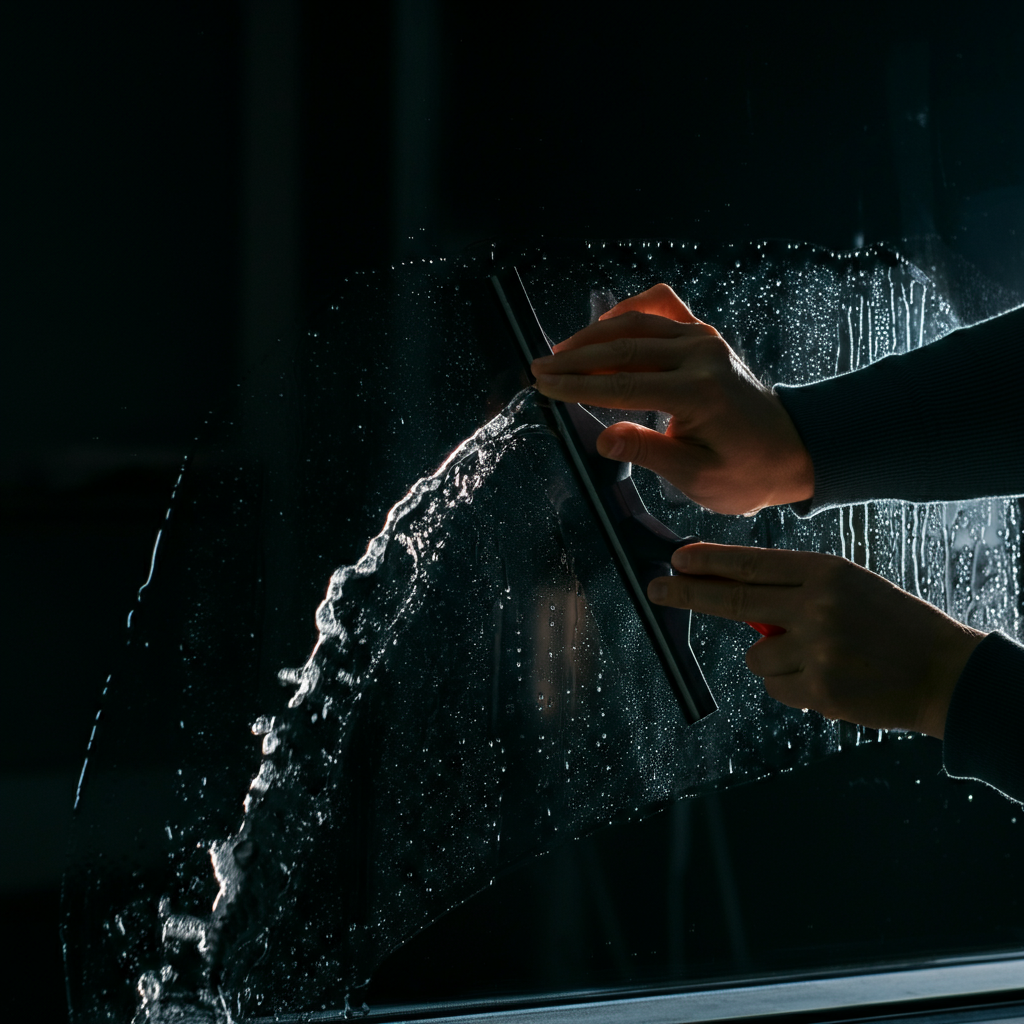
Once the film is in place, use a squeegee to remove any air bubbles and excess slip solution. Start at the center of the window and work your way towards the edges, overlapping each stroke. Apply firm, even pressure to ensure a smooth, bubble-free surface. If you encounter stubborn bubbles, gently lift the film and re-spray the area with slip solution before squeegeeing again. Use a clean, lint-free cloth to wipe away any excess solution that squeezes out from under the film.
5. Trim the Excess Film
After squeegeeing, use a sharp utility knife to trim the excess film around the edges of the windowpane. Hold the knife at a slight angle and run it along the edge of the window frame, using a straight edge as a guide for a clean, precise cut. Be careful not to scratch the glass or damage the surrounding frame. Remove the trimmed pieces of film and wipe the edges of the window with a clean cloth to remove any residue.
6. Final Inspection and Touch-Ups
Inspect the installed film carefully for any remaining air bubbles, wrinkles, or imperfections. Use a heat gun or hairdryer on a low setting to gently heat any problem areas and then squeegee them again. The heat helps to soften the film and release any trapped air. Avoid overheating the film, as this can cause it to shrink or distort. Once you are satisfied with the appearance of the film, allow it to dry completely for 24-48 hours before cleaning the window.

Tools or Materials Required
- Window film kit (includes film and application tools)
- Glass cleaner
- Lint-free cloths or squeegee
- Utility knife or scissors
- Straight edge
- Spray bottle
- Slip solution (water and mild detergent)
- Squeegee
- Heat gun or hairdryer (optional)
- Adhesive remover (if needed)
Common Mistakes to Avoid
- Skipping the Preparation: Failing to clean the window thoroughly will result in poor adhesion and visible imperfections.
- Using Too Much or Too Little Slip Solution: An insufficient amount of slip solution makes it difficult to reposition the film, while an excessive amount can lead to air bubbles and poor adhesion.
- Rushing the Squeegeeing Process: Rushing the squeegeeing process will leave air bubbles and wrinkles. Take your time and apply consistent pressure.
- Overheating the Film: Using excessive heat can cause the film to shrink, distort, or peel.
- Using Dull Cutting Tools: Dull blades tear at the film and leave rough edges, risking improper installation.
Safety Considerations
- When using a utility knife, always cut away from yourself and keep your fingers clear of the blade.
- Wear gloves to protect your hands from sharp edges and cleaning solutions.
- Avoid using excessive heat when shrinking the film, as this can be a fire hazard.
- If you are working on a high window, use a sturdy ladder and take precautions to prevent falls.
Pro Tips
- Install window film on a cloudy day to minimize glare and make it easier to see air bubbles.
- Use distilled water for the slip solution to prevent mineral deposits from forming on the film.
- Apply window film to the interior surface of the glass for maximum longevity.
- Consider using a professional installer for large or complex windows.
FAQ Section
- Q: Can I install window film on double-pane windows?
- A: Yes, but choose a film specifically designed for double-pane windows to avoid heat build-up that can damage the seals.
- Q: How long does window film last?
- A: High-quality window film can last for 10 years or more with proper care.
- Q: How do I clean window film?
- A: Use a mild soap and water solution and a soft cloth or sponge. Avoid using abrasive cleaners or scouring pads.
- Q: Can I remove window film if I don't like it?
- A: Yes, you can remove window film, but it may require some effort. Use a heat gun or hairdryer to soften the adhesive and then peel the film off slowly. Clean any remaining adhesive residue with a specialized remover.
Conclusion
Installing window film is a relatively simple project that can yield significant benefits in terms of energy savings, comfort, and privacy. By following the steps outlined in this guide and avoiding common mistakes, you can achieve a professional-looking installation that will last for years to come. Remember that patience and attention to detail are key to a successful outcome. Enjoy your enhanced home environment!