A fireplace can be a wonderful source of warmth and ambiance in your home, but it's crucial to ensure it's operating safely and efficiently. Regular chimney inspections are a vital part of fireplace maintenance. Creosote buildup, cracks, and other issues can pose serious fire hazards. This guide provides a comprehensive, step-by-step process for inspecting your fireplace chimney, allowing you to identify potential problems and address them promptly.
While some chimney repairs require professional expertise, a thorough visual inspection can often reveal early warning signs. This guide covers both the interior and exterior components of your chimney, empowering you to proactively maintain your fireplace and safeguard your home. Remember, safety is paramount; if you're uncomfortable with any part of this inspection, consult a qualified chimney sweep or contractor.
By following these steps, you'll gain a better understanding of your chimney's condition and ensure it's ready to provide you with years of safe and enjoyable fires. Regular inspections can also help prevent costly repairs down the road. Let's get started!
Step 1: Prepare the Fireplace Interior
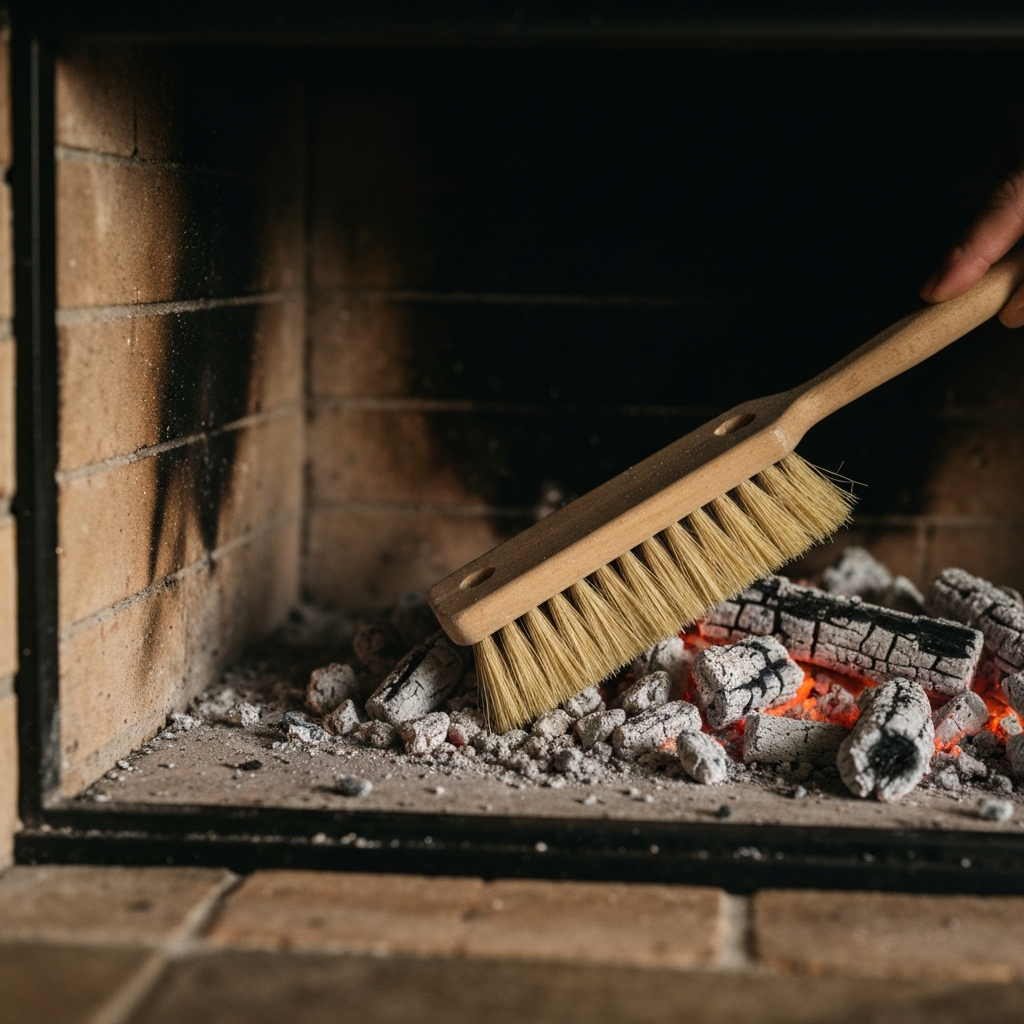
Before you begin the inspection, you need to prepare the fireplace interior. This involves removing all ashes, debris, and any remaining wood from the firebox. Use a stiff brush or broom to thoroughly clean the sides and bottom of the firebox. Pay close attention to the areas where creosote may have accumulated. Vacuum out the loosened ashes using a shop vacuum. If possible, remove the andirons to provide a clearer view and more space to work. This initial cleanup is essential for a proper visual inspection of the firebox and flue entrance. Don't use your household vacuum cleaner as the fine ash can clog the filter and damage the motor.
Step 2: Inspect the Firebox and Damper
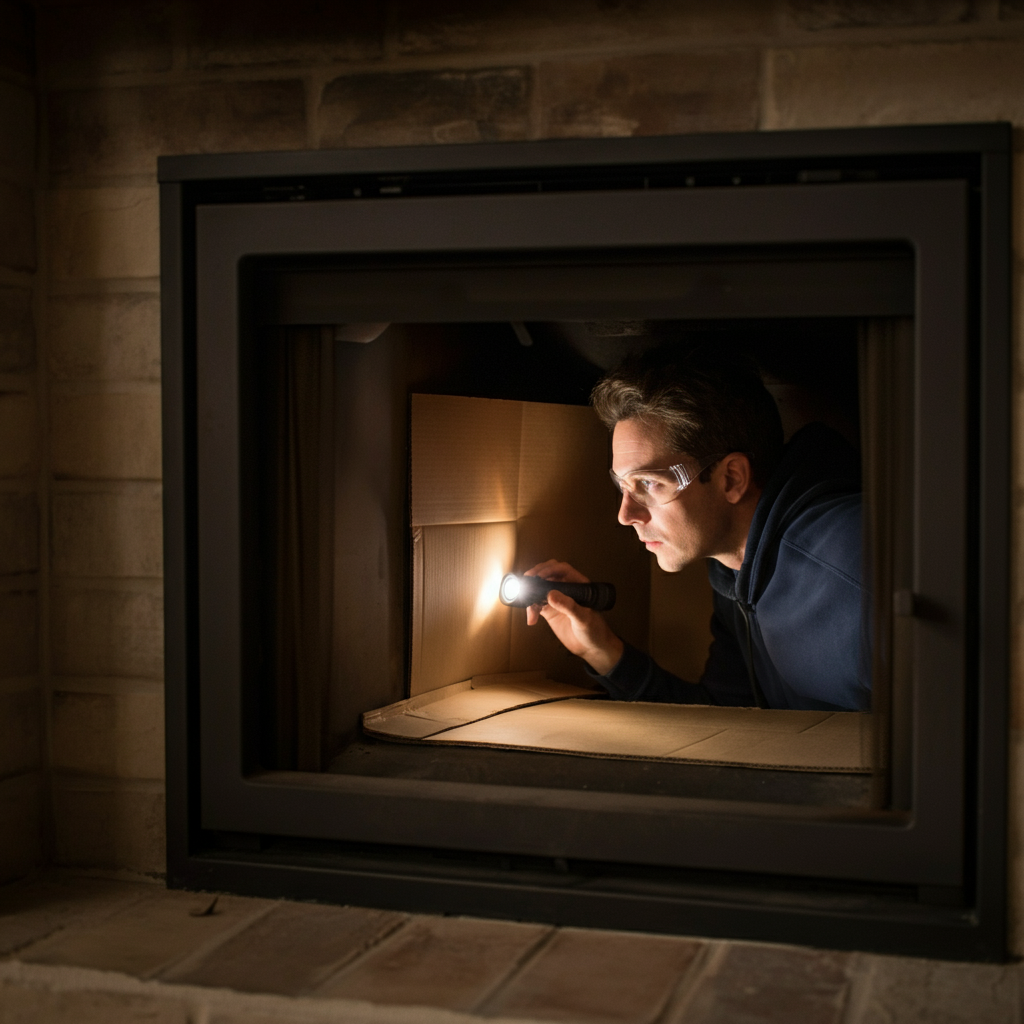
Open the fireplace screen or glass doors as wide as possible. Protect the room by placing a large piece of cardboard or a drop cloth in the firebox, extending out into the room. Carefully lay on your back (or use a comfortable kneeling position if the firebox allows) and use a flashlight to inspect the firebox walls and the area leading into the flue. Look for any cracks in the masonry or burn holes if you have a metal insert. Pay particular attention to the condition of the damper. Is it rusty, warped, or damaged? Check the surrounding area for any signs of creosote buildup or deterioration. A flashlight with a strong beam is essential for a thorough inspection of these dark areas.
Step 3: Test the Damper Operation
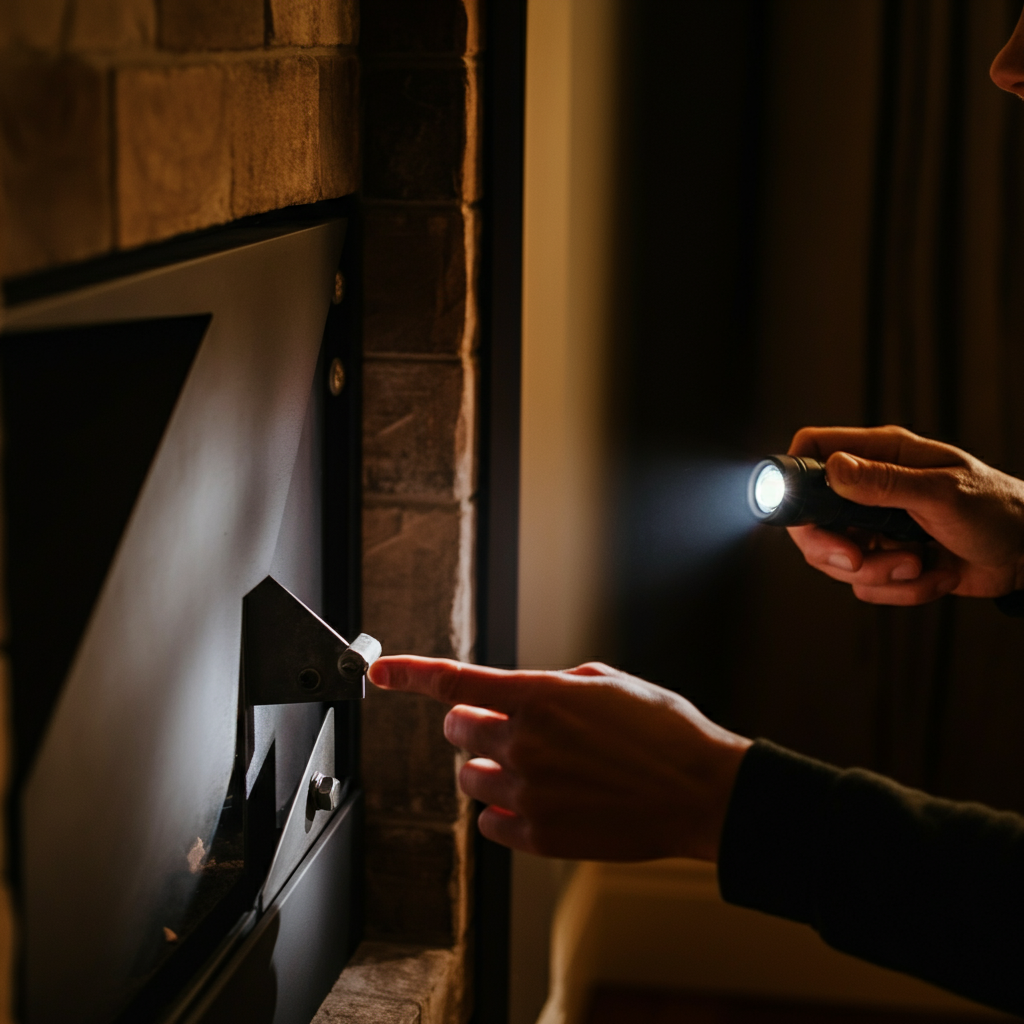
With you inside the firebox and your assistant outside, have them operate the damper. Watch closely to ensure it opens and closes smoothly and fits securely within its brackets. A properly functioning damper is crucial for preventing drafts when the fireplace is not in use and for controlling airflow during a fire. If the damper is stuck, loose, or damaged, it will need repair or replacement. Wear safety glasses during this step, as creosote and ash can easily fall into your eyes. After the test, ensure the damper is fully closed to prevent heat loss when you're finished.
Step 4: Protect the Room Before Exterior Inspection
Before heading outside to inspect the chimney from the roof, it's vital to protect the room from falling debris. Place a clean drop cloth or a large piece of cardboard in the firebox. Secure the edge closest to the room by taping it down or propping it up. Close the fireplace screen or glass doors, if equipped. This barrier will catch any soot, ash, or loose material that may fall from the chimney during the exterior inspection and cleaning process. This seemingly simple step can save you a significant amount of cleanup time later.

Step 5: Access the Roof and Chimney
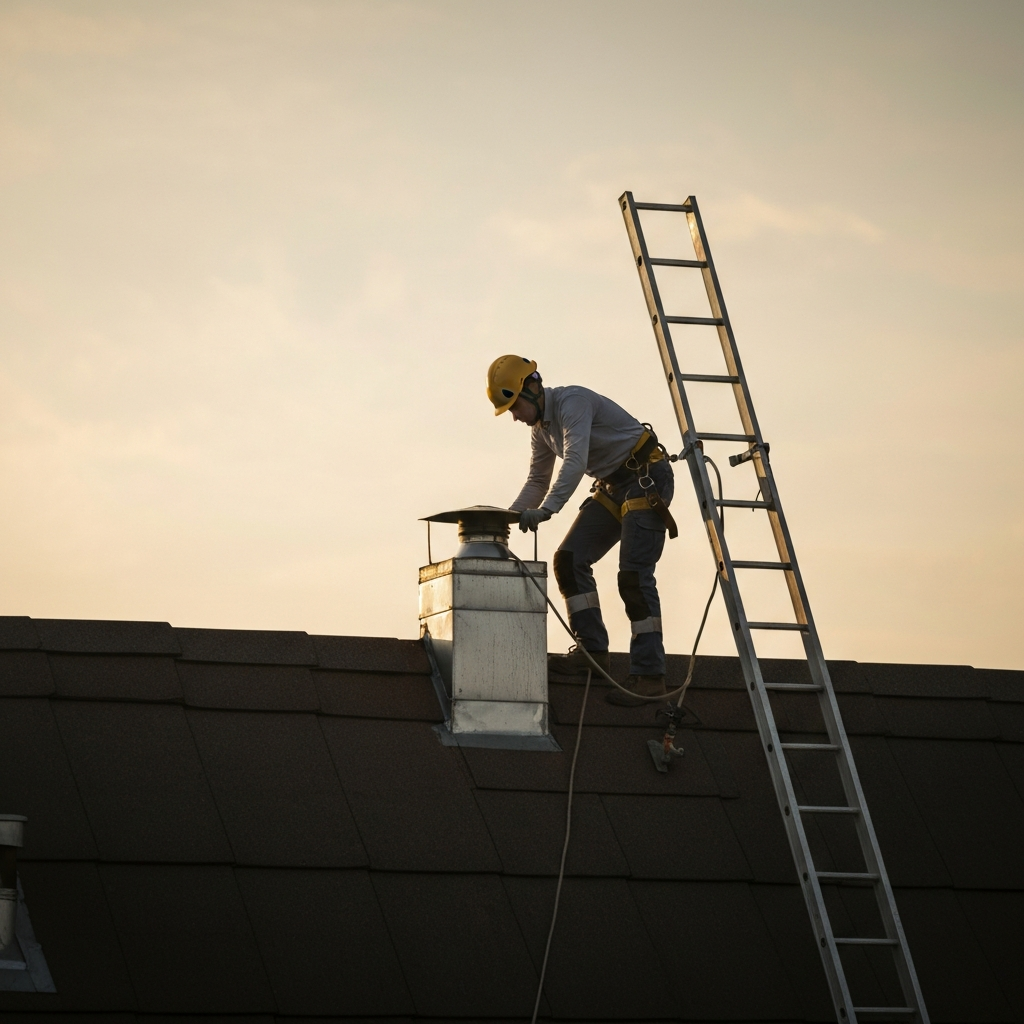
Carefully position a ladder to access the roof safely. Ensure the ladder is stable and securely placed on level ground. Wear appropriate footwear and use caution while climbing. Once on the roof, approach the chimney. If the chimney has a rain cover or bird screen, prepare to remove it. Before removing it, have flashing sealant and tools ready to reattach it properly after the inspection. Assess the overall condition of the chimney from the roof. If you are uncomfortable with heights or your roof is steep, it's best to call a professional for this part of the inspection.
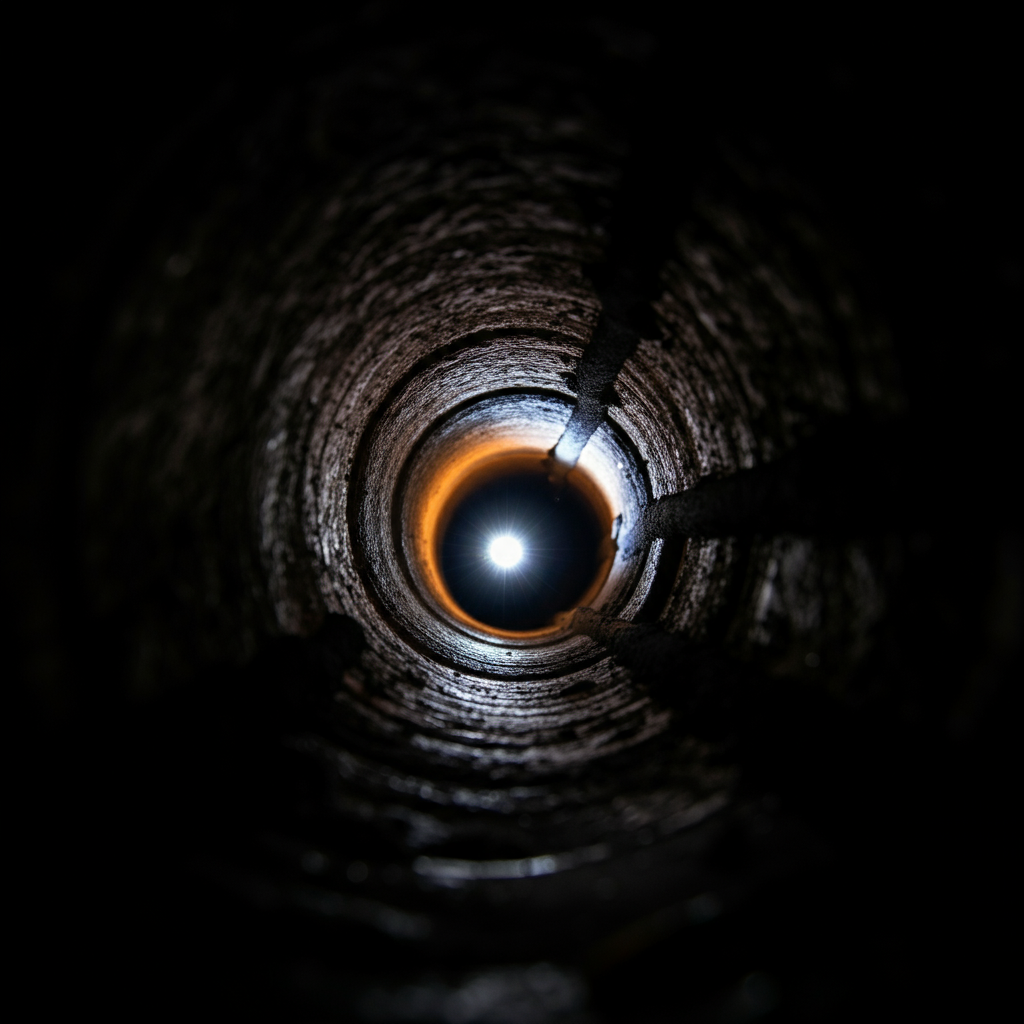
Step 6: Inspect the Flue from Above
Using your flashlight, shine a beam down the flue. Look for excessive creosote buildup, which appears as a black or brown, tar-like substance. Creosote is highly flammable and poses a significant fire risk. Also, carefully examine the flue liner (clay or metal) for cracks, gaps, or deterioration. These defects can allow hot gases and sparks to escape, potentially igniting nearby combustible materials in your home's structure. According to the National Fire Protection Association, creosote buildup exceeding 1/8 inch requires professional cleaning.
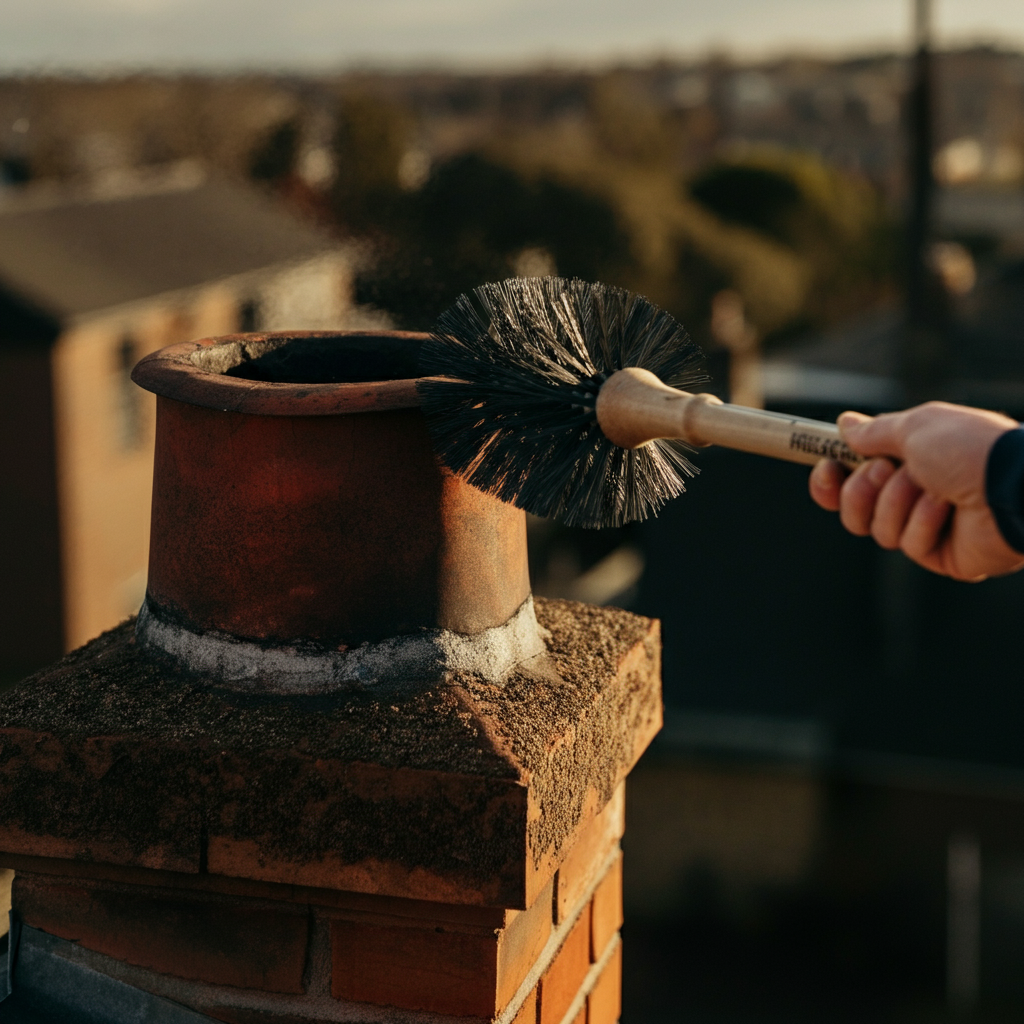
Step 7: Brush the Chimney Flue (If Safe to Do So)
If you feel comfortable and have the appropriate tools, you can attempt to brush the chimney flue. Use a stiff chimney brush with a long, flexible handle. Start at the top of the chimney and work your way down, scrubbing the sides of the flue to dislodge creosote and debris. However, attempting to fully clean the chimney without professional equipment and experience can be difficult and potentially hazardous. Focus on dislodging loose buildup and debris rather than attempting a complete cleaning. Consider hiring a chimney sweep for thorough cleaning.
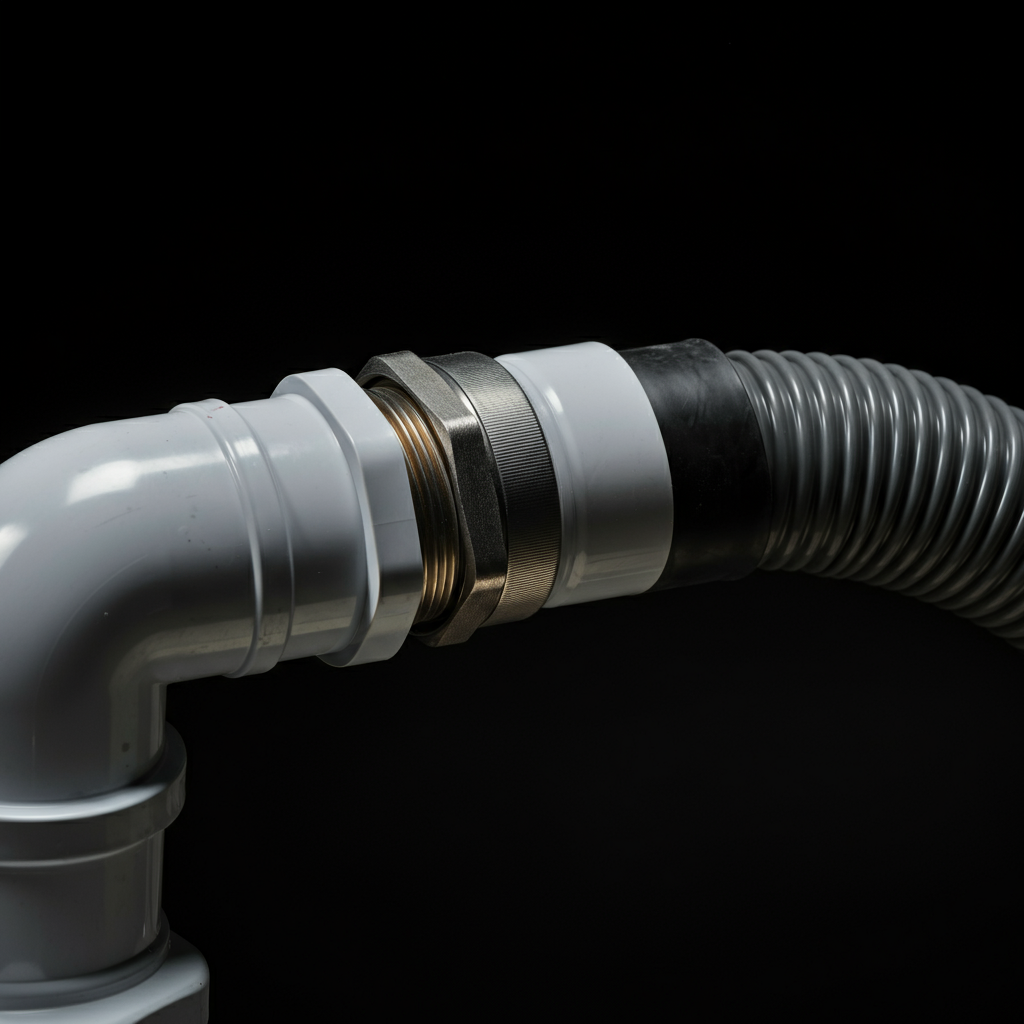
Step 8: Remove Dislodged Debris
After brushing, you need to remove the dislodged debris from the chimney. Fashion an extension tube for your shop vacuum using a length of PVC pipe that fits the vacuum hose. Carefully drop the pipe down the flue to reach the debris. Most chimneys have a smoke shelf and damper door that will prevent the material from falling directly into the firebox. Vacuum the debris from the smoke shelf. Once the cleaning is complete, use your flashlight to re-examine the flue for any remaining cracks or gaps that may have been obscured by the buildup. Be thorough in your vacuuming to remove as much debris as possible.
Step 9: Inspect the Chimney Flashing
Carefully examine the area where the chimney adjoins the roof. This area is typically sealed with flashing to prevent water from entering your home. Look for signs of corrosion, damage, or debris accumulation. Common problems include cracked or missing flashing, rust, and debris buildup that can trap moisture and lead to roof leaks. Proper flashing is essential for maintaining a watertight seal and protecting your roof from water damage. Address any issues promptly to prevent costly repairs. Pay close attention to the areas where the flashing is bent or folded, as these are often the weakest points.
Step 10: Final Steps and Reassembly
Carefully climb down the ladder and return to the fireplace inside your home. Remove the drop cloth or protective barrier you installed earlier. Dispose of the collected soot and ash properly. You should now be ready to replace your andirons and prepare the fireplace for use. If you removed the chimney cap, carefully reattach it, ensuring it's securely fastened and properly sealed with flashing sealant. Make sure all tools are put away, and any remaining debris is cleaned up. Double-check that the damper is functioning correctly before lighting a fire.
Tools or Materials Required
- A good canister-type wet/dry vacuum cleaner with a flexible hose and brush attachments
- Drop cloth or cardboard
- A stiff brush
- A length of PVC pipe the same diameter as the shop vac hose to extend down the flue
- Sealant and nails or screws to reattach the chimney cap if it is removed
- Ladder tall enough to access the roof safely
- Flashlight
- Safety Glasses
- Chimney Brush (Optional, for partial cleaning)
Safety Considerations
- Always use caution when working on a roof. If you're uncomfortable with heights, hire a professional.
- Wear safety glasses to protect your eyes from falling debris.
- Ensure your ladder is stable and securely placed.
- Be aware of weather conditions and avoid inspecting the chimney during high winds or rain.
Common Mistakes to Avoid
- Using a household vacuum cleaner instead of a shop vacuum.
- Neglecting to protect the room from falling debris.
- Attempting to clean the chimney without proper equipment or experience.
- Ignoring signs of damage or deterioration.
- Failing to properly reattach the chimney cap.
FAQ Section
- How often should I inspect my chimney?
- It's recommended to inspect your chimney at least once a year, preferably before the heating season.
- What are the signs of a dangerous chimney?
- Excessive creosote buildup, cracks in the flue liner, damaged flashing, and a malfunctioning damper are all signs of a potentially dangerous chimney.
- Can I clean my chimney myself?
- You can attempt a partial cleaning, but a thorough cleaning requires professional equipment and expertise. It's best to hire a chimney sweep for regular maintenance.
- How do I know if I need to call a professional?
- If you're uncomfortable with any part of the inspection or cleaning process, or if you find signs of significant damage or deterioration, it's best to consult a qualified chimney sweep or contractor.
Conclusion
Regularly inspecting your fireplace chimney is a crucial step in maintaining a safe and efficient heating system. By following the steps outlined in this guide, you can identify potential problems early and address them promptly. Remember, when in doubt, consult a qualified professional. Taking the time to inspect your chimney will give you peace of mind and ensure you can enjoy your fireplace safely and comfortably for years to come. Don’t delay – inspect your chimney today!