Composting is nature's way of recycling, and it's one of the easiest and most rewarding things you can do for your garden. Instead of sending valuable organic matter to the landfill, you can transform it into nutrient-rich humus that will improve soil structure, retain moisture, and feed your plants. It might seem intimidating at first, but with a few basic principles and techniques, you'll be well on your way to creating your own "garden gold."
The process involves creating the ideal environment for beneficial microbes to break down organic waste. These microbes need the right balance of carbon (brown materials), nitrogen (green materials), water, and air to thrive. Getting this balance right is the key to fast, efficient composting and avoiding common problems like unpleasant odors or slow decomposition. This guide will break down each step, providing practical tips and solutions to help you master the art of composting.
From choosing the right composting method to troubleshooting common issues, we'll cover everything you need to know to create a thriving compost pile and reap the benefits of this sustainable practice. Get ready to unlock the secrets of turning your yard waste into a valuable resource for your garden!
Step-by-Step Composting Guide
Step 1: Choosing Your Composting Method
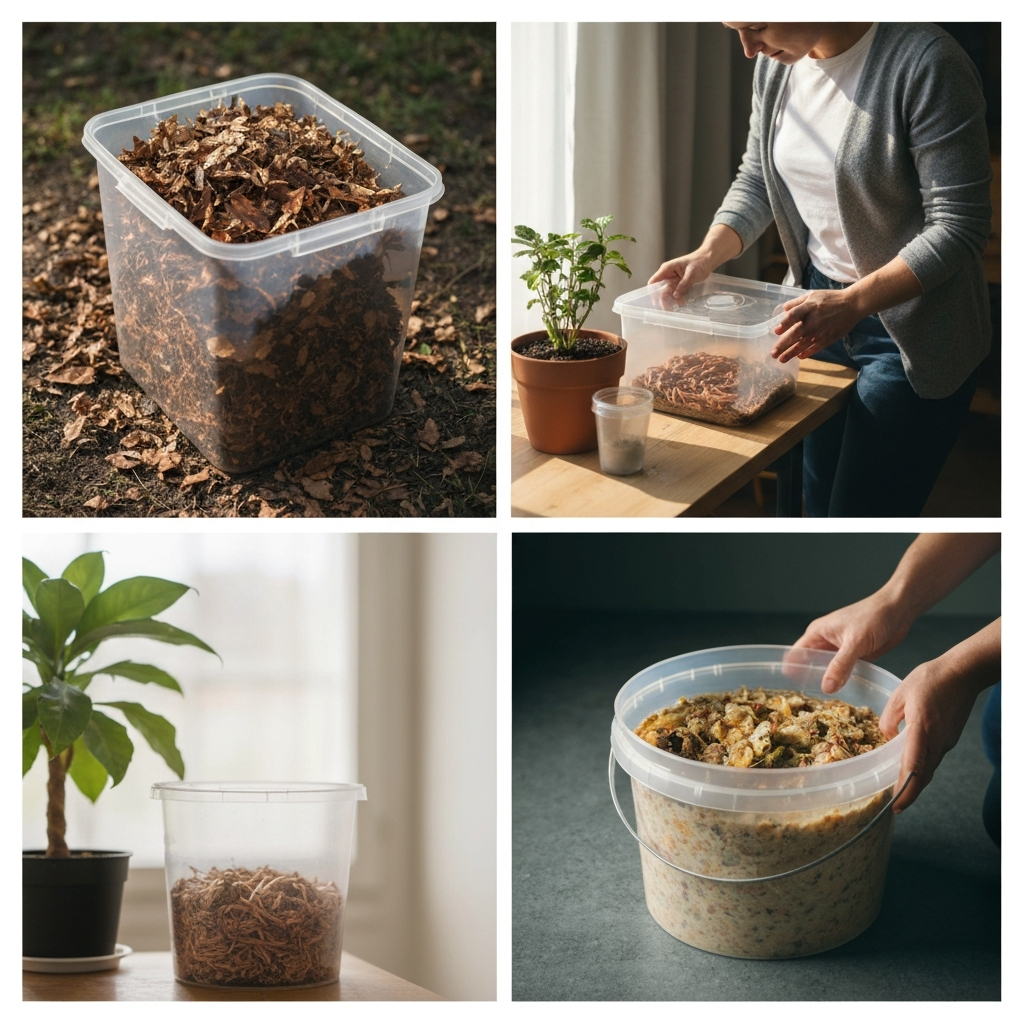
The first step is deciding which composting method best suits your needs and space. There are several options, each with its own advantages and disadvantages. Common methods include traditional composting in a pile or bin, vermicomposting (using worms), and Bokashi composting (anaerobic fermentation). Traditional composting is great for handling large volumes of yard waste. Vermicomposting is ideal for smaller spaces and kitchen scraps. Bokashi can handle almost all food waste, including meat and dairy, but requires a separate curing process afterward.
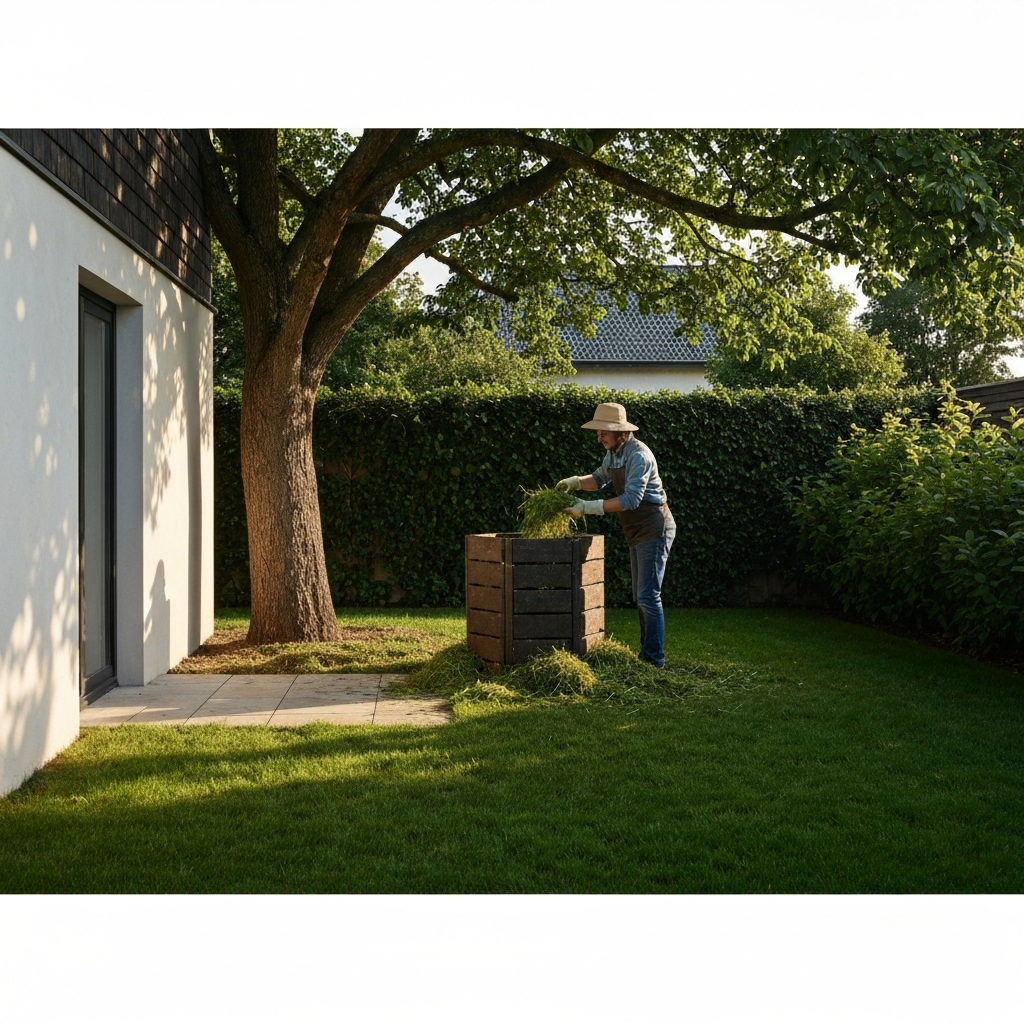
Step 2: Selecting the Right Location
Once you've chosen a method, selecting the right location is crucial. For traditional composting, choose a spot that's easily accessible, receives partial shade (to prevent the pile from drying out too quickly), and is away from your house (to minimize any potential odors). The ground should be well-draining. Avoid placing your compost pile directly on concrete, as this can impede drainage and hinder the decomposition process. For vermicomposting and Bokashi, location is less critical, but keep them in a cool, dry place protected from extreme temperatures.
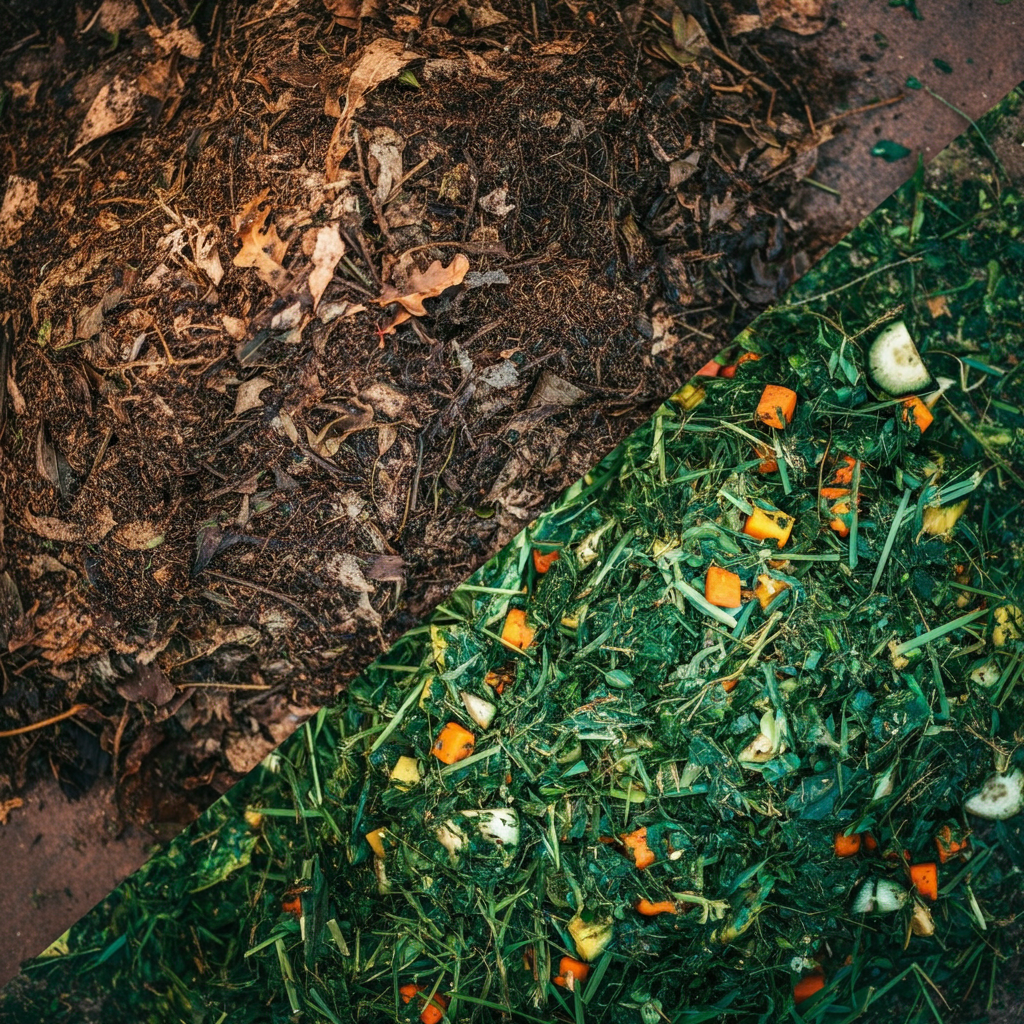
Step 3: Gathering Your Materials: The "Browns" and "Greens"
Composting relies on a balance of "browns" (carbon-rich materials) and "greens" (nitrogen-rich materials). Browns include dry leaves, straw, shredded paper, and cardboard. Greens include grass clippings, vegetable scraps, coffee grounds, and manure. A good starting ratio is roughly 2:1 or 3:1 browns to greens by volume. Too much green material can lead to a slimy, smelly pile, while too much brown material can slow down the decomposition process. Be sure to avoid composting meat, dairy, oily foods, and diseased plants, as these can attract pests or spread diseases.
Step 4: Layering and Building Your Compost Pile
The layering process is simple: alternate layers of browns and greens, starting with a thick layer of browns at the bottom to provide aeration. As you add materials, chop or shred larger items to increase surface area and speed up decomposition. Moisten each layer as you go, aiming for the consistency of a wrung-out sponge. Don't over-compact the pile; it needs air circulation. Avoid adding large clumps of a single material, as this can create anaerobic pockets.

Step 5: Maintaining Moisture and Aeration
Maintaining the right moisture level is crucial for composting success. The compost pile should be damp, not soggy. Check the moisture level regularly, especially during dry spells. Aeration is equally important; it provides oxygen for the microbes to thrive. Turn the pile regularly (every week or two) using a pitchfork or compost turner. This helps to redistribute materials, introduce oxygen, and prevent anaerobic conditions. If your pile smells like ammonia, it's likely too wet and needs more browns and aeration.
Step 6: Monitoring and Troubleshooting
Pay attention to your compost pile and be prepared to troubleshoot any problems that arise. A healthy compost pile should have a slightly earthy smell. If it smells foul, it's likely too wet or lacks aeration. If the pile is dry and decomposition is slow, add water. Pests like fruit flies can be attracted to food scraps; bury them deep in the pile to prevent this. If your compost isn't heating up, it may be lacking nitrogen or moisture.
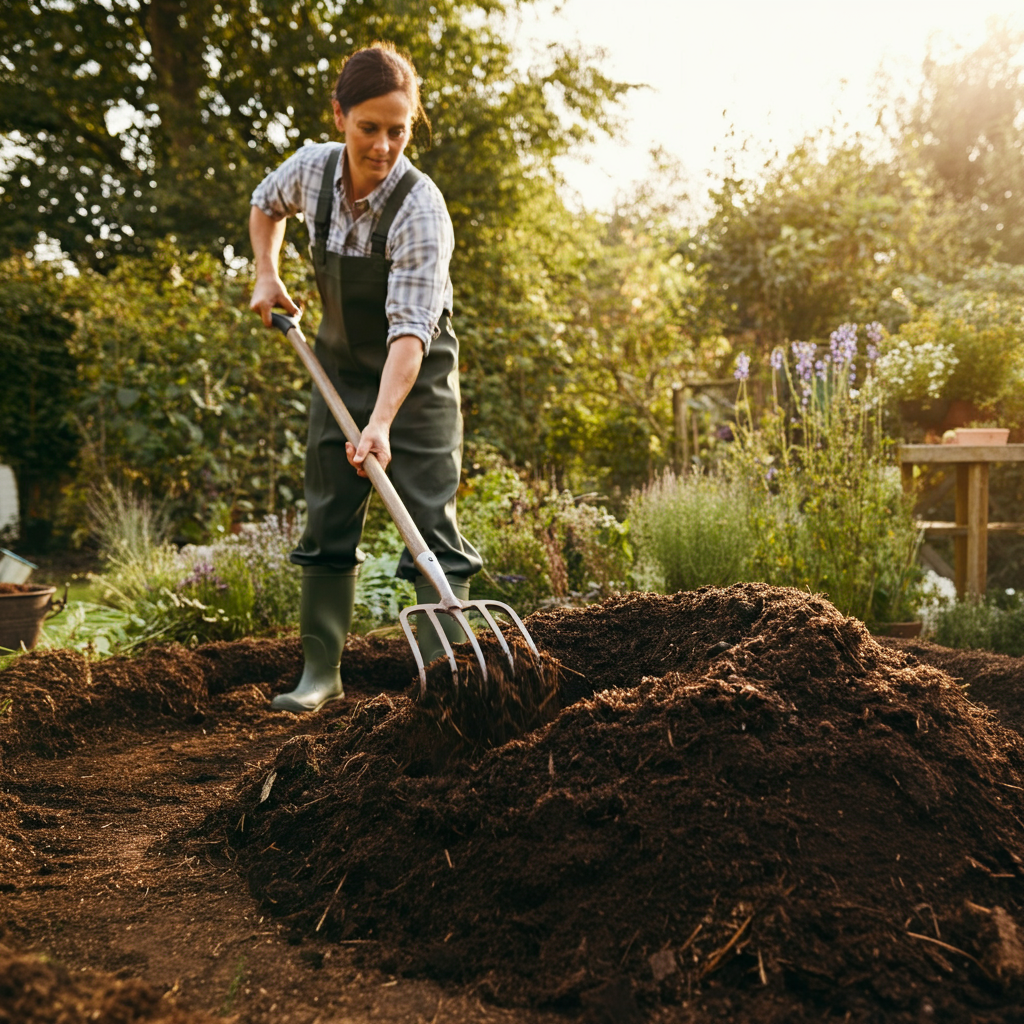
Step 7: Harvesting Your Compost
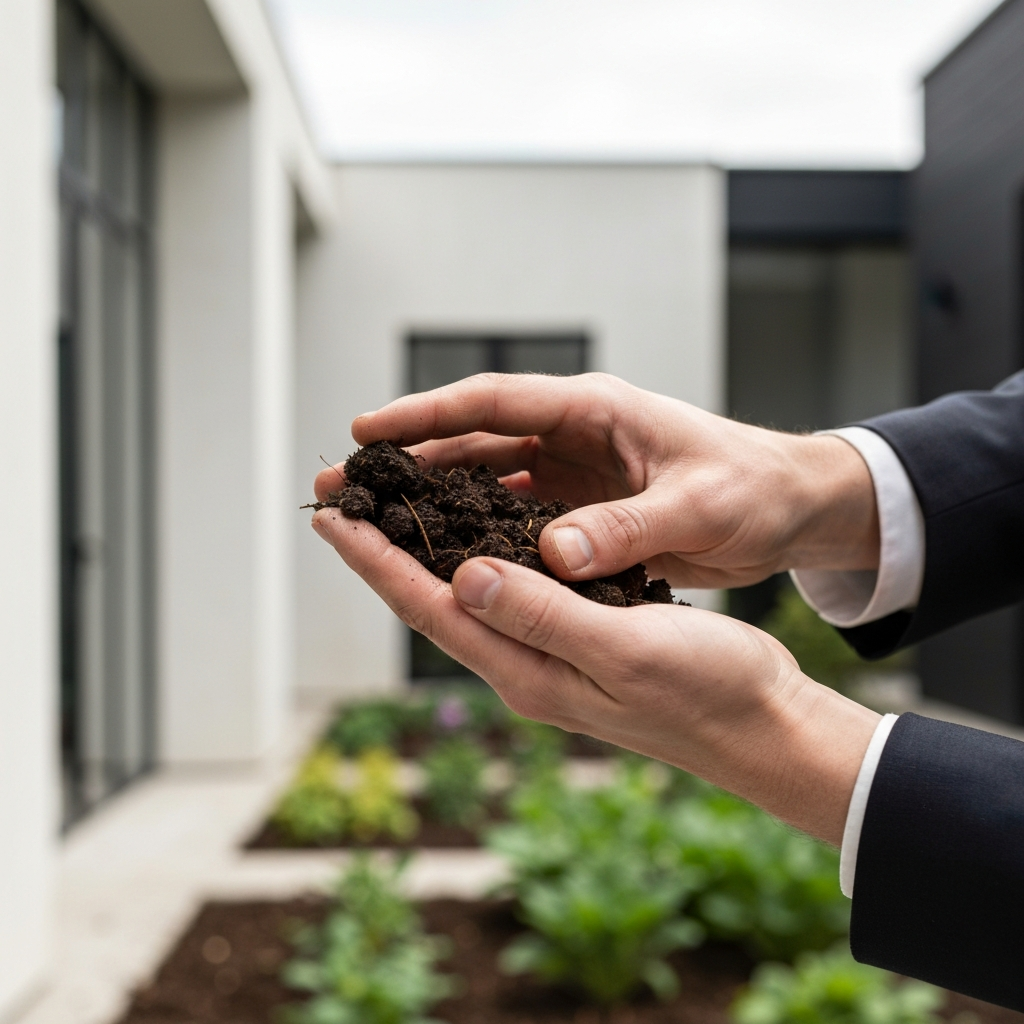
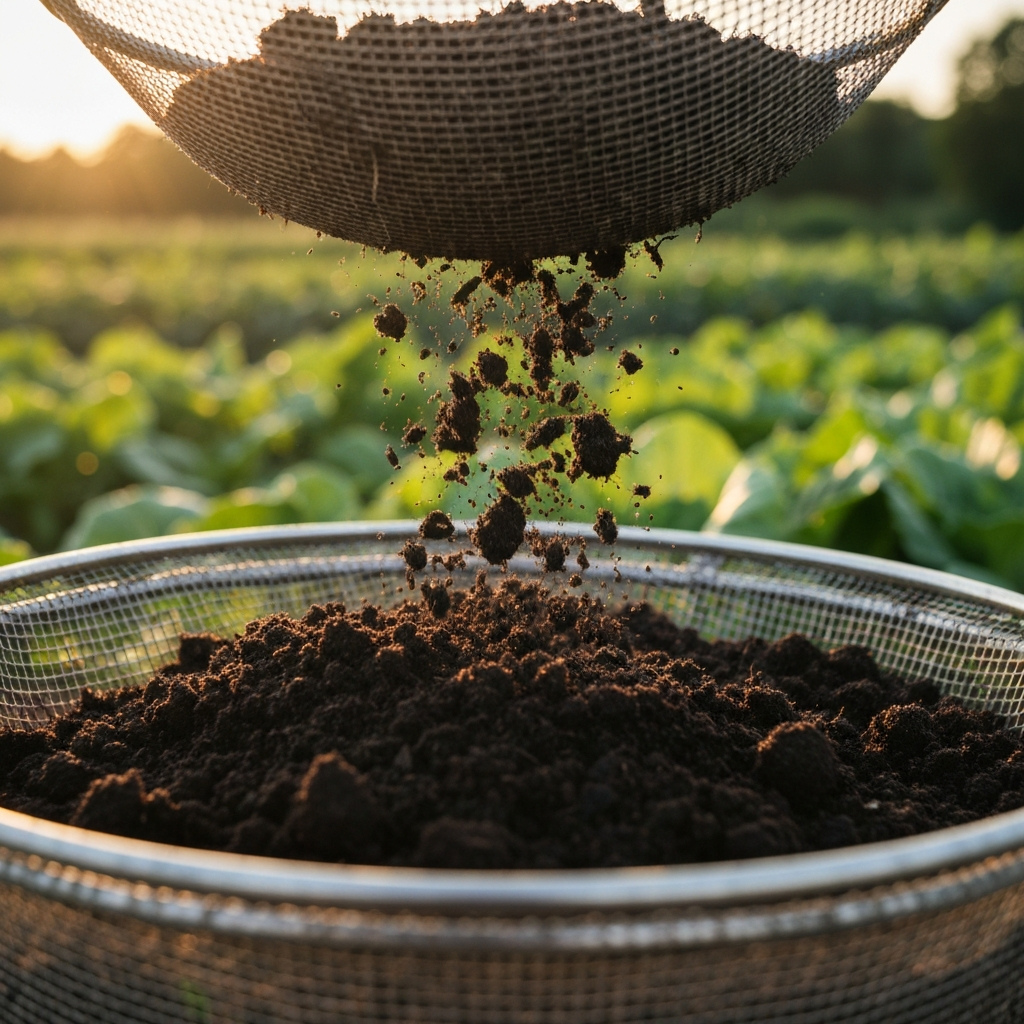
After several weeks or months, your compost will be ready to harvest. It should be dark brown, crumbly, and have an earthy smell. There should be no recognizable pieces of the original materials. Sift the compost to remove any large, undecomposed items, which can be returned to the pile. Finished compost is a valuable soil amendment that can be used to improve soil structure, retain moisture, and provide nutrients to your plants. Use it as a top dressing for your garden beds, mix it into potting soil, or use it to amend planting holes.
Tools or Materials Required
- Compost bin or pile enclosure
- Pitchfork or compost turner
- Watering can or hose
- Shovel
- Gloves
- Sifting screen (optional)
- Brown materials (dry leaves, straw, shredded paper)
- Green materials (grass clippings, vegetable scraps, coffee grounds)
Common Mistakes to Avoid
- Adding too much of one type of material (e.g., too many grass clippings)
- Not maintaining adequate moisture
- Failing to aerate the pile regularly
- Composting meat, dairy, oily foods, or diseased plants
- Placing the compost pile in direct sunlight or on concrete
Safety Considerations
- Wear gloves when handling compost to protect your skin from bacteria and fungi.
- Wash your hands thoroughly after handling compost.
- Avoid breathing in dust from dry compost, as it can contain mold spores.
- Be mindful of the weight of the compost pile and avoid overloading your bin or enclosure.
Pro Tips
- Chop or shred materials before adding them to the compost pile to speed up decomposition.
- Add a compost starter or accelerator to boost microbial activity.
- Bury food scraps deep in the pile to prevent odors and attract pests.
- Collect dry leaves in the fall and store them for use throughout the year.
- Consider using a compost thermometer to monitor the temperature of your pile.
FAQ Section
Q: How long does it take to make compost?
A: The time it takes to make compost can vary depending on several factors, including the materials used, the moisture level, the aeration, and the temperature. Under ideal conditions, compost can be ready in as little as a few weeks. However, it typically takes several months to a year to fully decompose.
Q: What if my compost pile doesn't heat up?
A: If your compost pile isn't heating up, it may be lacking nitrogen (greens) or moisture. Add more grass clippings, vegetable scraps, or coffee grounds to increase the nitrogen content. Water the pile thoroughly to ensure it's damp but not soggy.
Q: Can I compost pet waste?
A: It's generally not recommended to compost pet waste, as it can contain harmful pathogens that can contaminate your compost. If you choose to compost pet waste, do so in a separate composting system dedicated solely to that purpose, and avoid using the resulting compost on edible plants.
Conclusion
Composting is a rewarding and sustainable practice that allows you to transform yard waste and food scraps into valuable garden resources. By understanding the basic principles of composting, choosing the right method, and maintaining proper conditions, you can create a thriving compost pile that will enrich your soil and benefit your plants. So, get started today and unlock the secrets of turning your yard waste into garden gold!