Transforming discarded materials into beautiful and functional home and garden decor is not only a cost-effective way to personalize your space, but also a fantastic way to reduce your environmental impact. Upcycling breathes new life into items destined for the landfill, giving them a fresh purpose and adding unique character to your surroundings. This guide will walk you through several creative projects, providing practical tips and expert insights to help you unleash your inner artist and create stunning upcycled masterpieces.
From repurposing old glass bottles into elegant vases to turning wooden pallets into stylish outdoor furniture, the possibilities for upcycled decor are virtually endless. The key is to look at everyday objects with a fresh perspective and envision their potential beyond their original function. Embrace imperfections and let your creativity guide you – the most charming upcycled projects often have a story to tell.
Ready to get started? Let's dive into some exciting upcycling projects that will inspire you to transform trash into treasure.
Step 1: Transforming Glass Bottles into Decorative Vases
Cleaning and Prepping the Bottles
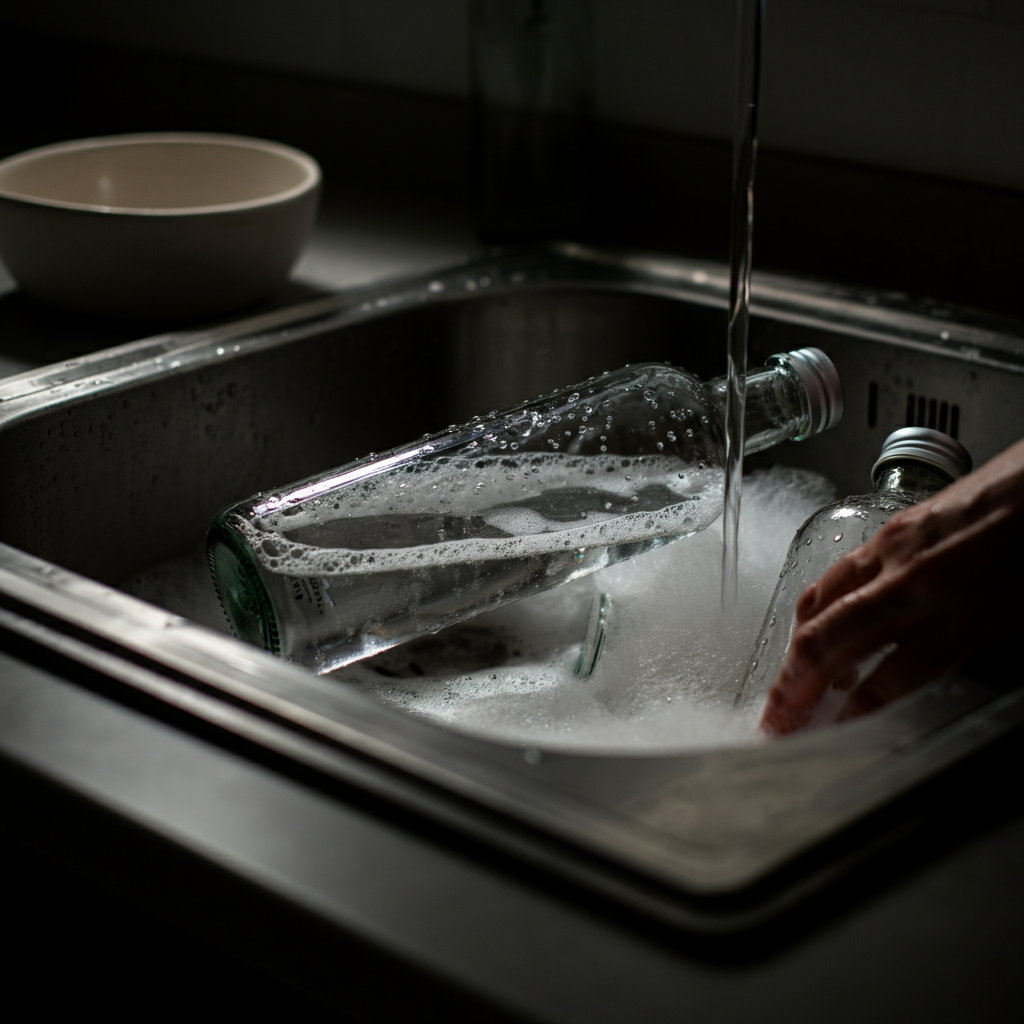
The first step in turning old glass bottles into beautiful vases is thorough cleaning. Remove any labels by soaking the bottles in warm, soapy water for at least 30 minutes. For stubborn labels, try using a mixture of baking soda and oil to gently scrub them off. Once the labels are removed, wash the bottles thoroughly with dish soap and rinse them completely. Make sure there are no sticky residues left. Dry the bottles completely before proceeding to the next step. Properly cleaned bottles will ensure any paint or decorative elements adhere properly.
Step 2: Painting and Decorating Your Upcycled Vases
Selecting the Right Paint and Techniques
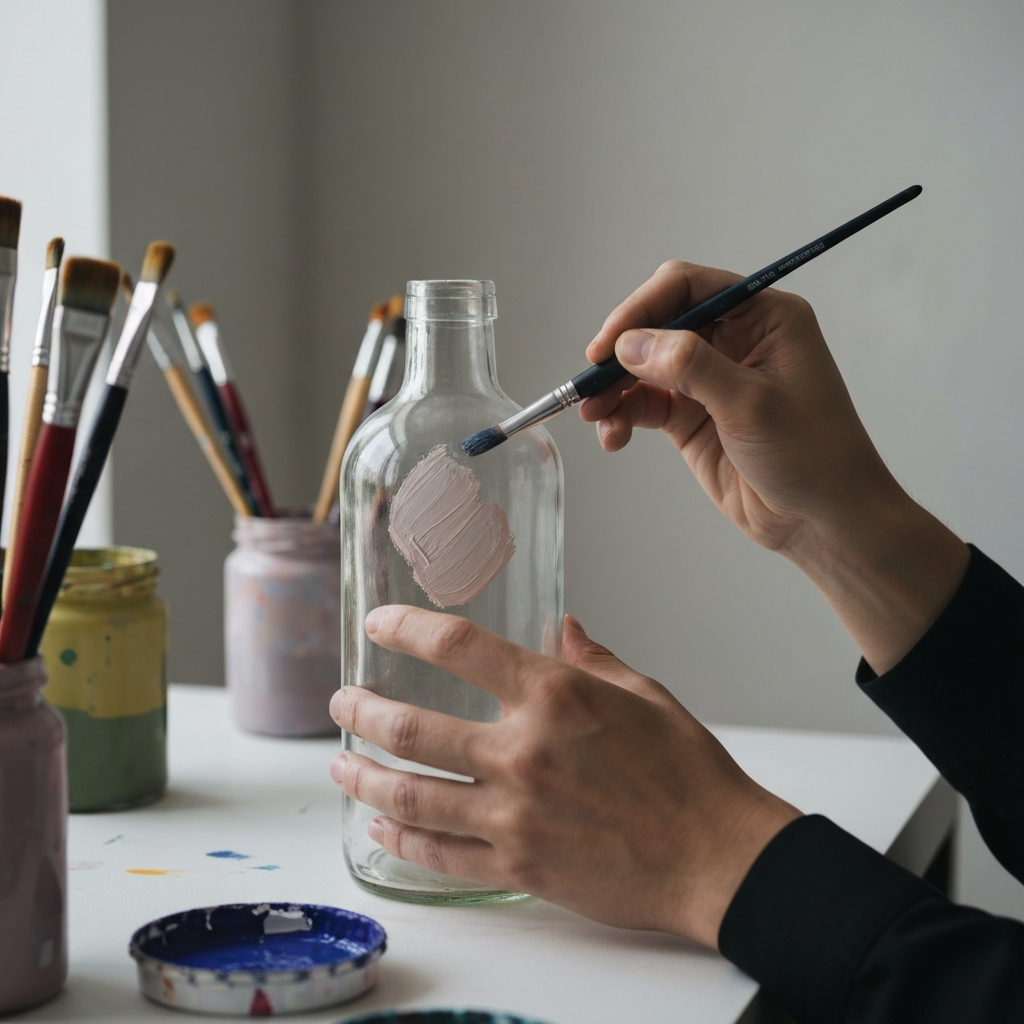
Once your bottles are clean and dry, it's time to add some color and personality. Acrylic paints work well on glass and are available in a wide range of colors and finishes. You can use a brush to apply solid coats of paint, or experiment with different techniques like sponge painting, marbling, or stenciling to create unique patterns. If you're looking for a more rustic look, try using chalk paint, which can be easily distressed with sandpaper after it dries. Consider sealing the paint with a clear coat of varnish to protect it from scratches and water damage. Ensure you're working in a well-ventilated area when using paints and sealants.
Step 3: Crafting a Pallet Garden Planter
Disassembling and Preparing the Pallet
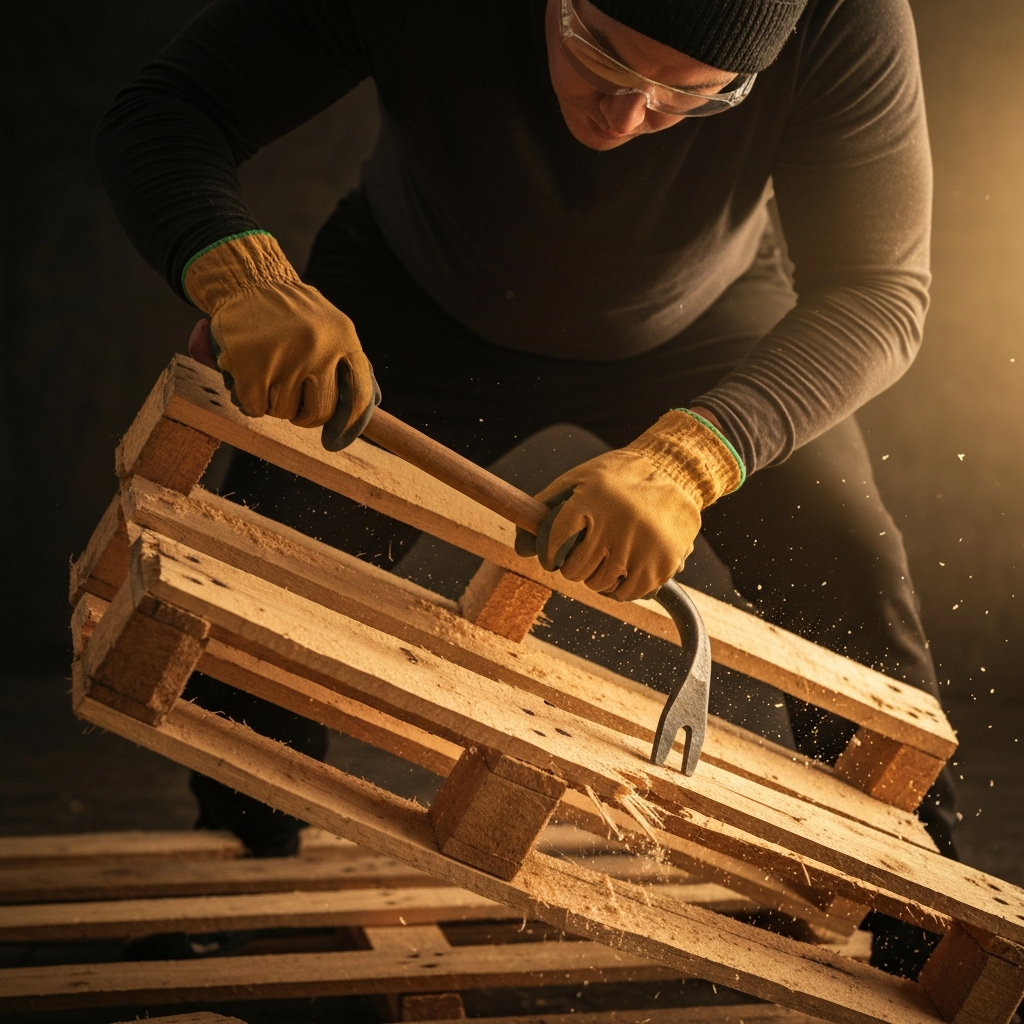
Wooden pallets are a versatile material for creating rustic garden planters. Begin by carefully disassembling the pallet. Use a pry bar or a reciprocating saw to separate the planks. Wear safety glasses and gloves to protect yourself from splinters and sharp edges. Once you have the individual planks, inspect them for any nails or staples that need to be removed. Sand the planks to smooth out any rough edges and create a more polished look. You can also treat the wood with a sealant to protect it from the elements and extend its lifespan.
Step 4: Assembling the Pallet Planter Box
Constructing the Box and Adding Drainage
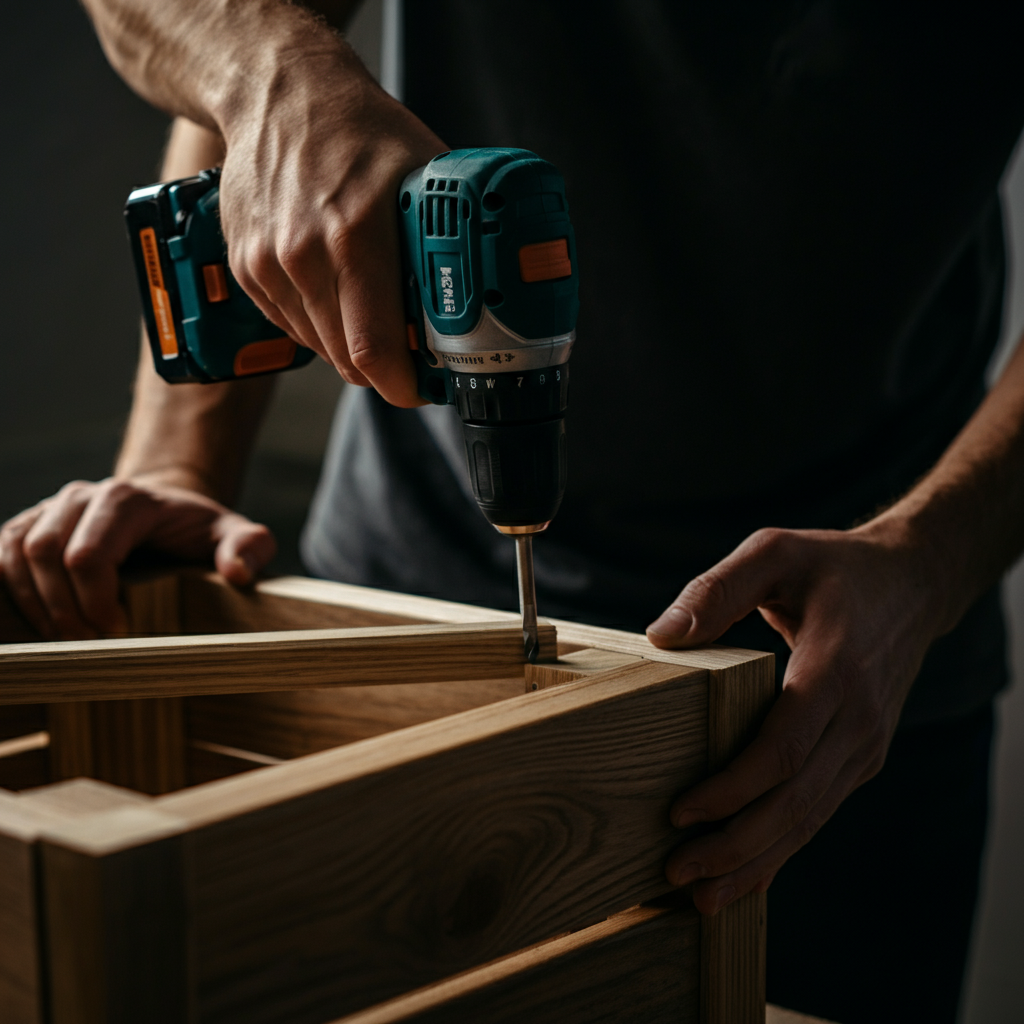
Now it's time to assemble your pallet planter box. Use the sanded planks to create a box shape, securing them together with screws or nails. Ensure the box is sturdy and can withstand the weight of the soil and plants. Drill drainage holes in the bottom of the box to allow excess water to escape. Line the inside of the planter box with landscape fabric to prevent soil from eroding through the cracks. This will also help to keep the soil moist and promote healthy plant growth. Consider adding a layer of gravel at the bottom of the planter for improved drainage.
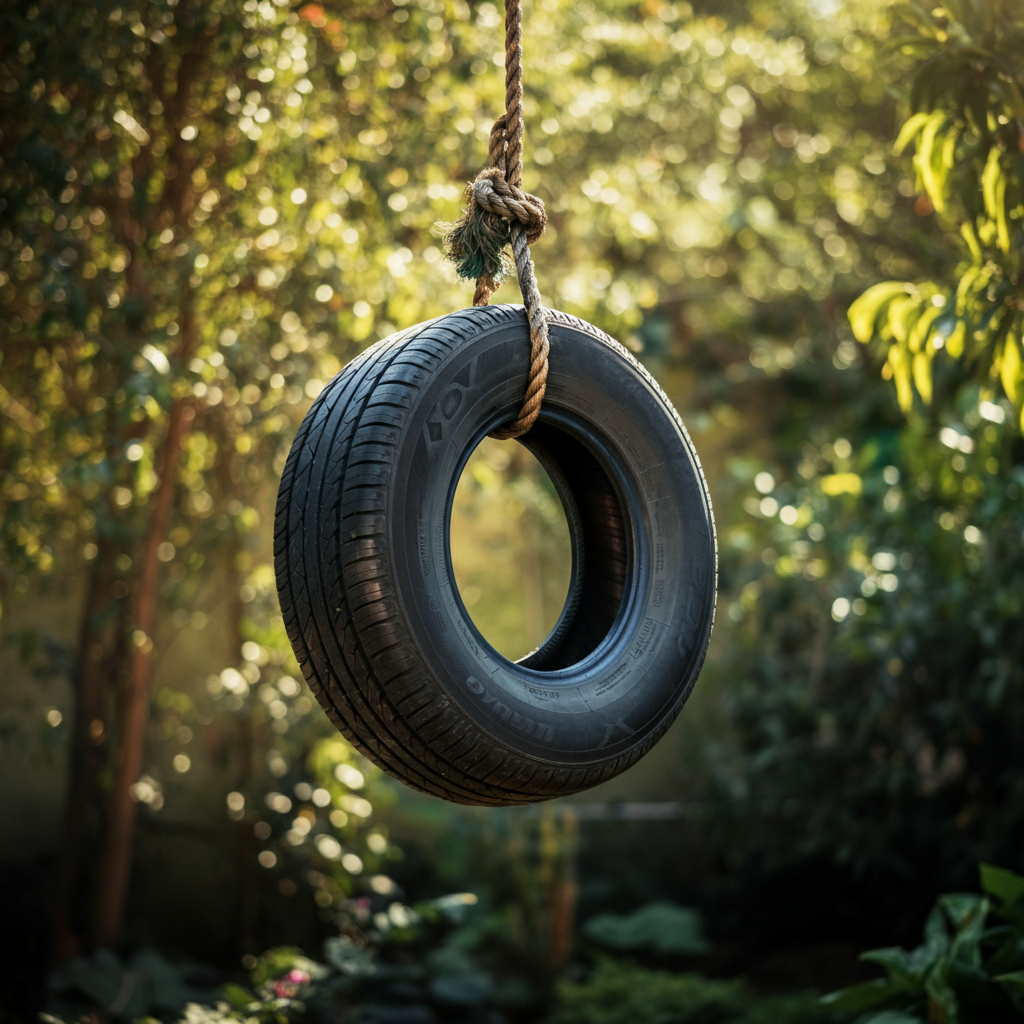
Step 5: Creating a Tire Swing for Garden Fun
Preparing and Securing the Tire
An old tire can be transformed into a fun and durable tire swing for your garden. First, thoroughly clean the tire with soap and water to remove any dirt or debris. Inspect the tire for any damage or wear and tear. Drill drainage holes in the bottom of the tire to prevent water from accumulating inside. To hang the swing, you'll need a sturdy rope or chain. Drill holes through the tire and attach the rope or chain using heavy-duty eye bolts and washers. Ensure the attachments are secure and can withstand the weight of a person. Always test the swing before allowing children to use it.
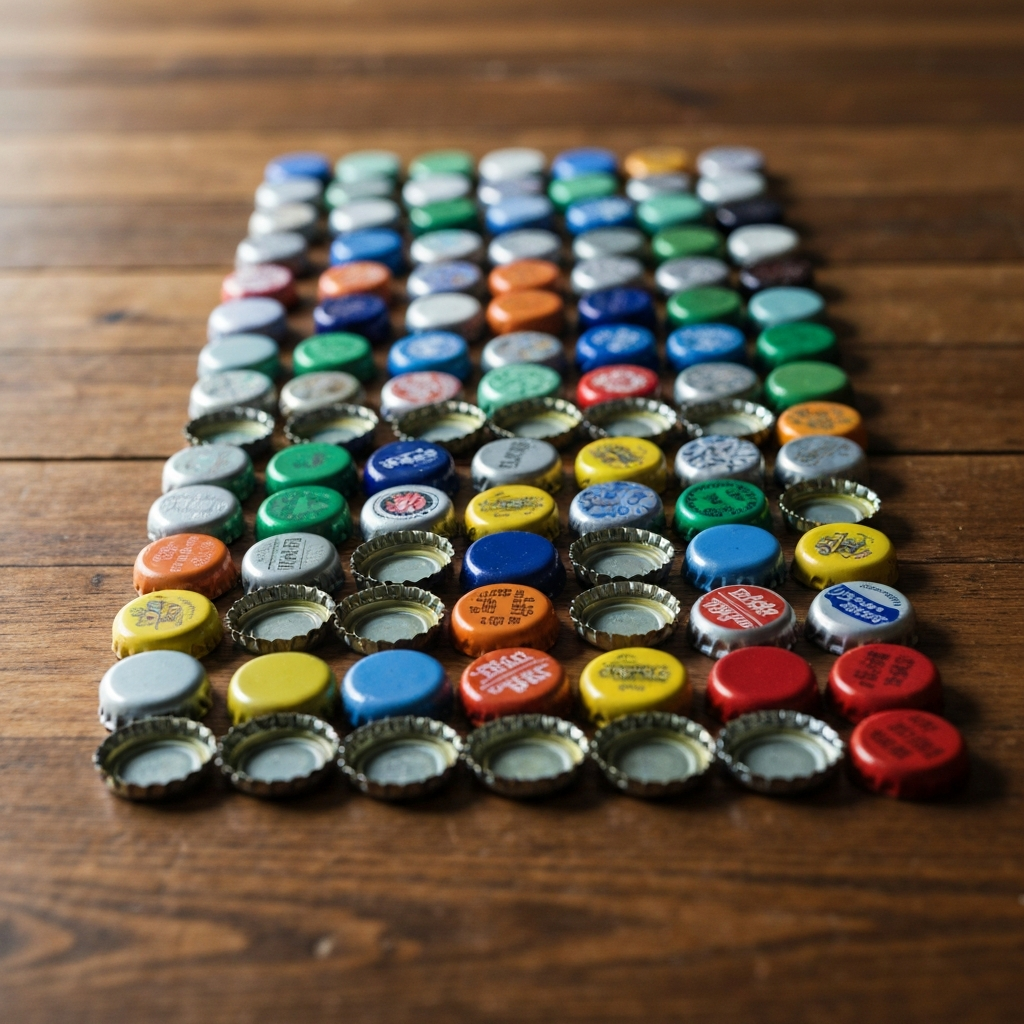
Step 6: Bottle Cap Mosaic Art
Collecting and Preparing Bottle Caps
Bottle caps, often overlooked, are surprisingly versatile for creating vibrant mosaics. The first step is to collect a variety of bottle caps in different colors and sizes. Thoroughly clean each bottle cap to remove any residue or sticky substances. A mixture of warm water and dish soap will usually do the trick. After cleaning, sort the caps by color and size to make the mosaic design process smoother. You may also want to flatten some caps depending on the desired texture of your mosaic. This can be done carefully with a hammer.
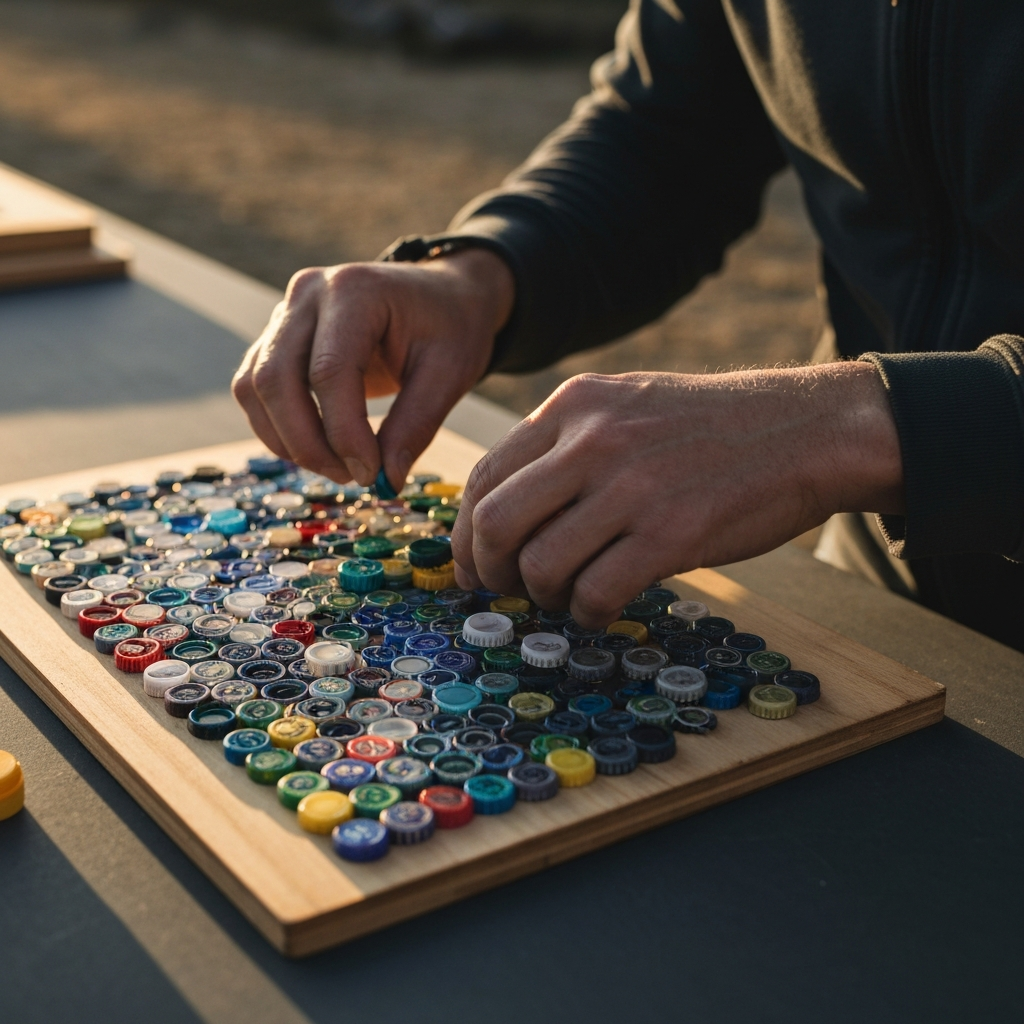
Step 7: Assembling Your Bottle Cap Mosaic
Creating the Design and Adhering the Caps
With your bottle caps clean and sorted, it’s time to design your mosaic. You can create any design you like, from simple geometric patterns to intricate artistic representations. Before you start gluing, lay out the bottle caps on your chosen surface to visualize the final product. Once you are happy with the design, use a strong adhesive like epoxy or construction adhesive to glue the bottle caps in place. Work in small sections and apply the adhesive sparingly to avoid a messy finish. Allow the adhesive to dry completely before handling the mosaic.
Tools or Materials Required
- Glass Bottles
- Wooden Pallets
- Old Tires
- Bottle Caps
- Acrylic Paints
- Chalk Paint
- Paintbrushes
- Sandpaper
- Pry Bar
- Reciprocating Saw
- Drill
- Screws/Nails
- Rope/Chain
- Eye Bolts
- Washers
- Adhesive (Epoxy or Construction Adhesive)
- Safety Glasses
- Gloves
Safety Considerations
When working with tools like saws and drills, always wear safety glasses and gloves to protect yourself from injury. Be mindful of sharp edges and splinters when handling wooden pallets. Work in a well-ventilated area when using paints and sealants. Ensure all materials are securely fastened and can withstand the intended use.
FAQ Section
Q: What type of paint is best for glass bottles?
A: Acrylic paints are generally the best choice for painting glass bottles due to their durability and wide range of colors and finishes.
Q: How do I protect wooden pallet planters from the elements?
A: Treat the wood with a sealant or stain to protect it from moisture and UV damage. You can also line the inside of the planter with landscape fabric to prevent soil erosion.
Q: What is the best way to clean a used tire before making a swing?
A: Use soap and water to thoroughly scrub the tire and remove any dirt, grime, or debris. A pressure washer can also be helpful for this task.
Pro Tips
- Before starting any project, thoroughly research the materials you plan to use and ensure they are safe and appropriate for the intended purpose.
- Don't be afraid to experiment with different techniques and materials. The beauty of upcycling is that there are no rules.
- Involve your family and friends in the upcycling process. It's a great way to bond and create lasting memories.
By following these steps and using your imagination, you can transform everyday trash into unique and beautiful home and garden decor. Upcycling is not only a fun and rewarding hobby, but also a sustainable way to reduce waste and protect the environment. Start small, experiment with different projects, and enjoy the process of creating something new from something old.