Technology is an integral part of our lives, and when it malfunctions, it can be incredibly frustrating. Whether it's a slow computer, a misbehaving app, or a network connectivity issue, knowing how to troubleshoot is a valuable skill. This guide is designed to equip you with the foundational knowledge and practical steps to approach tech problems methodically and effectively. No longer will you be completely helpless when your Wi-Fi decides to take a vacation.
Troubleshooting isn't just about fixing problems; it's about understanding how your technology works. As you work through these steps, you'll develop a better sense of the underlying systems and how to diagnose issues more efficiently. This skill will not only save you time and money but also empower you to take control of your digital environment.
This guide starts with the fundamental principles of troubleshooting and gradually introduces more specific techniques. We'll cover everything from identifying the source of the problem to implementing solutions and preventing future issues. Let's begin your journey to becoming a tech troubleshooting expert!
-
Step 1: Identify the Problem
The first and often most crucial step is to clearly define the issue. Avoid vague descriptions like "my computer is slow." Instead, ask specific questions: "What specific tasks are slow? Is it only when I browse the web, or is it slow even when opening simple documents?" Gather as much information as possible about when the problem started, what you were doing at the time, and any error messages you might have seen. The more precise you are, the easier it will be to pinpoint the root cause.

-
Step 2: Restart the Device
It might seem simple, but restarting your device is often the most effective first step. Restarting clears the system's memory, closes any running processes, and resets the hardware components. Think of it as giving your device a fresh start. Before dismissing this step, remember that many software glitches and temporary conflicts can be resolved with a simple reboot. Ensure you properly shut down the device through the operating system's menu, rather than just holding the power button, to avoid data corruption.

-
Step 3: Check the Connections
Loose or faulty connections are a surprisingly common cause of tech problems. For desktops, ensure that all cables (power, monitor, keyboard, mouse, network) are securely plugged into both the computer and the peripherals. For laptops, check the power cord and any external devices you might be using. Pay attention to the physical condition of the cables themselves; look for any signs of damage, such as frayed wires or bent connectors. If possible, try using a different cable to rule out a cable defect. This step applies to network troubleshooting as well; ensure your Ethernet cable is securely connected to your computer and the router or modem. Also, double check that the wifi is connected properly.

-
Step 4: Consult Error Messages and Documentation
Error messages can seem cryptic, but they often contain valuable clues about the nature of the problem. Take the time to read the error message carefully and note any specific codes or descriptions. Google the exact error message; chances are someone else has encountered the same problem and found a solution. Also, check the device's manual or the software's help documentation. Many manufacturers and developers provide extensive troubleshooting guides and FAQs that can help you resolve common issues.

-
Step 5: Software and Driver Updates
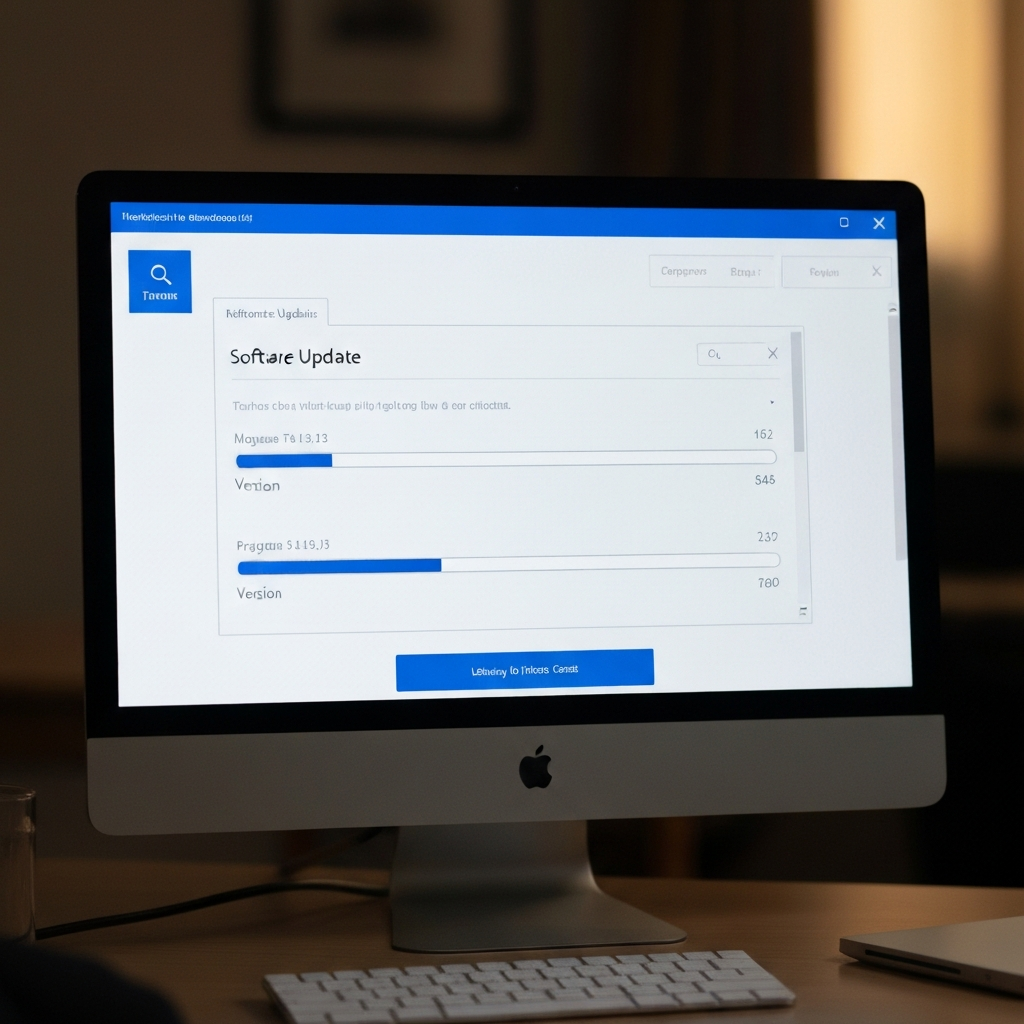
Outdated software and drivers can cause a variety of problems, from performance issues to compatibility conflicts. Ensure that your operating system, web browser, and other software are up to date. Similarly, check for driver updates for your hardware components, such as your graphics card, network adapter, and printer. You can usually find driver updates on the manufacturer's website. Software can often be updated within the software itself. Keeping your software up to date ensures that you have the latest bug fixes and security patches.
-
Step 6: Check Available Storage
If your computer is running slowly, especially when opening files or saving data, it might be running out of storage space. Insufficient storage can severely impact performance. Aim to keep at least 10-15% of your hard drive or SSD free. Delete unnecessary files, uninstall unused programs, and consider moving large files (such as videos and photos) to an external hard drive or cloud storage. Also, empty your recycle bin regularly.

-
Step 7: Antivirus and Malware Scan
Malware and viruses can cause a wide range of problems, including slow performance, system crashes, and data loss. Run a full system scan with your antivirus software to detect and remove any malicious software. Keep your antivirus software up to date, as new threats are constantly emerging. If you suspect that your computer is infected, consider using a second opinion scanner from a reputable security vendor. Remember, prevention is key: be careful about clicking on suspicious links or downloading files from untrusted sources.

-
Step 8: Use System Restore (Windows) or Time Machine (macOS)
If the problem started after a recent software installation or system change, you can try using System Restore (on Windows) or Time Machine (on macOS) to revert your computer to a previous state. These tools create snapshots of your system files and settings, allowing you to undo changes that might be causing the problem. This can be a lifesaver if you accidentally installed a buggy program or made a configuration error. However, be aware that System Restore and Time Machine might not restore personal files created after the restore point.

Tools or Materials Required
- Screwdriver set (for opening computer cases, if necessary)
- Compressed air (for cleaning dust from components)
- USB drive (for transferring files or running diagnostics)
- Internet access (for searching for solutions and downloading updates)
Common Mistakes to Avoid
- Panicking and making rash decisions without gathering information.
- Assuming the worst-case scenario before trying simple solutions.
- Ignoring error messages or documentation.
- Installing software from untrusted sources.
- Forgetting to back up your data before making significant changes.
Pro Tips
- Document your troubleshooting steps. Keeping track of what you've tried will help you avoid repeating mistakes and identify patterns.
- Learn to use the command line (Windows) or Terminal (macOS). These powerful tools can give you more control over your system.
- Join online forums and communities dedicated to tech support. You can learn from other people's experiences and get help with specific problems.
- Consider investing in a good surge protector to protect your devices from power surges.
FAQ Section
- Q: My computer is still slow after trying all of these steps. What should I do?
A: It's possible that you have a hardware problem or a more complex software issue. Consider seeking professional help from a computer technician. - Q: How often should I update my software and drivers?
A: It's generally a good idea to check for updates at least once a month. Some programs offer automatic updates, which can save you time and effort. - Q: What is the best way to back up my data?
A: There are several options, including external hard drives, cloud storage services, and network-attached storage (NAS) devices. Choose the method that best suits your needs and budget.
Conclusion
Troubleshooting your tech effectively is a journey, not a destination. By following these steps, practicing regularly, and staying curious, you'll develop the skills and confidence to tackle a wide range of tech problems. Remember to stay calm, be methodical, and don't be afraid to ask for help when you need it. With a little patience and persistence, you can become your own tech support expert!