It's a disheartening sight: your once vibrant houseplant, now drooping, yellowing, or seemingly lifeless. Before you resign yourself to its demise, know that many houseplants can be revived with a little care and attention. This guide provides a step-by-step approach to diagnose the problem and nurse your plant back to health, even if you're a complete beginner.
Houseplants bring life and beauty to our homes, but they are also susceptible to various issues, from improper watering to pest infestations. Understanding the signs of distress and knowing how to react is key to successful plant rescue. This guide will equip you with the knowledge to identify common problems, implement effective solutions, and prevent future issues.
Don't give up hope just yet! With a little effort and the right information, you can bring your dying houseplant back to its former glory. Let's get started!
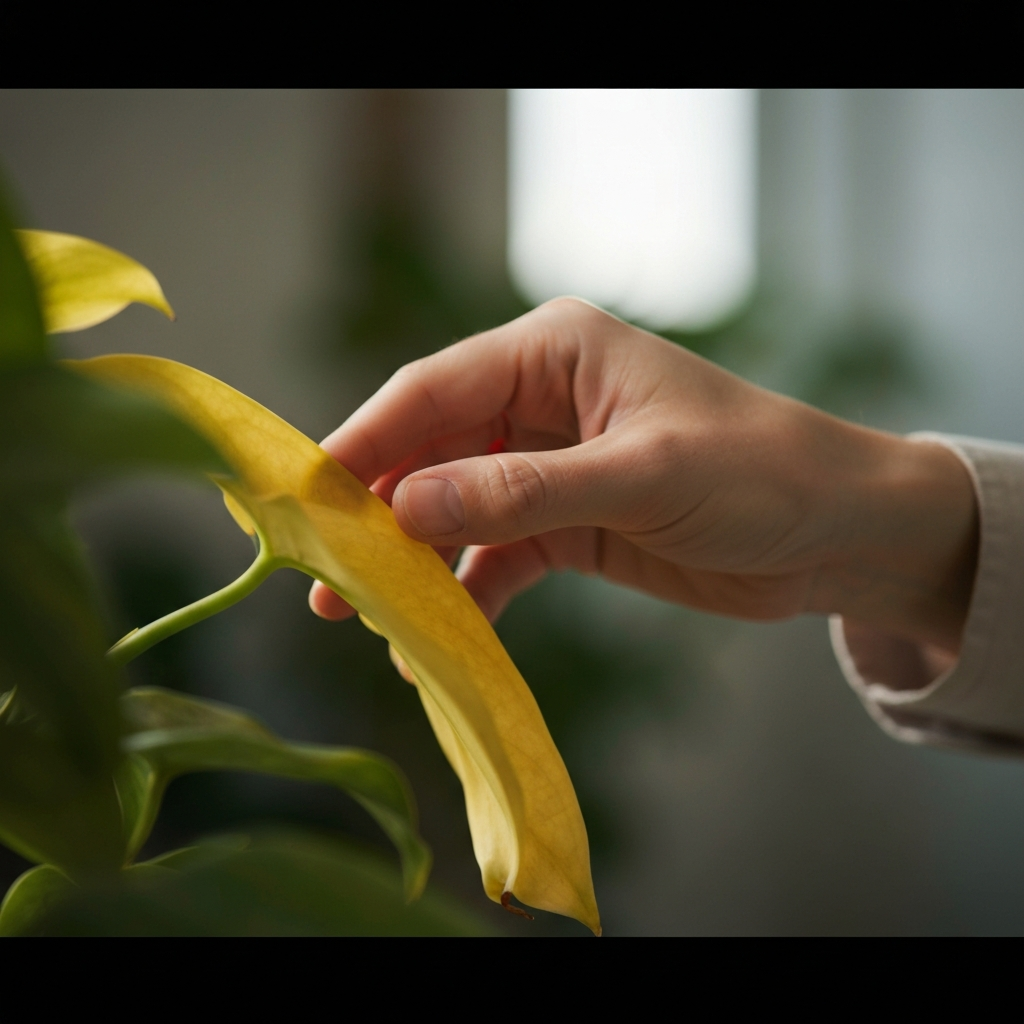
Step 1: Assess the Damage and Identify the Problem
The first step in rescuing your dying houseplant is to carefully assess its condition and try to identify the underlying problem. Look closely at the leaves, stem, and soil. Are the leaves yellowing, browning, or drooping? Is the stem soft or mushy? Is the soil excessively dry or waterlogged? These are all important clues that can help you determine the cause of the problem. Consider recent changes in the plant's environment, such as a new location, changes in watering habits, or exposure to different temperatures.
Step 2: Check the Soil Moisture
Watering is often the most common culprit behind ailing houseplants. Both overwatering and underwatering can lead to serious problems. Insert your finger about an inch into the soil to check its moisture level. If the soil feels soggy or wet, you're likely overwatering. If it feels dry and crumbly, you're likely underwatering. Adjust your watering schedule accordingly. Remember that different plants have different watering needs, so research the specific requirements of your plant.

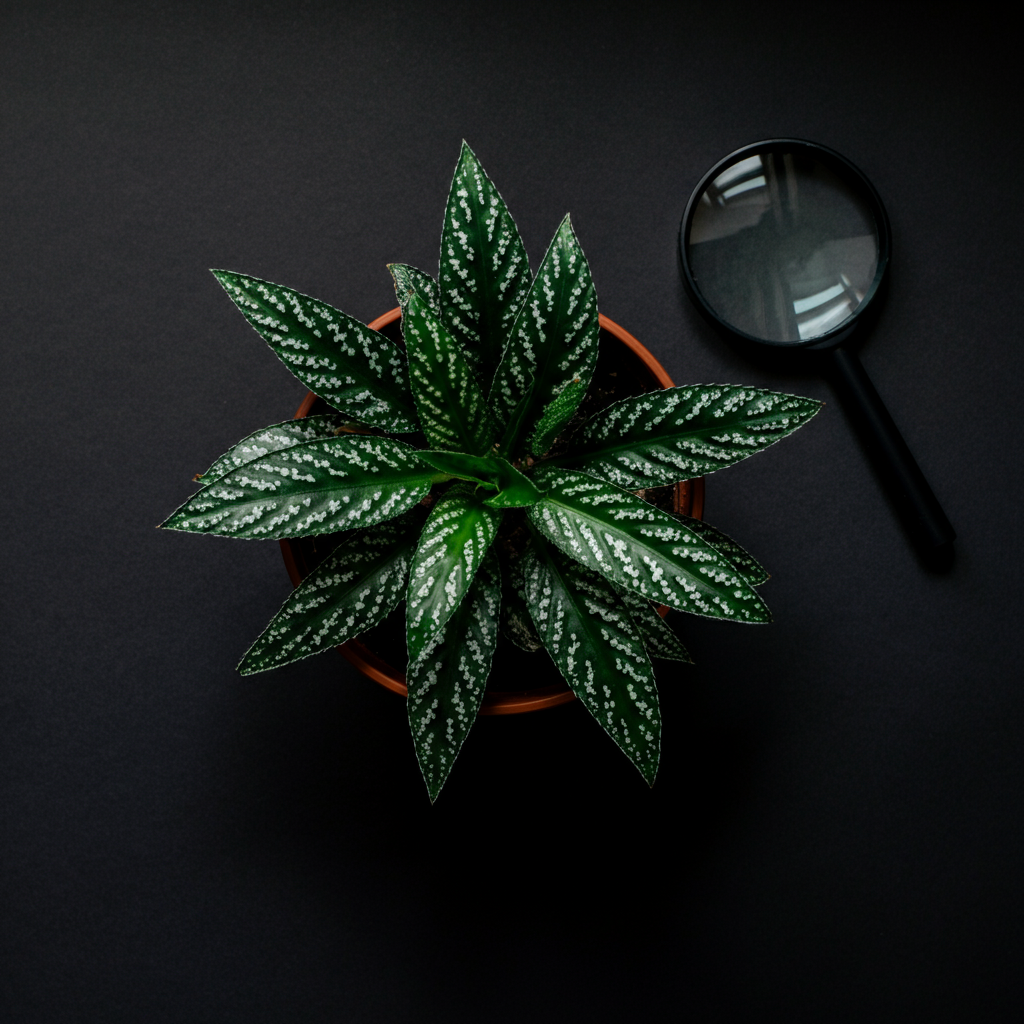
Step 3: Examine for Pests
Pests can wreak havoc on houseplants, sucking the sap from leaves and stems, causing them to weaken and die. Carefully inspect your plant for signs of pests, such as small insects, webbing, or sticky residue. Common houseplant pests include aphids, spider mites, mealybugs, and scale. Use a magnifying glass for a closer look, especially under the leaves. If you find pests, isolate the plant from other houseplants to prevent them from spreading.
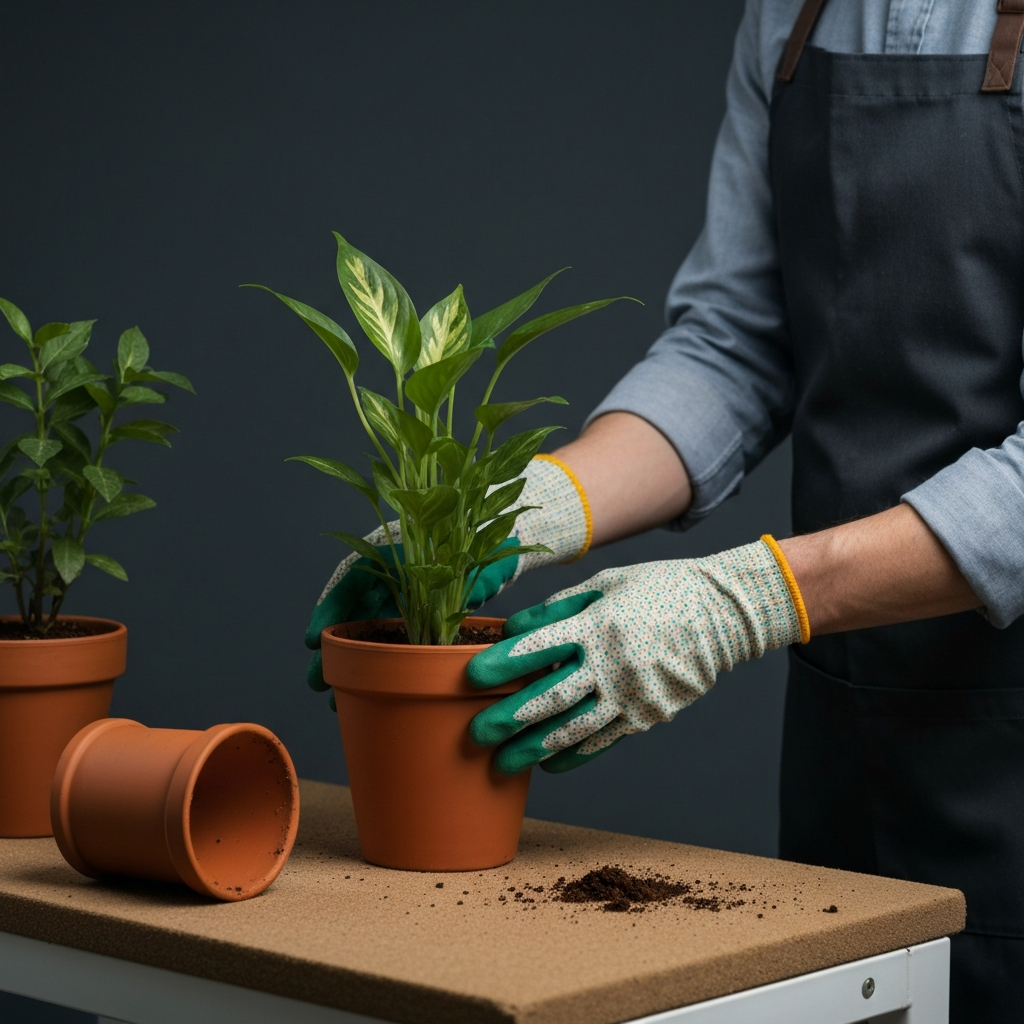
Step 4: Repot if Necessary
Sometimes, a dying houseplant needs a fresh start with new soil. If the soil is compacted, nutrient-depleted, or if the plant is root-bound (roots circling tightly around the inside of the pot), repotting can be beneficial. Choose a pot that is only slightly larger than the current one to avoid overwatering issues. Use a well-draining potting mix specifically formulated for houseplants. Gently loosen the roots before repotting and remove any dead or decaying roots.
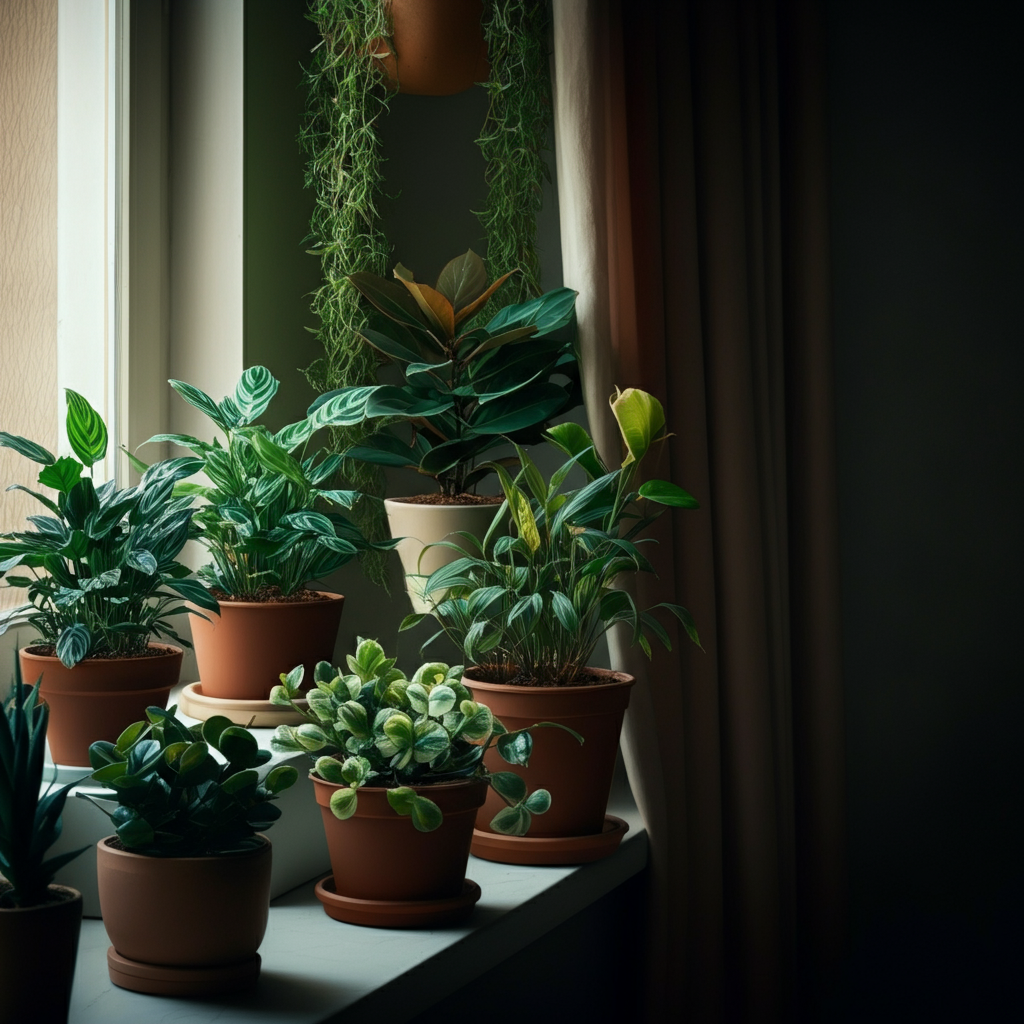
Step 5: Adjust Light and Temperature
Houseplants need the right amount of light and temperature to thrive. Too much direct sunlight can scorch leaves, while too little light can cause them to become leggy and weak. Research the light requirements of your specific plant and adjust its location accordingly. Most houseplants prefer bright, indirect light. Also, avoid placing your plant near drafts or extreme temperatures.
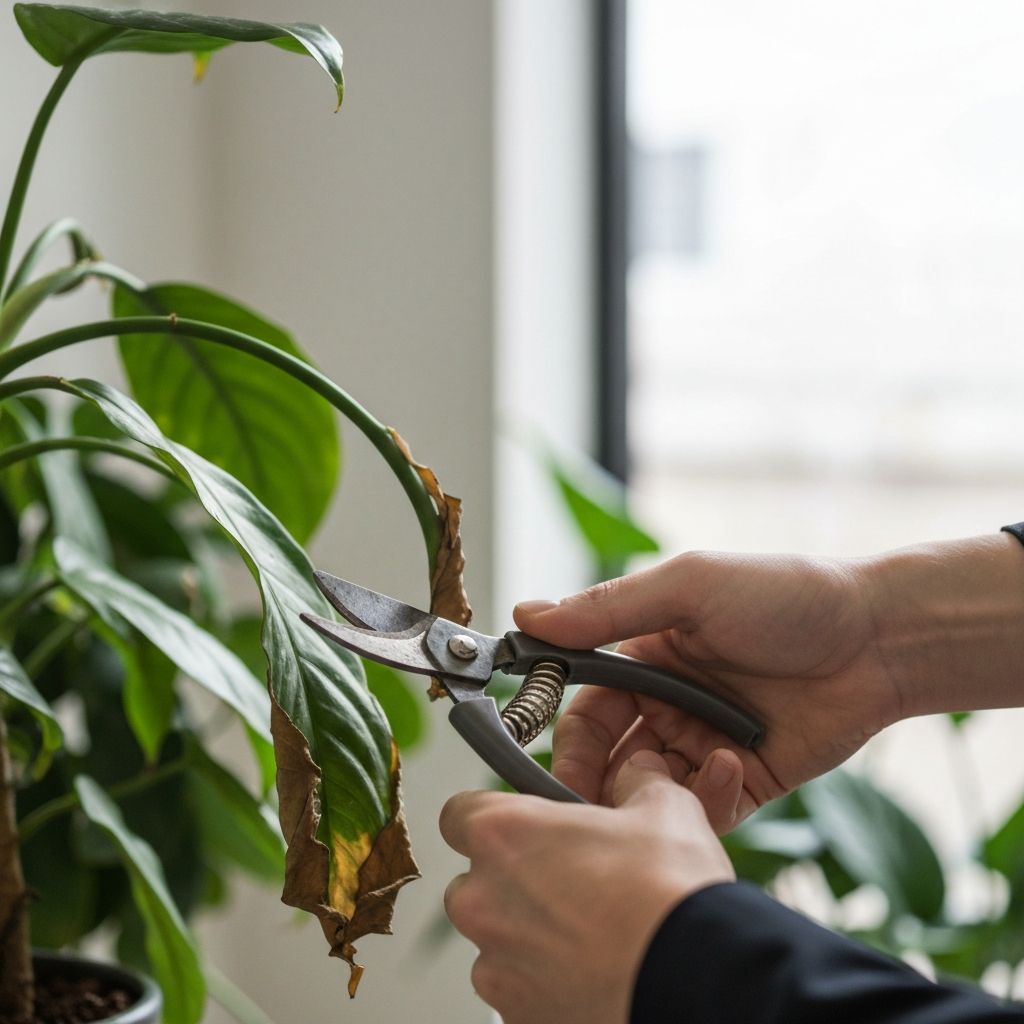
Step 6: Prune Dead or Damaged Foliage
Removing dead, dying, or severely damaged leaves and stems can help your plant conserve energy and focus on new growth. Use clean, sharp pruning shears or scissors to avoid spreading disease. Cut back any dead or brown leaves to the base of the stem, and remove any stems that are completely dead or damaged. This will improve the plant's appearance and encourage new growth.
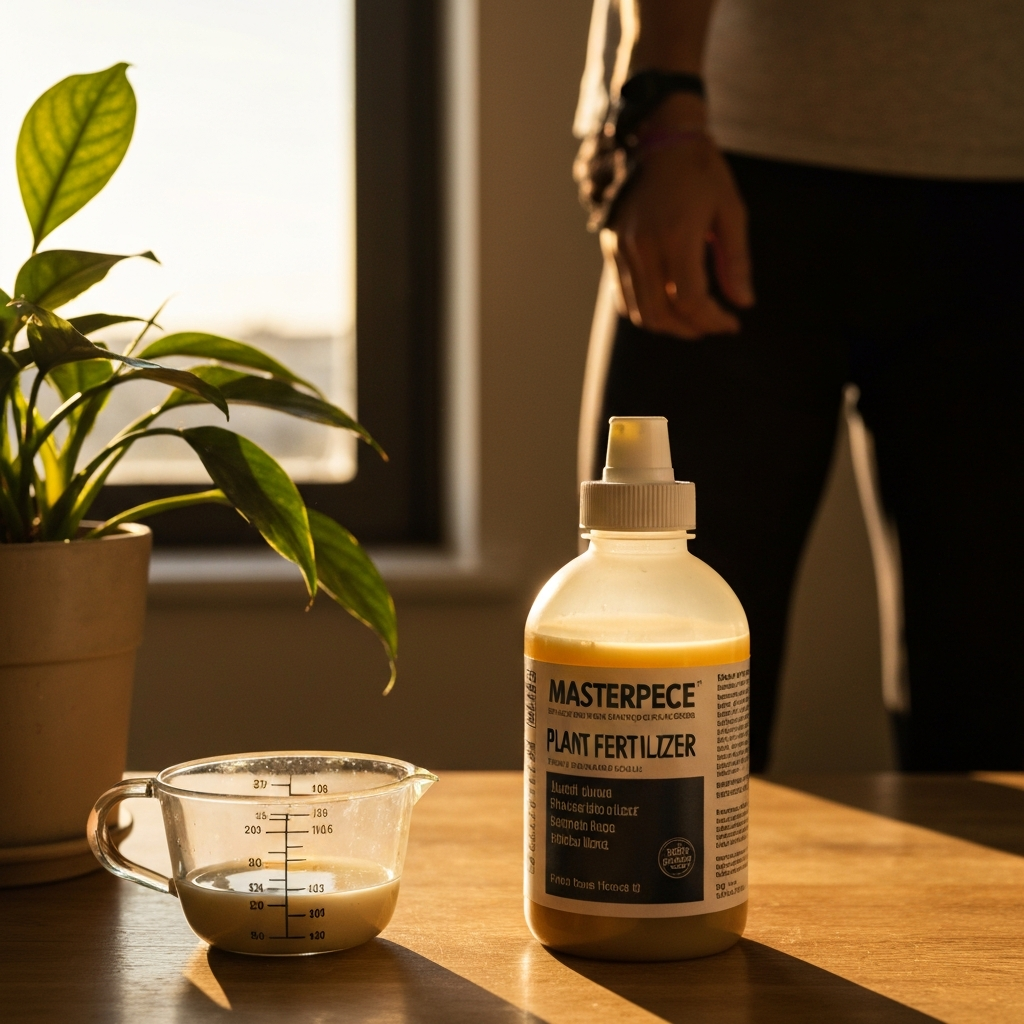
Step 7: Fertilize Sparingly (If Needed)
If your plant is showing signs of nutrient deficiency, such as pale leaves or stunted growth, fertilizing can help. However, be careful not to over-fertilize, as this can damage the roots. Use a balanced liquid fertilizer diluted to half strength. Only fertilize during the growing season (spring and summer) and avoid fertilizing when the plant is stressed or dormant.
Tools or Materials Required
- Watering can
- Potting mix
- New pot (slightly larger than the old one)
- Pruning shears or scissors
- Magnifying glass
- Liquid fertilizer
- Spray bottle (for pest control)
- Gardening gloves
Common Mistakes to Avoid
- Overwatering: This is the most common mistake, leading to root rot.
- Underwatering: Letting the soil dry out completely can also damage the plant.
- Using the wrong type of soil: Use a well-draining potting mix specifically for houseplants.
- Over-fertilizing: This can burn the roots.
- Ignoring pests: Early detection and treatment are crucial.
- Placing the plant in the wrong light conditions: Research the plant's light requirements.
Safety Considerations
- Wear gardening gloves to protect your hands.
- Wash your hands thoroughly after handling plants and soil.
- Keep potting mix and fertilizers out of reach of children and pets.
- When using pesticides, follow the instructions carefully and wear appropriate protective gear.
Pro Tips
- Use rainwater or distilled water instead of tap water, which can contain chemicals that are harmful to plants.
- Increase humidity by misting your plants regularly or placing them on a pebble tray filled with water.
- Rotate your plants regularly to ensure even light exposure.
- Research the specific needs of each plant in your collection.
FAQ Section
- Q: How often should I water my houseplant?
- A: The frequency of watering depends on the type of plant, the size of the pot, the temperature, and the humidity. Check the soil moisture regularly and water when the top inch or two feels dry.
- Q: My plant's leaves are turning yellow. What could be the problem?
- A: Yellow leaves can be caused by overwatering, underwatering, nutrient deficiency, pests, or improper lighting. Assess the plant's condition and address the most likely cause.
- Q: How do I get rid of pests on my houseplant?
- A: There are several ways to get rid of pests, including washing the plant with soapy water, using insecticidal soap, or applying neem oil. Choose the method that is most appropriate for the type of pest and the type of plant.
By following these steps, you can significantly increase the chances of rescuing your dying houseplant. Remember to be patient and observant, and to adjust your care routine as needed. With a little love and attention, your plant can thrive once again, bringing beauty and joy to your home.