In today's world, supporting our pollinator populations is more vital than ever. Bees, butterflies, hummingbirds, and other beneficial insects are facing habitat loss and declining numbers. The good news is, you can transform your ordinary garden into a buzzing, vibrant haven for these essential creatures. This guide provides a step-by-step approach to creating a pollinator paradise, regardless of your garden's size or experience level.
Forget sterile lawns and resource-intensive landscapes. We're talking about a shift towards ecological gardening, where beauty meets functionality. By choosing the right plants and providing essential resources, you'll not only attract pollinators but also create a more resilient and thriving ecosystem in your own backyard. Get ready to roll up your sleeves and discover the secrets to a flourishing pollinator garden!
This isn't just about planting pretty flowers; it's about understanding the specific needs of pollinators and creating a holistic environment where they can thrive. We'll cover everything from selecting the right plants to providing water sources and nesting habitats. Let's get started!
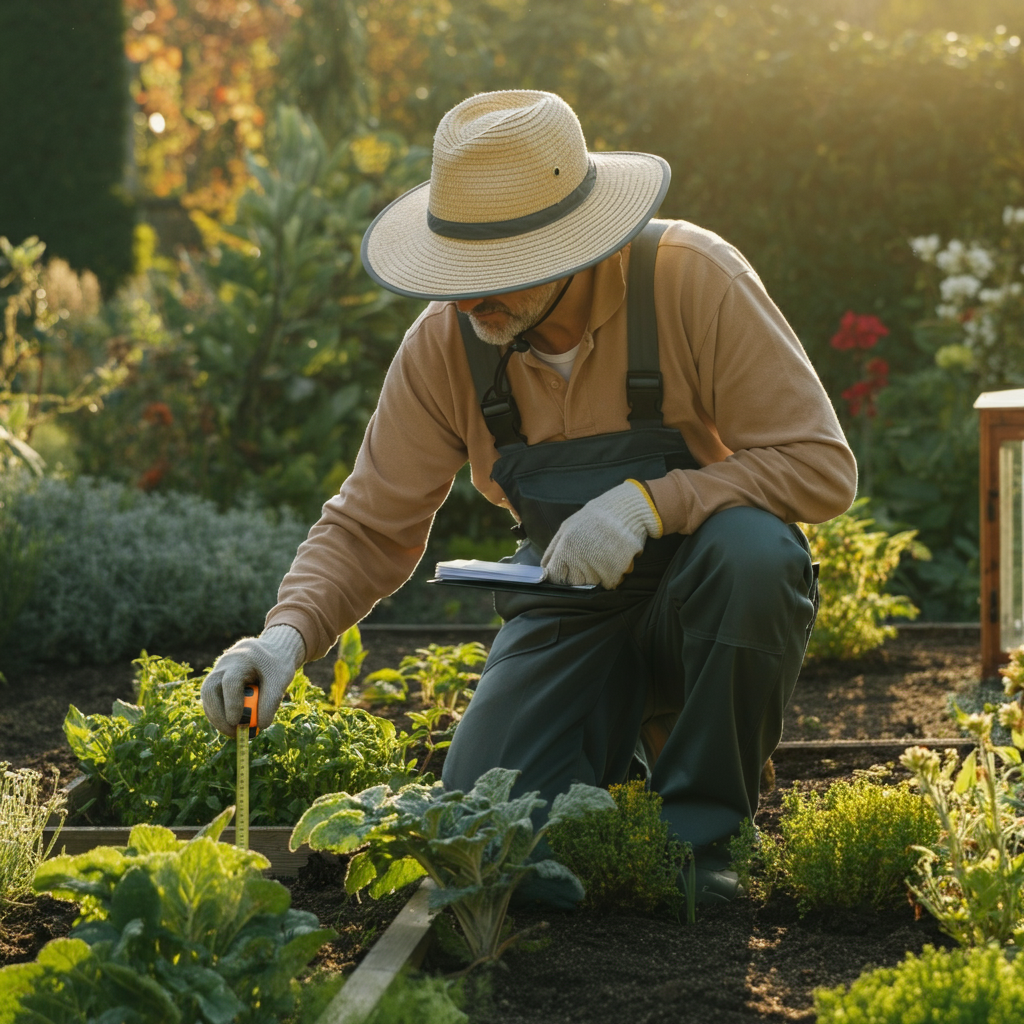
Step 1: Assess Your Space and Plan Your Design
Before you start digging, take a good look at your garden. Observe the amount of sunlight each area receives throughout the day. Different pollinators and plants prefer different light conditions, so this is crucial for success. Consider the soil type – is it sandy, clay, or loamy? Note any existing plants you want to keep and think about the overall aesthetic you desire. Sketch out a rough plan, mapping out areas for different types of flowers, shrubs, and water features.
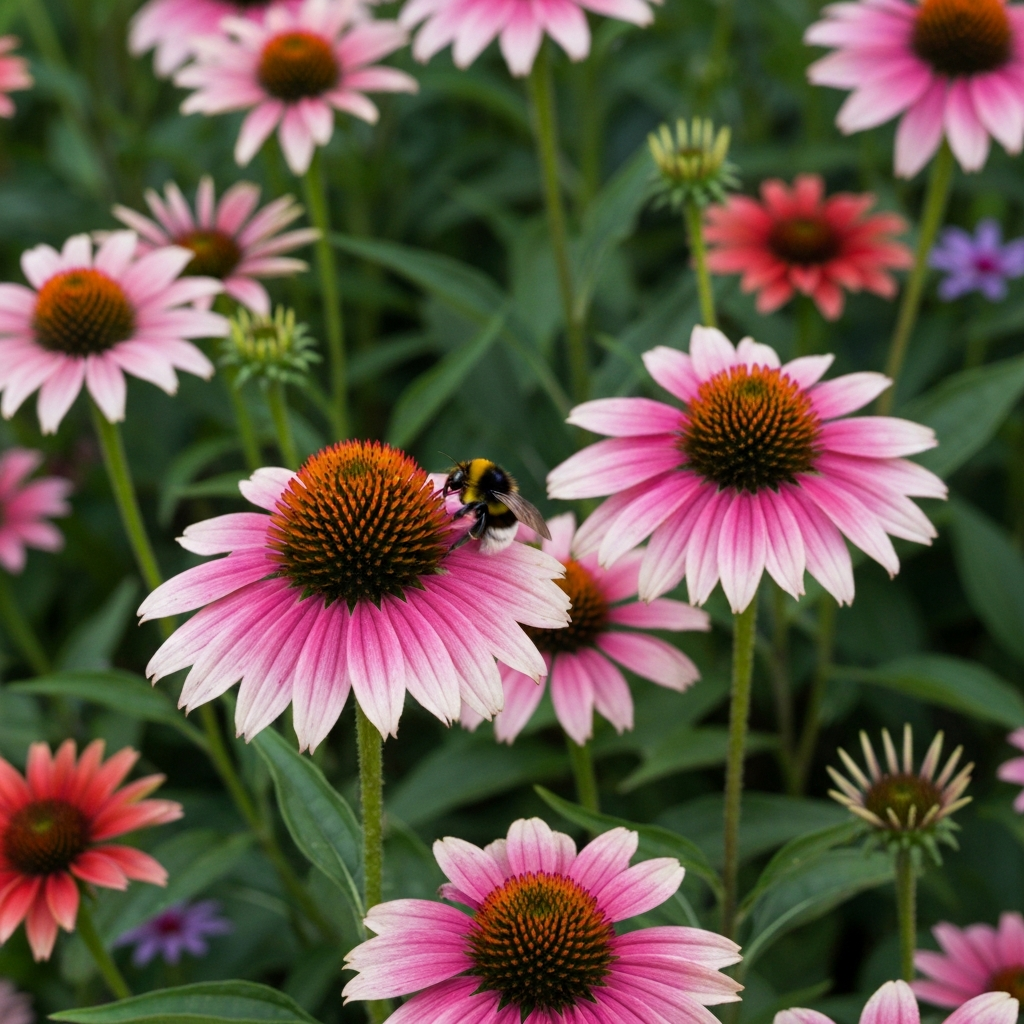
Step 2: Choose the Right Pollinator-Friendly Plants
This is where the magic happens! Select a variety of plants that bloom at different times of the year to provide a continuous source of nectar and pollen for pollinators. Prioritize native plants, as they are best adapted to your local climate and provide the most nutritious food for native pollinators. Include a mix of flower shapes and colors to attract a diverse range of pollinators. Consider plants like coneflowers (Echinacea), milkweed (Asclepias), bee balm (Monarda), and asters (Symphyotrichum).
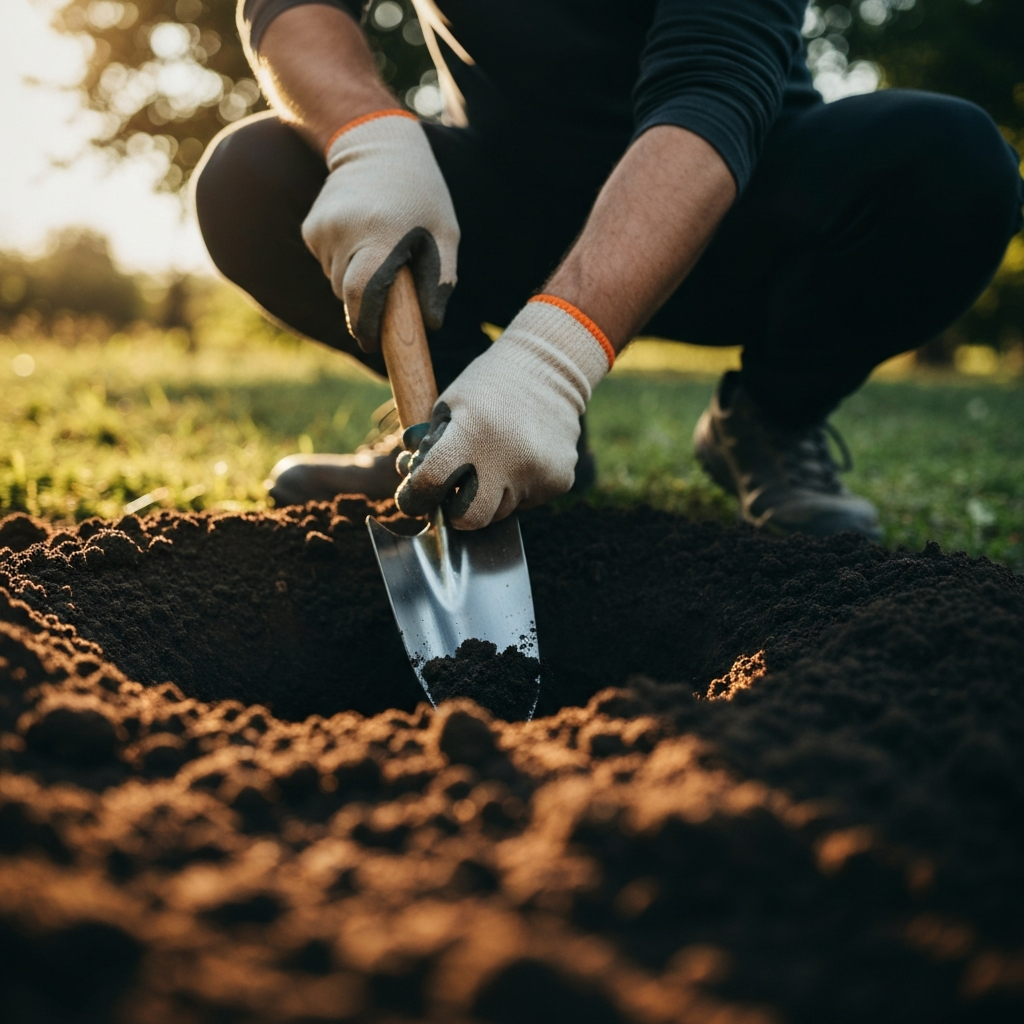
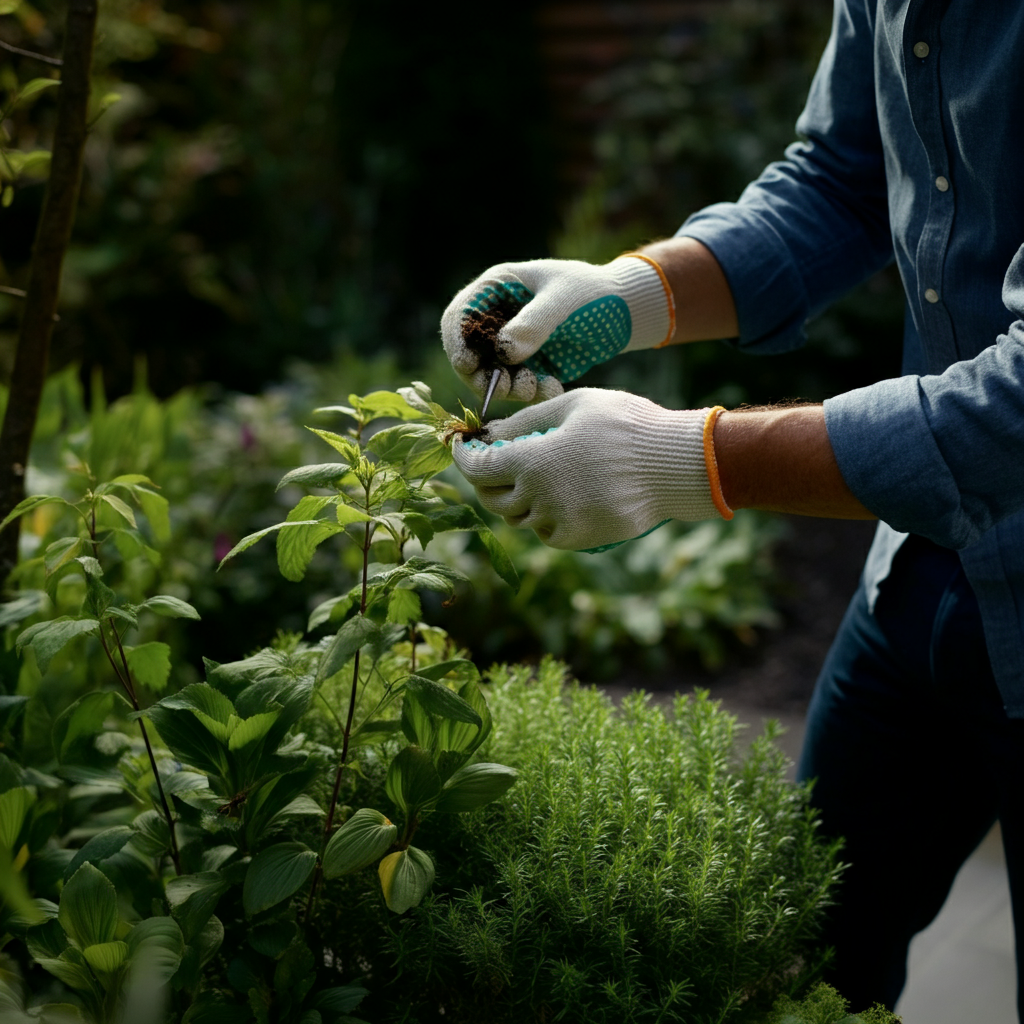
Step 3: Prepare the Soil and Plant Strategically
Healthy soil is the foundation of a thriving garden. Amend your soil with compost or other organic matter to improve drainage and fertility. When planting, group plants of the same species together to create larger patches of color that are easier for pollinators to find. Space plants appropriately to allow for proper air circulation and prevent overcrowding. Water thoroughly after planting and add a layer of mulch to retain moisture and suppress weeds.
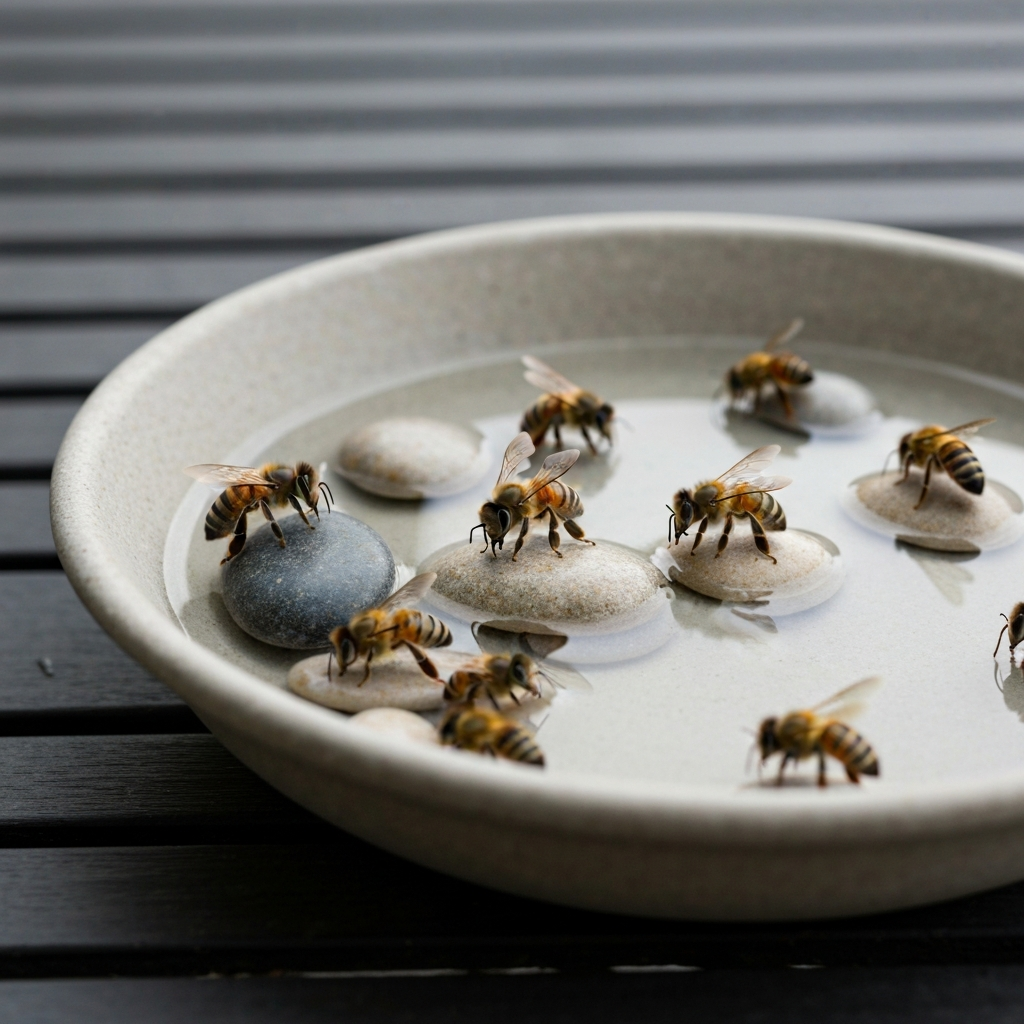
Step 4: Provide a Water Source
Pollinators need water too! A shallow dish of water with pebbles or marbles for them to land on is perfect. Change the water regularly to prevent mosquito breeding. A bird bath or a small pond can also provide a water source, but make sure it has shallow areas or rocks where pollinators can safely land and drink without drowning.
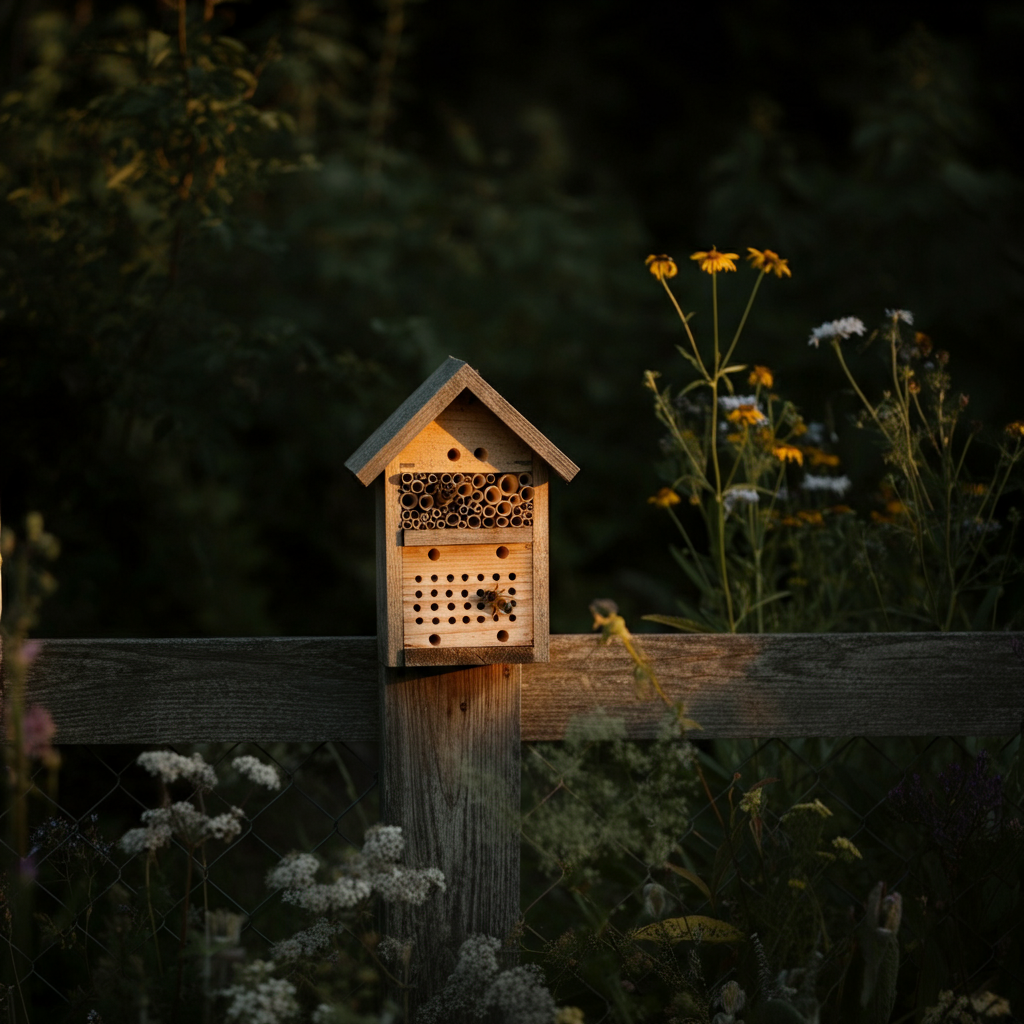
Step 5: Create Nesting Habitats
Many pollinators, especially bees, need places to nest. Leave some areas of bare ground for ground-nesting bees. Provide nesting boxes for solitary bees, or leave dead stems and branches in your garden for cavity-nesting bees. Avoid using pesticides, as they can harm pollinators and their larvae. A brush pile or a small log pile can also provide shelter for other beneficial insects.
Step 6: Avoid Pesticides and Herbicides
This is absolutely crucial! Pesticides, even those labeled "organic," can be harmful or even fatal to pollinators. Herbicides can eliminate the very plants that pollinators rely on for food. Embrace natural pest control methods, such as hand-picking pests or using beneficial insects. Encourage a healthy ecosystem that can naturally regulate pest populations.
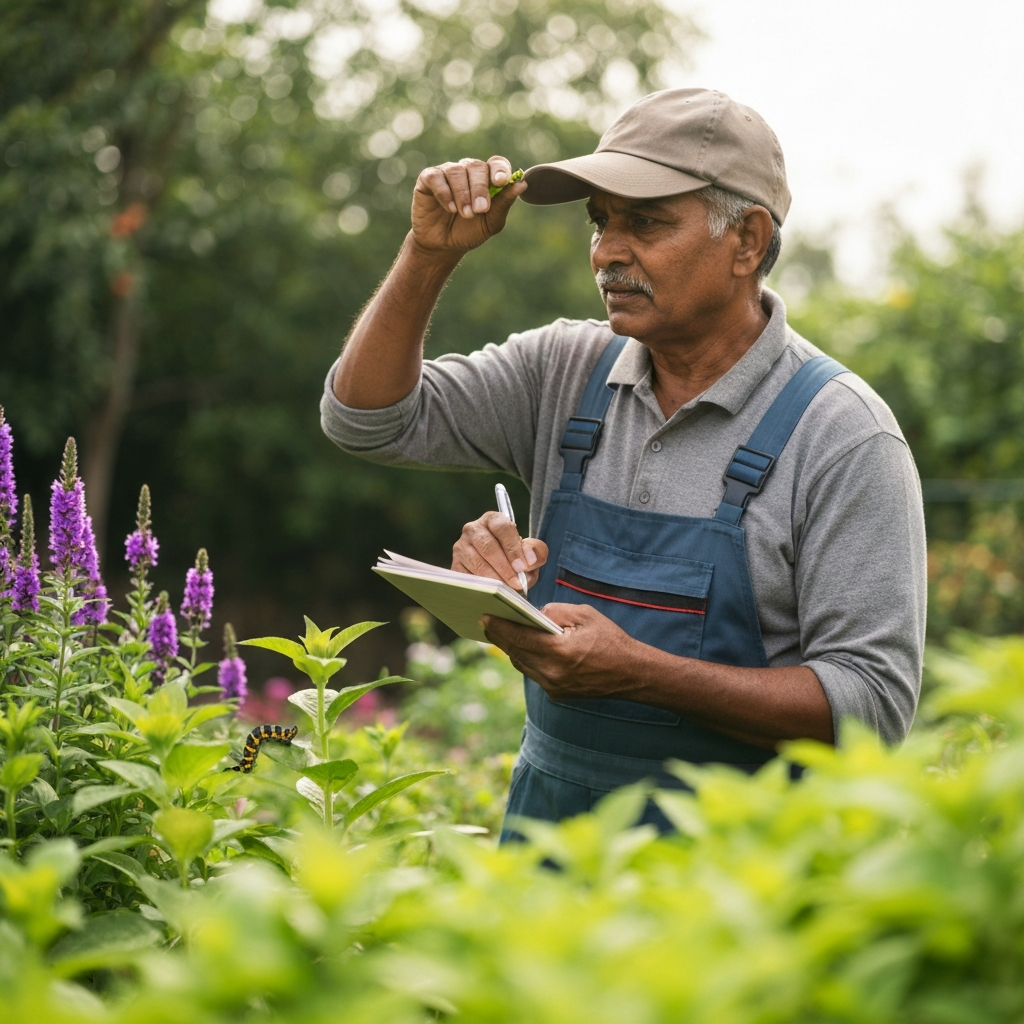
Step 7: Observe and Adapt
Your pollinator garden is a dynamic ecosystem that will evolve over time. Regularly observe which plants are attracting the most pollinators and which ones are struggling. Adjust your planting strategy as needed to optimize your garden for pollinator success. Consider adding more of the plants that pollinators love and removing or relocating those that are not performing well.
Pro Tips
- Plant in masses of the same species for better visibility.
- Provide a source of larval food for butterflies (e.g., milkweed for Monarchs).
- Leave the leaves in the fall to provide overwintering habitat for insects.
- Consider adding a small sign to educate visitors about the importance of pollinators.
Common Mistakes to Avoid
- Using pesticides and herbicides.
- Planting only non-native species.
- Failing to provide a water source.
- Overwatering or underwatering plants.
- Not providing adequate nesting habitat.
FAQ Section
- Q: What if I only have a small balcony?
- A: You can still create a pollinator-friendly space on a balcony! Use containers to grow pollinator-attracting flowers and herbs. Provide a small dish of water and consider adding a bee house.
- Q: How do I attract specific pollinators?
- A: Research the specific needs of the pollinators you want to attract and choose plants that cater to their preferences. For example, Monarch butterflies need milkweed for their larvae to feed on.
- Q: How often should I water my pollinator garden?
- A: The frequency of watering depends on the climate, soil type, and plant species. Generally, water deeply but infrequently, allowing the soil to dry out slightly between waterings.
By following these steps, you can transform your garden into a thriving pollinator paradise. Remember that creating a sustainable habitat is an ongoing process that requires observation, adaptation, and a commitment to protecting our essential pollinators. Enjoy the beauty and biodiversity that your pollinator garden will bring!