Bringing the beauty of the garden indoors is a wonderful way to brighten your living space and enjoy nature year-round. However, before you fill your home with lush greenery, it's essential to take steps to protect your furniture, floors, and overall interior environment. Without proper precautions, your beloved plants can cause water damage, pest infestations, and even structural problems. This guide provides expert advice on how to "garden-proof" your home, ensuring both your plants and your living space thrive.
Think of your home as a delicate ecosystem, and your plants as new inhabitants. Just as you would prepare a garden bed before planting seeds, you need to prepare your home to welcome these new additions. This involves understanding the potential risks plants pose indoors and implementing strategies to mitigate them. By following the steps outlined below, you can create a harmonious environment where your plants flourish without compromising the integrity or aesthetics of your home.
From choosing the right containers to managing humidity levels, each step is designed to address specific challenges associated with indoor gardening. We'll also cover common mistakes to avoid and offer pro tips to help you become a successful indoor gardener while protecting your home from unwanted damage.
Step 1: Choose the Right Containers
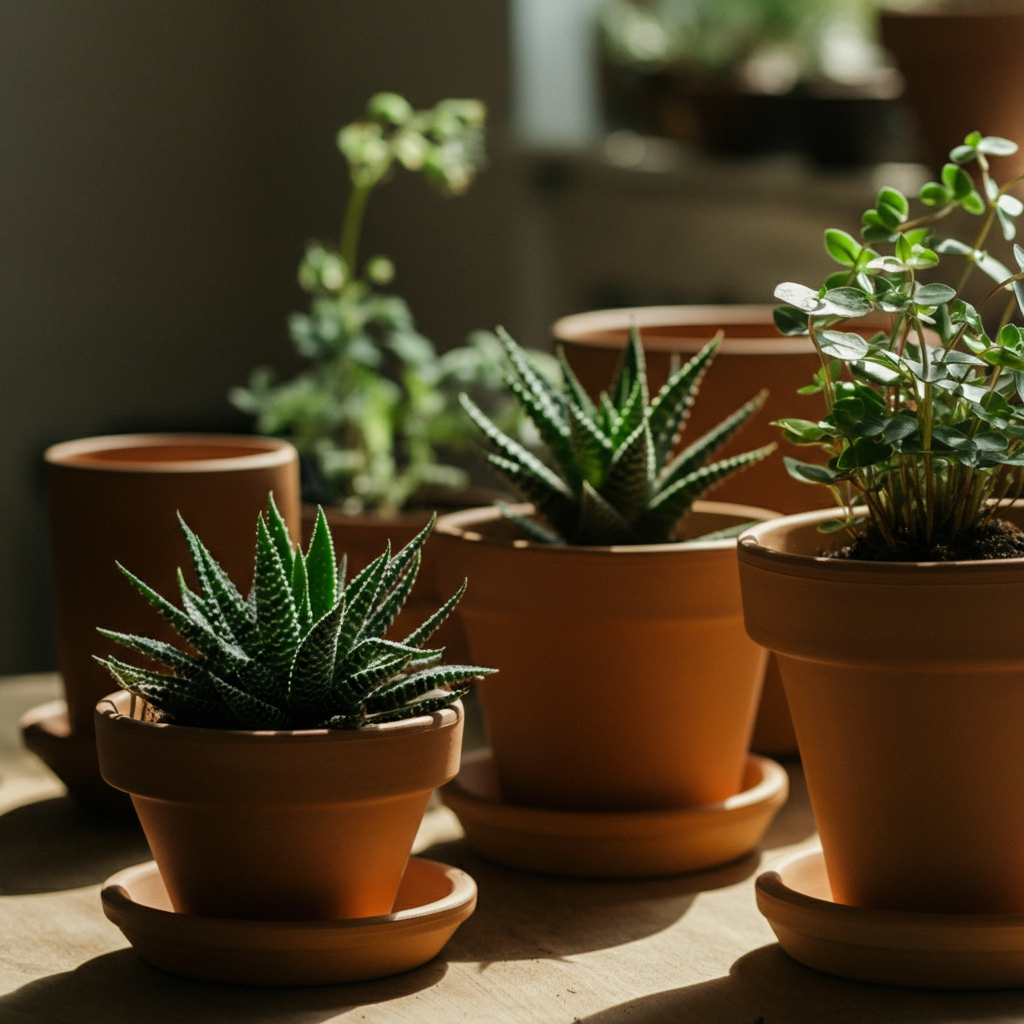
Selecting appropriate containers is paramount to prevent water damage and soil spills. Opt for pots with drainage holes to allow excess water to escape, preventing root rot, a common killer of indoor plants. Match the pot size to the plant's needs; a pot that's too large can retain excessive moisture, while one that's too small can lead to stunted growth and frequent watering. Consider the material of the container as well. Terracotta pots are porous and allow for better aeration, while plastic pots retain moisture for longer. Always use a saucer or tray underneath each pot to catch any drainage. Ensure the saucer is large enough to accommodate all excess water from a thorough watering without overflowing.
Step 2: Implement Effective Watering Practices
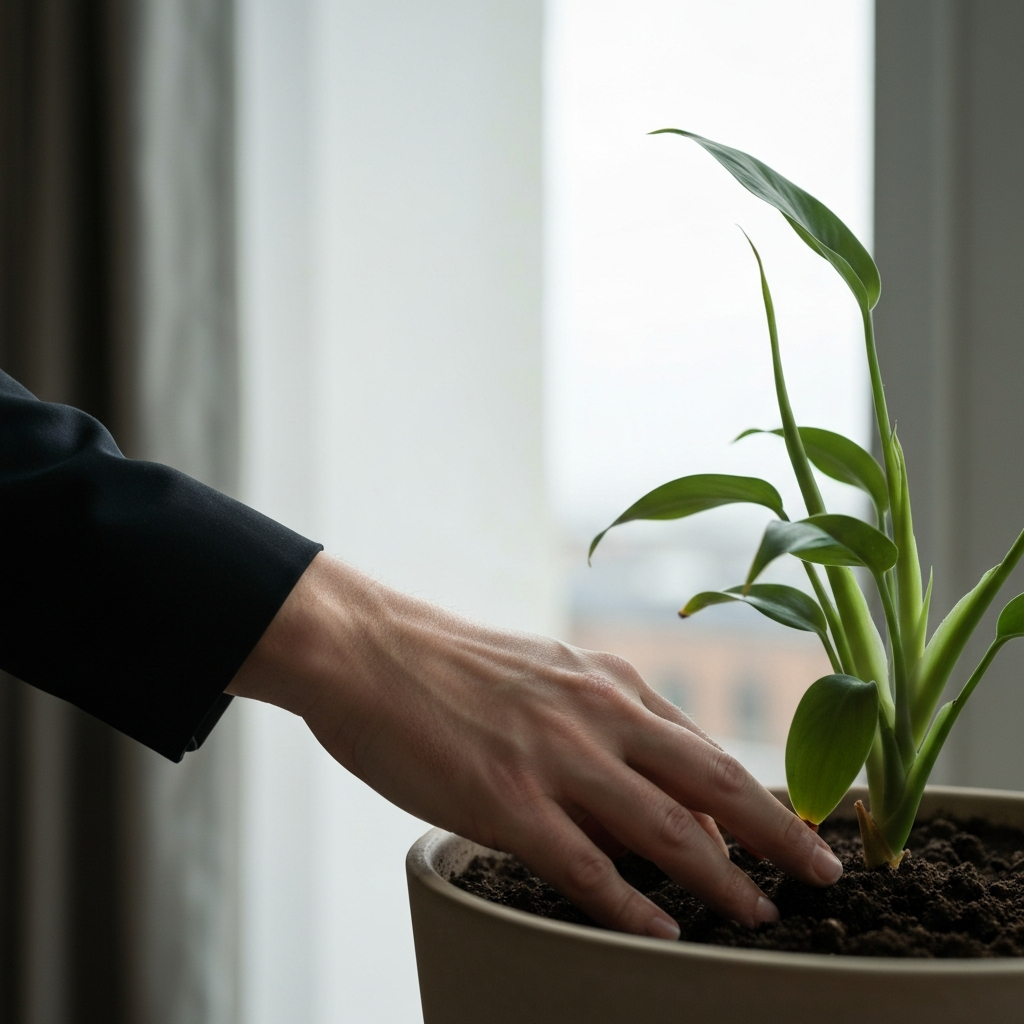
Overwatering is a common mistake that leads to root rot and water damage. Before watering, always check the soil moisture by inserting your finger about an inch deep. If the soil feels moist, hold off on watering. When you do water, do so slowly and thoroughly, allowing the water to drain from the bottom. Avoid getting water on the leaves of plants susceptible to fungal diseases. Use a watering can with a long, narrow spout to direct water precisely to the soil. Consider using a self-watering system for plants that require consistent moisture, but be mindful of over-saturation. Empty the saucers beneath the pots regularly to prevent water from sitting and potentially damaging surfaces. For sensitive flooring like hardwood, add an extra layer of protection with a waterproof mat under the plant stand.
Step 3: Protect Surfaces from Water Damage
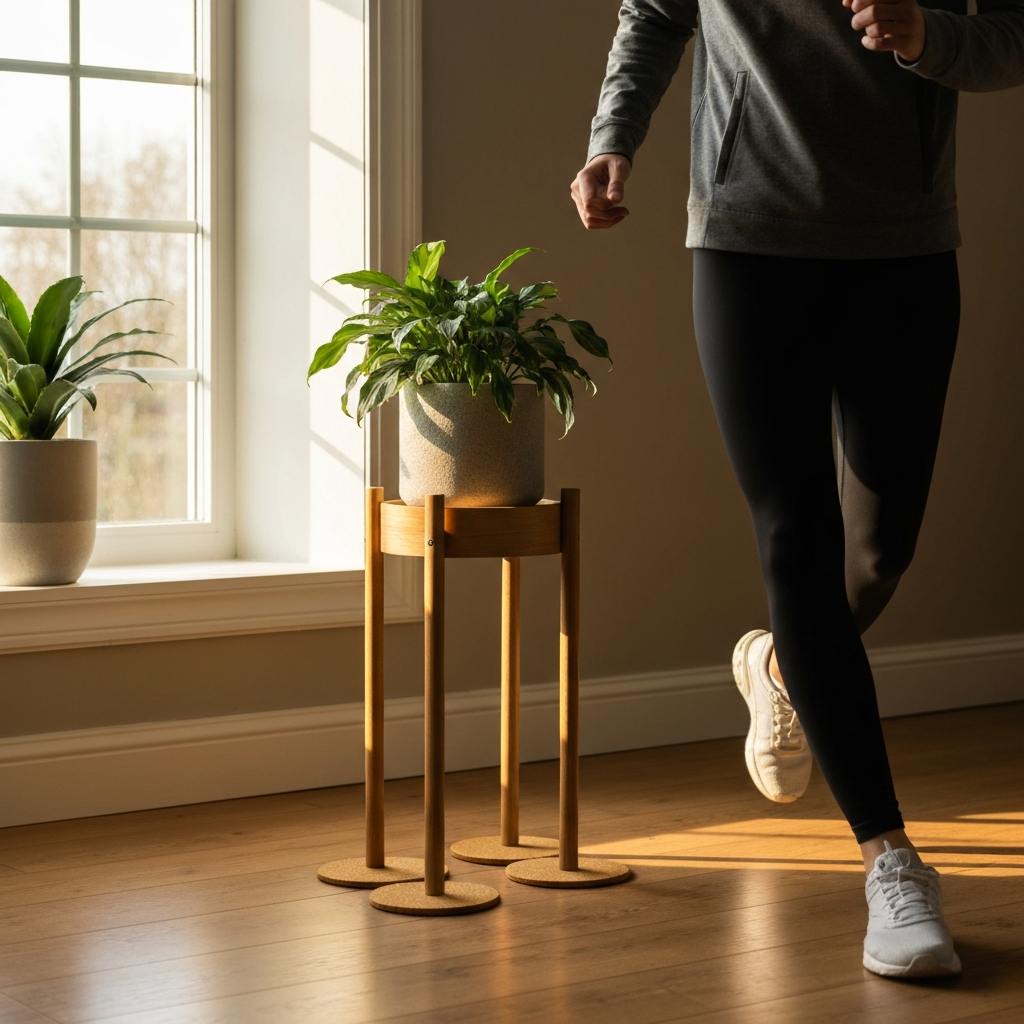
Water damage is a significant threat to furniture and flooring. Place plants on plant stands, trivets, or waterproof mats to create a barrier between the pot and the surface below. Consider using clear acrylic trays under decorative pots to contain spills without detracting from the aesthetic. When repotting plants, do so on a protected surface such as a drop cloth or old newspaper to prevent soil and water from staining or damaging the floor. Regularly inspect the areas around your plants for signs of water damage, such as discoloration or swelling. For high-traffic areas, use coasters under plant stands to prevent scratching. Consider investing in a small wet/dry vacuum to quickly clean up any spills that may occur.
Step 4: Manage Humidity Levels
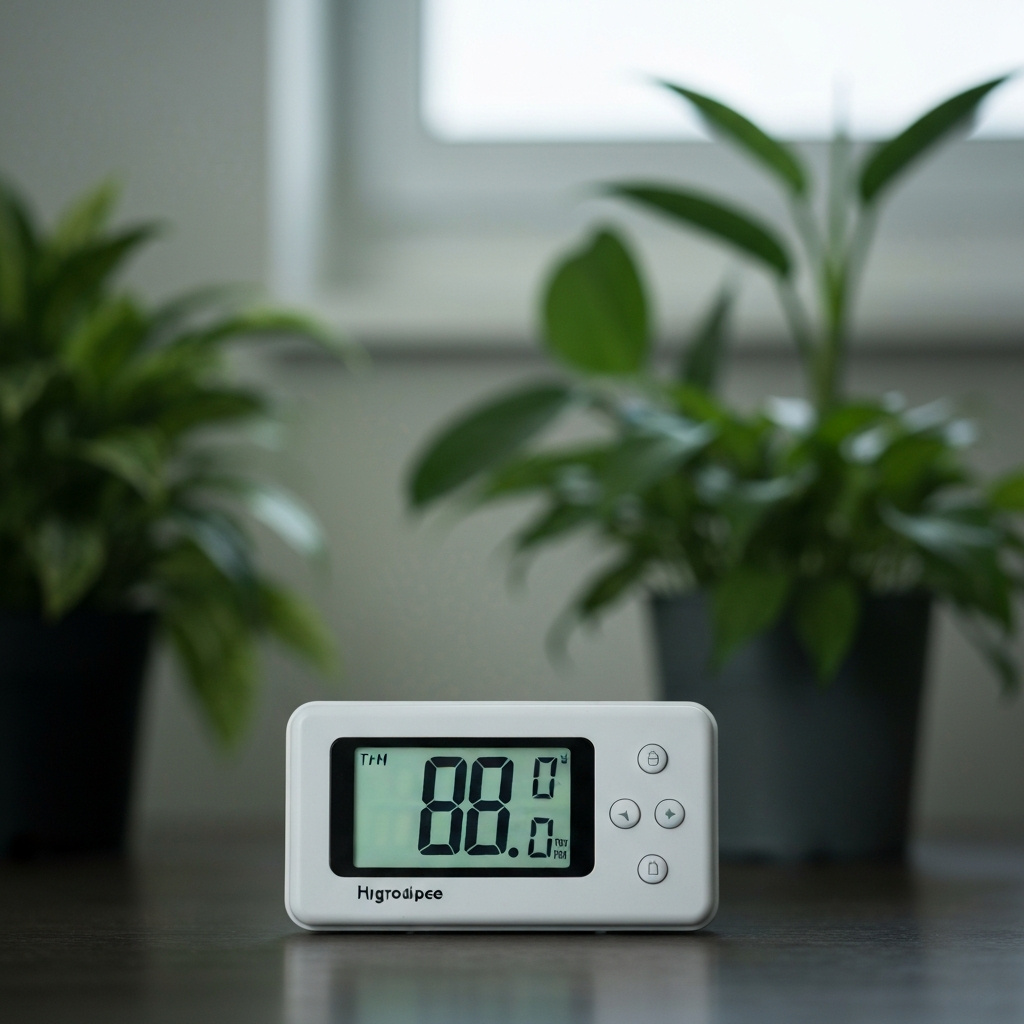
Many indoor plants, especially tropical varieties, thrive in humid environments. However, excessive humidity can lead to mold and mildew growth, which can damage your home. To maintain a healthy balance, monitor humidity levels with a hygrometer. If the humidity is too low, consider using a humidifier, grouping plants together (as plants naturally transpire and increase local humidity), or placing plants on pebble trays filled with water. If humidity is too high, improve ventilation by opening windows or using a dehumidifier. Be particularly cautious in bathrooms and kitchens, where humidity levels are naturally higher. Ensure proper air circulation around plants to prevent stagnant air, which can promote fungal growth. Consider installing exhaust fans in moisture-prone areas to help regulate humidity levels.
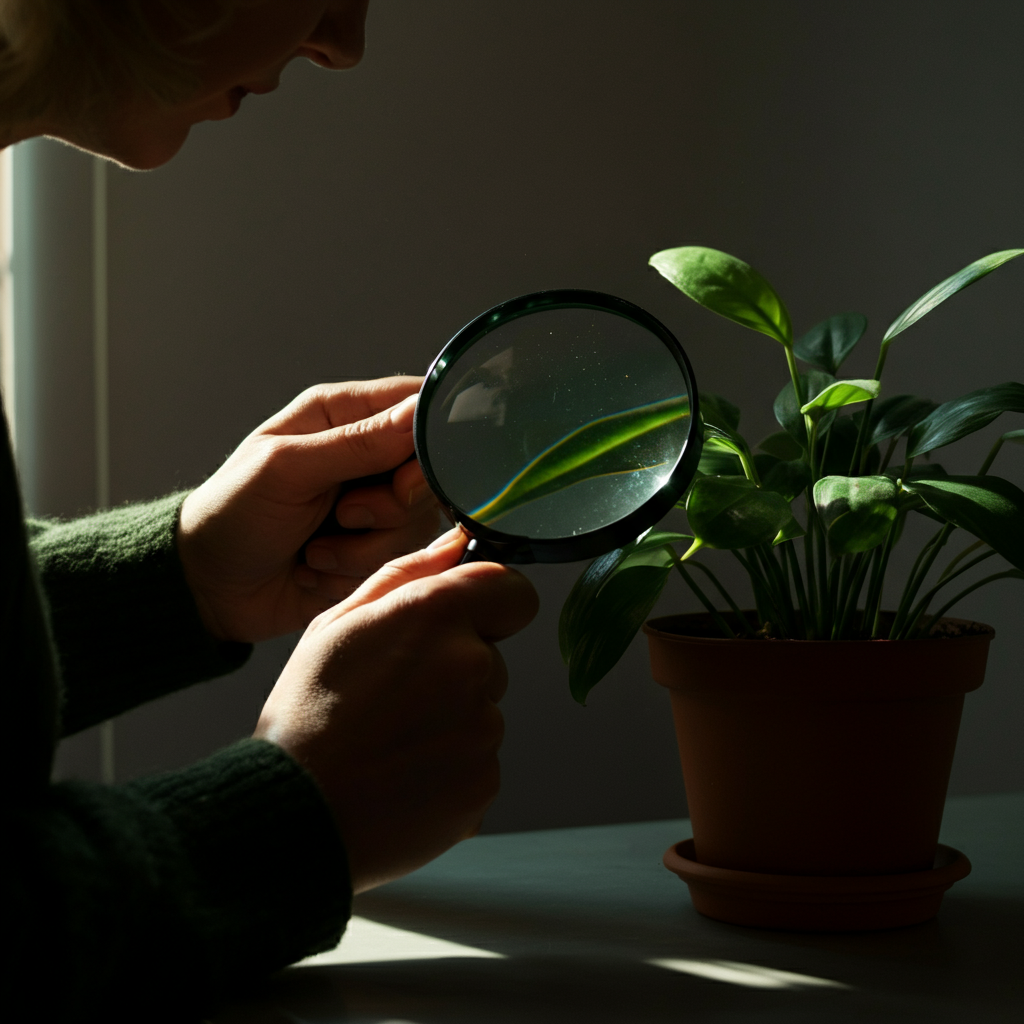
Step 5: Prevent Pest Infestations
Indoor plants can sometimes attract pests like aphids, spider mites, and mealybugs. To prevent infestations, regularly inspect your plants for signs of pests, such as webbing, sticky residue, or chewed leaves. Quarantine new plants for a few weeks before introducing them to your existing collection to ensure they are pest-free. Use insecticidal soap or neem oil to treat infestations promptly. Avoid overwatering, as this can create a favorable environment for pests. Keep your plants clean by wiping down leaves with a damp cloth to remove dust and potential pests. Consider using beneficial insects, such as ladybugs, to control pest populations naturally.
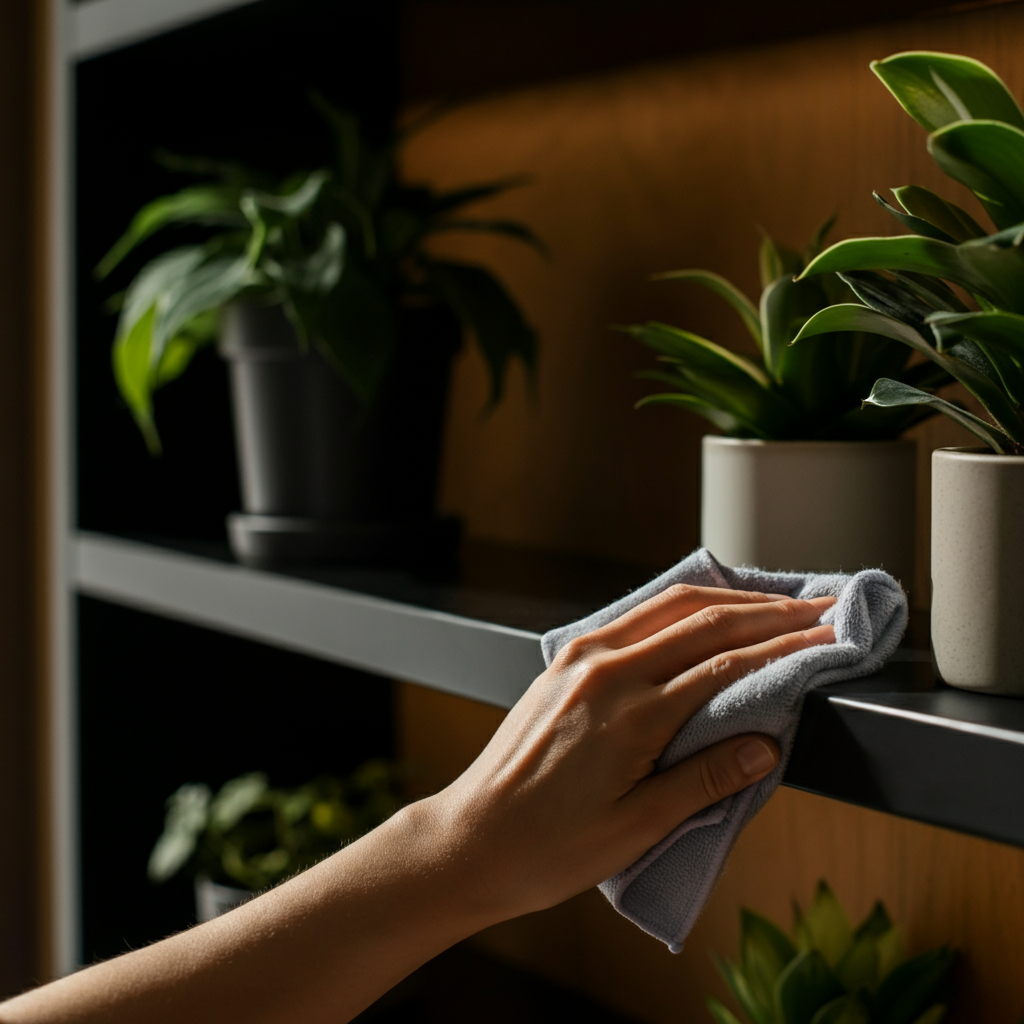
Step 6: Choose Plant-Safe Cleaning Products
When cleaning around your plants, avoid using harsh chemicals or abrasive cleaners that can damage foliage or contaminate the soil. Opt for plant-safe cleaning solutions or simply use a damp cloth to wipe down surfaces. When spraying cleaning products, shield your plants from overspray. Be mindful of the ingredients in your cleaning products, as some can be toxic to plants. Consider using natural cleaning solutions, such as vinegar and water, for general cleaning around your plants. Always test any new cleaning product on a small, inconspicuous area of the plant before applying it more broadly.
Tools or Materials Required
- Plant pots with drainage holes
- Saucers or trays
- Plant stands or trivets
- Waterproof mats
- Hygrometer
- Humidifier/Dehumidifier (optional)
- Insecticidal soap or neem oil
- Plant-safe cleaning products
- Watering can with a long, narrow spout
Common Mistakes to Avoid
- Overwatering
- Using pots without drainage holes
- Ignoring humidity levels
- Failing to quarantine new plants
- Using harsh cleaning products
Pro Tips
- Elevate your plants on plant stands to improve air circulation and prevent water damage.
- Group plants together to create a more humid microclimate.
- Use a soil moisture meter to accurately gauge when to water your plants.
- Repot plants annually to refresh the soil and provide them with more space to grow.
FAQ Section
- Q: How often should I water my indoor plants?
- A: Watering frequency depends on the plant species, pot size, and environmental conditions. Always check the soil moisture before watering.
- Q: How can I increase humidity for my plants?
- A: Use a humidifier, group plants together, or place plants on pebble trays filled with water.
- Q: What should I do if my plant has pests?
- A: Isolate the plant, identify the pest, and treat it with insecticidal soap or neem oil.
By following these steps, you can create a thriving indoor garden while protecting your home from potential damage. Remember to choose the right containers, implement effective watering practices, manage humidity levels, and prevent pest infestations. With a little planning and effort, you can enjoy the beauty and benefits of indoor plants without sacrificing the integrity of your home.