Is your garden more wilderness than sanctuary? Don't despair! Many novice gardeners find themselves facing an overgrown landscape, a verdant jungle that seems impossible to tame. The good news is, with a systematic approach and a little elbow grease, you can reclaim your outdoor space and transform it into a beautiful, manageable garden. This guide provides a step-by-step approach to conquering even the most daunting garden overgrowth.
Embarking on this journey requires patience, planning, and the right tools. It’s not a race, but a process of gradually revealing the potential hidden beneath the overgrowth. Remember, start small and celebrate your successes. Each cleared patch, each pruned shrub, is a victory in your garden conquest.
Before you begin, take a moment to visualize the garden you want. This will help you make informed decisions as you clear and prune. Are you aiming for a formal garden, a wildlife haven, or something in between? Knowing your goal will guide your actions and keep you motivated throughout the process.
Step 1: Assess the Damage and Create a Plan
Before you start hacking away, take a good hard look at your overgrown garden. What are you dealing with? Identify the dominant weeds, assess the health of existing plants, and note any potential hazards like broken glass or hidden debris. This assessment is crucial for creating a strategic plan. Walk the entire area, taking pictures or notes of the plants you want to save, and those you want to remove. Consider the amount of sunlight each area receives, as this will influence your planting choices later. A thorough initial assessment prevents costly mistakes down the line.

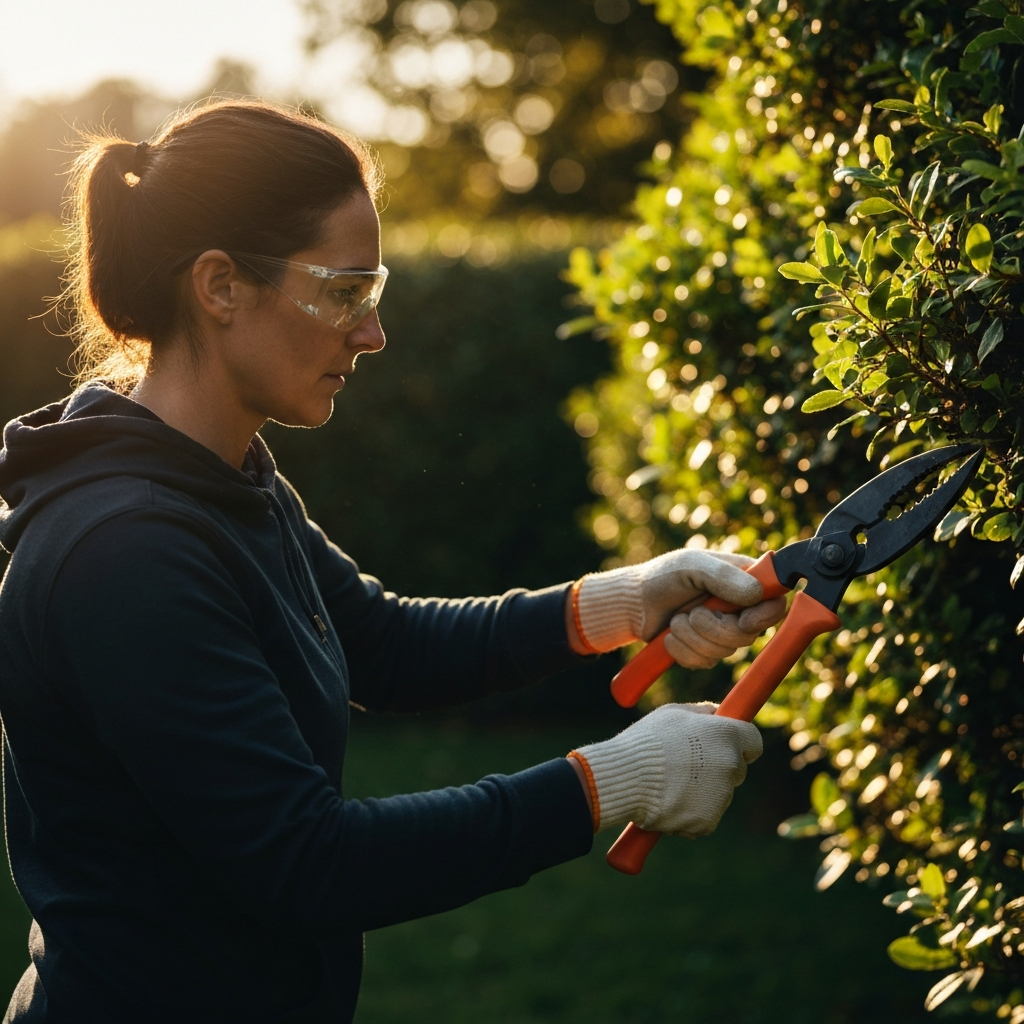
Step 2: Gather Your Tools and Gear
Having the right tools makes the job significantly easier and safer. Essential tools include gardening gloves, sturdy boots, safety glasses, loppers, pruning shears, a digging shovel, a garden fork, and a wheelbarrow or garden cart. Depending on the severity of the overgrowth, you might also need a weed whacker, a hedge trimmer, or even a small chainsaw (if you're comfortable using one). Invest in quality tools that will last and make the job more efficient. Ensure your tools are sharp; dull tools can be dangerous and ineffective. Don't forget personal protective equipment like long sleeves and pants to protect against scratches and insect bites.

Step 3: Clear the Debris and Major Overgrowth
Start by removing any visible debris like fallen branches, leaves, and trash. This will give you a clearer view of the underlying plants and weeds. Next, tackle the major overgrowth. Use loppers or a weed whacker to cut back overgrown shrubs, vines, and tall weeds. Work in sections, focusing on manageable areas at a time. Don't try to do everything at once; it's better to make steady progress than to get overwhelmed. Bag up the debris for disposal or composting, depending on local regulations.
Step 4: Weed, Weed, Weed!
Weeding is arguably the most crucial part of reclaiming your garden. There are two main approaches: manual weeding and chemical weed control. Manual weeding involves physically pulling weeds out of the ground, roots and all. This is the most environmentally friendly option, but it can be time-consuming. Chemical weed control involves using herbicides to kill weeds. If you choose this option, read and follow the product instructions carefully. Be mindful of the potential impact on other plants and the environment. Whether you pull by hand or use a product, get the weeds up by the roots to prevent re-growth!

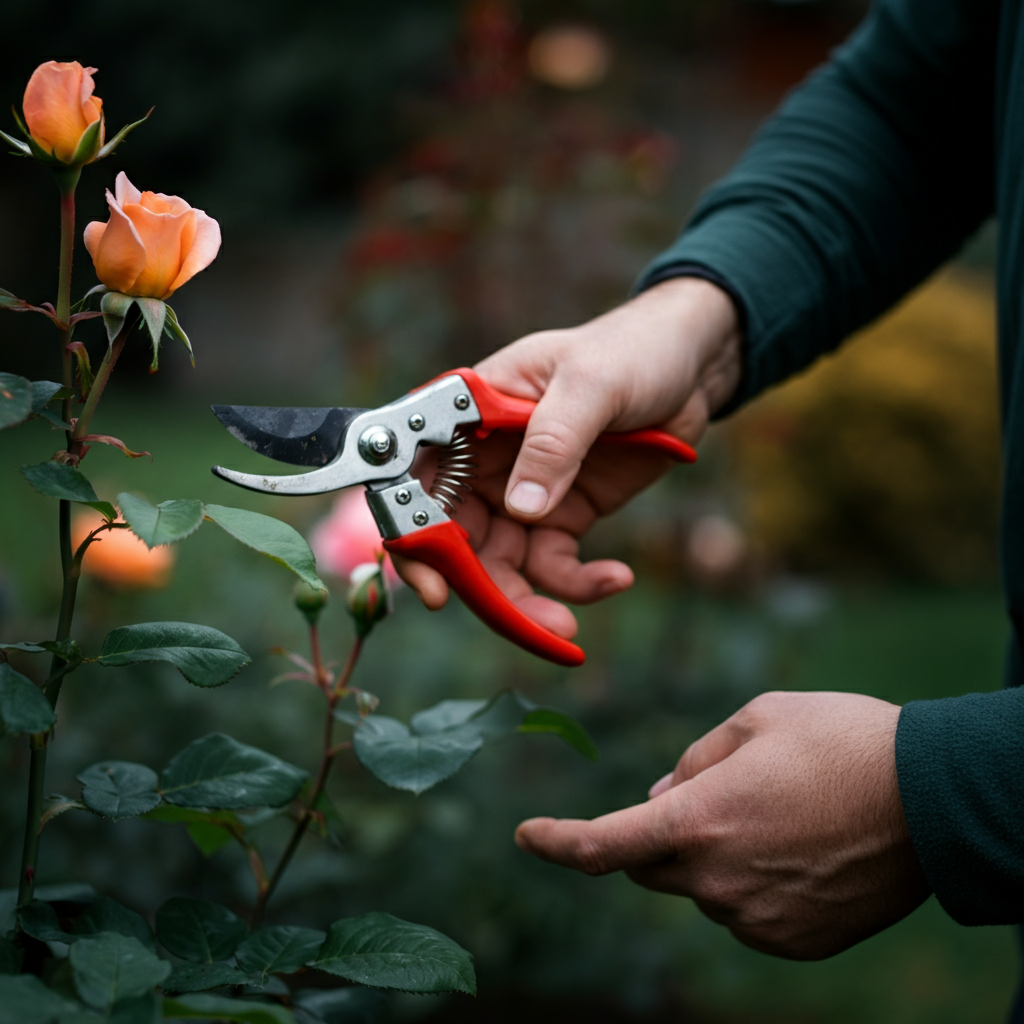
Step 5: Prune and Shape Existing Plants
Once the weeds are under control, it's time to focus on pruning and shaping the existing plants. Pruning removes dead, diseased, or damaged branches, improves airflow, and encourages new growth. Use pruning shears or loppers to make clean cuts at a 45-degree angle, just above a bud or branch. Research the specific pruning needs of each plant, as different plants require different pruning techniques. Over-pruning can damage or even kill a plant, so it's better to err on the side of caution.
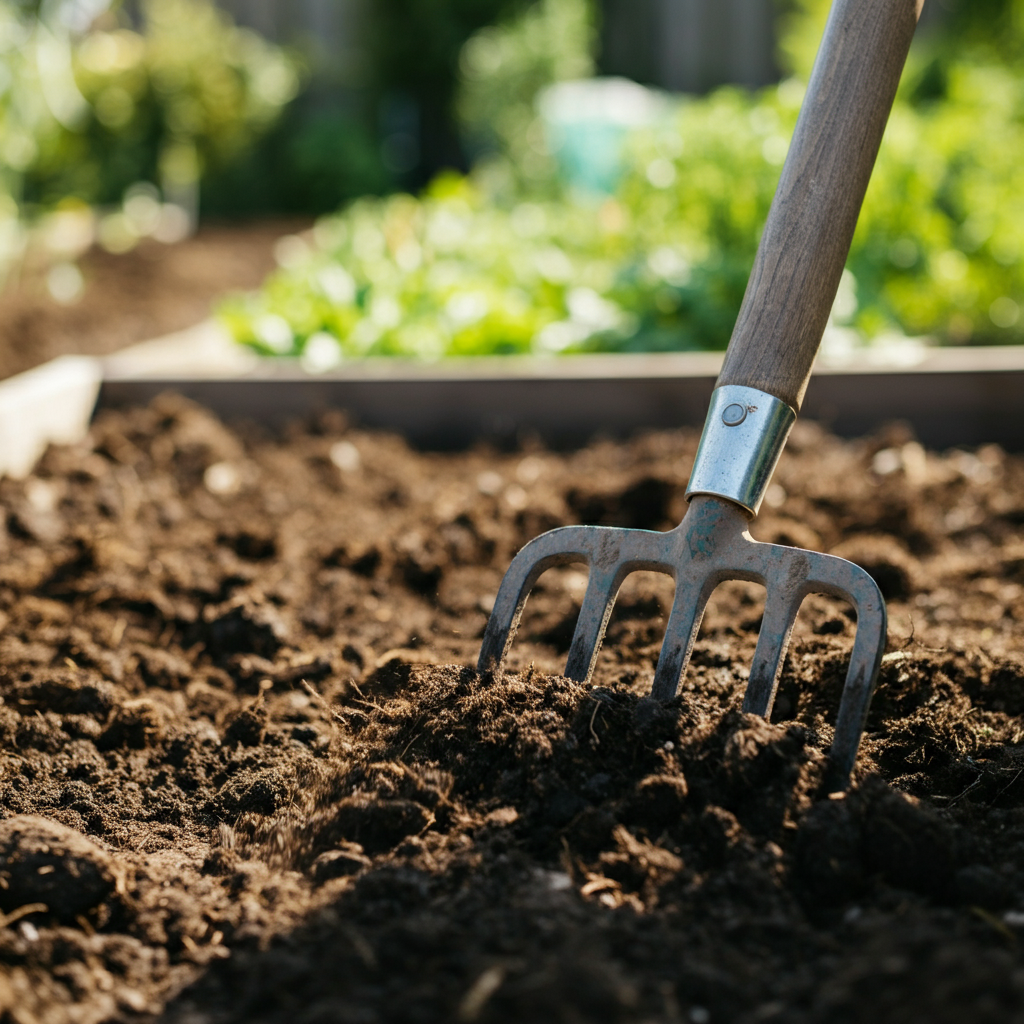
Step 6: Improve the Soil
Healthy soil is the foundation of a thriving garden. After clearing and pruning, it's important to improve the soil quality. This can be done by adding compost, manure, or other organic matter. These amendments will improve drainage, aeration, and nutrient content. Use a garden fork to work the amendments into the soil, mixing them thoroughly. Consider getting a soil test to determine the pH level and nutrient deficiencies. Amending the soil is an investment in the future health and beauty of your garden.
Step 7: Mulch, Mulch, Mulch!
Mulching is one of the best things you can do for your garden. Mulch is a layer of organic material (such as wood chips, bark, or straw) that is spread over the soil surface. Mulch helps to suppress weeds, retain moisture, regulate soil temperature, and improve soil fertility. Apply a 2-3 inch layer of mulch around your plants, keeping it away from the stems and trunks to prevent rot. Mulching saves you time and effort in the long run by reducing weed growth and watering needs.

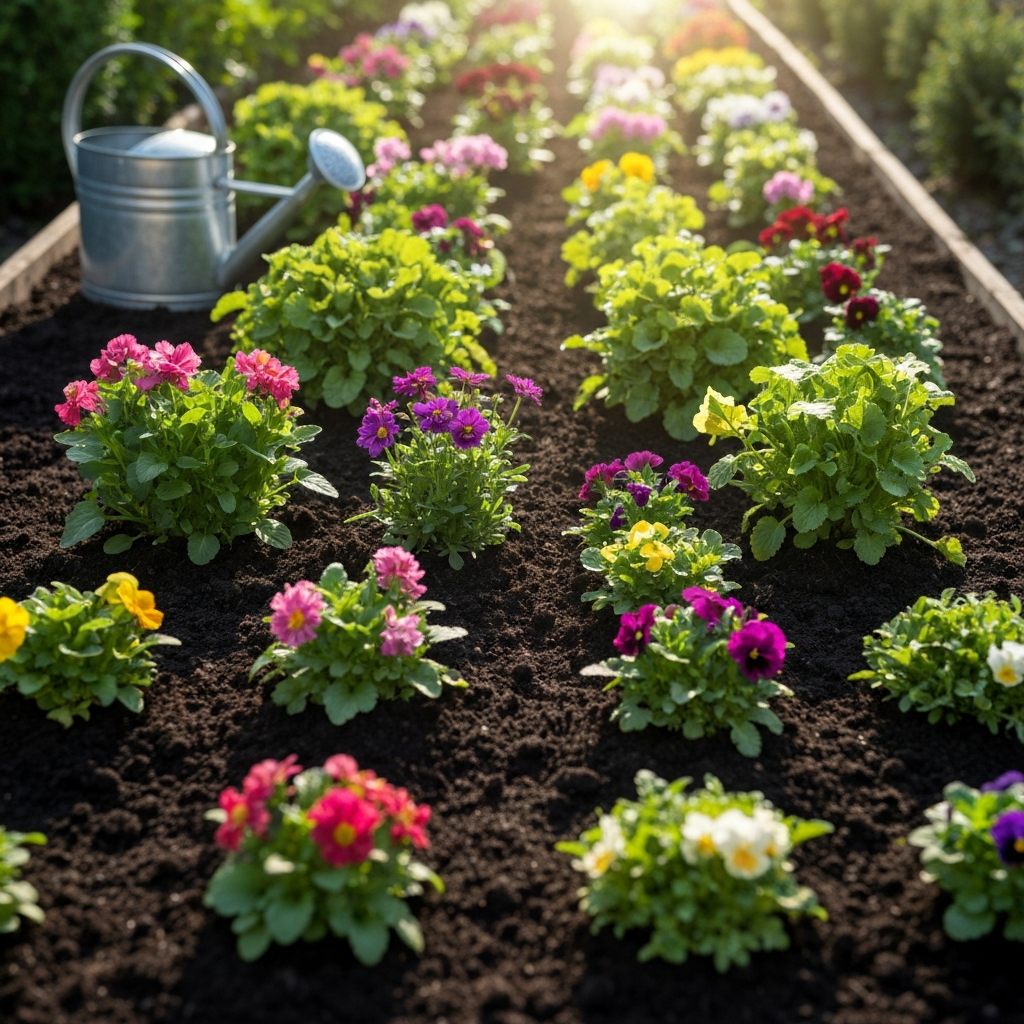
Step 8: Replant and Enjoy!
Now that your garden is cleared, weeded, pruned, and mulched, it's time to replant and enjoy the fruits of your labor. Choose plants that are well-suited to your climate, soil type, and sunlight conditions. Water your new plants regularly until they are established. Remember to continue weeding and maintaining your garden to prevent it from becoming overgrown again. Regular maintenance is key to keeping your garden healthy and beautiful. Choose native plants and pollinators to bring life to your garden!