A cluttered garden can feel overwhelming. What was once a peaceful retreat can quickly become a source of stress, filled with forgotten tools, tangled hoses, and neglected pots. But don't despair! Regaining control of your garden is achievable with a systematic approach. This guide provides a clear, step-by-step method to declutter your garden and transform it back into the serene sanctuary you deserve.
Decluttering your garden is not just about aesthetics; it's also about improving the health of your plants, preventing pest infestations, and making your outdoor space more functional and enjoyable. A well-organized garden allows you to easily access your tools, tend to your plants efficiently, and fully appreciate the beauty of your outdoor environment.
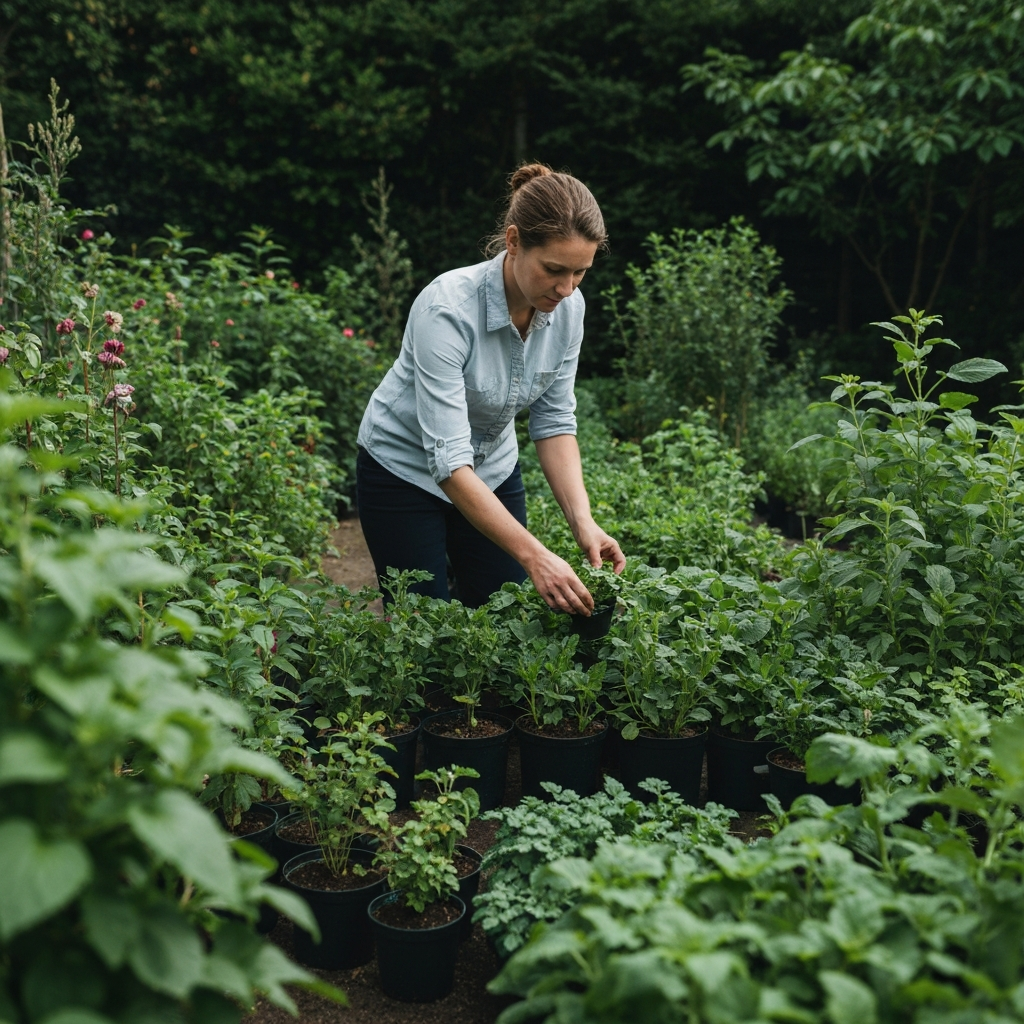
Ready to roll up your sleeves and reclaim your garden? Let's get started. This guide will provide you with practical tips and strategies to tackle even the most daunting garden clutter, transforming it into a functional and inviting space.
Step 1: Assess the Damage & Make a Plan
The first step is to take a good, hard look at your garden and identify the areas that need the most attention. Don't just glance; truly assess the scope of the clutter. Walk through the entire garden, noting areas of excessive accumulation, broken items, and overgrown vegetation. Consider things like sheds, potting benches, greenhouses, and general pathways. This initial assessment forms the foundation of your decluttering strategy.
Based on your assessment, create a plan of action. This doesn't need to be overly complicated, but it should outline the main areas you'll be focusing on and the order in which you'll tackle them. Prioritize areas that pose safety hazards or are significantly impacting the functionality of your garden. Estimate the time needed for each task, and break down larger jobs into smaller, more manageable chunks. This will make the entire process feel less daunting.

Step 2: Gather Your Supplies
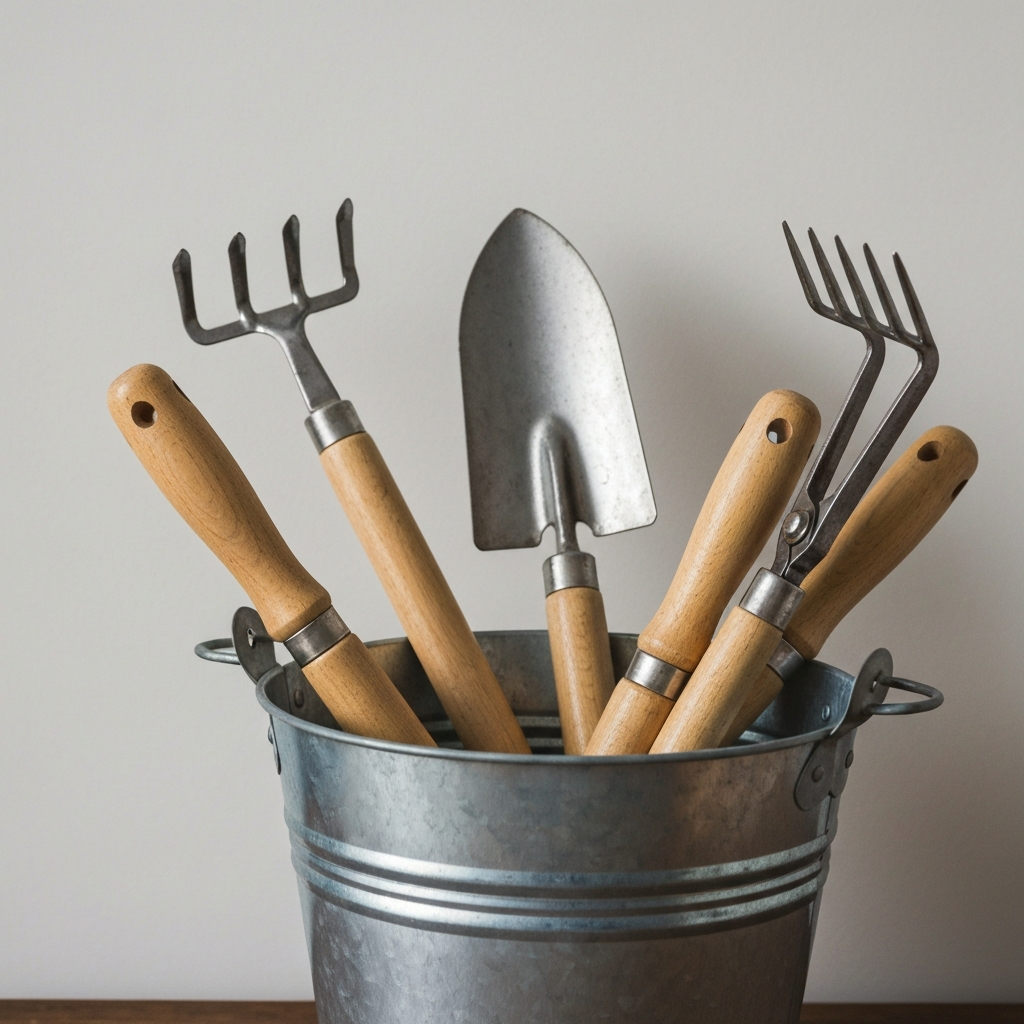
Before you begin the actual decluttering process, gather all the necessary tools and supplies. Having everything you need readily available will prevent interruptions and keep you focused. This includes items such as heavy-duty trash bags, recycling bins, boxes for donations or storage, cleaning supplies (buckets, soap, sponges), gardening gloves, and basic tools like a trowel, rake, and pruning shears. Don't forget a first-aid kit for minor scrapes and cuts.
Consider acquiring specific storage solutions tailored to your garden's needs. This might include shelves, storage bins, tool organizers, or hooks for hanging hoses and equipment. Investing in the right storage solutions now will save you time and effort in the long run and help maintain a clutter-free garden. If you plan on hauling away large items, assess whether you need a wheelbarrow or access to a truck.
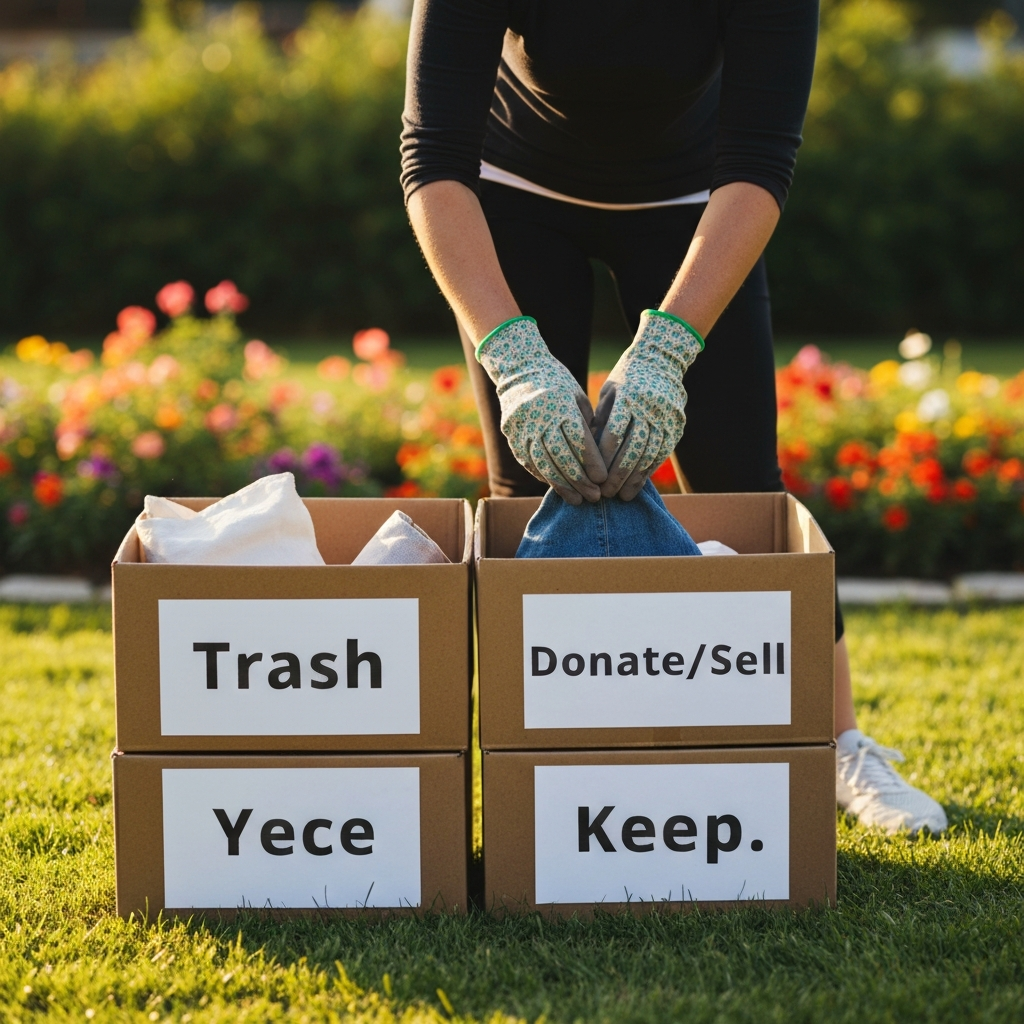
Step 3: The "Four-Box Method"
Employ the "Four-Box Method" to efficiently sort through your garden clutter. Designate four areas (or boxes): "Trash," "Recycle," "Donate/Sell," and "Keep." Systematically go through each item in your garden, making a decision about where it belongs. Be honest with yourself; if you haven't used something in a year or more, it's likely time to part ways with it.
When evaluating items for the "Keep" box, consider their functionality and purpose. Are they essential for maintaining your garden? Are they in good working order? If an item is broken or damaged beyond repair, it belongs in the "Trash" or "Recycle" box. For items you're unsure about, temporarily place them in a "Maybe" box, but commit to reviewing it again after a set period (e.g., one week) to make a final decision. Avoid sentimentality; focus on practicality.
Step 4: Tackle the Trash and Recycling
Once you've sorted through your garden clutter, start with the easiest task: disposing of the trash and recycling. Gather all the items designated for the "Trash" box and properly dispose of them according to your local waste management guidelines. Be mindful of hazardous materials, such as pesticides or herbicides, and dispose of them according to EPA regulations.
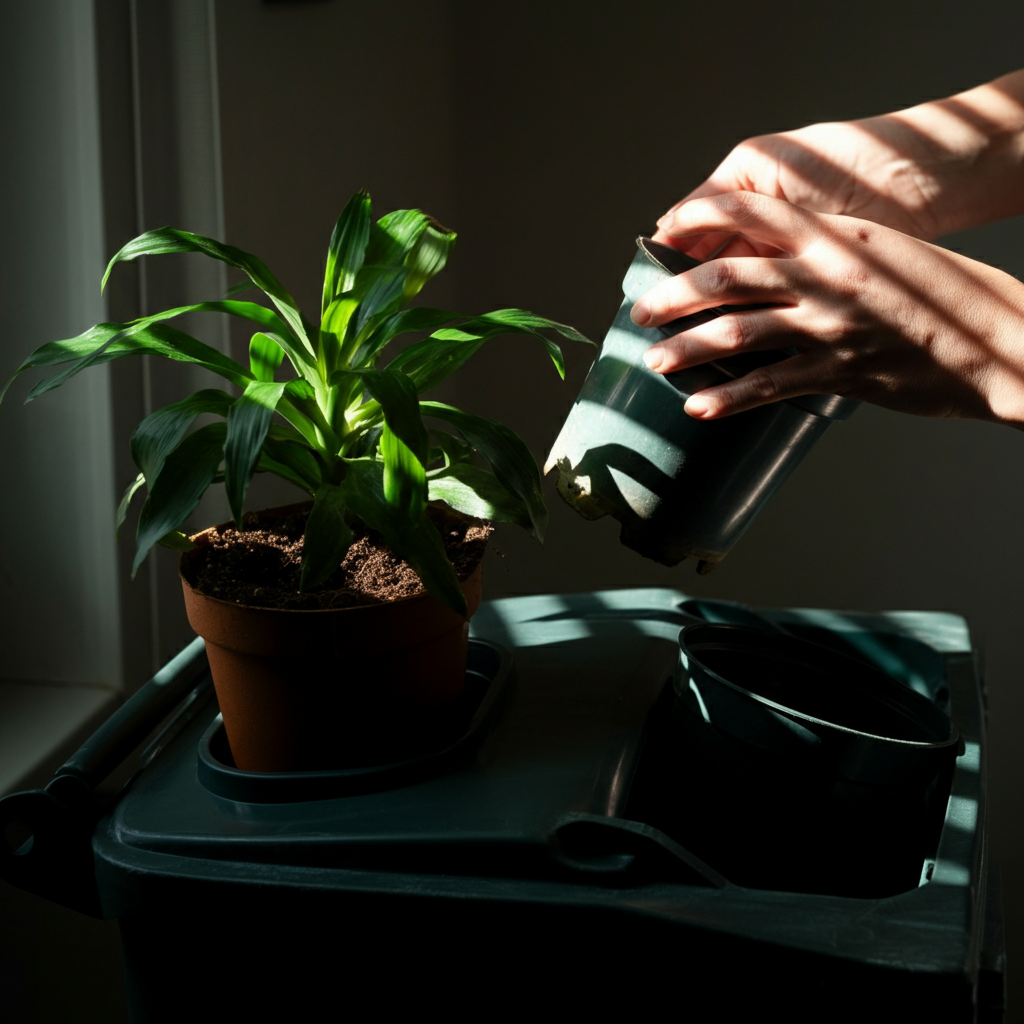
Next, gather the items designated for the "Recycle" box and sort them appropriately. Common recyclable items in the garden include plastic pots, empty fertilizer containers, and cardboard boxes. Rinse out any containers before recycling them to prevent contamination. Make sure you adhere to the recycling guidelines specific to your area. Consider composting organic waste to reduce trash volume and create valuable garden soil.
Step 5: Donate or Sell Usable Items
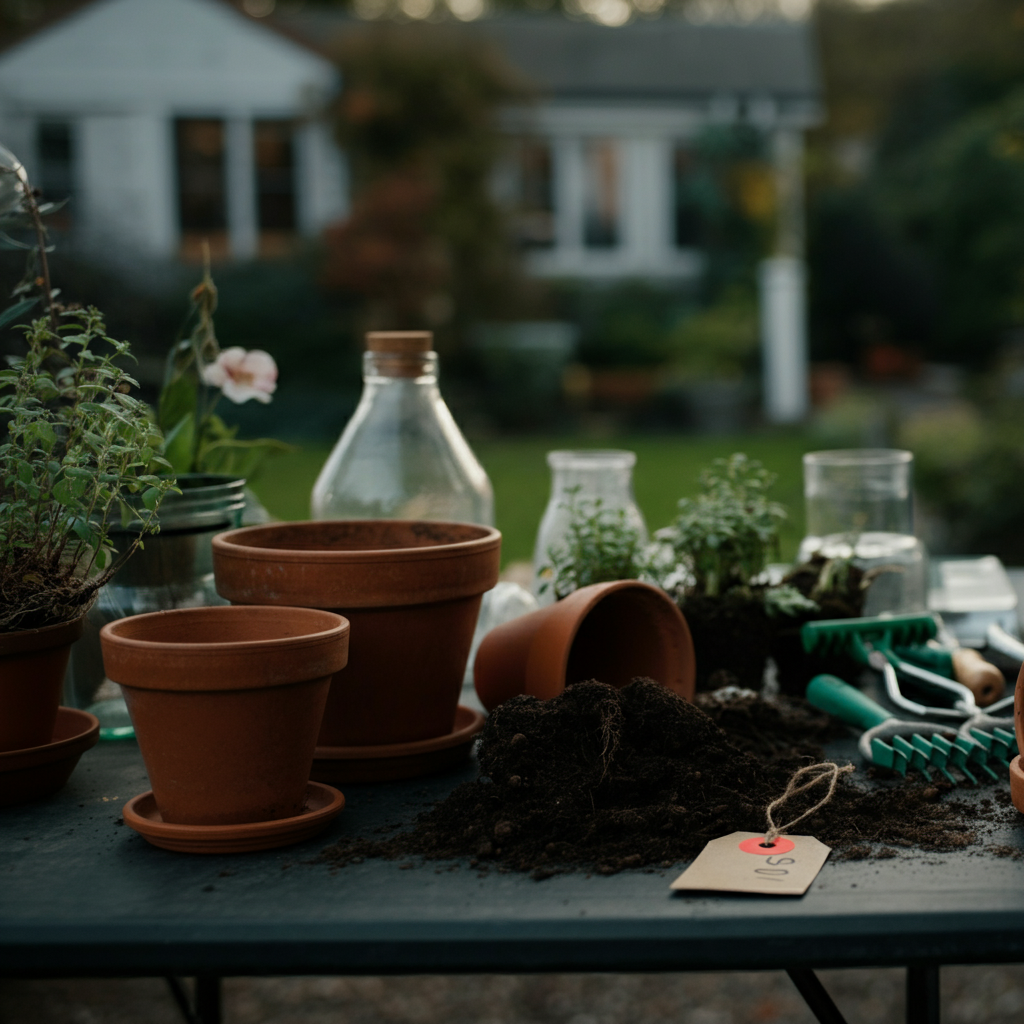
Give your unwanted, but still usable, garden items a second life by donating or selling them. Consider donating tools, pots, or other equipment to local community gardens, schools, or charitable organizations. Many organizations are always in need of gardening supplies and would greatly appreciate your donation. Alternatively, you can sell your items at a garage sale, online marketplace, or consignment shop.
Before donating or selling items, ensure they are clean and in good working condition. Repair any minor damage if possible. Clearly label items with their price or description if selling. Transparency and honesty are key when selling used items. This step not only reduces clutter but also provides an opportunity to give back to your community or earn some extra money.
Step 6: Organize and Store Remaining Items
With the trash, recycling, and donations/sales taken care of, it's time to organize and store the items you've chosen to keep. Start by grouping similar items together, such as hand tools, watering supplies, and potting materials. Invest in appropriate storage solutions, such as shelves, bins, and tool organizers, to keep everything neatly arranged and easily accessible.
Maximize vertical space by using hooks and wall-mounted organizers. Store heavy items on lower shelves to prevent them from falling. Clearly label all storage containers so you can easily find what you need. Implement a "first in, first out" system to prevent items from getting lost or forgotten at the back of shelves. Regularly review your storage areas to ensure everything is still in its proper place and to identify any items that can be decluttered.

Step 7: Clean and Maintain the Area
Once you've decluttered and organized your garden, take the time to clean and maintain the area. Sweep or hose down pathways, clean potting benches, and remove any weeds or debris. Repair any damaged structures, such as fences or raised beds. Regular maintenance is essential for preventing clutter from accumulating again.
Establish a routine for tidying up your garden after each use. Put tools back in their designated places, wipe down surfaces, and dispose of any plant debris. By incorporating these simple habits into your gardening routine, you can maintain a clutter-free and enjoyable outdoor space. Consider setting aside 15-30 minutes each week for a quick tidy-up session.

Step 8: Prevent Future Clutter
The key to long-term success in conquering garden clutter is to prevent it from accumulating in the first place. Be mindful of your purchases and avoid buying items you don't truly need. Before buying new tools or supplies, assess whether you already have something that can serve the same purpose. Embrace minimalism and focus on quality over quantity.
Regularly review your garden and declutter any items that are no longer needed or used. Implement the "one in, one out" rule: for every new item you bring into your garden, get rid of one old item. Consistently maintain your storage areas to prevent clutter from building up. By adopting these preventative measures, you can enjoy a clutter-free and organized garden for years to come.
Common Mistakes to Avoid
- Procrastinating and putting off decluttering tasks.
- Keeping items out of sentimentality rather than practicality.
- Buying more than you need.
- Failing to implement a regular maintenance routine.
- Not having adequate storage solutions.
Safety Considerations
When decluttering your garden, prioritize safety to prevent injuries. Wear gardening gloves to protect your hands from thorns, sharp objects, and chemicals. Use caution when lifting heavy items and ask for assistance if needed. Be aware of potential hazards such as uneven surfaces, stinging insects, and poisonous plants.
Always read and follow the instructions on pesticide and herbicide containers. Store these chemicals in a safe and secure location, away from children and pets. Dispose of hazardous materials according to EPA regulations. Wear appropriate protective gear, such as eye protection and a mask, when handling chemicals. Never mix chemicals, as this can create dangerous fumes.
Pro Tips
- Start small and focus on one area at a time.
- Set realistic goals and celebrate your progress.
- Enlist the help of a friend or family member.
- Listen to music or podcasts to make the task more enjoyable.
- Reward yourself after completing each step.
FAQ Section
Q: How often should I declutter my garden?
A: Aim to do a major decluttering session at least once a year, preferably in the spring or fall. Regular maintenance and tidying should be done weekly or bi-weekly to prevent clutter from accumulating.
Q: What should I do with old potting soil?
A: You can often reuse old potting soil by amending it with fresh compost or fertilizer. If the soil is heavily contaminated with pests or diseases, it's best to discard it.
Q: How can I prevent weeds from taking over my garden?
A: Use mulch to suppress weed growth, hand-pull weeds regularly, and apply herbicides as needed (following all safety precautions).
Q: Where can I donate my old gardening tools?
A: Consider donating to local community gardens, schools, churches, or organizations like Goodwill or Habitat for Humanity.
Conclusion
Conquering your garden clutter is a rewarding endeavor that will transform your outdoor space into a more functional and enjoyable environment. By following these steps, from assessing the situation and gathering your supplies to decluttering with the "Four-Box Method" and implementing preventative measures, you can create a clutter-free garden that you'll love spending time in. Remember to prioritize safety, be mindful of your purchases, and establish a regular maintenance routine. With a little effort and dedication, you can reclaim your garden and enjoy its beauty for years to come.