Painting the interior walls of your home is a fantastic way to refresh your living space and add personal flair. However, what seems like a straightforward DIY project can quickly become a source of frustration if common mistakes are made. From inadequate preparation to improper technique, these errors can lead to a less-than-perfect finish, costing you time, money, and effort.
This guide, written from an expert's perspective, aims to equip you with the knowledge and skills to avoid these pitfalls. We'll walk through each step of the painting process, highlighting potential problem areas and offering proven solutions to ensure a smooth, professional-looking result. We'll help you transform your space with confidence.
By understanding the common errors and how to prevent them, you'll be well on your way to achieving walls you can be proud of. Let's dive in and unlock the secrets to a flawless interior paint job.
Step 1: Neglecting Proper Preparation
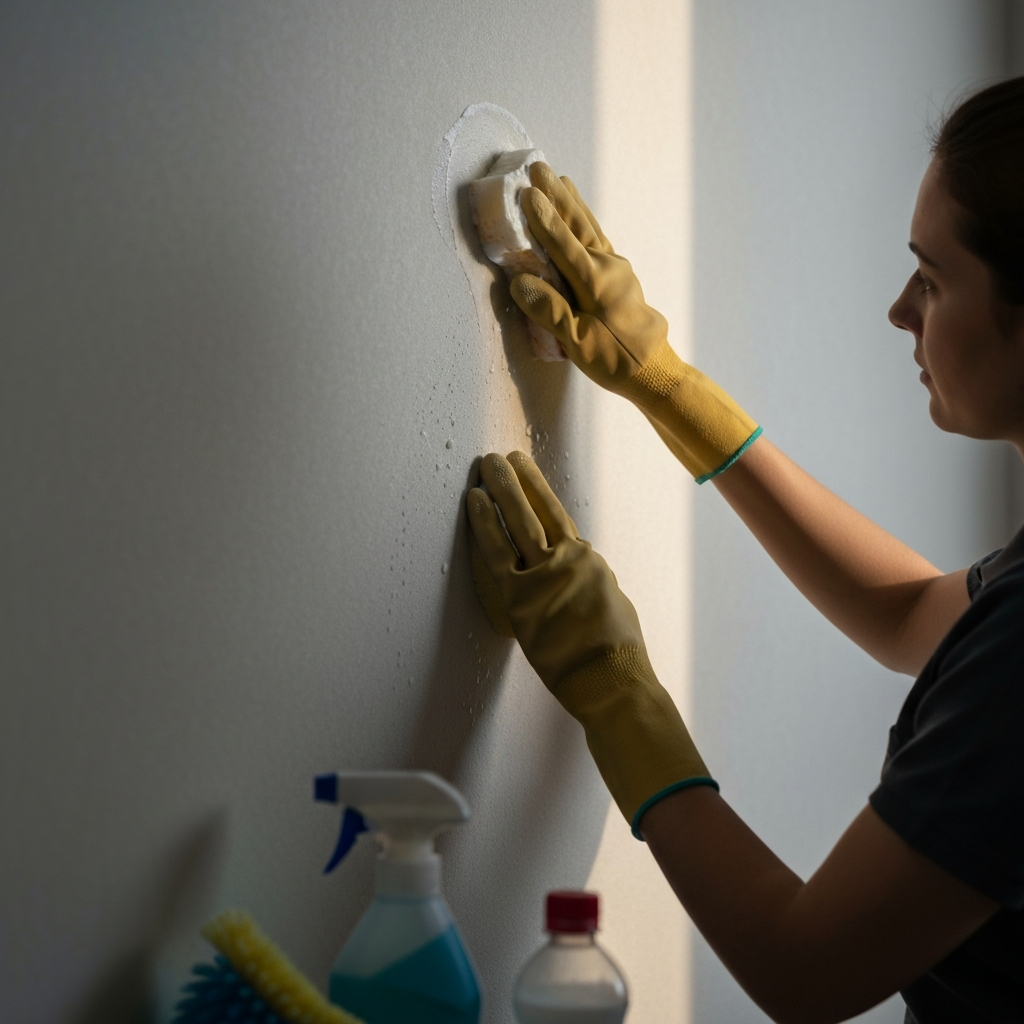
Proper preparation is the cornerstone of any successful painting project. Skipping this crucial step often leads to a subpar finish, no matter how skilled you are with a brush. This includes cleaning the walls thoroughly to remove dust, dirt, grease, and any other contaminants. Use a mild detergent and water solution, and be sure to rinse well and allow the walls to dry completely. Patching holes and imperfections is also essential. Use spackle or joint compound to fill any dents, cracks, or nail holes, sand smooth once dry, and prime these areas for uniform paint absorption. A common mistake is only spot-cleaning and not addressing the entire wall surface which can lead to sheen differences.
Step 2: Skipping the Primer
Primer is not just an optional extra; it's a vital component in achieving a professional-looking paint job. Primer creates a uniform surface for the paint to adhere to, ensuring consistent color and sheen. It also seals porous surfaces, preventing the paint from being absorbed unevenly. Skipping primer can lead to the need for multiple coats of paint, ultimately costing you more time and money. Furthermore, primer helps to block stains and prevent previous colors from bleeding through. When choosing a primer, consider the type of surface you're painting and whether you need a stain-blocking or multi-purpose formula. Also, remember to tint your primer close to your finish color for best results.
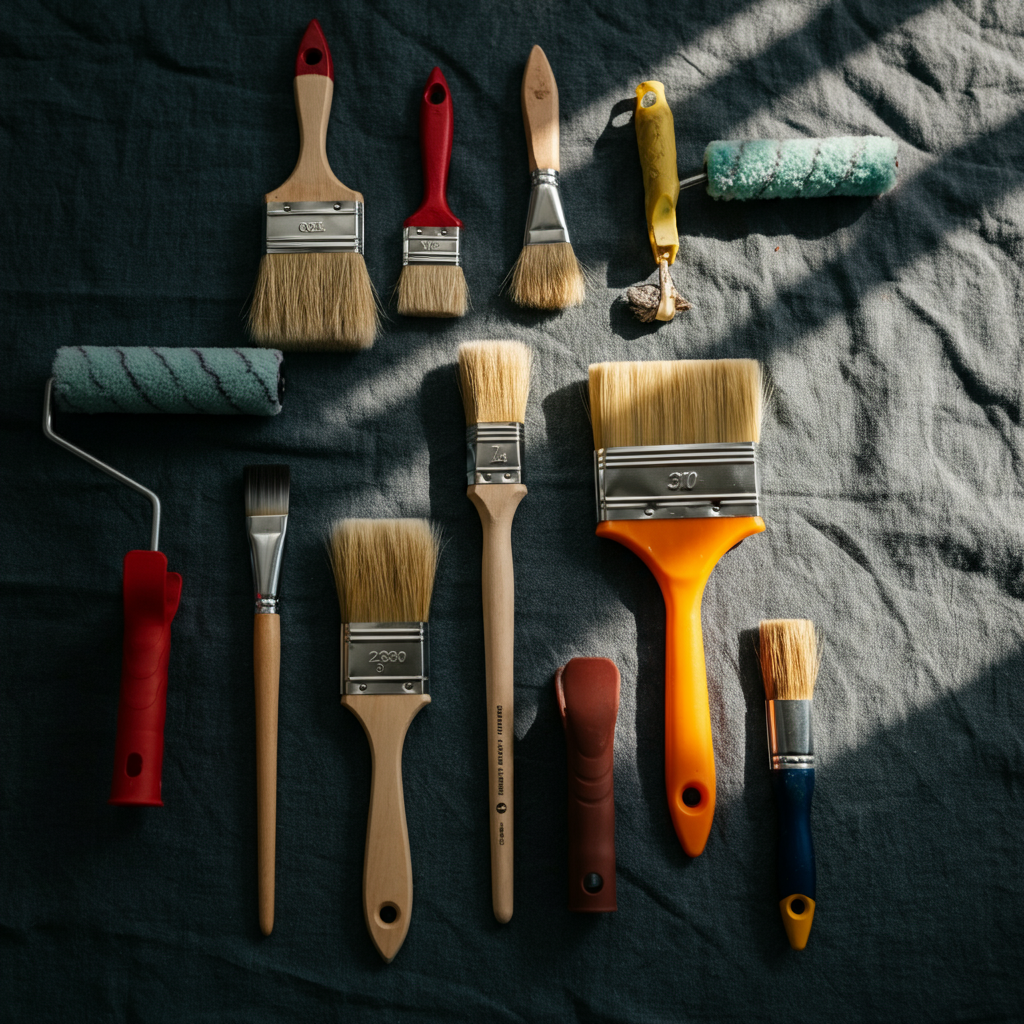
Step 3: Using the Wrong Tools
Using the wrong tools can significantly impact the quality and efficiency of your painting project. Choosing the right brush, roller, and other equipment is crucial for achieving a smooth, even finish. For example, using a cheap, low-quality brush can result in unsightly brushstrokes and uneven paint distribution. Similarly, using the wrong nap length on your roller can lead to stippling or orange peel texture. Consider the type of paint you're using (latex or oil-based) and the texture of your walls when selecting your tools. Investing in high-quality brushes and rollers will not only make the job easier but also produce a far superior result.
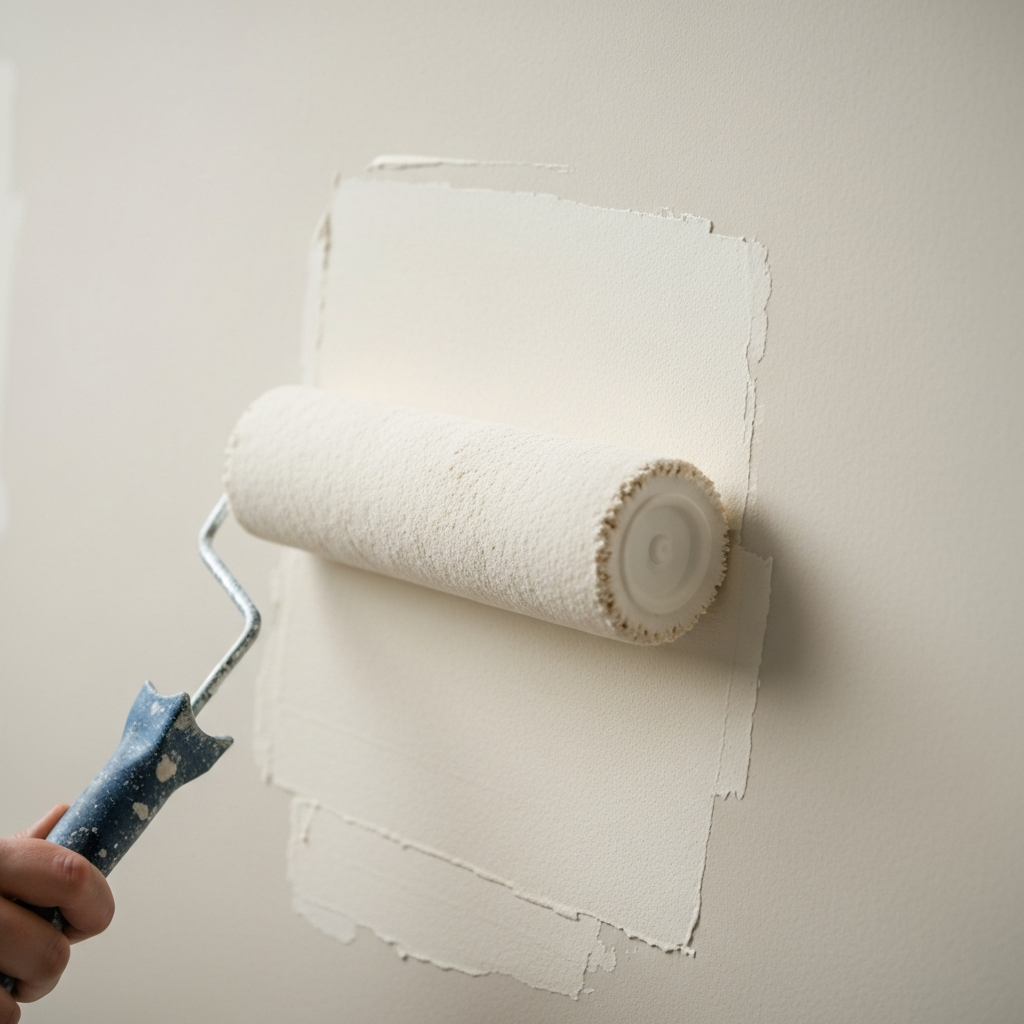
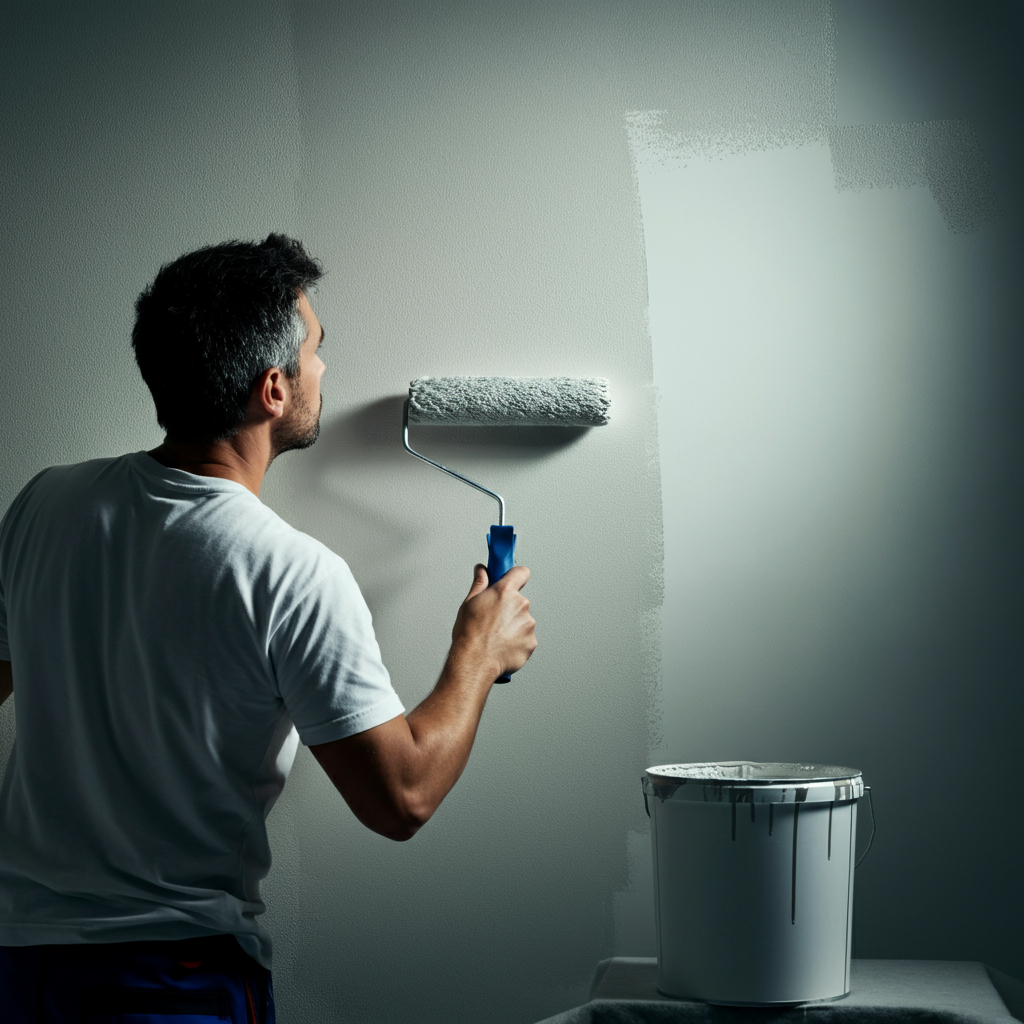
Step 4: Applying Paint Too Thinly (Or Too Thickly)
Applying paint too thinly or too thickly are both common mistakes that can compromise the final result. Painting too thinly can lead to poor coverage, requiring multiple coats to achieve the desired color depth. Applying paint too thickly, on the other hand, can result in drips, runs, and a textured, uneven surface. The key is to apply the paint in even, moderate coats, allowing each coat to dry completely before applying the next. Follow the manufacturer's recommendations for drying times and coverage rates. Using a consistent hand and overlapping each stroke slightly will help ensure a uniform finish.
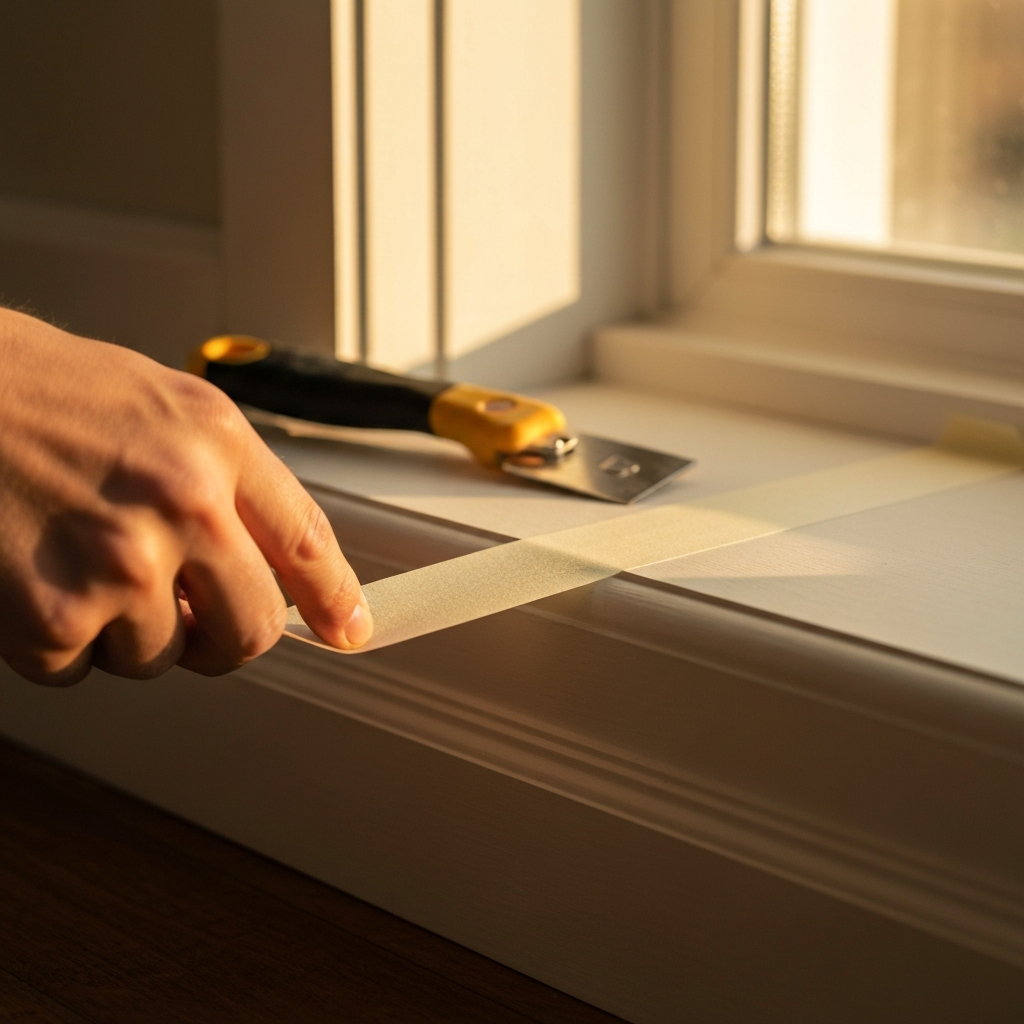
Step 5: Not Taping Properly (Or At All!)
Proper taping is essential for creating clean, crisp lines and protecting adjacent surfaces from unwanted paint splatters. Failing to tape properly, or skipping taping altogether, can lead to messy edges and a less professional-looking result. Use high-quality painter's tape and apply it carefully along trim, ceilings, and other areas you want to protect. Press the tape firmly to the surface to create a tight seal. To prevent paint from bleeding under the tape, consider using a taping knife or credit card to smooth out the edges. Remove the tape while the paint is still slightly wet to avoid peeling off the paint. If you wait too long, the paint may dry and adhere to the tape, causing it to tear the paint when removed.
Step 6: Ignoring Ventilation
Painting indoors can release volatile organic compounds (VOCs) into the air, which can be harmful to your health. Proper ventilation is crucial to minimize exposure to these chemicals and ensure a safe and comfortable working environment. Open windows and doors to create airflow, and consider using fans to circulate the air. If ventilation is limited, wear a respirator to protect yourself from inhaling harmful fumes. Pay attention to the smell of the paint and take breaks if you start to feel dizzy or nauseous. After painting, continue to ventilate the room for several days to allow the paint to fully cure and off-gas.

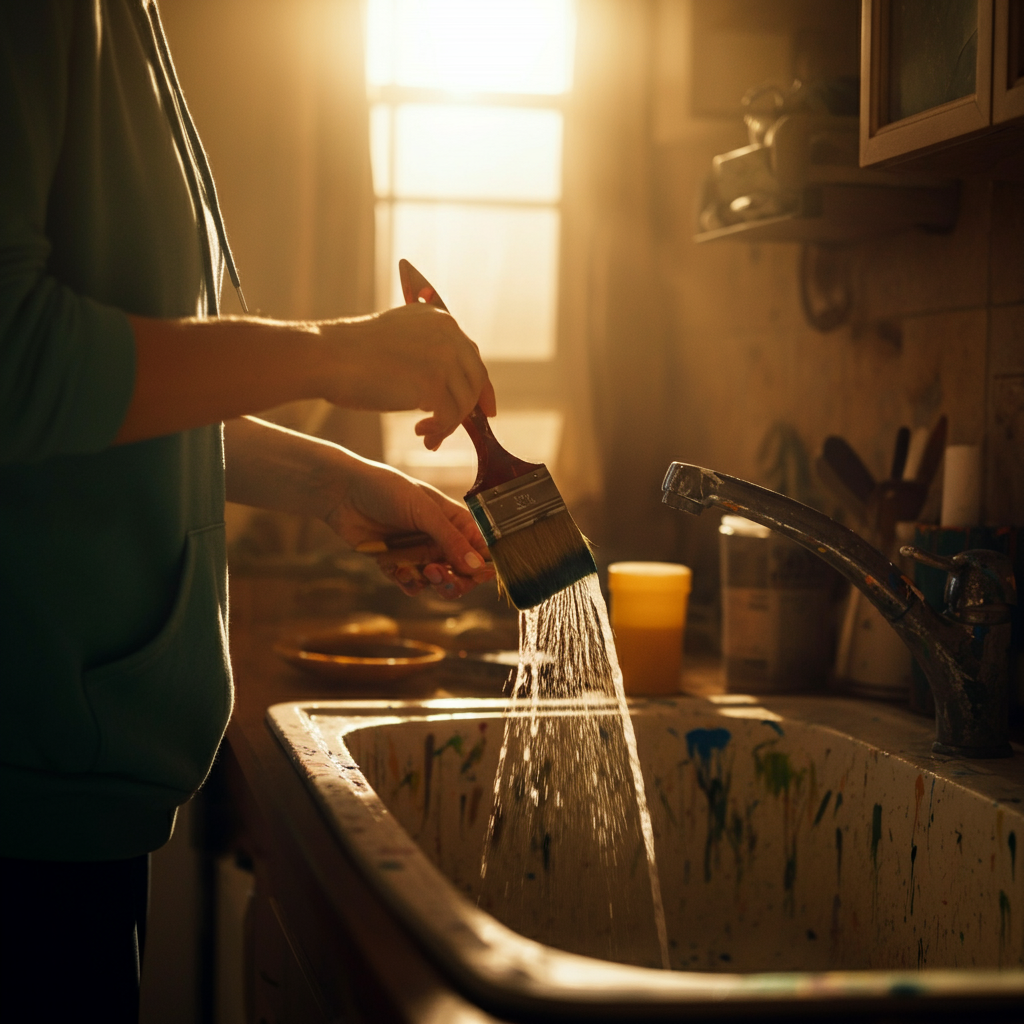
Step 7: Not Cleaning Your Tools Immediately
Properly cleaning your tools immediately after use is essential for maintaining their lifespan and ensuring they're ready for your next painting project. Allowing paint to dry on your brushes and rollers can ruin them, making them stiff and unusable. For latex paint, rinse your tools thoroughly with water until all traces of paint are gone. For oil-based paint, use mineral spirits or paint thinner to clean your tools. Be sure to follow the manufacturer's instructions for cleaning and disposal of solvents. After cleaning, allow your tools to dry completely before storing them. A common mistake is to just wrap them in plastic without cleaning them first.
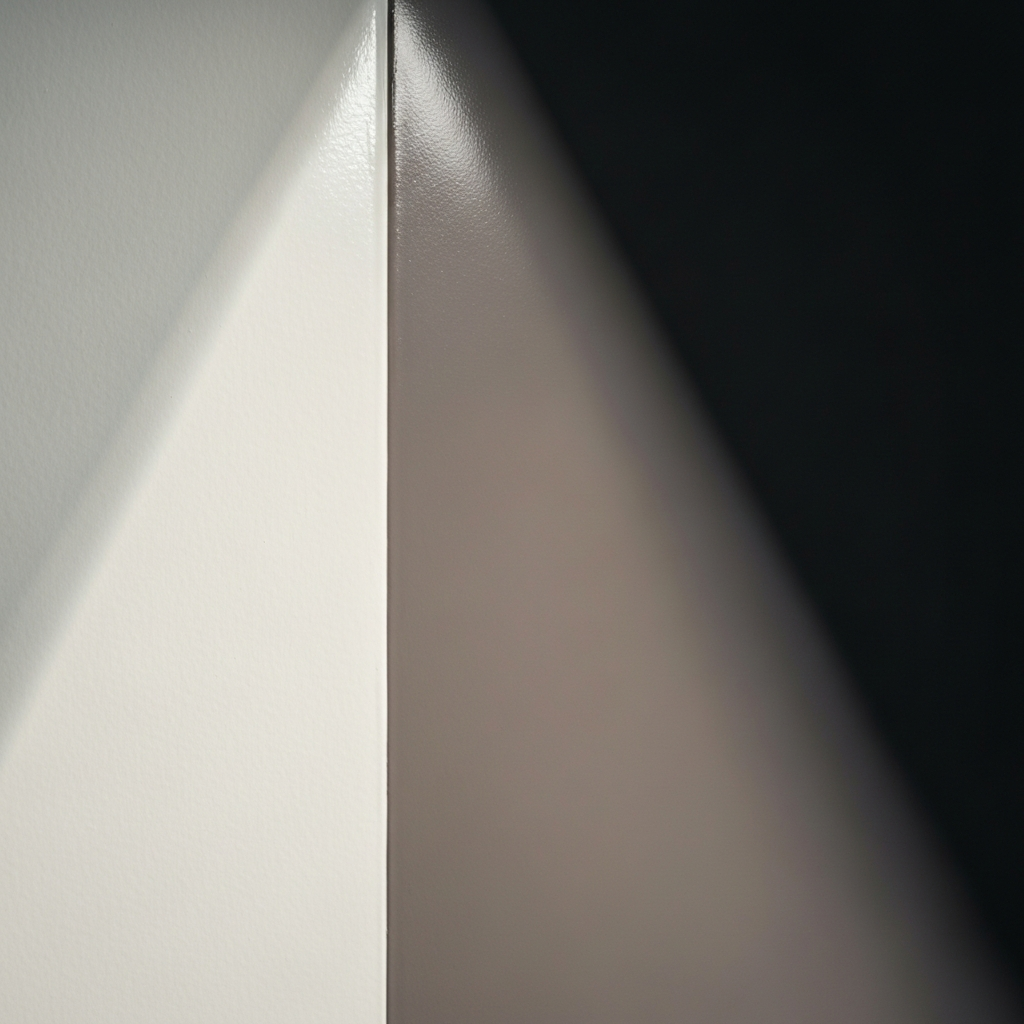
Step 8: Choosing the Wrong Sheen
The sheen of your paint impacts not only the appearance of your walls but also their durability and cleanability. Flat paint is ideal for low-traffic areas like bedrooms and ceilings, as it provides a matte finish that hides imperfections well. Eggshell and satin finishes offer a subtle sheen and are more durable and easier to clean, making them suitable for living rooms and hallways. Semi-gloss and gloss paints are the most durable and easiest to clean, making them ideal for kitchens, bathrooms, and trim. Choosing the wrong sheen can result in walls that are difficult to clean or that highlight imperfections. Consider the function of the room and the level of traffic it receives when selecting your paint sheen.
Tools or Materials Required
- Paint
- Primer
- Painter's tape
- Drop cloths
- Paintbrushes
- Rollers and roller covers
- Paint tray
- Extension pole
- Spackle or joint compound
- Sandpaper
- Cleaning supplies (detergent, water, sponges)
- Ladder or step stool
- Respirator (optional)
Common Mistakes to Avoid
- Skipping preparation
- Not using primer
- Using the wrong tools
- Applying paint too thinly or thickly
- Not taping properly
- Ignoring ventilation
- Not cleaning tools immediately
- Choosing the wrong sheen
- Rushing the process
Safety Considerations
Always prioritize safety when undertaking any painting project. Wear appropriate protective gear, such as gloves and eye protection, to prevent skin and eye irritation. Ensure proper ventilation to minimize exposure to harmful fumes. Be careful when using ladders or step stools, and always maintain a stable base. Dispose of paint and cleaning supplies properly, following local regulations.
Pro Tips
- Always test your paint color in a small, inconspicuous area before painting the entire room.
- Use a paint calculator to estimate the amount of paint you'll need.
- Apply multiple thin coats of paint rather than one thick coat.
- Remove painter's tape while the paint is still slightly wet.
- Clean your tools immediately after use.
FAQ Section
- How long should I wait between coats of paint?
- Follow the manufacturer's recommendations for drying times, typically 2-4 hours.
- How do I prevent paint from bleeding under the tape?
- Press the tape firmly to the surface and use a taping knife to smooth out the edges.
- What's the best way to clean up paint spills?
- Wipe up spills immediately with a damp cloth for latex paint or mineral spirits for oil-based paint.
Conclusion
By avoiding these common painting mistakes and following the expert advice outlined in this guide, you can achieve a professional-looking finish on your interior walls. Remember, proper preparation, the right tools, and a patient approach are key to success. With a little planning and attention to detail, you can transform your living space and create walls you'll be proud to show off. Happy painting!