Mold. Just the word can send shivers down a homeowner's spine. It's unsightly, unhealthy, and can significantly impact the value of your property. However, understanding mold, its causes, and the proper methods for eradication empowers you to tackle the problem effectively. This guide provides expert-level instructions on identifying, containing, and eliminating mold, ensuring a healthier and safer living environment.
Before jumping into action, it's crucial to understand that not all mold problems are created equal. Small, contained areas of mold might be manageable with DIY methods, while larger infestations, especially those affecting your HVAC system or spanning significant square footage, require professional remediation. Assessing the scope of the problem is your first and most important step.
This guide will walk you through the necessary precautions, tools, and techniques to effectively kill mold and prevent its return. Remember, safety is paramount, and when in doubt, consult a professional. Let's get started.
Step 1: Identification and Assessment
Determining the Type and Extent of the Mold
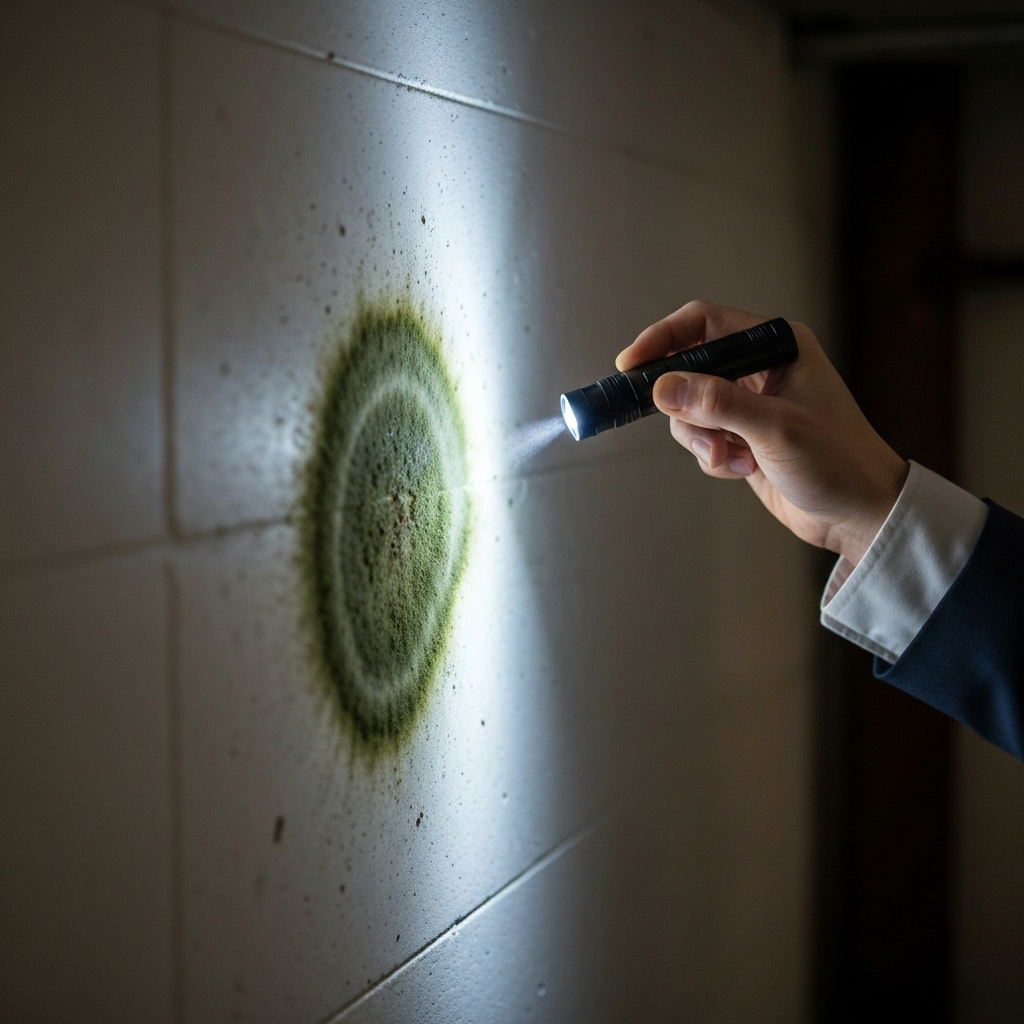
The first step in combating mold is accurately identifying it and assessing the extent of the problem. While laboratory testing can definitively identify the specific species of mold, it’s often unnecessary for initial remediation efforts. Focus on identifying areas affected by mold, noting its color, texture, and location. Is it a small patch on a bathroom tile, or is it pervasive throughout a damp basement? Look for telltale signs like musty odors, visible growth, and water damage. Pay close attention to areas prone to moisture, such as bathrooms, kitchens, basements, and areas around leaky pipes or windows.
Step 2: Safety First: Personal Protective Equipment (PPE)
Protecting Yourself from Mold Exposure
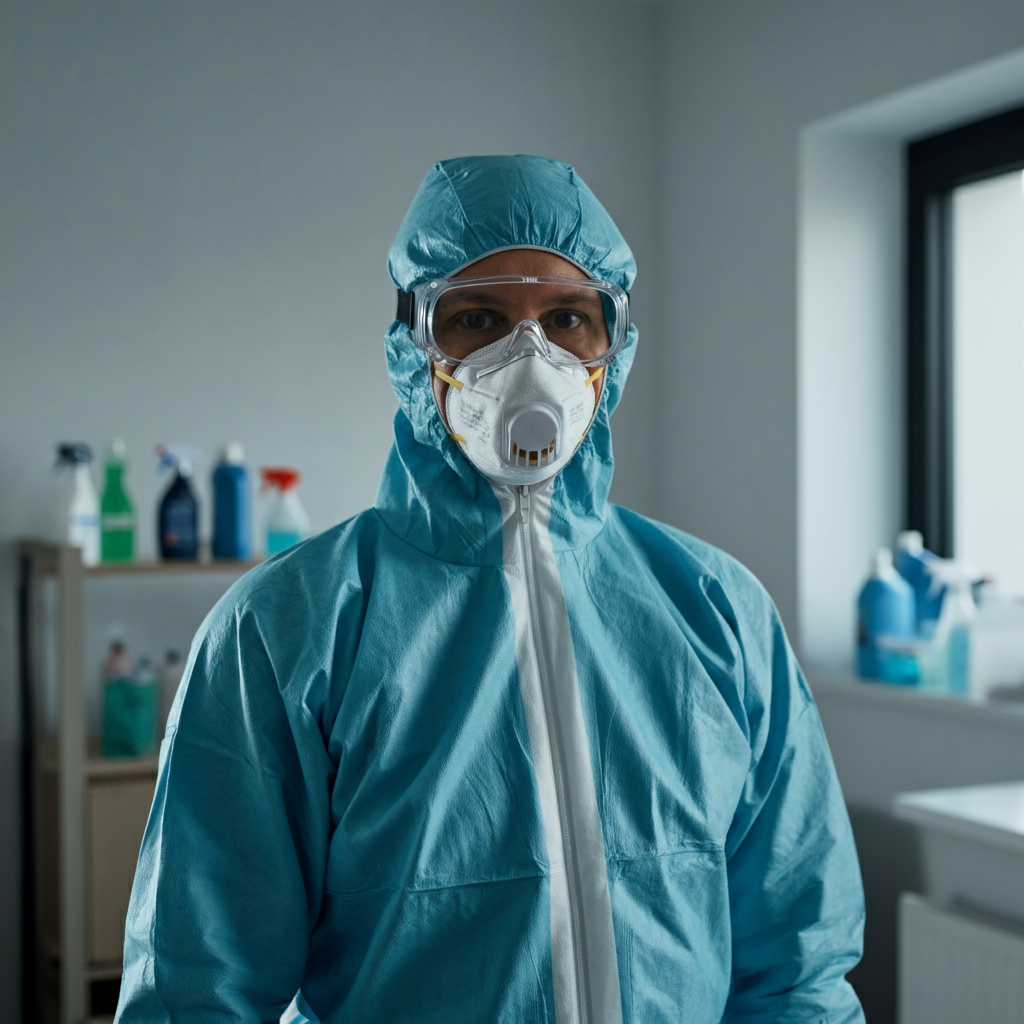
Mold spores can trigger allergic reactions, respiratory problems, and other health issues. Therefore, wearing appropriate personal protective equipment (PPE) is non-negotiable. This includes a properly fitted N-95 or P-100 respirator to prevent inhalation of spores, gloves to protect your skin from contact, and eye protection to prevent irritation. Consider wearing disposable clothing to avoid spreading mold spores to other areas of your home.
Step 3: Containment: Limiting Spore Spread
Creating a Barrier to Prevent Contamination
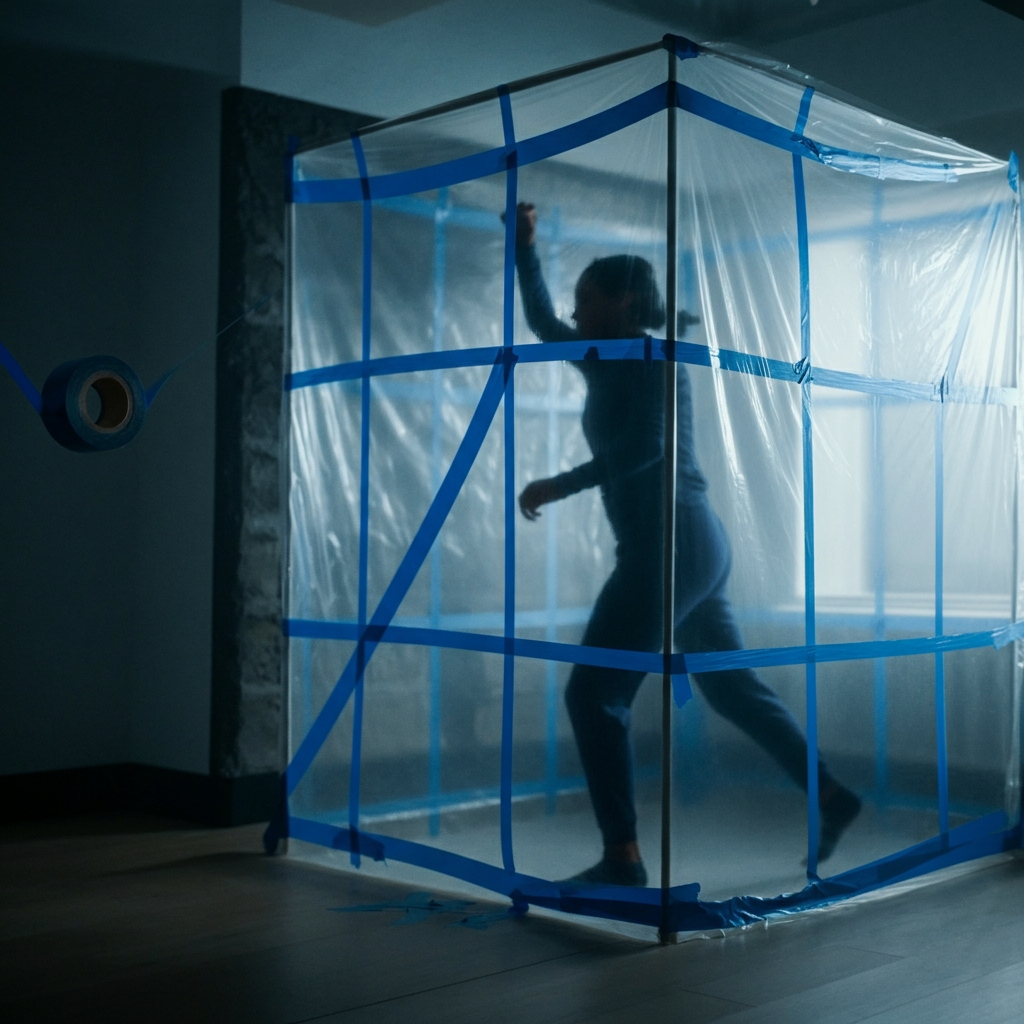
Before you start cleaning, it’s crucial to contain the affected area to prevent the spread of mold spores to other parts of your home. This is especially important for larger infestations. Seal off the area with plastic sheeting and duct tape, creating a physical barrier. If possible, close off vents and doorways. For significant mold problems, consider using a negative air machine to create negative pressure within the contained area, preventing spores from escaping. Dispose of any contaminated materials properly in sealed plastic bags.
Step 4: Cleaning and Disinfecting Mold-Affected Surfaces
Effective Cleaning Techniques for Mold Removal
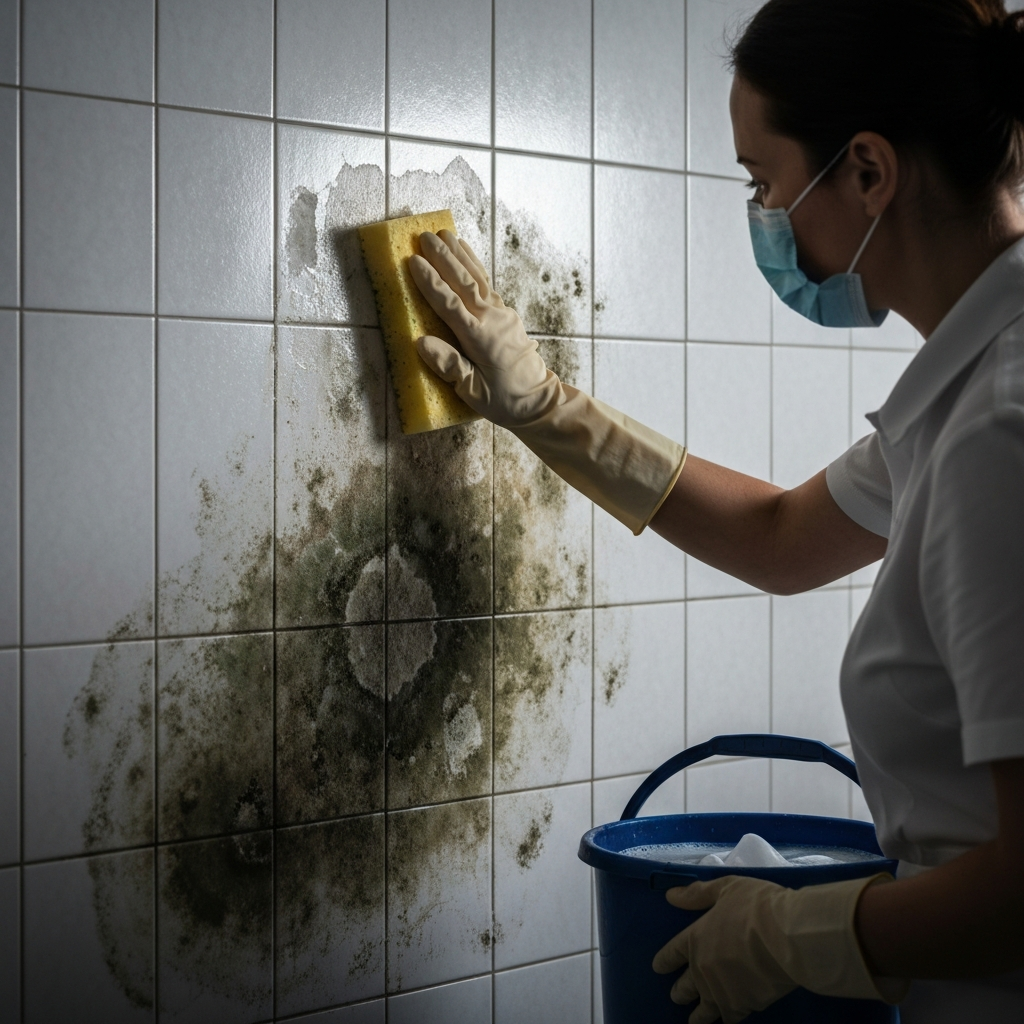
Once the area is contained, you can begin cleaning the mold-affected surfaces. There are several effective cleaning solutions you can use. For non-porous surfaces like tiles, hard plastics, and metal, a solution of diluted bleach (1 part bleach to 10 parts water) can be effective. However, never mix bleach with ammonia or other cleaning products, as this can create toxic fumes. For porous surfaces like drywall and wood, a borax solution (1 cup borax per gallon of water) or a commercial mold cleaner might be more suitable. Thoroughly scrub the affected areas, removing all visible mold. Allow the solution to sit for a few minutes before wiping it clean with a damp cloth. For heavily soiled areas, you may need to repeat the process.
Step 5: Drying and Ventilation
Preventing Mold Recurrence Through Proper Drying
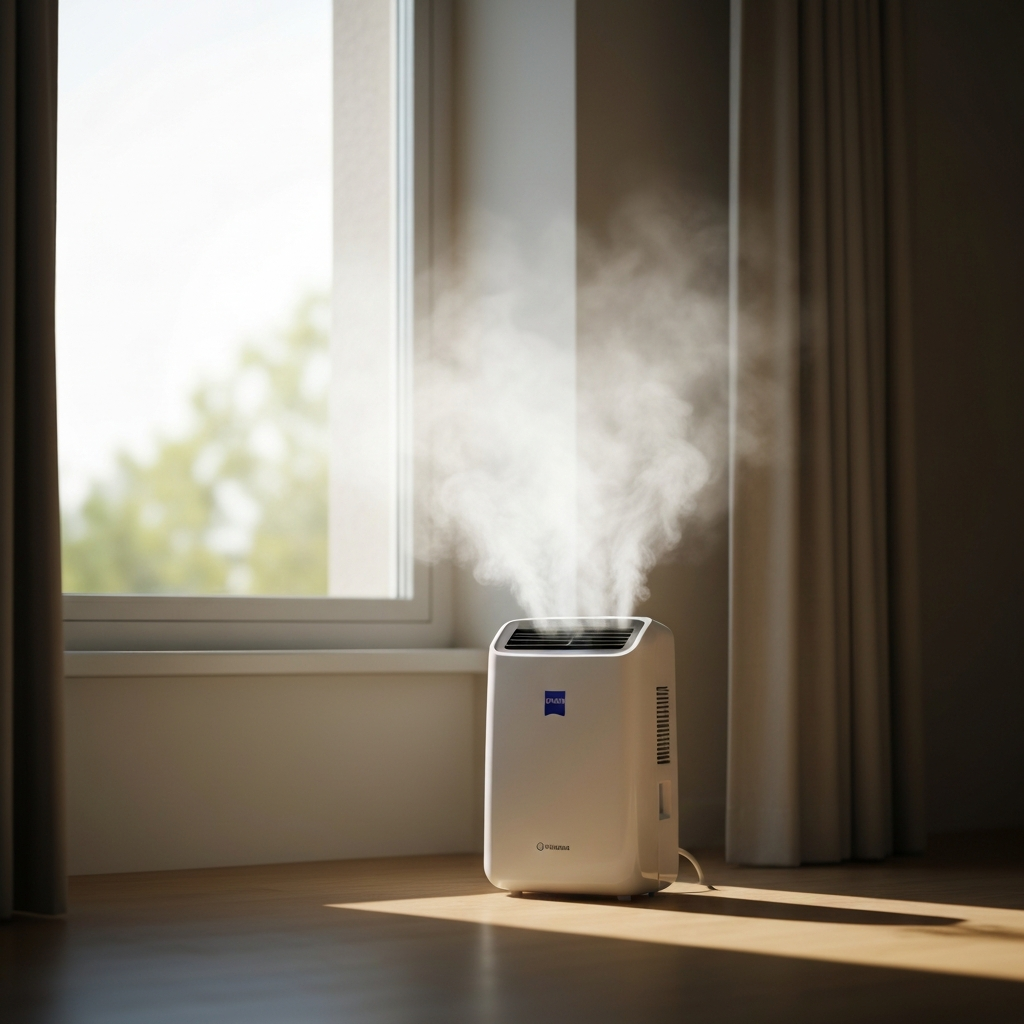
After cleaning, it’s crucial to thoroughly dry the affected area to prevent mold from returning. Use fans, dehumidifiers, or open windows to promote air circulation and reduce moisture levels. Ensure that all surfaces are completely dry to the touch before removing the containment barriers. If you’re dealing with a large area or persistent moisture problems, consider using a professional drying service with specialized equipment.
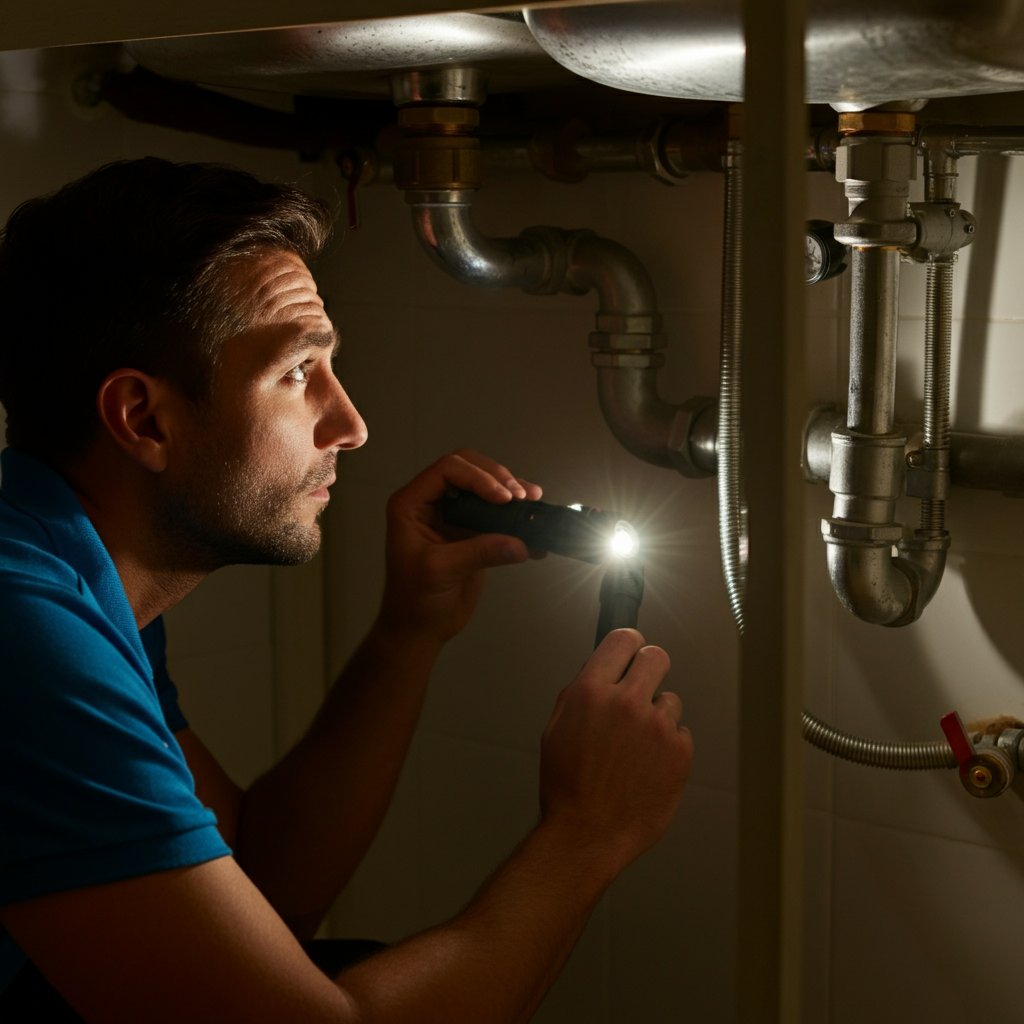
Step 6: Addressing the Moisture Source
Finding and Fixing the Root Cause of the Mold
Killing the mold itself is only half the battle. To prevent it from returning, you must address the underlying moisture source that caused the problem in the first place. This might involve repairing leaky pipes, fixing roof leaks, improving ventilation, or addressing condensation problems. Regularly inspect your home for signs of water damage and take prompt action to address any issues. Consider using a moisture meter to monitor humidity levels in vulnerable areas.
Tools or Materials Required
* N-95 or P-100 respirator * Gloves (disposable) * Eye protection * Disposable clothing (optional) * Plastic sheeting and duct tape * Cleaning solutions (bleach, borax, or commercial mold cleaner) * Buckets and sponges * Spray bottles * Fans or dehumidifiers * Moisture meter (optional)Common Mistakes to Avoid
* Mixing bleach with ammonia or other cleaning products. * Failing to wear proper PPE. * Not addressing the underlying moisture source. * Using bleach on porous surfaces. * Removing the containment barriers before the area is completely dry.Safety Considerations
* Always wear appropriate PPE to protect yourself from mold exposure. * Ensure adequate ventilation when using cleaning solutions. * Never mix bleach with ammonia or other cleaning products. * If you have a history of respiratory problems or allergies, consult a doctor before attempting mold remediation. * For large or complex mold problems, consider hiring a professional mold remediation company.Pro Tips
* Use a HEPA vacuum to clean up any remaining mold spores after cleaning. * Consider using a mold-resistant paint or primer on surfaces prone to moisture. * Improve ventilation in bathrooms and kitchens by using exhaust fans. * Regularly inspect your home for signs of water damage.FAQ Section
* **Q: Can I just paint over mold?** A: No, painting over mold will not kill it. The mold will continue to grow underneath the paint. * **Q: How do I know if I need professional mold remediation?** A: If the mold infestation is larger than 10 square feet, or if you have health concerns, it's best to consult a professional. * **Q: How can I prevent mold from growing in my home?** A: Control moisture levels, improve ventilation, and promptly repair any water leaks.In conclusion, successfully killing mold requires a multi-faceted approach: proper identification, containment, cleaning, drying, and, most importantly, addressing the source of the moisture. By following these expert-level instructions and prioritizing safety, you can effectively eliminate mold and create a healthier and safer living environment. Remember, if you are unsure about any aspect of the process, do not hesitate to consult a professional mold remediation company. Your health and the integrity of your home depend on it.