A freshly stained deck can transform your outdoor space, bringing new life and beauty to your home. However, before you invest time and money into staining, it's crucial to assess the condition of your deck wood. Staining a deck with significant damage is like putting lipstick on a pig – it won't solve the underlying issues and could even exacerbate them. This guide will walk you through a step-by-step process to accurately determine if your deck wood is healthy enough to be stained, saving you from potential headaches down the road.
Successfully staining a deck relies on proper preparation, and that begins with understanding the structural integrity of the wood itself. Ignoring signs of rot, decay, or severe weathering will compromise the stain's adhesion and longevity. Knowing when to repair, replace, or proceed with staining is key to achieving a durable and attractive finish that will last for years to come.
Follow this expert guide to evaluate your deck and make an informed decision on whether staining is the right choice.
Step 1: Perform a Visual Inspection
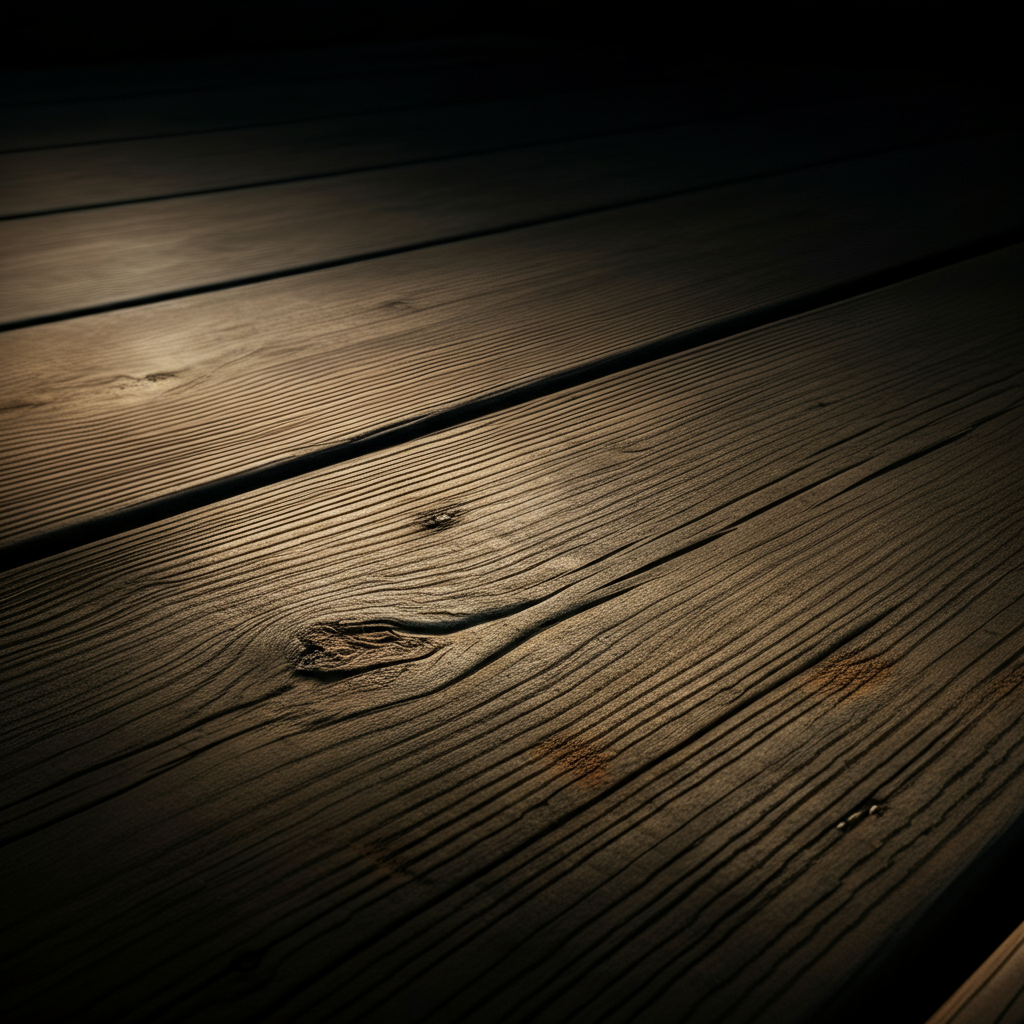
Begin with a thorough visual inspection of the entire deck surface, including the deck boards, railings, support posts, and stairs. Look for any obvious signs of damage, such as discoloration, splintering, cracking, warping, or the presence of mold or mildew. Pay close attention to areas that are frequently exposed to moisture, such as near the ground, under potted plants, or around areas where water tends to pool. Take detailed notes or photos of any areas of concern, as this will help you track the extent of the damage and plan your next steps.
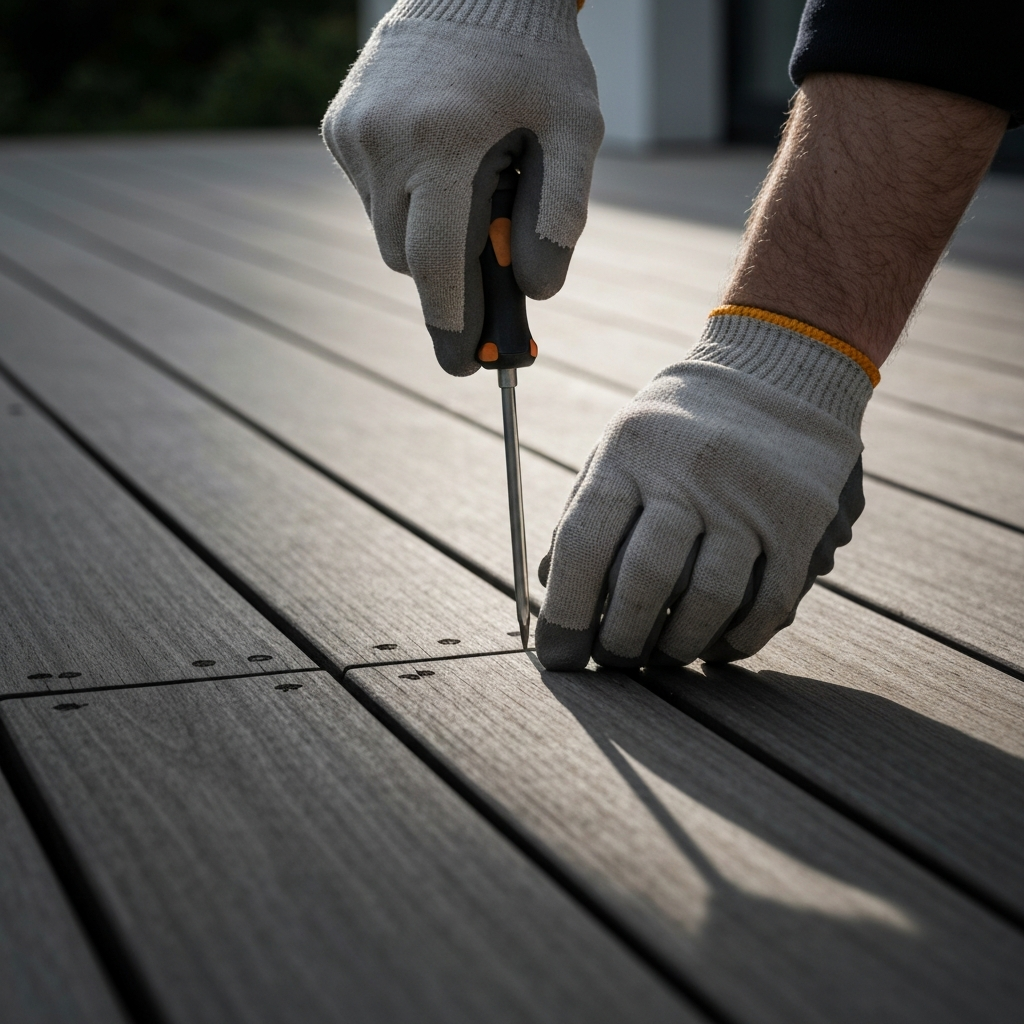
Step 2: Conduct the Screwdriver Test
The screwdriver test is a simple yet effective method for assessing the internal integrity of the wood. Using a flathead screwdriver, probe the wood in areas that appear potentially damaged or weakened. Apply moderate pressure and attempt to insert the screwdriver tip into the wood. If the screwdriver penetrates the wood easily, sinking in more than ¼ inch, it indicates that the wood is likely rotten or severely deteriorated. Repeat this test in multiple locations across the deck, focusing on areas that showed warning signs during the visual inspection.
Step 3: Check for Soft Spots and Decay
Walk across the deck and pay attention to any areas that feel soft or spongy underfoot. Soft spots are a strong indication of decay, where the wood fibers have broken down and lost their structural strength. You can also use your hands to feel for soft spots along the deck boards, railings, and posts. If the wood feels abnormally soft or yields easily to pressure, it's a sign that the decay is significant and the wood may not be suitable for staining. Probe any soft areas with a screwdriver to confirm your suspicions.

Step 4: Evaluate the Structural Components
Don't just focus on the surface boards. Inspect the support posts, beams, and joists underneath the deck. These structural components are crucial for the deck's stability and safety. Look for signs of rot, insect damage, or cracks in the wood. If any of the structural components are compromised, staining should be postponed until necessary repairs or replacements have been made. The structural components often suffer more unseen damage than the surface because they are closer to the ground and are more frequently exposed to moisture.

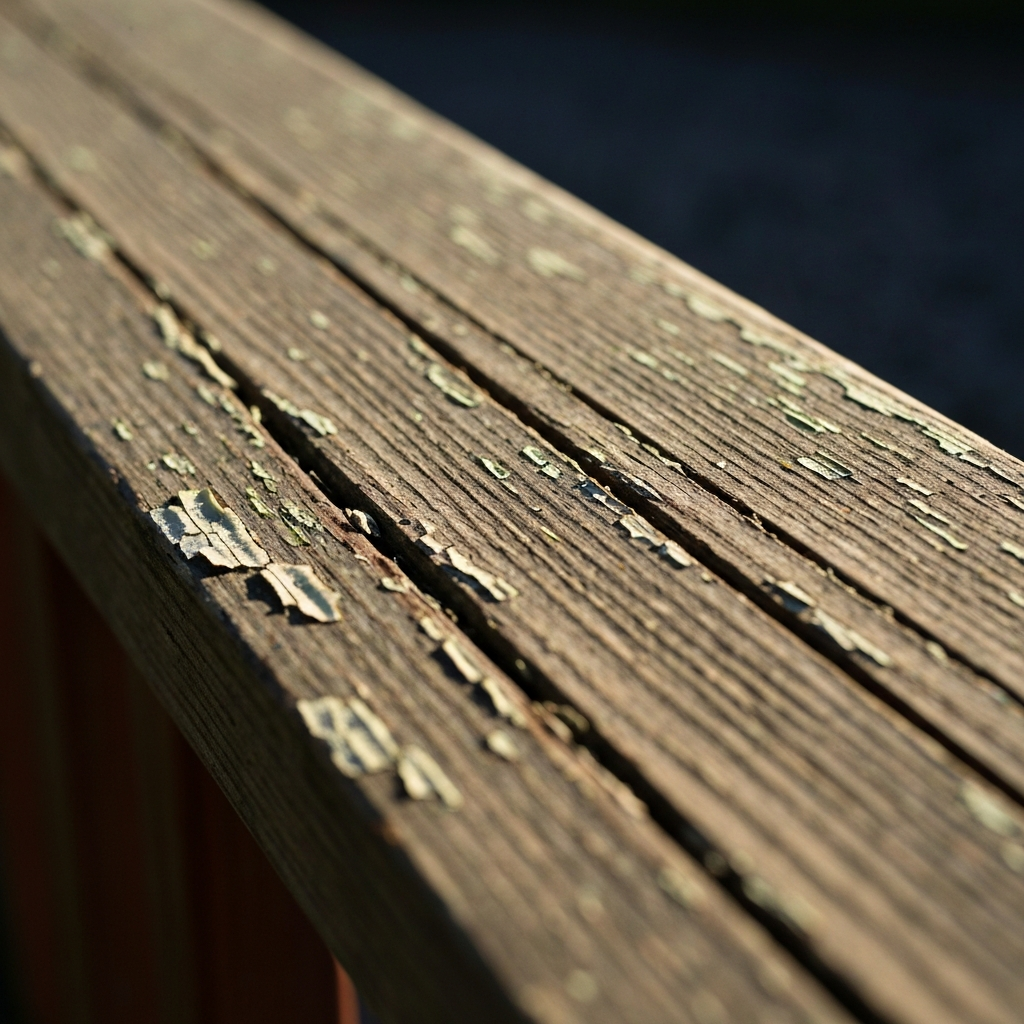
Step 5: Assess the Condition of Existing Finish
If the deck has been previously stained or painted, evaluate the condition of the existing finish. Peeling, flaking, or blistering paint or stain can indicate moisture problems within the wood. Before staining, you'll need to thoroughly remove any loose or failing finish. If removing the old finish reveals extensive damage underneath, it may be a sign that the wood is not suitable for restaining. Consider power washing or using a deck stripper to remove the existing finish and expose the underlying wood for a more thorough inspection.
Tools or Materials Required
- Flathead screwdriver
- Flashlight
- Safety glasses
- Work gloves
- Notebook and pen (or camera)
Common Mistakes to Avoid
- Rushing the inspection process and missing subtle signs of damage.
- Ignoring the structural components and only focusing on the surface boards.
- Failing to remove the existing finish before assessing the wood's condition.
- Assuming that a new coat of stain will fix underlying problems.
Safety Considerations
- Wear safety glasses to protect your eyes from splinters or debris.
- Use work gloves to protect your hands.
- Be careful when walking on potentially weakened deck boards.
- If you're unsure about the structural integrity of your deck, consult a professional contractor or structural engineer.
FAQ Section
Q: Can I stain a deck that has some minor cracks?
A: Small, hairline cracks are often normal in wood decks. However, if the cracks are wide, deep, or accompanied by other signs of damage, it's best to address them before staining. Consider using a wood filler or epoxy to repair the cracks.
Q: What if only a few boards are damaged?
A: If only a few boards are significantly damaged, you can replace them with new boards that are similar in size and wood type. Be sure to treat the new boards with a wood preservative before staining the entire deck.
Q: How often should I inspect my deck?
A: It's recommended to inspect your deck at least once a year, preferably in the spring, after the winter weather has passed.
Conclusion
Thoroughly assessing the condition of your deck wood is essential before proceeding with staining. By following the steps outlined in this guide, you can identify potential problems and make an informed decision about whether staining is the right choice. Remember, addressing structural issues and decay is crucial for the safety and longevity of your deck. If you're unsure about the extent of the damage or the best course of action, consult a professional contractor to ensure your deck is safe and sound for years to come.