Painting wood can transform a piece of furniture, revitalize a room, or protect a wooden structure from the elements. But before you even dip your brush into that can of paint, a critical question arises: Do you need to sand the wood first? The answer, while seemingly simple, is nuanced and depends heavily on the condition of the wood, the type of paint you're using, and the desired finish. Skipping sanding can lead to poor adhesion, uneven coverage, and a final result that's far from professional.
This guide will walk you through the definitive steps to determine if sanding is necessary and, if so, how to do it correctly. We'll cover everything from assessing the wood's current state to selecting the right sandpaper grit and employing the best sanding techniques. Prepare to learn the secrets that separate amateur paint jobs from truly exceptional, long-lasting finishes.
Understanding the 'why' behind sanding is just as important as knowing the 'how.' Sanding isn't just about creating a smooth surface; it's about creating a surface that the paint can properly grip. Without this crucial step, your paint job is vulnerable to chipping, peeling, and premature wear. Let's dive in and ensure your next painting project is a resounding success.
Step 1: Assess the Wood's Current Condition
Before you grab your sandpaper, carefully examine the wood you plan to paint. Is it bare wood, previously painted wood, or varnished wood? Is it smooth, rough, or damaged? This initial assessment will dictate whether sanding is a necessity and, if so, the extent of the sanding required. For example, new, smooth, pre-primed wood might only need a light scuff sanding, while old, peeling paint requires a more aggressive approach to remove the loose material and create a stable surface for the new paint.

Step 2: Determine the Paint Type
The type of paint you choose also plays a significant role in determining the need for sanding. Some paints, like oil-based paints, tend to adhere better to glossy surfaces, while others, like latex-based paints, require a more porous surface to grip effectively. Check the paint manufacturer's recommendations on the can or online. They often specify whether or not sanding and priming are necessary for optimal adhesion. When in doubt, a light sanding is generally a safe bet.
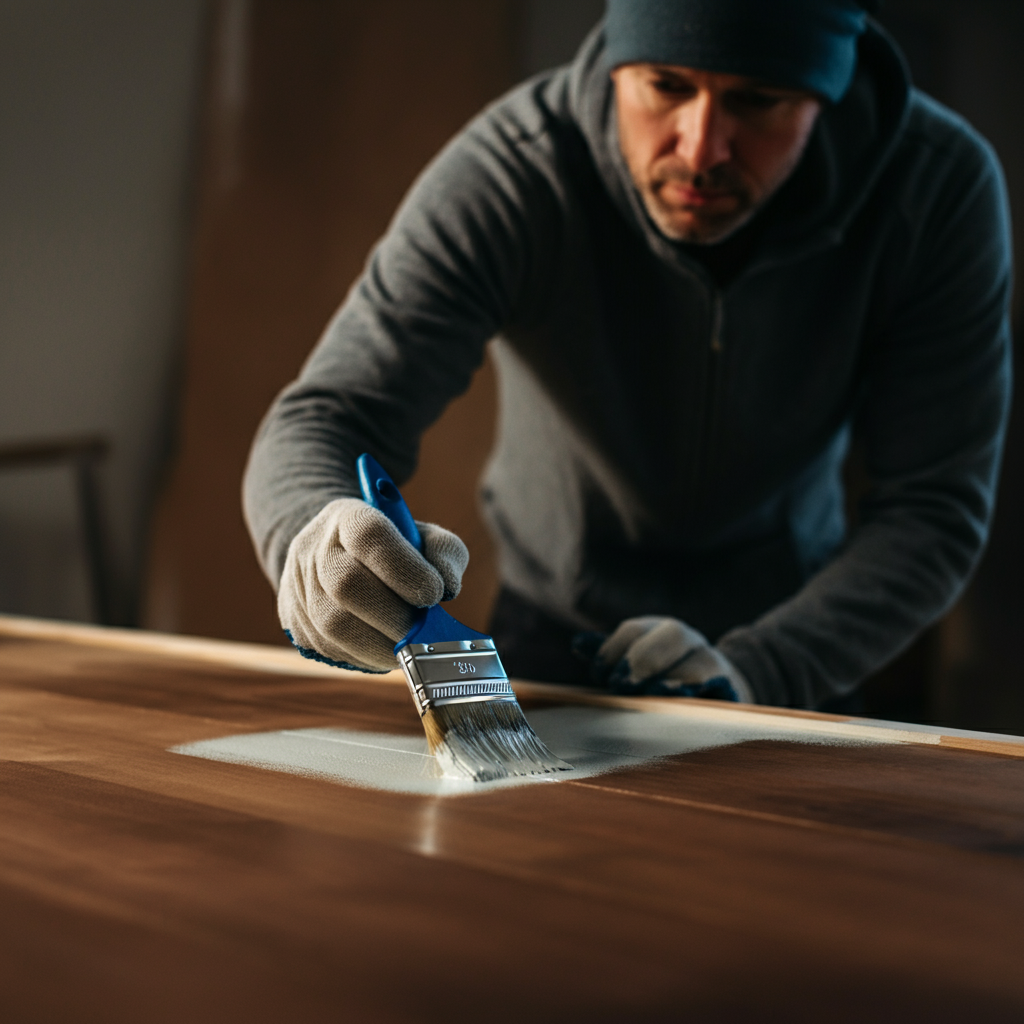
Step 3: Clean the Wood Surface
Whether you sand or not, cleaning the wood is an absolute must. Dirt, grease, and grime can interfere with paint adhesion, leading to an uneven and ultimately unsuccessful finish. Use a mild detergent and water solution to thoroughly clean the surface, rinsing well with clean water. Allow the wood to dry completely before proceeding to the next step. This seemingly simple step can drastically improve the quality and longevity of your paint job.

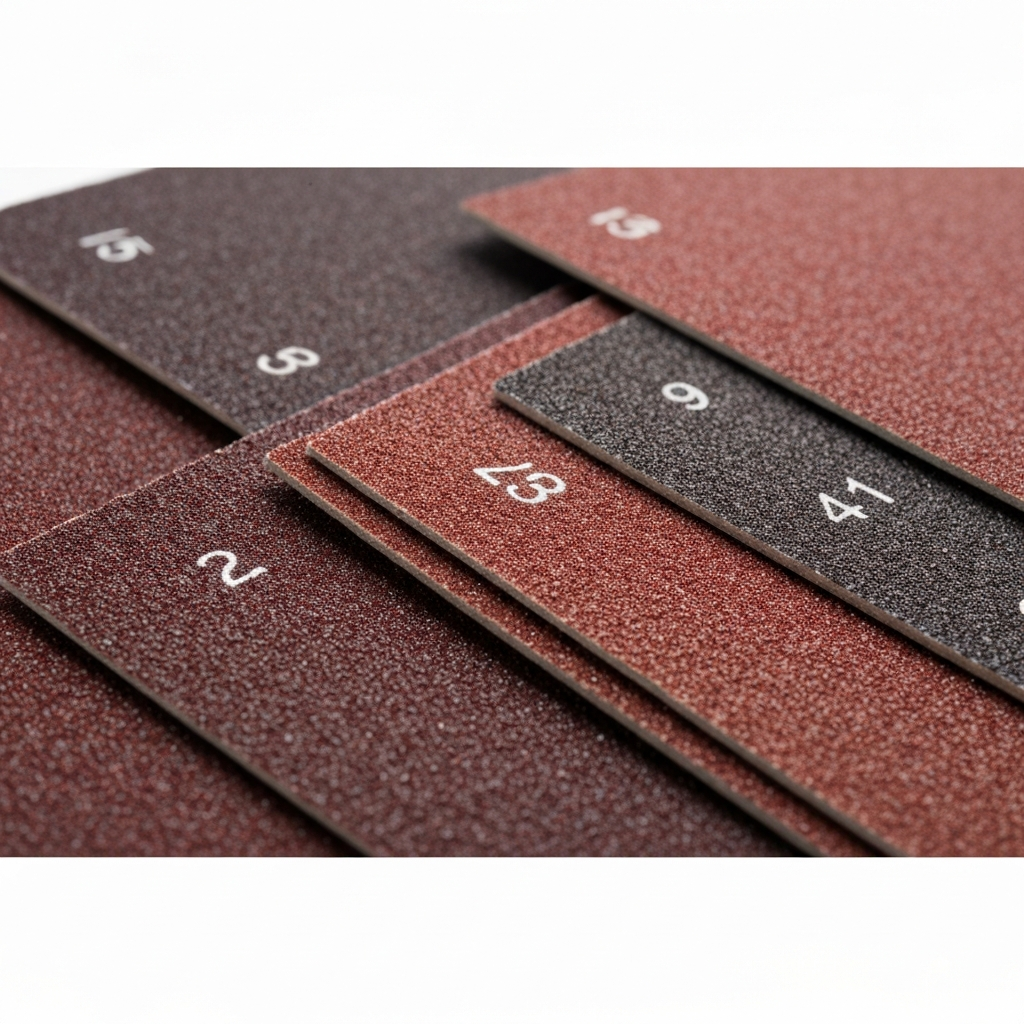
Step 4: Select the Right Sandpaper Grit
Choosing the correct sandpaper grit is essential for achieving the desired results. Grit numbers indicate the size of the abrasive particles on the sandpaper; lower numbers represent coarser grits, while higher numbers represent finer grits. For removing old paint or varnish, start with a coarse grit (80-100). For smoothing rough surfaces, use a medium grit (120-180). For light scuff sanding before painting, a fine grit (220-320) is usually sufficient.
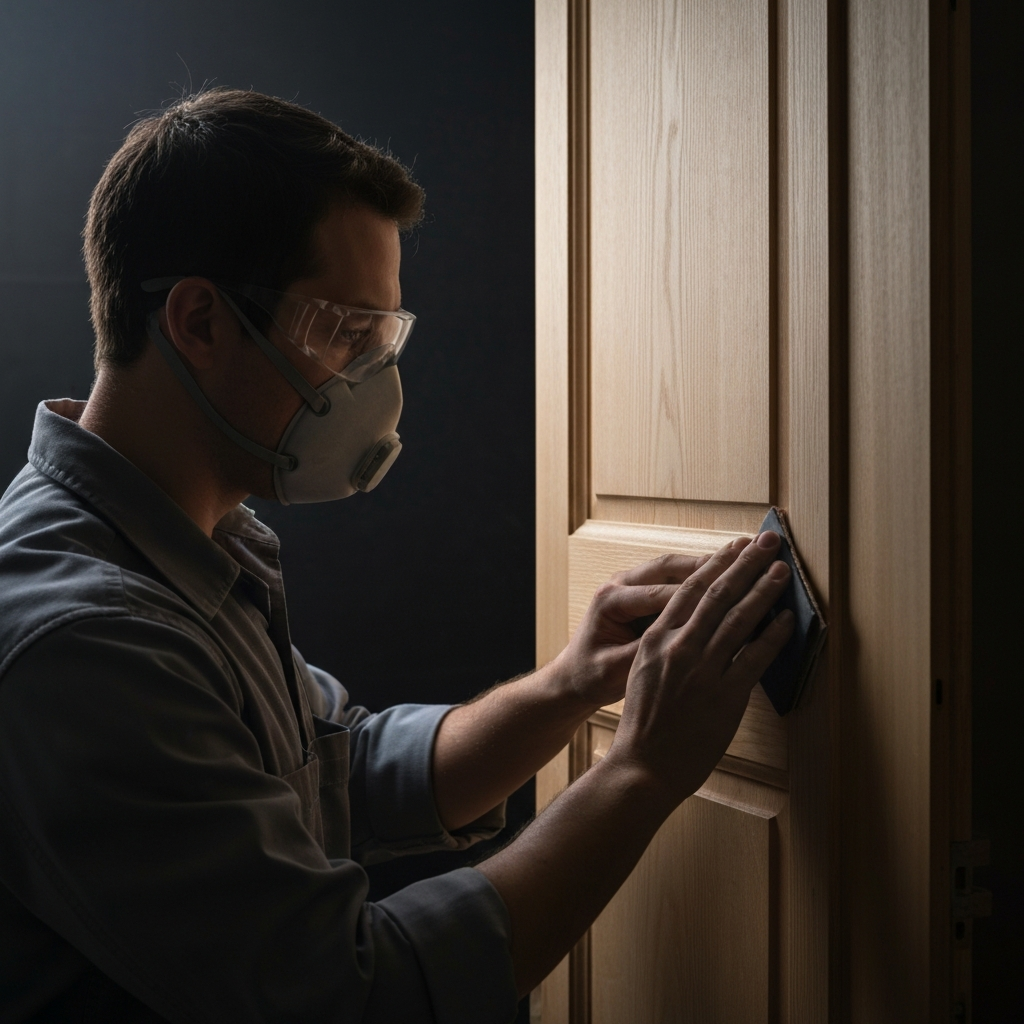
Step 5: Sand the Wood Surface
With the right sandpaper in hand, begin sanding in the direction of the wood grain. Apply even pressure and avoid pressing too hard, which can create gouges or unevenness. For large surfaces, consider using a power sander to save time and effort. However, always be cautious and use a light touch, especially with orbital sanders, to avoid damaging the wood. If sanding by hand, use a sanding block to ensure a flat and even surface.
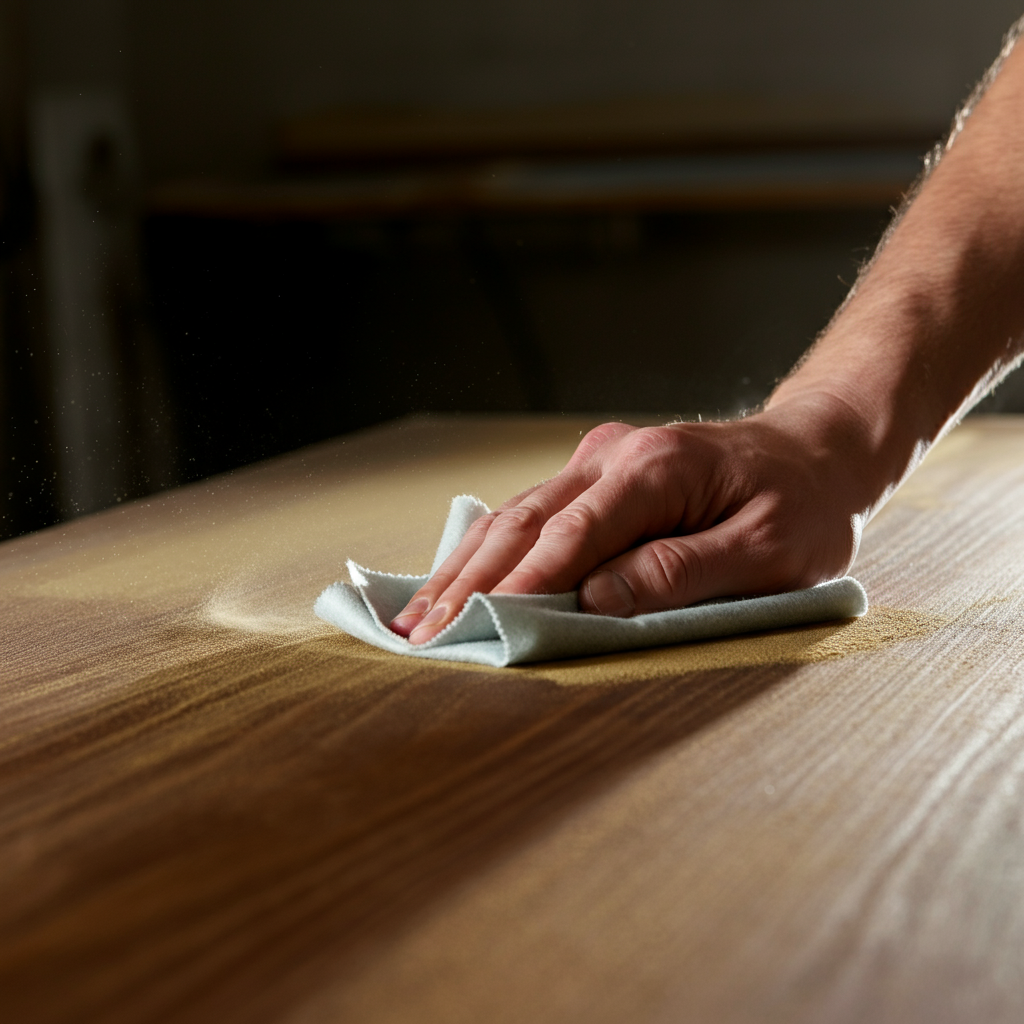
Step 6: Remove Sanding Dust
After sanding, it's crucial to remove all traces of sanding dust. This dust can prevent the paint from adhering properly and create a gritty texture. Use a tack cloth, a slightly sticky cloth specifically designed for removing dust, to wipe down the surface thoroughly. Alternatively, you can use a vacuum cleaner with a brush attachment followed by a damp cloth. Ensure the surface is completely dry before proceeding to priming or painting.
Step 7: Prime the Wood (If Necessary)
Priming isn't always necessary, but it's generally recommended, especially when painting bare wood or when using a light-colored paint over a dark surface. Primer helps to seal the wood, creating a uniform surface for the paint to adhere to and preventing the paint from being absorbed unevenly. Choose a primer that is compatible with your paint type and apply it according to the manufacturer's instructions.
Safety Considerations
Always wear safety glasses and a dust mask when sanding to protect your eyes and lungs from dust particles. Work in a well-ventilated area to minimize exposure to dust and fumes. Dispose of used sandpaper and dust cloths properly. Consider wearing gloves to protect your hands from splinters and potential irritants.
Common Mistakes to Avoid
- Skipping sanding altogether when it's necessary.
- Using the wrong grit sandpaper for the task.
- Applying too much pressure when sanding.
- Failing to remove sanding dust properly.
- Not wearing safety glasses and a dust mask.
FAQ Section
Q: Can I paint over glossy surfaces without sanding?
A: While some paints claim to adhere to glossy surfaces, it's generally best to lightly sand them first to create a better grip. You can also use a deglosser product as an alternative, but sanding is still the more reliable method. A light scuff sanding is almost always recommended for glossy surfaces.
Q: How can I tell if I've sanded enough?
A: The surface should feel smooth to the touch and any imperfections, such as rough patches or old paint flakes, should be gone. If you're unsure, apply a small amount of primer and see how it adheres. If it beads up or doesn't spread evenly, you need to sand more.
Q: What's the best way to sand intricate details?
A: For intricate details, use folded sandpaper or sanding sponges, which can conform to the shape of the surface. You can also use a small detail sander.
Conclusion
Sanding wood before painting is often a crucial step that can significantly impact the final result. By carefully assessing the wood's condition, choosing the right sandpaper grit, and employing proper sanding techniques, you can create a smooth, even surface that ensures optimal paint adhesion and a professional-looking finish. Don't skip this important step – your paint job will thank you for it!