An elevated deck is a fantastic addition to any home, extending your living space outdoors and providing a perfect spot for relaxation and entertainment. While it might seem daunting, building an elevated deck is achievable for experienced DIYers with careful planning, the right tools, and a solid understanding of construction principles. This guide provides a detailed walkthrough of the entire process, from initial planning to the final touches, ensuring a structurally sound and aesthetically pleasing result.
Before you even think about picking up a hammer, remember that building codes and permits are non-negotiable. Ignoring them can lead to costly rework, fines, and even legal issues. Think of this guide as a friendly advisor, but always prioritize local regulations and expert consultation where necessary. Safety is paramount, and a well-built deck will provide years of enjoyment.
This guide assumes a basic understanding of carpentry and construction techniques. If you're new to DIY, consider starting with smaller projects to build your skills and confidence. Always prioritize safety, and don't hesitate to seek professional help if you encounter challenges beyond your expertise. Let's get started!
Step 1: Planning and Permits
Research Local Building Codes and Obtain Permits
Before you begin any construction, research your local building codes and obtain the necessary permits. This is crucial because codes dictate the size, weight-bearing capacity, and safety features of your deck. Contact your local building department to inquire about specific requirements for elevated decks. Failure to comply with building codes can result in fines, required modifications, or even the complete removal of your deck. Also, check if your Home Owners Association has any specific requirements.

Step 2: Utility Line Marking and Frost Line Consideration
Contact Utilities and Determine Frost Line
Contact your local utility companies to mark any buried lines on your property before digging. This is a crucial safety precaution to prevent accidental damage to gas, water, or electrical lines. In the US, dial 811 to request this service. Even if you believe there are no buried lines in your work area, it's always better to be safe than sorry. Also, if you live in an area with freezing temperatures, determine the frost line – the depth to which the ground freezes. Your footings must extend below the frost line to prevent movement and potential damage to the deck due to freeze-thaw cycles. Local codes will specify the required depth.

Step 3: Deck Design and Material Selection
Plan Deck Dimensions and Choose Materials
Develop a detailed plan outlining the dimensions and materials for your deck. Instead of guessing, consider using an online deck designer tool or consulting with an architect or engineer. A well-defined plan will streamline the building process and minimize errors. Choose appropriate materials for framing (typically pressure-treated lumber) and decking (options include natural woods like cedar or redwood, composite decking, or PVC decking). An elevated deck requires railings for safety, and stairs are necessary for access unless it's a balcony-style deck. Consider ease of maintenance and durability when selecting materials.
Step 4: Attaching the Ledger Board
Mark Lines and Cut the Ledger Board
Mark the location of the ledger board, which connects the deck to your house, on the sheathing after removing any siding. Use a level and chalk line to ensure accuracy. The top of the decking should be approximately 3 inches below the door threshold to minimize water infiltration and prevent debris from entering your home. Proper flashing is essential to prevent water damage to your home's structure. Cut the ledger board and the opposing board (which will be on the opposite side of the deck) to the desired length.
Step 5: Joist Hanger Installation and Ledger Board Attachment
Mark and Install Joist Hangers
Mark the positions of the joists on the ledger board and the opposing board. The joists support the deck flooring and provide structural stability, and proper spacing is critical. Typically, deck joists are spaced 16 or 24 inches apart, depending on the design and weight-bearing requirements. Secure the joist hangers to the ledger board and opposing board using joist hanger nails. Then, attach the ledger board securely to the house using lag screws. Apply silicone caulk to each drill hole before inserting the lag screws to prevent water damage.

Step 6: Footing Hole Excavation
Mark and Dig Footing Holes
Mark the locations for the deck footings using string lines and stakes, ensuring the layout is accurate with a tape measure and level. Dig the footing holes to a depth at least 6-12 inches below the frost line in your area. Deck footings are generally spaced 4-6 feet apart, but never more than 8 feet. Building codes will specify the required spacing and depth of footings, so double-check before you dig. It is important to have the correct depth of the footings. Also, remember to contact 811 again to verify all utility lines are properly marked.

Step 7: Pier Form Placement and Concrete Pouring
Set Pier Forms and Pour Concrete
Place tubular concrete pier forms into the holes and trim them so the tops are level. Use backfill to loosely hold the forms in place. Fill each form with concrete. Select a concrete mix designed for footings and mix according to the manufacturer's instructions. Proper mixing and pouring techniques are critical for achieving strong and durable footings.

Step 8: Anchor Bolt Installation and Concrete Curing
Sink Anchor Bolts into Concrete
While the concrete is still wet, center an anchor bolt (J-bolt) over each pier form and sink the hooked end into the concrete, leaving the threaded top portion exposed. These bolts will secure the post bases to the footings. Ensure the anchor bolts are properly aligned and level. Allow the concrete to cure for at least 24 hours, or as directed by the concrete manufacturer, before proceeding to the next step.

Step 9: Post Base Attachment
Secure Post Bases to Footings
Once the concrete has cured, slip a post base over each exposed anchor bolt, add a washer and nut, and hand-tighten the nut initially. Final tightening will occur after confirming the correct positioning. Post bases are crucial because they prevent the wood posts from direct contact with the concrete, which can cause premature rot due to moisture wicking.
Step 10: Wood Post Connection
Connect Wood Posts to Post Bases
Set the wood posts into the post bases, ensuring a proper fit and alignment. Fully tighten the nuts on the post base anchor bolts. Secure the posts to the bases using the structural screws provided with the post bases. Regularly check that the posts are level and square, using temporary braces made from scrap lumber to maintain their position. Once all posts are in place, cut the tops to the correct height.
Step 11: Attaching the Opposing Board
Secure Opposing Board to Posts
Position the opposing board (potentially a double 2x10, depending on your design) on the posts at the far end of the deck. After confirming it's square and level, secure it with lag screws or lag bolts. This board mirrors the ledger board, creating the outer perimeter of the deck frame. Consistent checking for square and level ensures a structurally sound and visually appealing deck.
Step 12: Rim Joist Installation
Attach Rim Joists
Slide the rim joists into the joist hangers at the ends of the ledger board and the opposing board. These rim joists, together with the ledger board and the opposing board, complete the deck's perimeter. Secure the rim joists with galvanized nails or decking screws. Continuously check for level and square as you work. If you are using pressure-treated lumber, brush end-grain sealer onto any cut ends to help prevent rot.
Step 13: Joist Installation
Attach Remaining Joists
Install the remaining joists into the joist hangers, spacing them according to your design specifications. Before installing each joist, check for any bowing (crown). If present, install the joist with the crown facing up, allowing it to flatten over time. Secure all joists using nails or screws through the hangers. If a joist fits too snugly, tap it gently into place with a hammer. However, if it's extremely tight, trim a small amount off the joist to allow for natural expansion and contraction with weather changes.
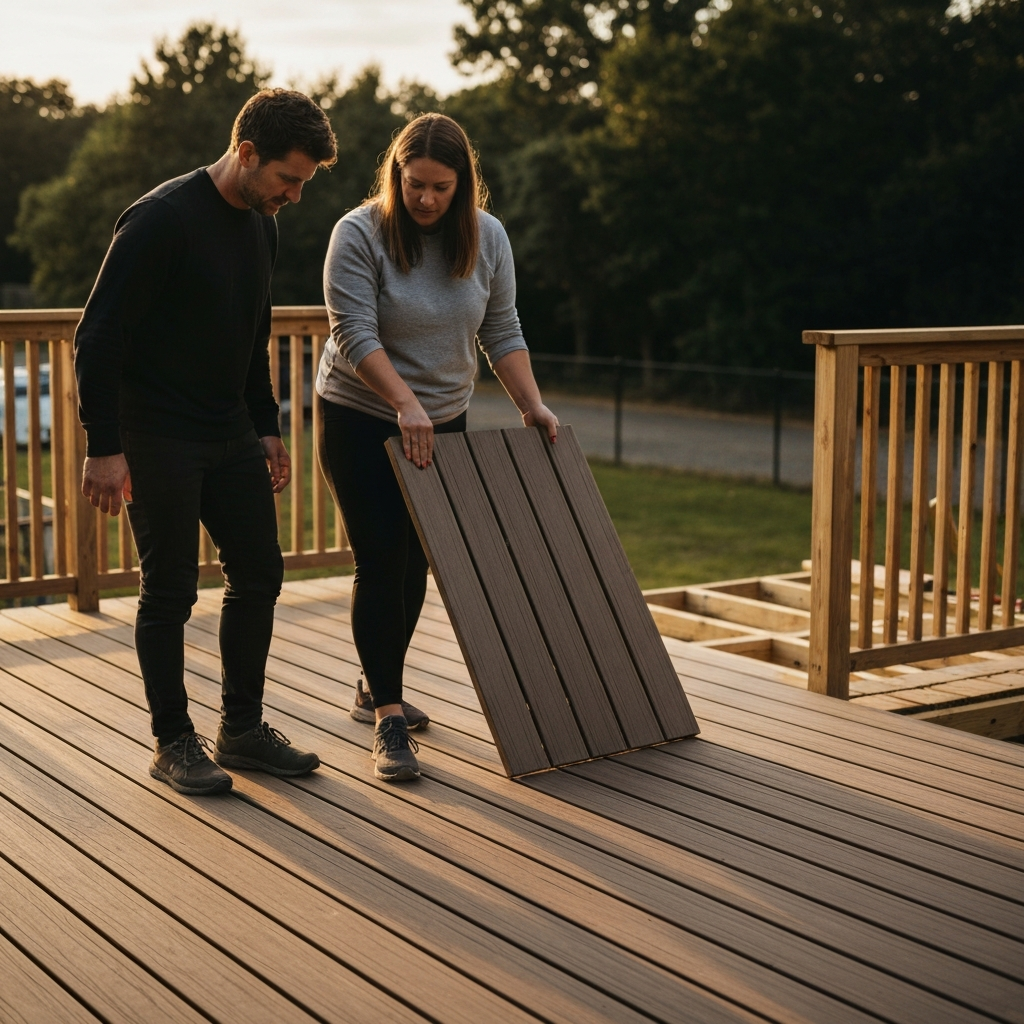
Step 14: Deck Board Installation
Install Deck Boards
Begin installing the deck boards at the ledger board. Cut the first two boards precisely to length, either flush with the rim joists or slightly wider to accommodate skirting. After installing these first boards, subsequent boards can be cut to length after installation. Install the first board flush against the house, securing it with two deck screws through the board and into each joist. For each additional board, maintain a consistent gap of about 1/4 inch (the width of a 10-penny nail) between boards to allow for water drainage. If using composite or PVC decking, follow the manufacturer's instructions, which may involve specialized decking jigs for concealed fastening.
Step 15: Skirting Board Installation (Optional)
Cover Rim Joists with Skirting Board
If desired, install a skirting board to conceal the structural wood beneath the deck. Cut the skirting boards (e.g., 2x10 boards) to length and attach them to the rim joists and the beam opposite the ledger board using nails or screws. Use simple butt joints at the corners instead of mitered joints to minimize noticeable gaps caused by wood expansion and contraction. Skirting is an aesthetic choice.
Step 16: Railing Installation
Install Deck Railings
Install deck railings according to local building codes. Railings are mandatory for elevated decks, and codes specify height, spacing, and other safety features. Cut notches into the bottoms of the 4x4 (or similar) posts so they partially rest on the decking and partially overhang the deck edge. Secure the posts through the skirting board and into the rim joists or beam using at least two lag screws or carriage bolts per post. Accurately measure the spacing between posts, then cut and assemble the top and bottom rails and balusters as a unit. Attach each railing section between the posts with 3-inch screws.
Step 17: Stair Construction (If Applicable)
Build Stairs for Deck Access
If your deck requires stairs for access to the yard, construct them carefully, adhering to local building codes. Deck stair construction is complex and may be best left to a professional. Use math (potentially with an online design tool) to design stairs that meet code requirements, which often specify a minimum width of 36 inches, a tread depth of at least 10 inches, and a maximum riser height of 7.75 inches. Cut the left, right, and center stringers from 2x12 boards and attach them to the deck structure with corner brackets, L-brackets, and 3-inch deck screws. Cut the risers (vertical parts of each step) and treads (horizontal parts) and attach them to the stringers with deck screws. Add posts and railings to the stairs, factoring in the angle of the stairs.
Tools or Materials Required
- Deck posts (4x4s or 6x6s)
- Beams (4x6s, 4x8s or 4x10s, or double or triple layers of 2x6s, 2x8s or 2x10s)
- Joists (2x6s, 2x8s or 2x10s)
- Stair stringers (2x12s)
- Deck boards (2x4s, 2x6s or 5/4 x 6s)
- Stair treads (same material as deck boards)
- Railing posts (4x4s)
- Rails (2x4s or 2x6s)
- Spindles (2x2s)
- Skirting boards (1x8s, 1x10s or 1x12s)
- Concrete (ready-mixed or bagged)
- Concrete pier blocks
- Joist hangers
- Common and casing nails (galvanized or coated, 8-, 10- and 16-penny sizes)
- Screws (galvanized or coated, 2 1/2-inch and 3 1/2-inch)
- Lag screws and washers
- Carriage bolts, nuts and washers
- Measuring tape
- Level
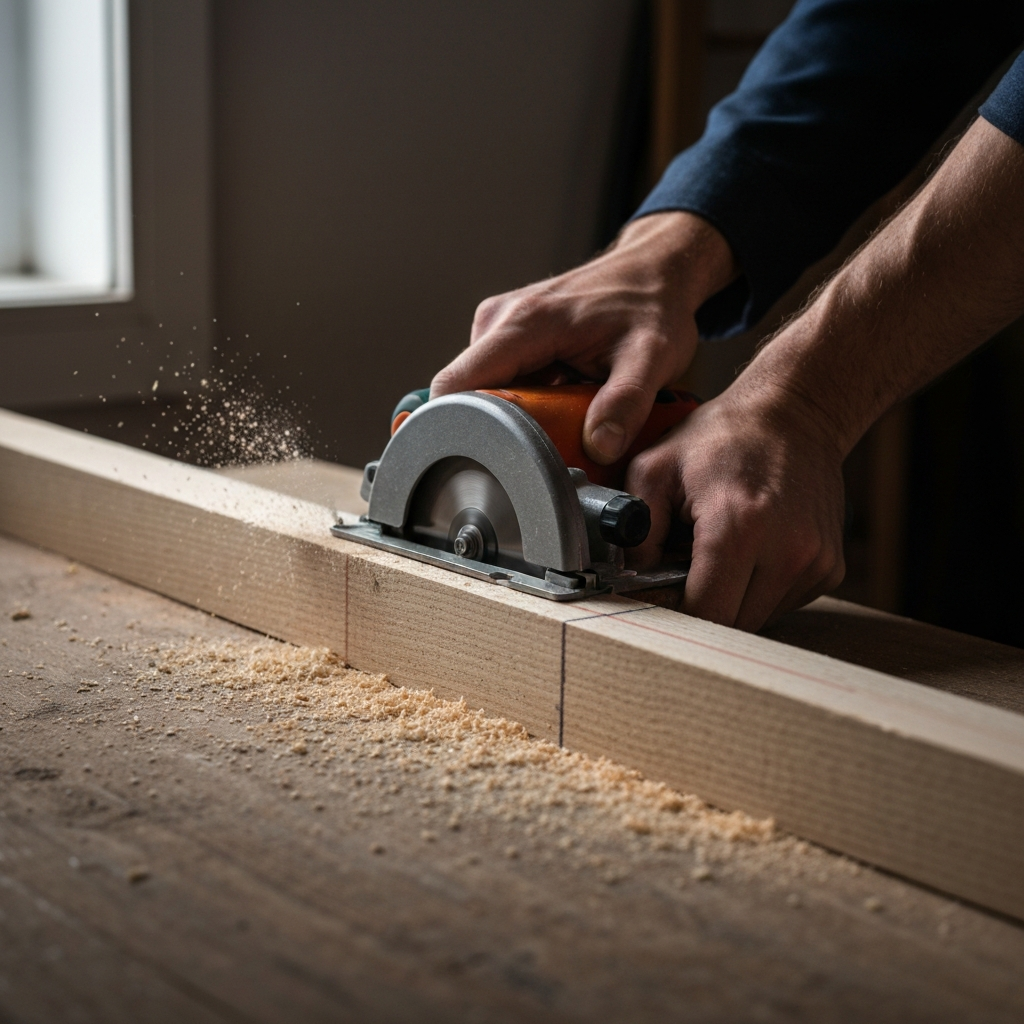
- Circular saw
- Drill/driver
- Impact wrench
- Hammer
- Post-hole digger or power auger
- Safety glasses
- Gloves
Safety Considerations
- Always wear safety glasses and gloves when working with lumber and power tools.
- Ensure adequate ventilation when working with treated lumber.
- Follow all manufacturer's instructions for using power tools and materials.
- Use caution when working at heights and take appropriate fall protection measures.
- Never work under the influence of drugs or alcohol.
- If you are unfamiliar with a certain tool or technique, seek instruction from a qualified professional.
Common Mistakes to Avoid
- Failing to obtain necessary permits.
- Not properly marking underground utility lines.
- Inadequate footing depth below the frost line.
- Incorrect joist spacing.
- Improper attachment of the ledger board to the house.
- Using non-galvanized fasteners, which can corrode and weaken the structure.
- Neglecting to treat cut ends of pressure-treated lumber.
- Insufficient spacing between deck boards for water drainage.
Conclusion
Building an elevated deck is a rewarding project that enhances your home's value and provides a beautiful outdoor living space. By following this comprehensive guide, adhering to local building codes, and prioritizing safety, you can create a durable and aesthetically pleasing deck that you'll enjoy for years to come. Remember to double-check measurements, use high-quality materials, and don't hesitate to consult with professionals when needed. With careful planning and execution, your dream deck can become a reality.