The Uniden HomePatrol series of digital scanners offers an intuitive and comprehensive way to monitor public safety communications. Designed for ease of use, the HomePatrol allows users to quickly access and listen to local police, fire, EMS, and other radio traffic without the complexities of traditional scanner programming. Whether you're a seasoned scanner enthusiast or a newcomer, this guide will walk you through the key features and operations of your HomePatrol scanner.
This how-to guide breaks down the setup, operation, and customization of your Uniden HomePatrol. We'll cover everything from initial setup and understanding the device's interface to advanced features like setting service types and customizing the display. By the end of this guide, you'll be well-equipped to monitor the communications happening in your community.
Let's dive in and unlock the full potential of your Uniden HomePatrol!
Step 1: Initial Setup
Unpacking and Basic Connections
The first step to using your Uniden HomePatrol is setting it up. This involves unpacking the device and connecting the necessary components. Carefully remove the HomePatrol from its packaging and inspect all included accessories. You'll need to insert rechargeable batteries into the battery compartment on the back of the device. Then, connect the provided USB cable to a power source or your computer to charge the batteries. If you have a HomePatrol-II, remember it doesn’t include a power brick, so you'll likely need to use a USB wall adapter or computer USB port for charging. Older models may have included a power brick.
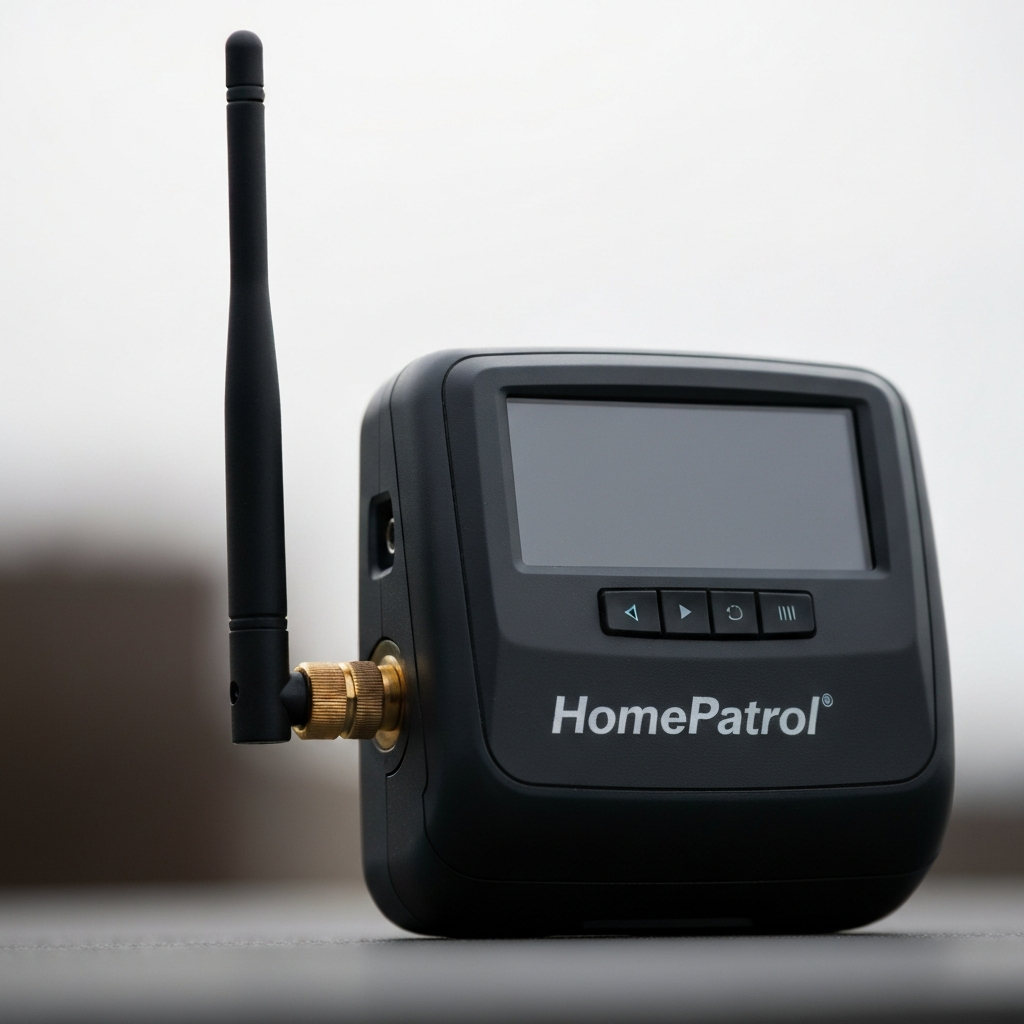
Also, connect the supplied antenna by screwing it into the antenna connector on the top left side of the device. Hand-tightening is typically sufficient. If you are planning on using your own external antenna, ensure you have the correct adapter for the HomePatrol's antenna connector. Finally, attach the HomePatrol to the provided base if you plan to use it as a desktop scanner. This process usually involves aligning the bottom of the device with the base and pressing them together until they click. The initial setup process should take approximately 10-15 minutes.
Step 2: First-Time Device Configuration
Running Through the Setup Wizard
Upon powering on your Uniden HomePatrol for the first time, you'll be guided through a setup wizard. This wizard is crucial for configuring the scanner to your specific location and preferences. The wizard will prompt you to enter information such as your owner card details, time zone, and zip code. Entering your zip code allows the HomePatrol to automatically program the scanner with the frequencies and trunked talkgroup IDs relevant to your area. Be prepared to provide accurate information, as this will impact the scanner's ability to receive local communications. The setup process usually takes around 5-10 minutes, depending on how quickly you can enter the required information.
Step 3: Exploring the Device Interface
Understanding Buttons, Ports, and Indicators
Familiarizing yourself with the physical layout of the HomePatrol is essential for efficient operation. The device features several buttons, ports, and indicators, each serving a specific purpose. On the top, you'll find the power button and volume rocker switch. The power button is used to turn the device on and off, while the volume rocker controls the audio level. On the right side, you'll locate the power/USB port for charging and a GPS connector. The bottom provides the attachment point for the stand. The left side features the antenna connection and a headphone jack. The front of the device houses the speaker and the touchscreen display.
A charge light indicates the charging status of the batteries; red means charging, and green indicates that charging is complete and ready to listen. On the back of the device, you'll find the battery compartment, a battery case lock, and device information such as the model number, FCC ID, and serial number. Understanding the location and function of each element will greatly enhance your user experience.
Step 4: Navigating the Touchscreen
Locking, Avoiding, and Information Display
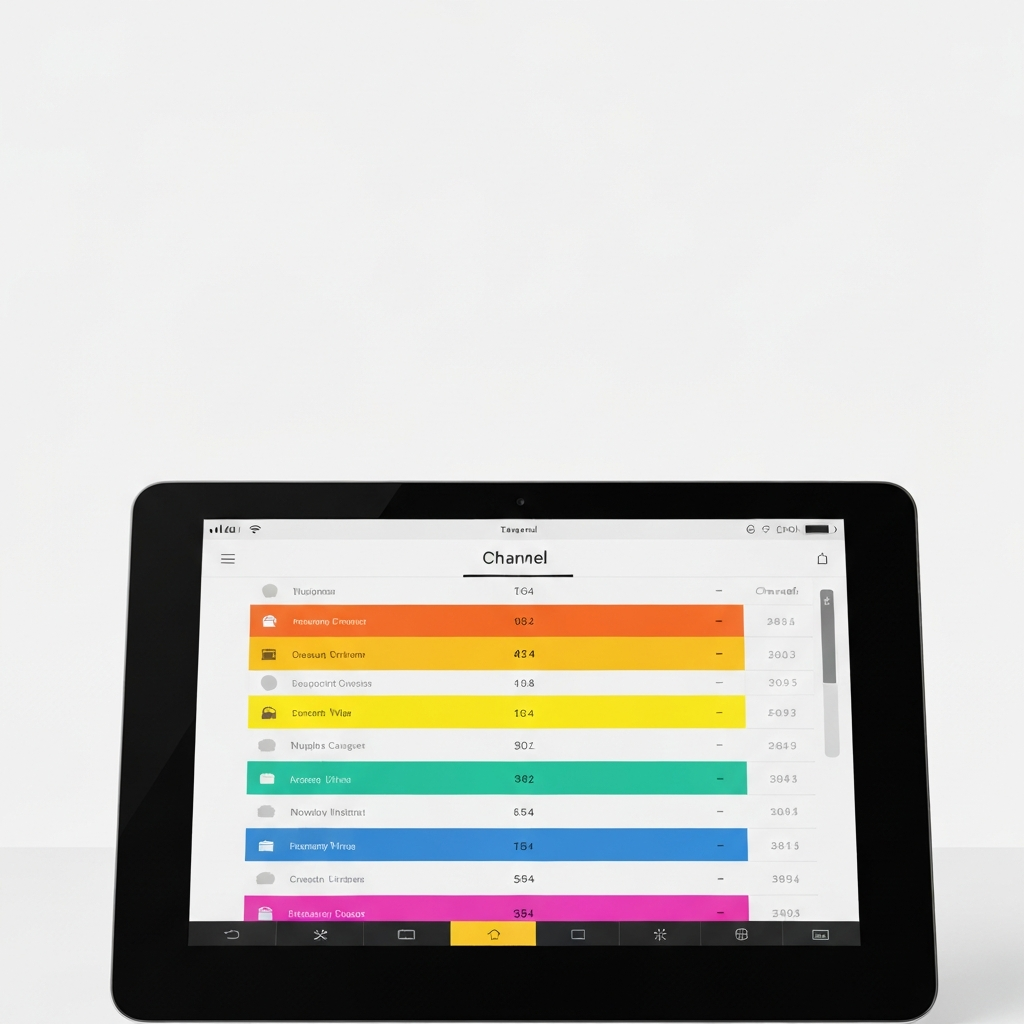
The touchscreen is the primary interface for interacting with your Uniden HomePatrol. The display shows various information, including system names, department names, channel names, and service types. You can tap on each line to drill down into the database and access more specific information. Each layer of the database (System, Department, Channel) can be locked to focus scanning on specific areas by tapping between the name and the arrow on the right side of the line. Locking more than one layer at a time can overly restrict scanning and is usually unnecessary.
The submenu on the right side of each line offers five key options: Avoid, Advance, Info, Prev, and Next. "Avoid" allows you to temporarily or permanently block specific channels, systems, or departments. Tapping "Avoid" once temporarily avoids the station until the device is cycled off and on. Holding down the "Avoid" button brings you to the Avoid submenu. "Advanced" provides additional system options, which vary depending on the selected item (System, Department, or Channel). "Info" displays system, department, or channel details. "Prev" and "Next" allow you to manually step through the list of stations. Using these functions effectively can greatly refine your scanning experience.
Step 5: Adjusting Settings on the Top Bar
Squelch, Range, Attenuation, and GPS
The top of the screen provides quick access to several important settings that customize the scanner's behavior: Squelch, Range, Attenuation (Atten), GPS, Help, a padlock icon (Lock), a signal icon, and a battery icon. "Squelch" controls the sensitivity of the scanner, filtering out weak or unwanted signals. Adjusting the squelch using the volume rocker on top of the device can help improve audio clarity by minimizing static. "Range" sets the search radius from your current location. Lower ranges scan fewer systems, while higher ranges scan more. The best range setting depends on your location and the desired scope of monitoring. For rural areas, a range of 15-20 miles may be suitable, while suburban areas might benefit from a range of 10-15 miles. Too much range can result in the "Many channels are selected" warning.
"Atten" (Attenuation) reduces interference in areas with strong signals. "GPS" displays the status of a connected GPS device. Holding the GPS button for two seconds accesses the GPS menu. "Help" displays information about the buttons on the main screen; holding it down resets your position and personal information. The padlock icon ("Lock") locks and unlocks the touchscreen to prevent accidental taps. The signal icon displays the received signal strength. The battery icon shows the battery level and charging status. These top-bar settings offer on-the-fly adjustments to optimize your scanning experience.
Step 6: Utilizing the Bottom Menu Options
Menu, Replay, Record, and Mute
The bottom of the device's screen contains a few less commonly used, but still useful, options: Menu, Replay, Record, and Mute. "Menu" accesses the main settings menu, which we'll explore in detail in the next step. "Replay" allows you to replay previous transmissions. Holding the Replay button opens the Replay menu. Note that Replay requires sufficient battery power to function. "Record" allows you to record current transmissions. Pressing it once starts recording, and pressing it again stops and saves the recording. Holding the Record button brings you to the Record menu. Recording also requires adequate battery power. "Mute" temporarily silences the scanner for 30 seconds. Selecting "Permanent" will mute until you manually unmute.
At any time within these menus, you can tap the "Listen" button to return to scanning mode. In some menus, a "Back" button will navigate you back one level at a time.
Step 7: Diving into the Main Menu
Location, Service Types, Audio, and Display Settings
The main menu offers a comprehensive set of customization options. To access it, tap the "Menu" button in the bottom left corner of the screen. The menu options include: "Set Your Location," "Set Service Types," "Audio Options," "Weather Mode," "Display Options," "Owner Information," "Manage Favorites List," and "Advanced Menu." "Set Your Location" allows you to change your location via zip code, city, auto-locate, manual input, GPS, or range. "Auto-Locate" maximizes the range to 30 miles, but it may not pinpoint your exact location.
"Set Service Types" enables you to select the types of communications you want to monitor, such as Aircraft, Business, Corrections, Emergency Ops, EMS, Fire, Ham, Law Enforcement, Media, and more. The Uniden HomePatrol pre-programs common services like EMS, Fire, and Law Enforcement. "Audio Options" allows you to set the Audio AGC (Automatic Gain Control) and enable/disable tones for screen taps. "Weather Mode" lets you monitor NOAA weather broadcasts and set up weather alerts. "Display Options" configures the screen's contrast, backlight level, auto-dimming, power-saving mode, Unit ID display, Motorola P25 TGID format, EDACS TGID format, and font size. "Owner Information" allows you to enter your personal details in case the device is lost. "Manage Favorites List" lets you create and manage custom lists of stations for later listening. The "Advanced Menu" contains more specialized settings.
Step 8: Exploring the Advanced Menu
Nationwide Systems, Frequency Entry, and Avoid Options
The Advanced Menu offers access to more specialized functions. Navigate to it via Menu > Advanced Menu. The first page of the Advanced Menu includes options like "Select Nationwide Systems," "Advanced Options," "Quick Frequency Entry," "Set Auto Shutoff," "Set Clock," "Set Charge Time," "Avoid Options," and "Mute Options." "Select Nationwide Systems" allows you to add additional frequencies from a nationwide database, including options for Canada and the United States. Some enabled options include Amateur Radio, Common Military, Maritime Channels, and Railroads.
"Advanced Options" requires registration and a purchasable key for "extreme features." "Quick Frequency Entry" enables you to listen to single analog traffic through NFM modulation frequencies. "Set Auto Shutoff" allows you to schedule the device to power off after a set time. "Set Clock" allows you to change the clock's color and enable/disable Daylight Saving Time adjustments. "Set Charge Time" allows setting the maximum battery charge time based on mAh. "Avoid Options" configures how avoids are handled (Temporary or Permanent) and allows you to review the Avoid List. Reviewing the Avoid List every 3-6 months is recommended. "Mute Options" lets you change the mute duration, mute level, and silence types (Reception, Keytap, or Both).
Pressing the "v" button in the bottom right corner takes you to the second page of the Advanced Menu. This page includes "Replay Options," "Standby Options," "Restore Options," and "Version Information." "Replay Options" allows you to set the replay duration and review recordings. "Standby Options" configures the default mode when connected to external power or running on battery power (Clock Standby, WX Standby, or All Off). "Restore Options" allows you to reset the device to factory settings. "Version Information" displays firmware versions, database version, help version, and the ESN code.
Common Mistakes to Avoid
- Entering Incorrect Location Data: Ensure you enter the correct zip code or use the auto-locate feature accurately. Incorrect location data will lead to the scanner not picking up the appropriate local frequencies.
- Overusing the Avoid Function: Be mindful of permanently avoiding systems or channels. You might miss important communications. Review your Avoid List periodically.
- Setting an Inappropriate Range: A range that is too large can overload the scanner with too many channels, while a range that is too small may miss important transmissions from nearby areas.
- Ignoring Battery Power: Some features, such as Replay and Record, do not work when the battery is low. Keep the device adequately charged for full functionality.
Safety Considerations
- Legal Restrictions: Be aware of legal restrictions regarding scanning certain types of communications, such as telephone conversations or scrambled signals.
- Distracted Driving: Avoid operating the scanner while driving, as it can be a distraction.
- Emergency Response: Do not interfere with emergency responders or share sensitive information you hear on the scanner.
Pro Tips
- Regularly update the scanner's database to ensure you have the latest frequencies and talkgroups.
- Experiment with different settings to find the optimal configuration for your location and preferences.
- Use headphones to listen to the scanner in public places without disturbing others.
- Consider using an external antenna to improve reception, especially in areas with weak signals.
FAQ Section
- Q: How do I update the database on my HomePatrol?
- A: The database is typically updated through the Uniden Sentinel software on your computer. Connect your HomePatrol to your computer via USB and follow the instructions in the Sentinel software to download and install the latest database.
- Q: Can I use a HomePatrol in my car?
- A: Yes, you can use a HomePatrol in your car, but be mindful of distracted driving. Consider using a remote speaker and an external antenna for optimal performance.
- Q: What do I do if my HomePatrol is not picking up any signals?
- A: First, ensure you have entered the correct location data. Check that the antenna is properly connected and that the squelch is adjusted correctly. Also, verify that you have selected the appropriate service types and that you are within range of the desired systems.
Conclusion
The Uniden HomePatrol series offers a user-friendly yet powerful way to monitor public safety communications. By following this guide, you should now have a solid understanding of how to set up, operate, and customize your HomePatrol scanner. From basic setup to advanced features, each step contributes to maximizing your listening experience. Remember to stay informed about legal restrictions, practice responsible scanning, and regularly update your device to maintain optimal performance. Happy scanning!