Having too many applications launch automatically when you power on your computer or mobile device can significantly slow down the startup process and consume valuable system resources. This can lead to a frustrating user experience, particularly if you're trying to get to work quickly or conserve battery life on a laptop.
Fortunately, both Windows and macOS, as well as Android and iOS, offer several methods for managing startup applications. The process varies slightly depending on the operating system, but the underlying principle remains the same: identify the apps that are launching automatically and disable them. This guide provides a step-by-step walkthrough of how to disable startup apps on various platforms, allowing you to regain control over your system's performance.
This guide will walk you through several methods. We'll start with the easiest approaches and progress to more advanced techniques for those persistent applications that refuse to stay closed. Let's dive in!
Step 1: Using Settings (Windows 10/11)
Windows offers a relatively straightforward method for managing startup applications through the Settings app. This is typically the first place you should check, as it provides a user-friendly interface for disabling common startup programs. However, it's important to note that not all applications will appear in this list, so you may need to explore other methods if you don't find what you're looking for. This approach should only take a few minutes, and you shouldn't need any special tools.
Open the Windows Settings app.
The quickest way to access the Settings app is by pressing the Windows key + I on your keyboard. Alternatively, you can click the Start menu and select the "Settings" icon (usually a cogwheel).
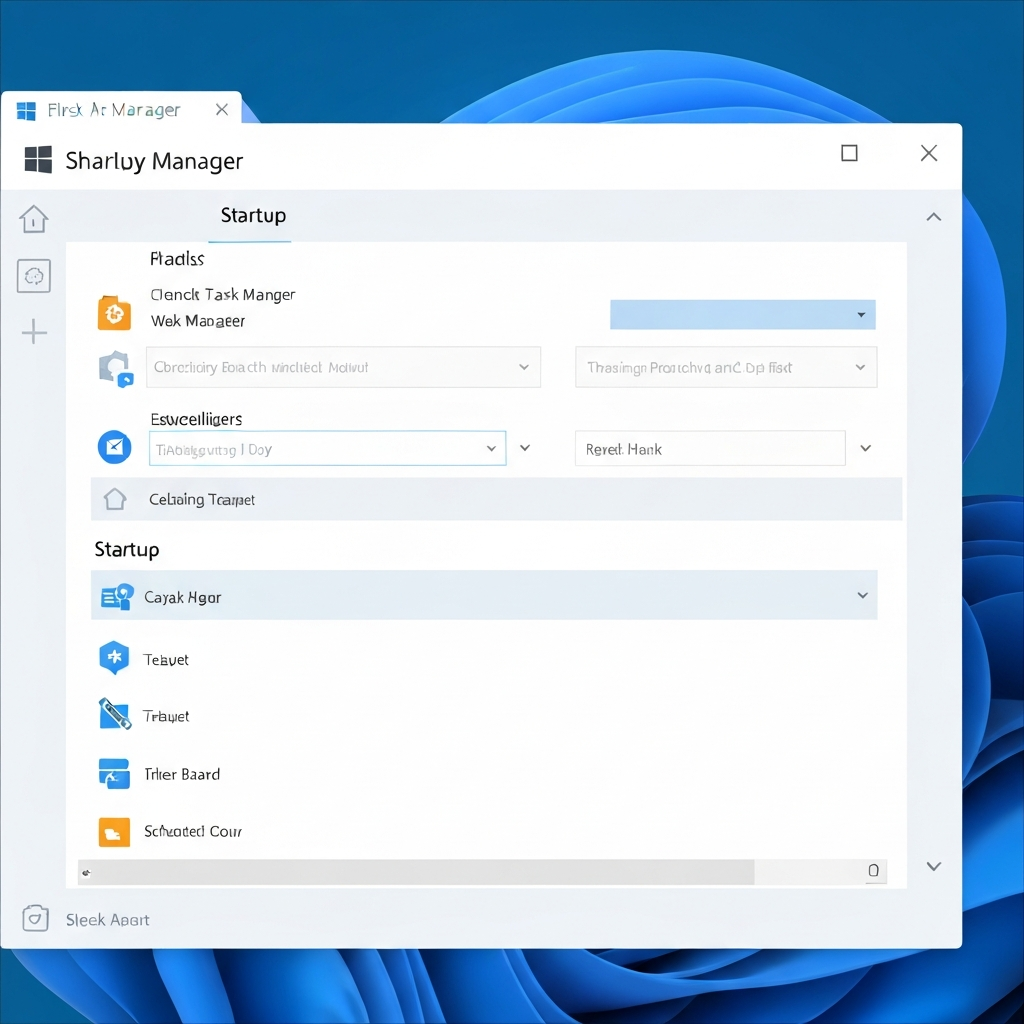
Navigate to Apps > Startup.
In the Settings app, click on "Apps," and then select "Startup" from the left-hand menu. This will display a list of applications that are configured to launch when you start your computer.
Disable the applications you don't want to start automatically.
Simply toggle the switch next to each application you want to disable from launching at startup to the "Off" position. The switch will turn grey when the application is disabled. While simple, this approach is not always effective. Sometimes you will need to use alternative approaches.

Step 2: Using Task Manager (Windows)
The Task Manager offers another way to manage startup applications in Windows. This method is often more comprehensive than the Settings app, as it can display a wider range of programs that are configured to launch at startup. The Task Manager also provides information about the "Startup impact" of each application, which can help you prioritize which programs to disable first. This approach is slightly more advanced than settings, and will also take a few minutes.
Open Task Manager.
The easiest way to open Task Manager is by pressing Ctrl + Shift + Esc on your keyboard. You can also right-click on the taskbar and select "Task Manager" from the context menu.
Navigate to the "Startup" tab.
In the Task Manager window, click on the "Startup" tab. If you don't see the tabs, click "More details" at the bottom of the window.
Disable the applications you don't want to start automatically.
Select the application you want to disable and click the "Disable" button in the bottom-right corner of the window. The "Status" column will change to "Disabled" for the selected application. You should restart your computer to verify the settings have taken effect.
Step 3: Using File Explorer (Windows)
Some applications launch from a special startup folder in File Explorer. This method can be particularly useful for disabling programs that don't appear in the Settings app or Task Manager. However, modifying files in File Explorer requires a bit more caution, as deleting the wrong file can potentially cause issues. Expect this to take a few minutes.
Open the Run dialog box.
Press the Windows key + R on your keyboard to open the Run dialog box.
Enter the command:
shell:startupType
shell:startupinto the Run dialog box and press Enter. This will open the current user's Startup folder in File Explorer. To configure startup apps for all users on the computer, typeshell:common startupinstead.Delete any shortcuts to applications you don't want to start automatically.
In the Startup folder, you'll see shortcuts to applications that are configured to launch at startup. Right-click on any shortcut you want to remove and select "Delete." This will not uninstall the application; it will only remove the shortcut from the Startup folder, preventing it from launching automatically.
Step 4: Using Task Scheduler (Windows)
The Task Scheduler is a powerful tool that allows you to automate various tasks on your computer, including launching applications at specific times or events. Some applications may use the Task Scheduler to launch themselves at startup, bypassing the standard startup management methods. Disabling tasks in the Task Scheduler requires a careful approach, as disabling essential system tasks can cause problems.
Open Task Scheduler.
Click the Start menu, type "Task Scheduler," and select "Task Scheduler" from the search results.
Browse the Task Scheduler Library.
In the Task Scheduler window, click on "Task Scheduler Library" in the left-hand pane. This will display a list of all the tasks that are configured on your system.
Identify and disable startup-related tasks.
Carefully browse the list of tasks and look for any that seem related to the application you want to prevent from launching at startup. Pay attention to the "Triggers" column, which indicates when the task is scheduled to run. Common triggers for startup applications include "At log on" and "At startup." Once you've identified a startup-related task, right-click on it and select "Disable."
Safety Considerations
Be cautious when disabling tasks in the Task Scheduler, as disabling essential system tasks can cause problems. If you're unsure about a particular task, it's best to leave it enabled. You can always re-enable a disabled task if you find that it's causing issues.
Step 5: Using the Autoruns Utility (Windows)
The Autoruns utility, developed by Microsoft, is a powerful tool for managing all aspects of startup programs on Windows. It provides a comprehensive view of all the locations where applications can be configured to launch at startup, including the registry, startup folders, and scheduled tasks. Autoruns is a must-have tool for advanced users who want complete control over their system's startup process. Be aware that this is a more complex approach, so expect to spend some time here.
Download and install Autoruns.
Download the Autoruns utility from the official Microsoft website. The tool is a ZIP file, so extract the contents to a folder on your computer. Run the Autoruns.exe as an administrator.
Explore the Autoruns interface.
Autoruns displays a list of all the locations where applications can be configured to launch at startup. The "Everything" tab shows a comprehensive list of all autorun entries. Other tabs are available, such as "Logon," "Scheduled Tasks," and "Services," which filter the list to show only entries in those specific categories.
Disable unwanted startup entries.
To disable an application from launching at startup, simply uncheck the box next to its entry in the Autoruns list. You can also right-click on an entry and select "Delete" to remove it completely. Be cautious when deleting entries, as deleting essential system entries can cause problems.
Step 6: Editing the Registry (Windows)
Editing the Windows Registry is the most advanced method for managing startup applications. It involves directly modifying the system's configuration database, which can be risky if not done carefully. Incorrectly editing the registry can cause serious problems, including system instability and data loss. This method should only be used as a last resort, after all other methods have failed.
Common Mistakes to Avoid
Always back up the registry before making any changes. This will allow you to restore the registry to its previous state if something goes wrong. Also, be extremely careful when deleting registry entries, as deleting essential system entries can cause serious problems.
Open Registry Editor.
Press the Windows key + R on your keyboard, type
regeditinto the Run dialog box, and press Enter. This will open the Registry Editor.Navigate to the startup registry keys.
There are several registry keys that control startup applications. The most common ones are:
HKEY_CURRENT_USER\Software\Microsoft\Windows\CurrentVersion\Run(for the current user)HKEY_LOCAL_MACHINE\Software\Microsoft\Windows\CurrentVersion\Run(for all users)HKEY_LOCAL_MACHINE\Software\Wow6432Node\Microsoft\Windows\CurrentVersion\Run(for 32-bit applications on 64-bit systems)
Navigate to each of these keys in the left-hand pane of the Registry Editor.
Delete unwanted startup entries.
In the right-hand pane of the Registry Editor, you'll see a list of values that represent startup applications. Right-click on any value that you want to remove and select "Delete." Be extremely careful when deleting registry entries, as deleting essential system entries can cause serious problems.
Step 7: Using Mac System Settings
macOS provides a streamlined approach to manage applications that automatically launch during login. This process, handled through System Settings (or System Preferences on older macOS versions), simplifies the process of disabling unnecessary programs. Here's how to do it:
Open System Settings (or System Preferences).
Click on the Apple menu in the top-left corner of your screen, then select "System Settings." On older versions of macOS, select "System Preferences."
Navigate to General > Login Items.
In System Settings, click "General" in the left sidebar. Then, click "Login Items".
Disable the unwanted applications.
You'll see a list of applications that open at login. Select an app you want to prevent from launching and click the "-" (minus) button below the list. This removes the app from the login items list.
Step 8: Changing In-App Settings (Any OS)
Some applications have built-in settings that control whether they launch automatically at startup. This is particularly common for applications that integrate closely with the operating system, such as cloud storage services, messaging apps, and productivity tools. The complexity varies, but most apps expose these settings.
Open the application you want to configure.
Launch the application you want to prevent from launching at startup.
Look for startup settings in the application's preferences or settings.
The location of the startup settings varies depending on the application. Common places to look include the "Preferences," "Settings," "Options," or "General" menu. Search for options related to "Launch at startup," "Run at startup," or "Start automatically." Uncheck the box or toggle the switch to disable the application from launching at startup.
Step 9: Using Android Developer Options
Android can also suffer from apps auto-starting and draining resources. While Android doesn't offer a direct "startup apps" management tool like Windows or macOS, you can use Developer Options to gain some control over running services. Please be aware that Developer Options are intended for developers, and incorrect usage can potentially affect your device's performance. This method works best if you have a slower android device.
Enable Developer Options.
Go to Settings > About phone (or About device). Find the "Build number" entry and tap it 7 times consecutively. You should see a message indicating that you are now a developer.
Access Running Services.
Go to Settings > Developer options. Find and tap "Running services."
Stop unwanted services.
You'll see a list of running apps and services. Tap on an app you want to prevent from automatically starting. Then tap "Stop." This will stop the app from running in the background. Repeat these steps for other unwanted apps. Be aware this may only be a temporary solution and the apps may restart automatically later.
Step 10: Using iPhone/iPad Background App Refresh
iOS (iPhone/iPad) doesn't have a traditional startup apps feature like desktop operating systems. However, the Background App Refresh feature can contribute to apps consuming resources even when they're not actively used. Turning off Background App Refresh can help improve battery life and prevent apps from using data in the background.
Open the Settings app.
Tap the "Settings" icon on your iPhone or iPad.
Navigate to General > Background App Refresh.
In the Settings app, tap "General," and then tap "Background App Refresh."
Disable Background App Refresh.
You can either disable Background App Refresh entirely by tapping "Background App Refresh" at the top of the screen and selecting "Off," or you can selectively disable it for individual apps by toggling the switch next to each app in the list. Disabling entirely can impact some apps. Use with discretion.
FAQ Section
- Why are some apps not showing up in the startup lists?
- Some apps use unconventional methods to launch at startup, bypassing the standard mechanisms. These apps may require more advanced techniques, such as using the Autoruns utility or editing the registry, to disable their startup behavior.
- Will disabling startup apps break my computer?
- Disabling startup apps is generally safe, but it's important to be cautious and avoid disabling essential system processes. If you're unsure about a particular app, it's best to leave it enabled. You can always re-enable a disabled app if you find that it's causing issues.
- How can I tell which startup apps are slowing down my computer?
- The Task Manager in Windows provides a "Startup impact" score for each startup app. This score indicates how much the app affects your system's startup time. You can use this score to prioritize which apps to disable first.
Conclusion
Managing startup applications is an essential task for maintaining a fast and efficient computer or mobile device. By following the steps outlined in this guide, you can regain control over your system's startup process and prevent unwanted applications from launching automatically. Remember to be cautious when using advanced techniques, such as editing the registry, and always back up your system before making any significant changes. By taking the time to manage your startup applications, you can significantly improve your overall user experience.