The Exhaust Gas Recirculation (EGR) valve is a crucial component in your 1994-1998 Ford Mustang V6's emission control system. It helps reduce NOx (nitrogen oxides) emissions by recirculating a portion of the exhaust gas back into the engine's intake manifold. Over time, the EGR valve can become clogged with carbon deposits, causing it to malfunction. A faulty EGR valve can lead to poor engine performance, reduced fuel economy, and a dreaded "Check Engine" light on your dashboard.
Replacing the EGR valve is a relatively straightforward task that most DIY mechanics can accomplish with basic tools and a bit of patience. This guide provides a step-by-step walkthrough of the process, ensuring you can get your Mustang running smoothly again.
Before you begin, always prioritize safety. Working on a car involves inherent risks, so take precautions to protect yourself. Disconnect the battery, wear safety glasses, and work in a well-ventilated area. Familiarize yourself with the tools and parts involved before starting.
-
Step 1: Prepare the Vehicle and Workspace
Begin by parking your Mustang on a level surface and engaging the parking brake. Open the hood by pulling the primary hood latch inside the cabin and then releasing the secondary latch located at the front of the vehicle. Secure the hood using the hood prop rod. This provides safe and unobstructed access to the engine compartment. Disconnect the negative battery cable using a wrench and tuck it away to prevent accidental contact with the battery terminal. Cover the battery terminal with electrical tape to further ensure no accidental connections occur during the replacement process.

-
Step 2: Access the EGR Valve
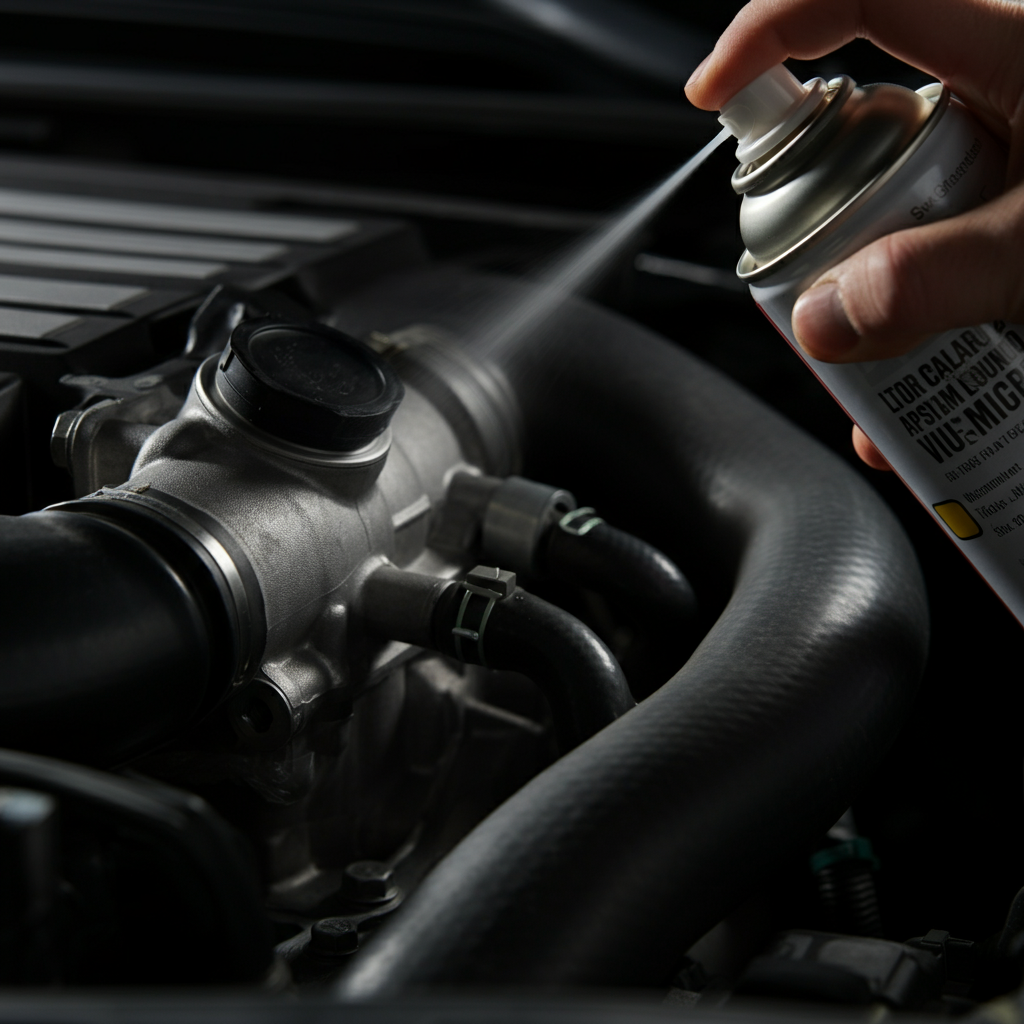
Locate the EGR Pressure Sensor, which is usually mounted on a bracket near the EGR valve. Use a 10mm socket to remove the bolts securing the bracket. Carefully disconnect the small vacuum tubes connected to the sensor. Then, liberally apply penetrating oil to the EGR valve bolts and the EGR tube fitting. Let the oil soak for at least 15 minutes, or even longer, to loosen any corroded connections. This will significantly reduce the risk of damaging the threads when removing the old valve. Patience is key here; don't rush this step.
-
Step 3: Remove the EGR Tube
Using a 24mm wrench, carefully loosen and remove the nut connecting the EGR tube to the EGR valve. Be extremely cautious as these fittings can be notoriously difficult to remove, especially if heavily corroded. Apply steady pressure and avoid rounding off the nut. If it's stuck, apply more penetrating oil and wait longer. Using a line wrench (flare nut wrench) is highly recommended as it provides a better grip and reduces the risk of damaging the nut. Once loose, fully unscrew the nut and detach the EGR tube from the valve.
-
Step 4: Remove the Old EGR Valve
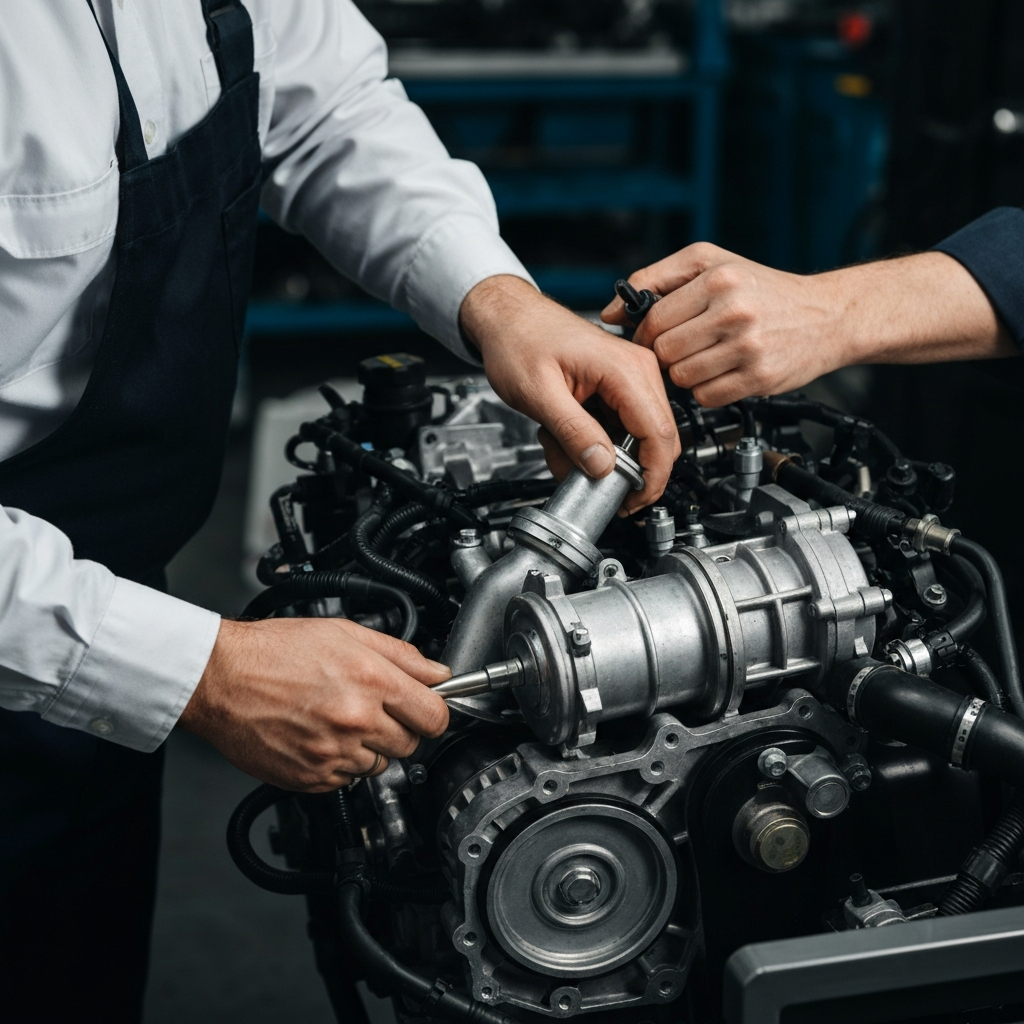
Now, use a 10mm socket and ratchet to remove the bolts that secure the EGR valve to the intake manifold. Disconnect the two small vacuum hoses connected to the EGR valve. These hoses are typically secured with small clamps. Carefully pull the hoses off the valve. With the bolts and hoses disconnected, gently remove the EGR valve from the upper intake manifold. Remember the position of the vacuum hoses for proper reinstallation. Consider taking a picture for reference.
-
Step 5: Prepare the Mounting Surface
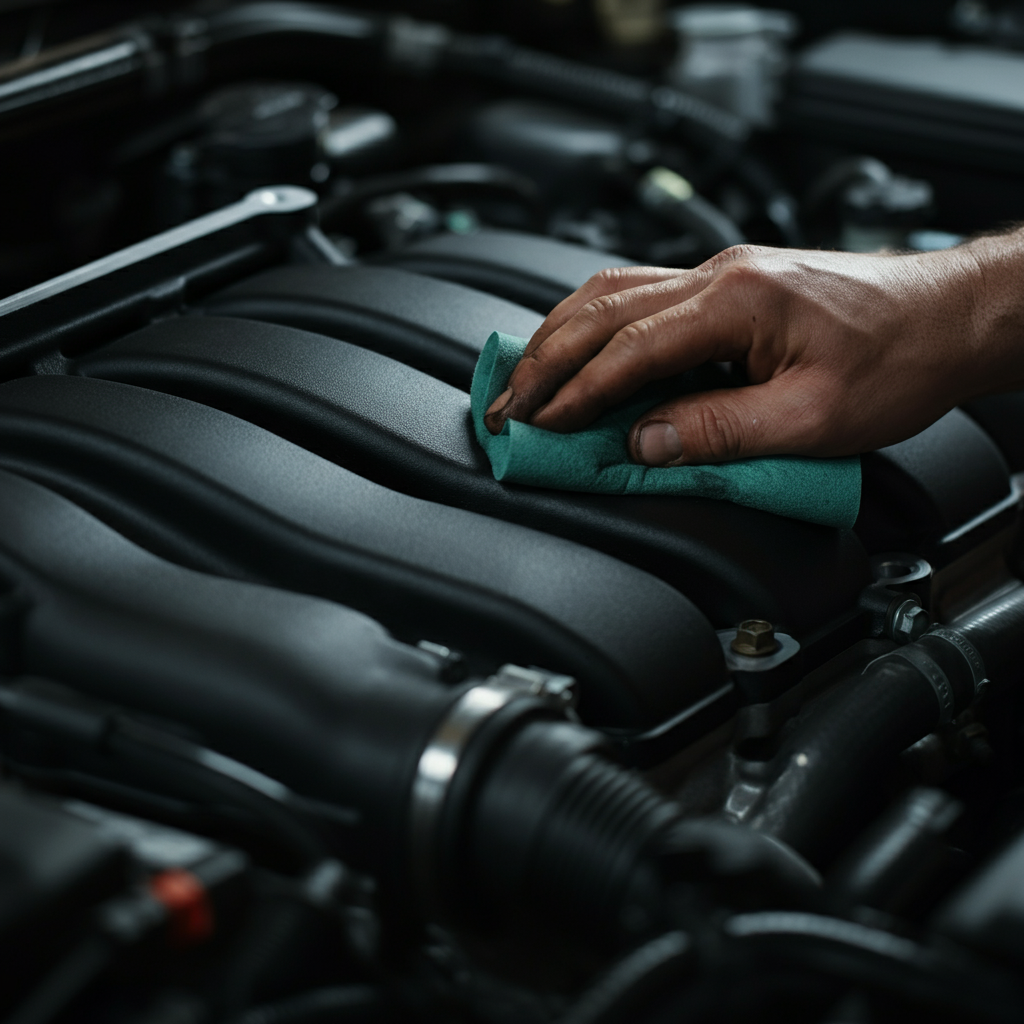
Before installing the new EGR valve, thoroughly clean the mounting surface on the upper intake manifold. Use a scotch-brite pad or a gasket scraper to remove any remaining gasket material or debris. Ensure the surface is clean and smooth to ensure a proper seal with the new gasket. Vacuum up any loose particles to prevent them from entering the intake manifold.
-
Step 6: Install the New EGR Valve
Inspect the bolts you removed in Step 4 for any signs of damage or corrosion. Replace them if necessary. Place the new EGR valve gasket onto the mounting surface, aligning it with the bolt holes. Position the new EGR valve onto the gasket and loosely install the bolts by hand. Make sure you're using the correct gasket type for your specific Mustang model. Tighten the bolts evenly in a criss-cross pattern to the specified torque (25 Nm) using a torque wrench. This ensures uniform pressure and prevents leaks.
-
Step 7: Reconnect the EGR Tube
Reinstall the EGR tube onto the new EGR valve and tighten the retaining nut to the specified torque (45 Nm) using a 3/8” torque wrench and a 15mm crows’ foot. Ensure the nut is properly aligned and that the threads engage smoothly to prevent cross-threading. A crows foot wrench is essential for getting the proper torque on this fitting.

-
Step 8: Reinstall the EGR Pressure Sensor and Vacuum Hoses
Reinstall the EGR Pressure Sensor and torque the bracket hardware to 25 Nm. Reconnect the two small vacuum hoses to their respective ports on the EGR valve and the intake manifold. Refer to the picture you took earlier or a vacuum hose diagram to ensure correct placement. The longer hose usually connects to the intake manifold, while the shorter one connects to the EGR valve.

-
Step 9: Final Steps and Testing
Reconnect the negative battery terminal. Turn the ignition key to the "on" position (without starting the engine) to allow the vehicle's systems to initialize. Reset your radio presets and clock. Start the engine and listen carefully for any air leaks around the EGR valve and tube connections. If you hear any hissing sounds, immediately shut off the engine and re-inspect the connections. Place the hood prop back into its original position and close the hood. Test drive the vehicle for proper operation. Finally, scan the vehicle's computer for any diagnostic trouble codes using an OBDII scanner. If any codes related to the EGR system appear, double-check your work and consult a repair manual or qualified technician.
Tools or Materials Required
- New EGR Valve
- EGR Valve Gasket
- Socket Set (10mm, 24mm)
- Wrenches (24mm, 15mm Crows Foot)
- 3/8" Ratchet
- 3/8" Torque Wrench
- Penetrating Oil
- Scotch-Brite Pad or Gasket Scraper
- Vacuum Hose Pliers (optional)
- OBDII Scanner
- Safety Glasses
- Gloves
- Electrical Tape
- Magnetic Retrieval Tool
Common Mistakes to Avoid
- Stripping the EGR tube nut due to insufficient penetrating oil or using the wrong wrench.
- Forgetting to disconnect the battery before starting work.
- Over-tightening the bolts, which can damage the intake manifold or EGR valve.
- Failing to clean the mounting surface properly, resulting in a poor seal.
- Incorrectly reconnecting the vacuum hoses.
Safety Considerations
- Always wear safety glasses to protect your eyes from debris.
- Work in a well-ventilated area to avoid inhaling exhaust fumes.
- Allow the engine to cool completely before starting work to prevent burns.
- Disconnect the negative battery cable to prevent electrical shocks.
- Dispose of used parts and fluids properly.
Pro Tips
- Take pictures of the vacuum hose connections before disconnecting them.
- Use a magnetic retrieval tool to recover any dropped bolts or small parts.
- Apply anti-seize compound to the EGR tube nut threads to prevent future corrosion.
- Consider replacing the vacuum hoses if they are cracked or brittle.
FAQ Section
- Q: How often should I replace my EGR valve?
- A: There is no set replacement interval for EGR valves. However, if you experience symptoms like poor engine performance or a "Check Engine" light, it's a good idea to have it inspected.
- Q: Can I clean my EGR valve instead of replacing it?
- A: Cleaning the EGR valve may temporarily improve its performance, but it's not a permanent solution. Replacement is generally recommended for long-term reliability.
- Q: What happens if I don't replace my EGR valve?
- A: A faulty EGR valve can lead to reduced fuel economy, poor engine performance, and increased emissions. In some cases, it can also damage other engine components.
Conclusion
Replacing the EGR valve on your 1994-1998 Ford Mustang V6 is a manageable task that can significantly improve your vehicle's performance and reduce emissions. By following these step-by-step instructions and taking the necessary safety precautions, you can save money on labor costs and ensure your Mustang is running smoothly. Remember to double-check your work, especially the vacuum hose connections, and always scan for any diagnostic trouble codes after completing the job.