Ever found yourself ready to unwind with a bottle of wine, only to discover you're missing the essential tool – a corkscrew? Don't despair! There are several clever techniques to liberate that wine, and one of the most reliable and surprisingly effective involves a common household item: your shoe. This guide provides a detailed, step-by-step explanation of the shoe method, ensuring you can enjoy your wine even without the proper equipment.
The shoe method works by gently applying pressure to the cork, encouraging it to gradually ease out of the bottle. It's based on principles of physics and material compliance, requiring a bit of patience but ultimately providing a safe and practical alternative to brute force methods that risk shattering the bottle. This method is best suited for natural corks, as synthetic corks can be more resistant.
Before we begin, it's crucial to reiterate that safety is paramount. While this method is generally safe when performed correctly, always exercise caution to avoid injury and prevent damage to the bottle. Let's get started!
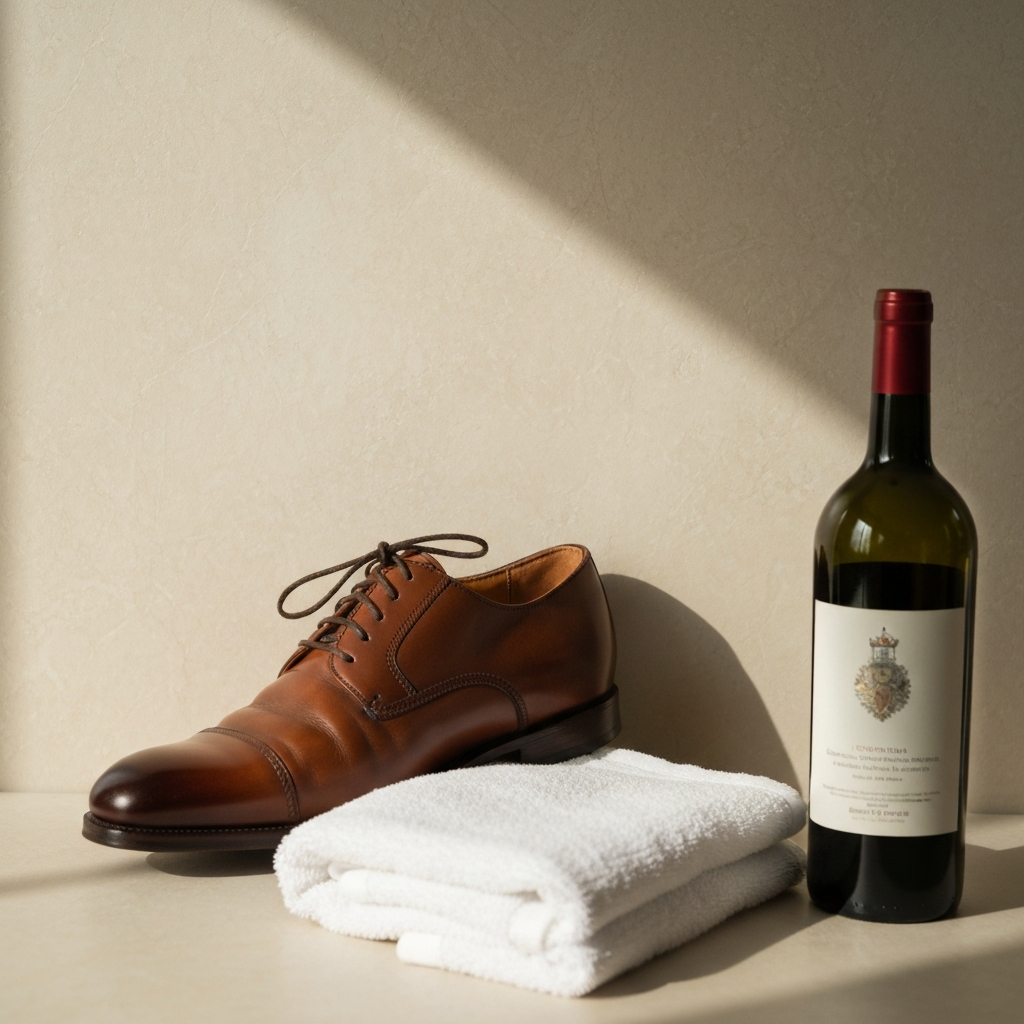
Step 1: Gather Your Materials
Before you even think about popping that cork, ensure you have everything you need. First, you'll need a sturdy shoe. An Oxford or loafer is ideal, offering a flat, firm surface. Avoid heels or overly flimsy shoes. A towel or thick piece of fabric is essential to protect the shoe and provide added grip. Finally, have a firm, stable wall or vertical surface readily available.
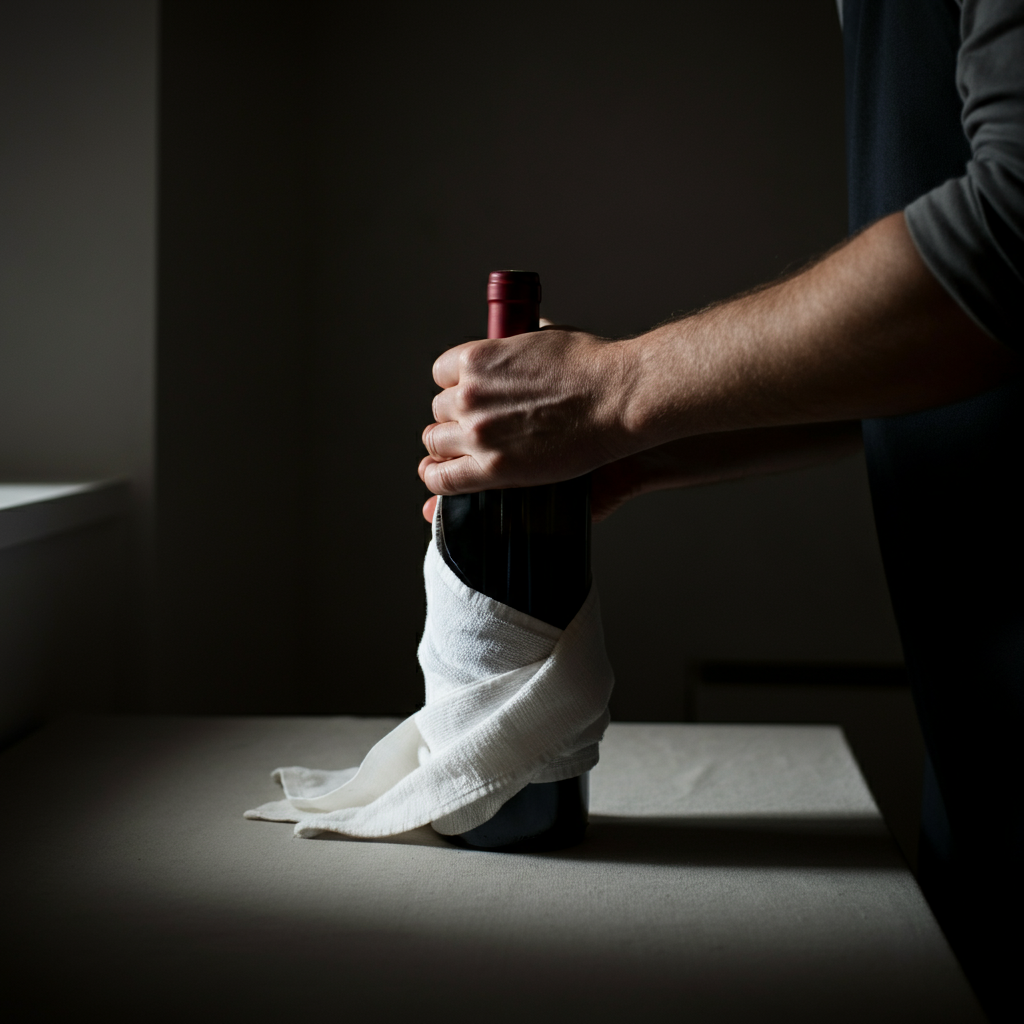
Step 2: Wrap the Bottle Base
Place the towel or fabric around the base of the wine bottle. This crucial step serves two purposes: protecting your shoe from potential wine stains and providing a more cushioned and secure contact point between the bottle and the shoe. Ensure the towel is wrapped tightly and evenly around the base to distribute pressure effectively. The extra grip also reduces the chance of slippage.
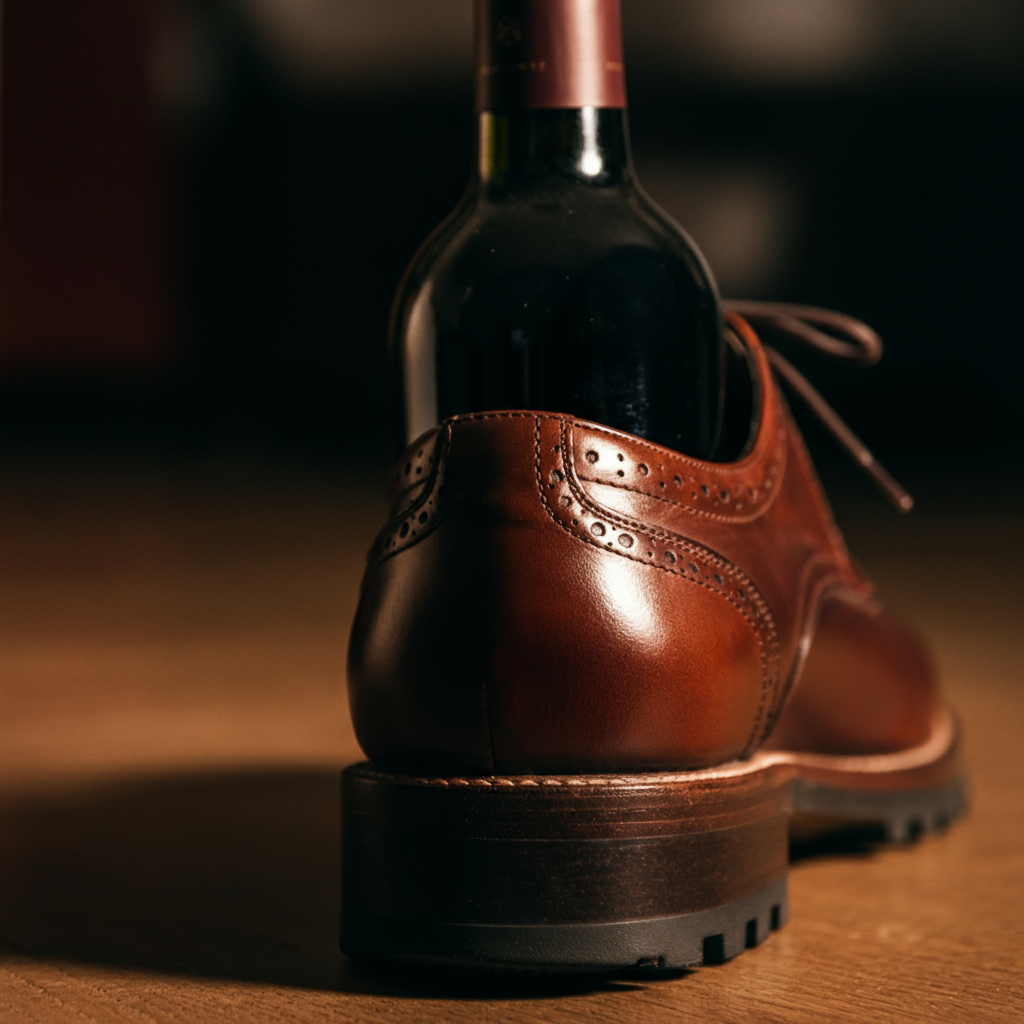
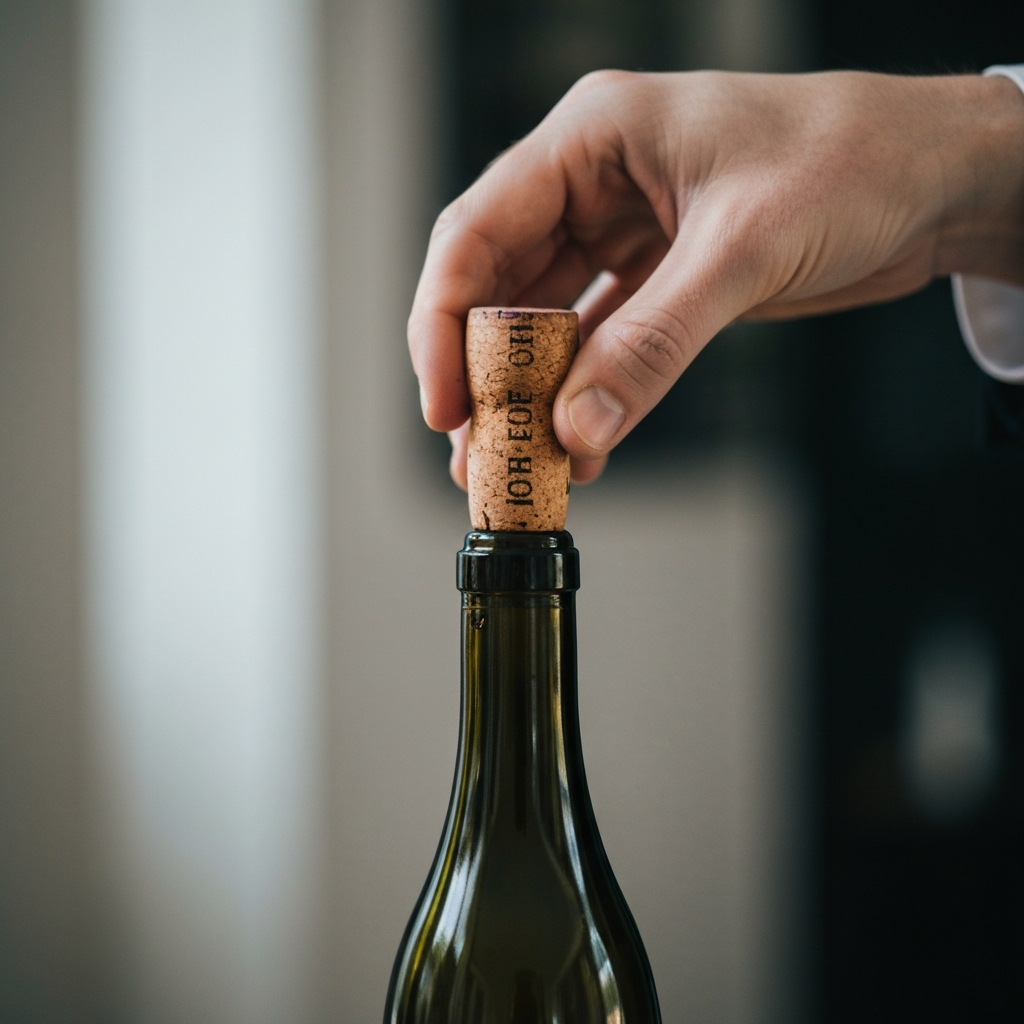
Step 3: Position the Bottle in the Shoe
Now, carefully insert the wrapped base of the wine bottle into the heel cavity of your chosen shoe. The bottle should fit snugly, with the bottom resting firmly against the inside of the shoe's heel. It's important that the bottle sits straight within the shoe; any tilting could lead to uneven pressure and a less successful outcome. The fit should be snug but not forced; if the bottle is too large, consider using a different shoe.
Step 4: Gently Tap Against the Wall
Holding the shoe firmly, carefully and gently tap the heel of the shoe (with the bottle inside) against the wall. The key here is to use controlled, consistent taps rather than forceful slams. The impact should be enough to gradually nudge the cork outwards. Monitor the cork closely, stopping immediately if you see any signs of the glass cracking. It's a gradual process, so patience is essential.
Step 5: Repeat and Adjust
Continue tapping the shoe against the wall, checking the cork's progress after every few taps. As the cork begins to emerge, you may need to adjust the angle or pressure slightly to ensure it comes out evenly. If the cork seems stuck, try rotating the bottle a quarter turn within the shoe before resuming the tapping. Avoid excessive force at all costs; consistent, gentle taps are far more effective.
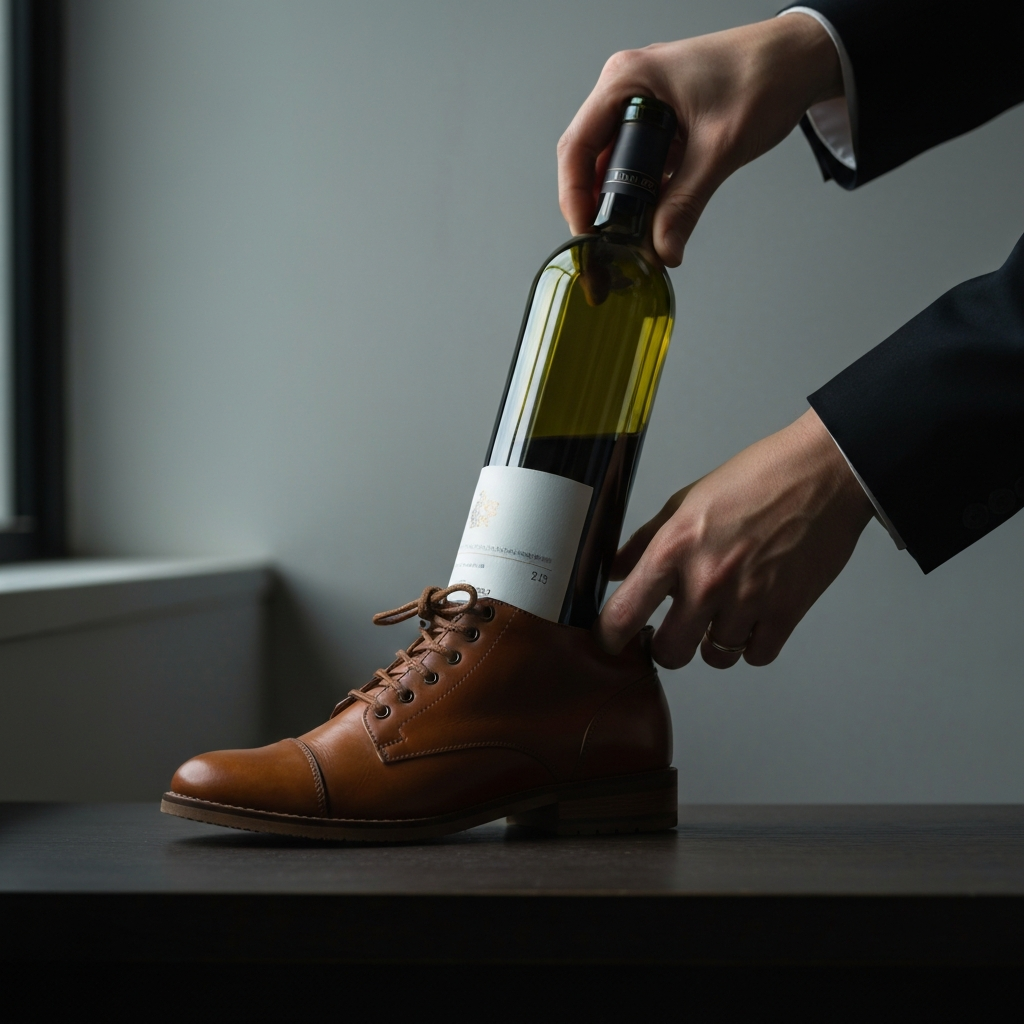
Step 6: Final Removal
Once the cork has emerged far enough that you can grip it securely, carefully pull it out the rest of the way by hand. Be mindful of any pressure built up within the bottle; the cork might pop out suddenly. If it's still difficult to remove by hand, you can try using pliers or a similar tool to gently grip and extract the remaining portion of the cork. Avoid using sharp objects that could damage the cork or the bottle's neck.
Common Mistakes to Avoid
- Using excessive force: This can lead to the bottle shattering or the cork breaking, rendering your wine undrinkable.
- Using an unsuitable shoe: Heels or flimsy shoes will not provide adequate support and could lead to instability and potential accidents.
- Neglecting to protect the shoe: Wine stains can be difficult to remove, so always wrap the bottle base with a towel or fabric.
- Ignoring signs of cracking: If you hear or see any signs of the glass cracking, stop immediately to avoid injury.
Safety Considerations
Always prioritize safety when attempting this method. Wear eye protection to shield against potential glass shards. Work in a well-lit area to maintain clear visibility. If the bottle shows any signs of pre-existing damage, such as chips or cracks, do not attempt this method, as it could exacerbate the issue and lead to breakage. Clean up any spills or broken glass immediately to prevent accidents.
Pro Tips
- If you have a thicker, rubber-soled shoe, the impact might be more cushioned, requiring slightly more force.
- For stubborn corks, try warming the bottle slightly before attempting this method. Gentle warmth can soften the cork, making it easier to remove. Be careful not to overheat the bottle, as this could affect the wine's flavor.
- If you're concerned about damaging your shoe, use a block of wood wrapped in fabric instead.
FAQ Section
Q: Will this method work on all types of wine bottles?
A: It generally works best on standard-sized wine bottles with natural corks. Bottles with synthetic corks or unusual shapes may be more challenging.
Q: Is this method safe for sparkling wine?
A: No, this method is not recommended for sparkling wine, as the pressure inside the bottle could cause it to explode.
Q: How long does this method typically take?
A: It can vary depending on the cork's tightness, but typically it takes between 5 to 10 minutes.
Conclusion
While a corkscrew is undoubtedly the ideal tool for opening a bottle of wine, the shoe method provides a viable alternative when you find yourself without one. By following these steps carefully and prioritizing safety, you can successfully liberate your wine and enjoy its contents. Remember to be patient, use consistent gentle taps, and avoid excessive force. With a little practice, you'll be opening wine bottles with a shoe like a pro in no time!