Invisible locs have surged in popularity as a chic and versatile protective hairstyle. Mimicking the appearance of traditional locs, but without the long-term commitment or intensive maintenance, they offer a fantastic way to experiment with a new look. This guide provides an in-depth walkthrough of the invisible locs installation process, along with expert tips on maintenance and styling, ensuring your locs stay looking fresh and fabulous.
Unlike traditional locs, which require years to fully form and mature, invisible locs are a type of faux loc achieved through a unique flat-twisting technique. This results in a lightweight style that blends seamlessly with your natural hair, giving the illusion of authentic locs while protecting your strands. The "invisible" aspect refers to the concealed extension attachment at the roots, creating a more natural and less bulky appearance than other faux loc methods.
Whether you're a seasoned braider or a newcomer to protective styles, this guide will equip you with the knowledge and techniques needed to achieve beautiful, long-lasting invisible locs. From choosing the right hair extensions to mastering the flat-twist technique, we'll cover every aspect of the process. Prepare to transform your hair and embrace a style that's both protective and effortlessly stylish.
Tools or Materials Required
- Marley braiding hair (amount depends on desired fullness and length)
- Rat-tail comb
- Hair clips
- Edge control
- Lightweight hair oil
- Rubber bands (small, clear)
- Scissors
- Spray bottle with water
Step 1: Prepare Your Natural Hair
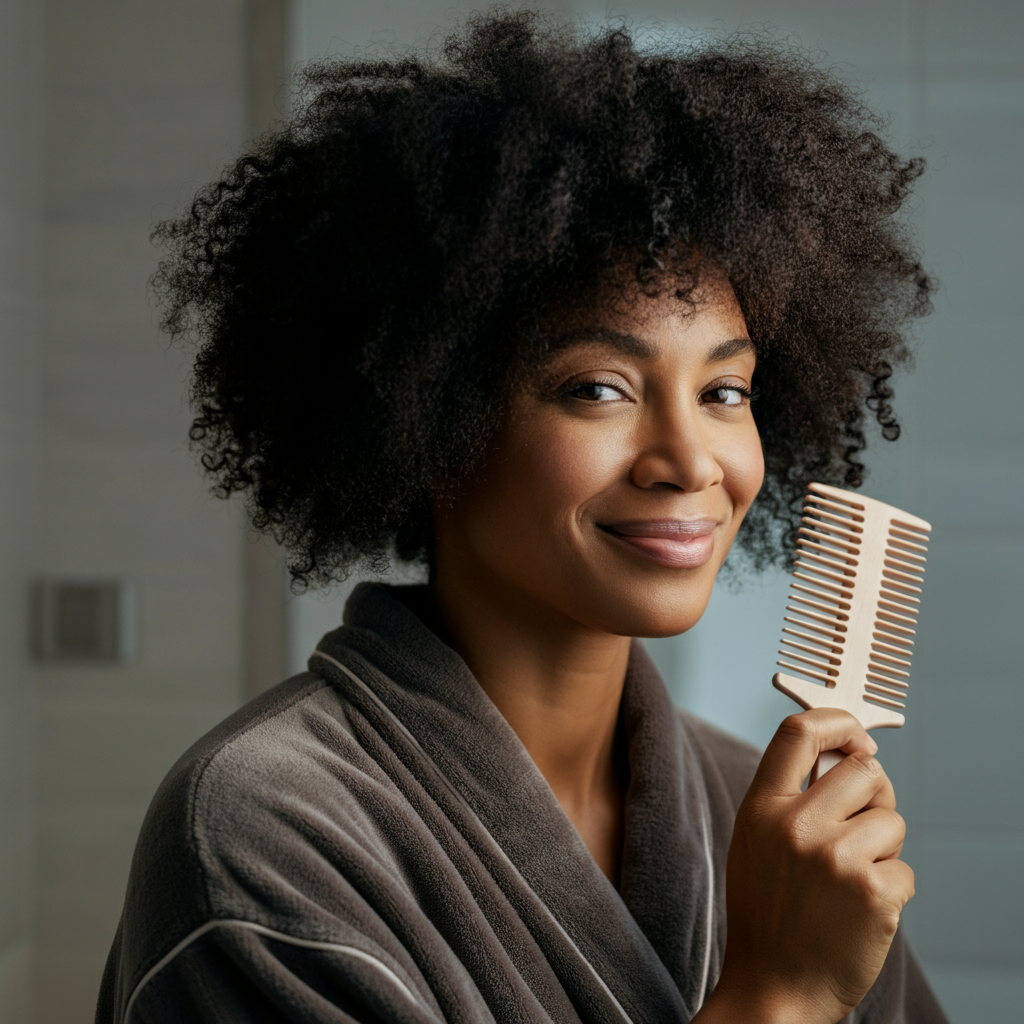
The foundation for stunning invisible locs is well-prepped natural hair. Start by washing and deep conditioning your hair to ensure it's clean, moisturized, and manageable. Proper hydration is crucial for preventing breakage and promoting healthy hair growth while wearing the protective style. After conditioning, detangle thoroughly using a wide-tooth comb or your fingers. Blow dry your hair on low heat, or allow it to air dry completely. Stretching the hair makes it easier to grip during the flat twisting process and contributes to a neater, longer-lasting style.
Step 2: Part and Section Your Hair
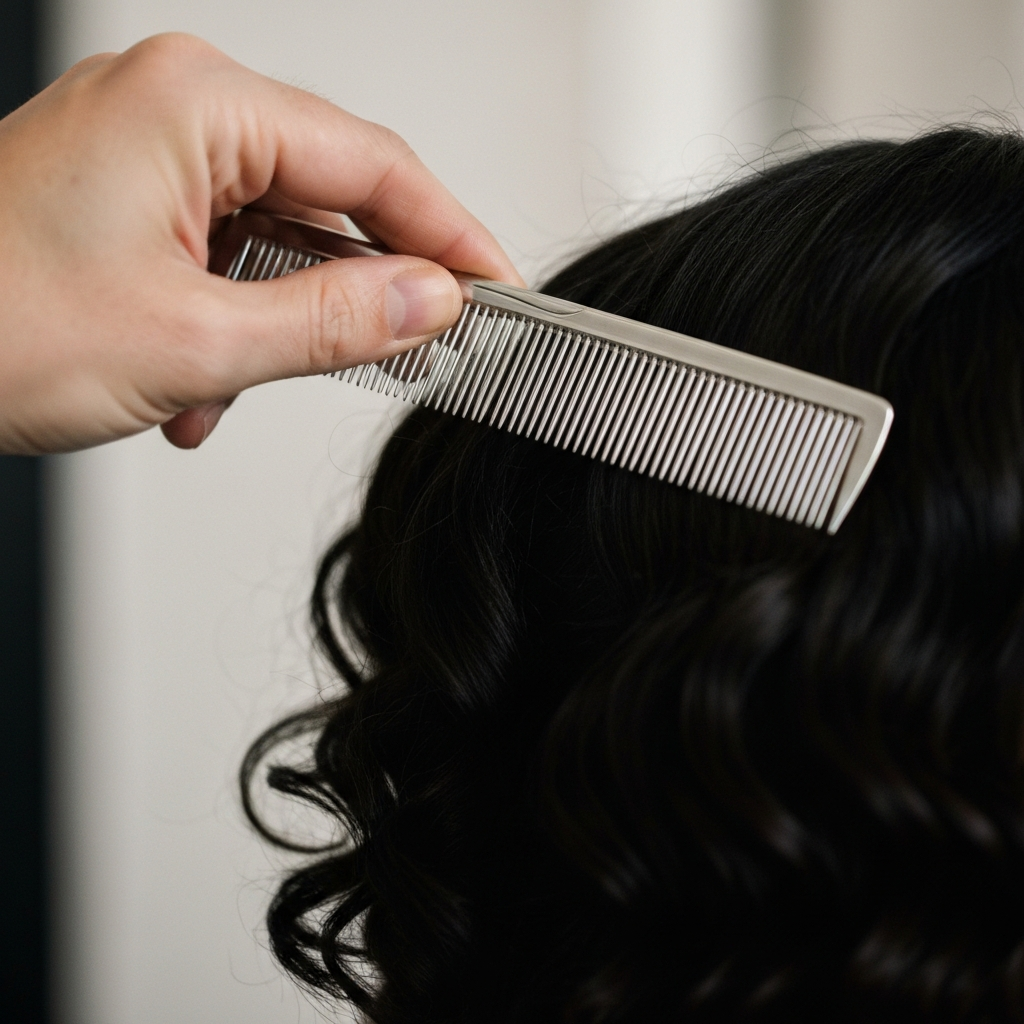
Creating clean and precise parts is essential for achieving a professional-looking invisible locs style. Use a rat-tail comb to section your hair into small, even squares or rectangles. The size of your sections will determine the thickness of your individual locs; smaller sections create thinner locs, while larger sections result in thicker locs. Secure each section with a hair clip to keep it separate from the others. Consistency in section size is key for achieving a uniform and balanced overall look. Apply a small amount of edge control to each section to smooth down the hair around your hairline for a polished finish.
Step 3: Begin the Flat Twist
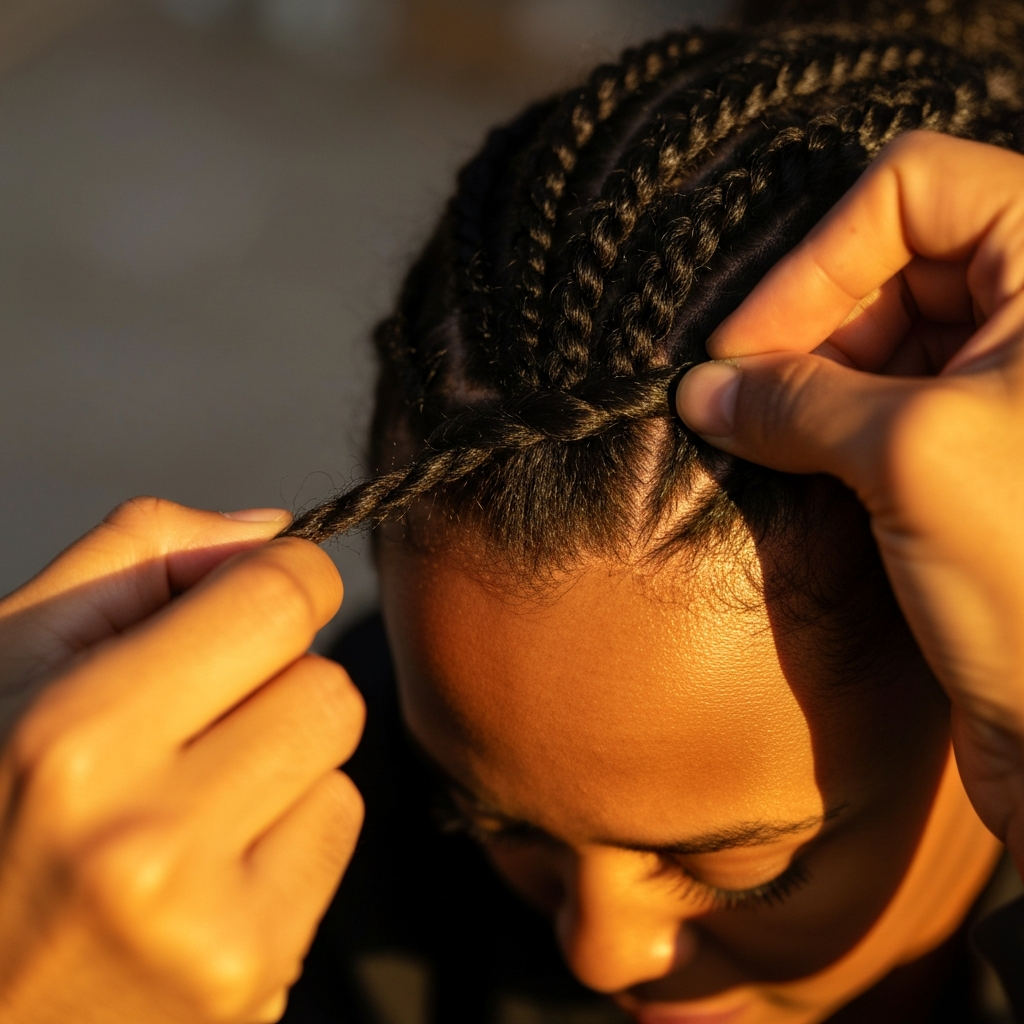
Take one section of hair and divide it into two strands. Begin flat twisting the two strands down towards your scalp. Ensure that the twists are tight and close to the scalp to create the "invisible" effect. The goal is to conceal the roots of the extension hair as much as possible. As you twist, add small pieces of your natural hair into each strand to incorporate it into the twist. Continue flat twisting down to the end of your natural hair.
Step 4: Attach the Marley Hair
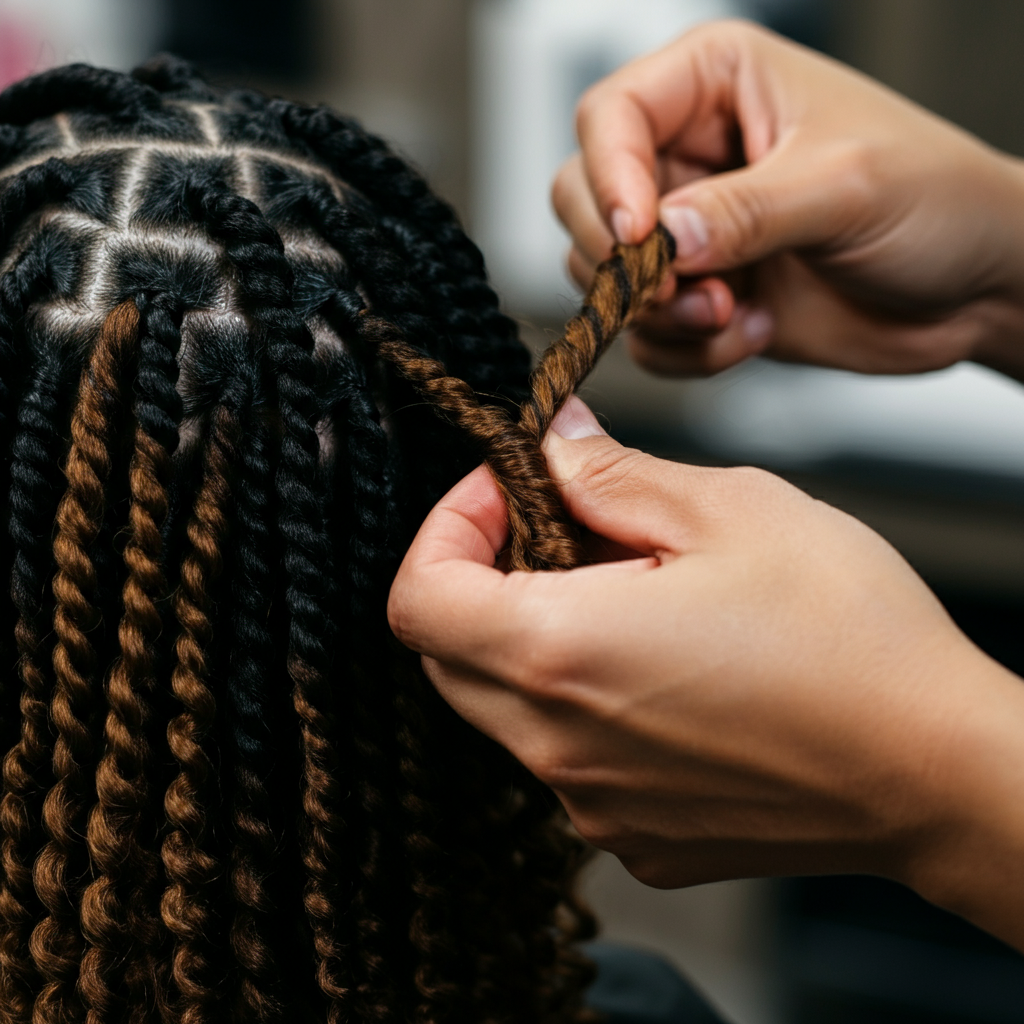
Once you reach the end of your natural hair, take a small piece of Marley braiding hair and fold it in half. Place the folded portion around the two strands of your flat twist, just below the end of your natural hair. The amount of Marley hair you use will determine the thickness of your loc extension. Begin twisting the Marley hair around the two strands of your flat twist, continuing the twisting motion down to your desired loc length. Secure the end of the loc with a small rubber band, and then trim off any excess Marley hair beyond the rubber band using scissors. Ensure not to cut the rubber band.
Step 5: Repeat and Refine
Repeat steps 3 and 4 on all remaining sections of your hair. As you work, periodically check your progress in a mirror to ensure that the locs are uniform in size and length. Once all the locs are installed, take a step back and assess the overall look. Trim any uneven ends and apply a lightweight hair oil to your scalp and locs to add moisture and shine. Avoid using heavy oils, as they can weigh down the locs and cause buildup.

Common Mistakes to Avoid
- Twisting too tightly: This can cause tension on the scalp and lead to breakage.
- Using too much Marley hair: This can result in heavy, bulky locs that are uncomfortable to wear.
- Neglecting to moisturize: Dry hair is prone to breakage.
- Inconsistent sectioning: This can result in an uneven and unprofessional look.
Safety Considerations
- If you experience any scalp irritation or discomfort, remove the locs immediately.
- Avoid sleeping with wet locs, as this can lead to mildew and odor.
- Do not leave the locs in for longer than 8 weeks, as this can cause excessive buildup and breakage.
Pro Tips
- For a more natural look, use a combination of different shades of Marley hair.
- To create a more textured look, try unraveling the ends of the locs slightly.
- Use a satin scarf or bonnet to protect your locs while sleeping.
FAQ Section
- How long do invisible locs last?
- Invisible locs typically last 4-8 weeks, depending on how well you maintain them.
- Can I wash invisible locs?
- Yes, you can wash invisible locs, but do so gently and infrequently. Use a diluted shampoo and focus on cleaning your scalp. Rinse thoroughly and allow the locs to air dry completely.
- Are invisible locs heavy?
- Invisible locs are generally lighter than traditional faux locs, but the weight can vary depending on the amount of Marley hair used.
- Can I style invisible locs?
- Yes, invisible locs are a versatile hairstyle that can be styled in various ways, such as ponytails, buns, and braids.
In conclusion, invisible locs are a fantastic protective style option that combines beauty, versatility, and relatively low maintenance. By following the steps outlined in this guide and heeding the expert tips, you can achieve stunning, long-lasting invisible locs that will turn heads and protect your natural hair. Remember to prioritize proper hair preparation, consistent technique, and regular moisturizing to ensure the health and longevity of your style. Enjoy your beautiful new locs!