We often think of art as something requiring specialized tools, expensive materials, and years of training. But what if you could create stunning and expressive art using items you already have around your house? Unleashing your inner artist is less about acquiring fancy supplies and more about shifting your perspective. It's about seeing the potential for beauty and creativity in the mundane.
This guide will walk you through a series of accessible techniques and projects, demonstrating how to transform ordinary objects into extraordinary works of art. We'll explore different mediums, techniques, and sources of inspiration, proving that art is not limited to the studio or the gallery. Prepare to look at the world with fresh eyes and discover the artist within you, waiting to be awakened by the simplest of things.
Get ready to challenge your perceptions and discover the unexpected beauty that surrounds you. Let's begin!
Step 1: Finding Inspiration in the Mundane
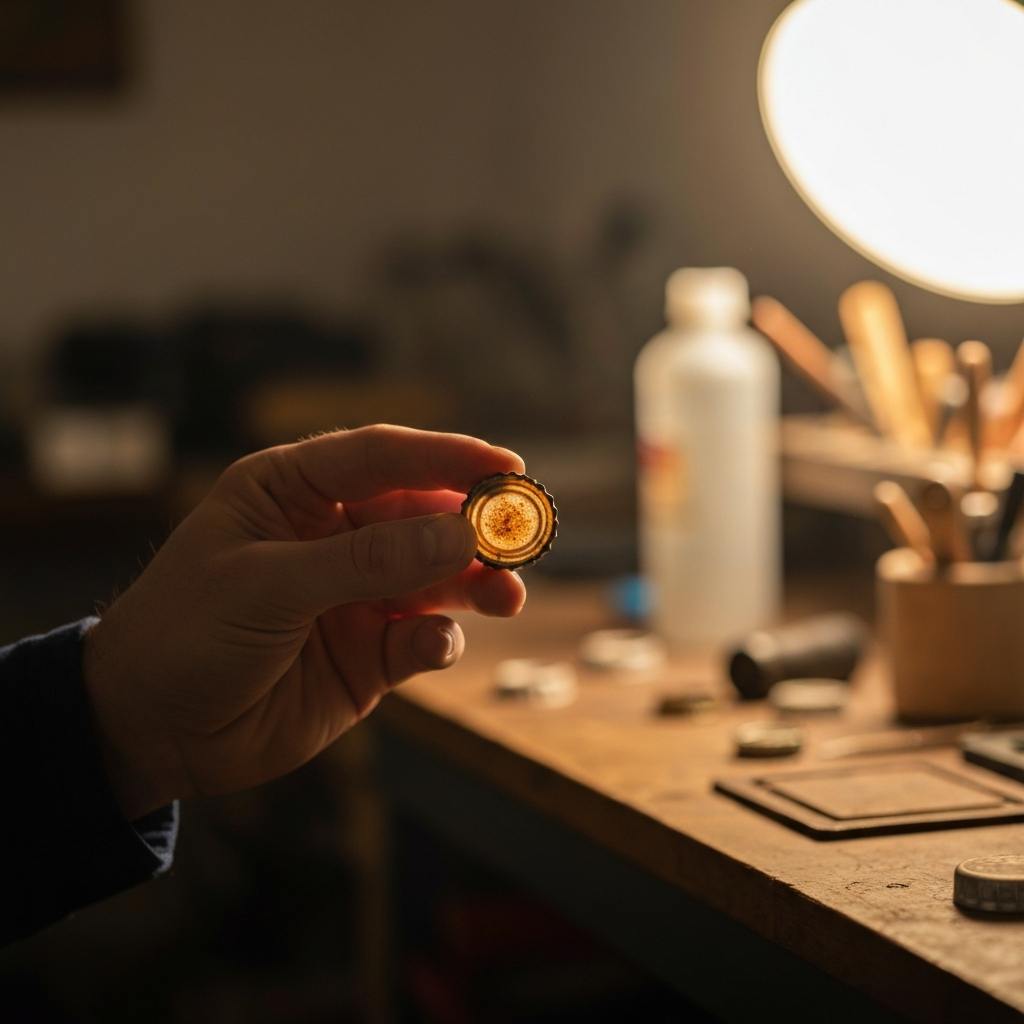
The first step in unlocking your artistic potential with everyday objects is to train your eye to see the artistic possibilities in the ordinary. This involves consciously looking beyond the intended purpose of an item and focusing on its shape, texture, color, and potential for transformation. Think about how light plays across its surface, how it feels in your hand, and what emotions or memories it evokes. A discarded bottle cap might become a component in a sculpture, a crumpled piece of paper the basis for a textured collage, or a shadow cast by a spoon, the inspiration for a charcoal sketch.
Step 2: Assemblage Art: Transforming Trash into Treasure
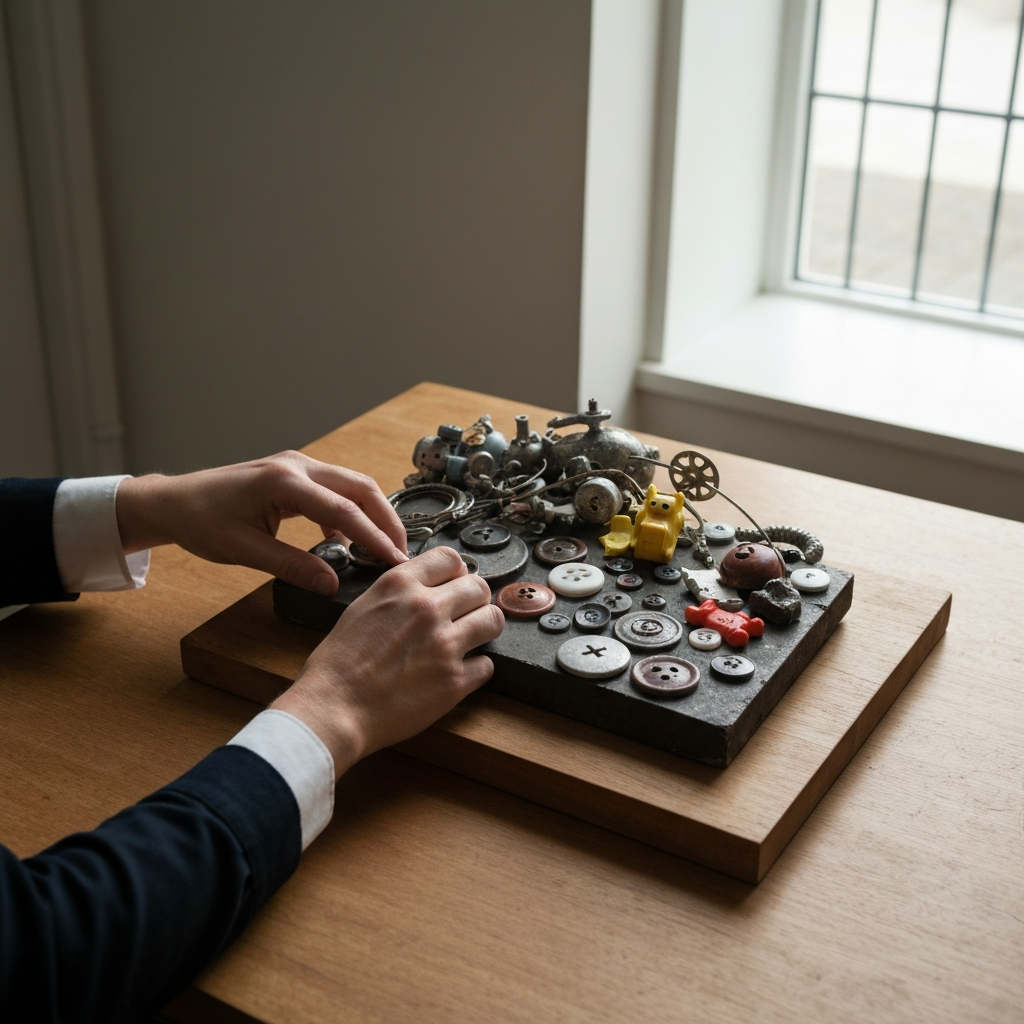
Assemblage art involves creating three-dimensional sculptures or reliefs by combining various found objects. Start by gathering a collection of interesting items: buttons, scraps of fabric, twigs, metal pieces, plastic toys, old keys – anything goes! Then, experiment with different arrangements, considering the interplay of textures, colors, and shapes. Adhesives like glue, epoxy, or even hot glue can be used to permanently join the objects together. Don't be afraid to embrace asymmetry, randomness, and unexpected juxtapositions.
Step 3: Nature Printing: Capturing the Ephemeral Beauty of Flora
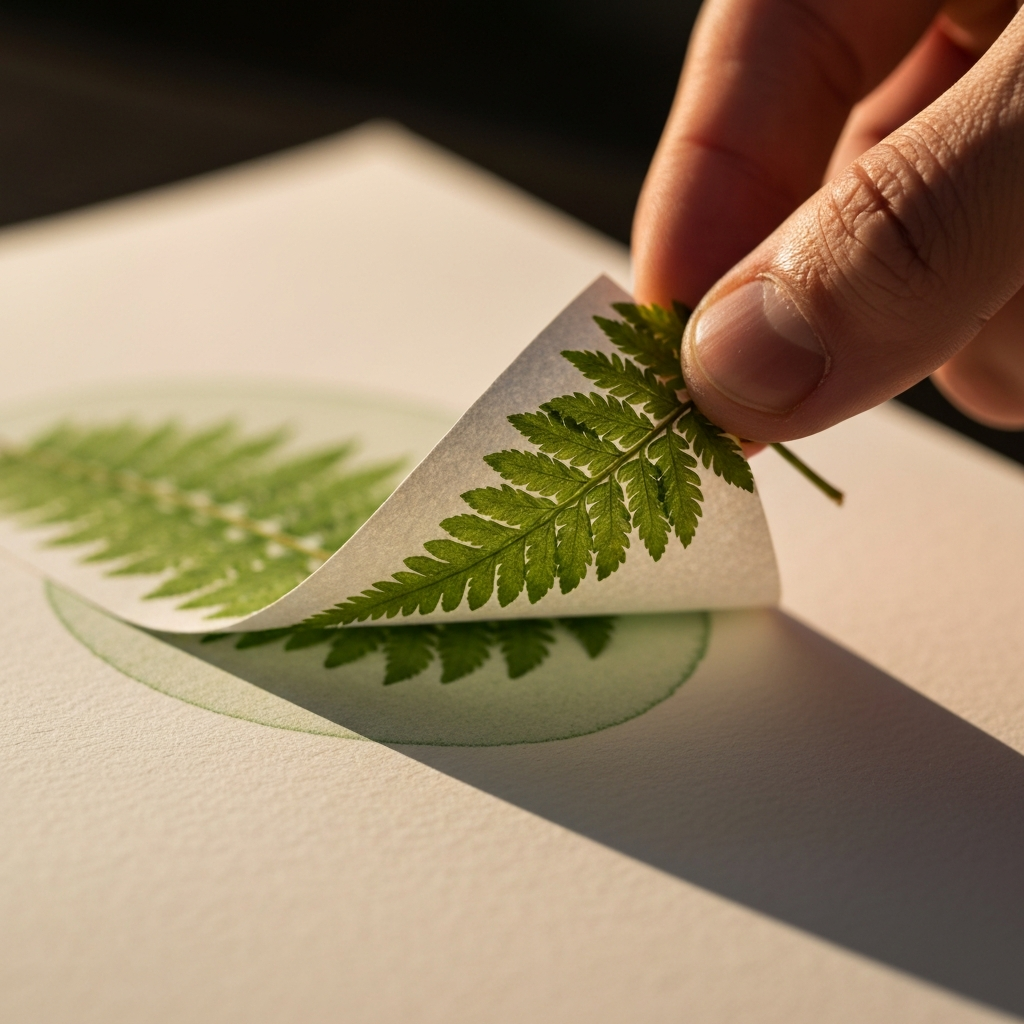
Nature printing is a simple yet beautiful technique that allows you to transfer the forms and textures of leaves, flowers, and other natural objects onto paper or fabric. Begin by collecting fresh specimens. Coat one side of the object with a thin layer of paint (acrylic or watercolor work well). Carefully press the painted side onto your chosen surface, applying even pressure. Gently peel away the object to reveal the print. Experiment with different colors, layering techniques, and the use of various leaves and flowers to create unique and expressive prints. Consider using a brayer (roller) to ensure even paint distribution.
Step 4: Stencil Art: Creating Graphic Designs with Simple Shapes
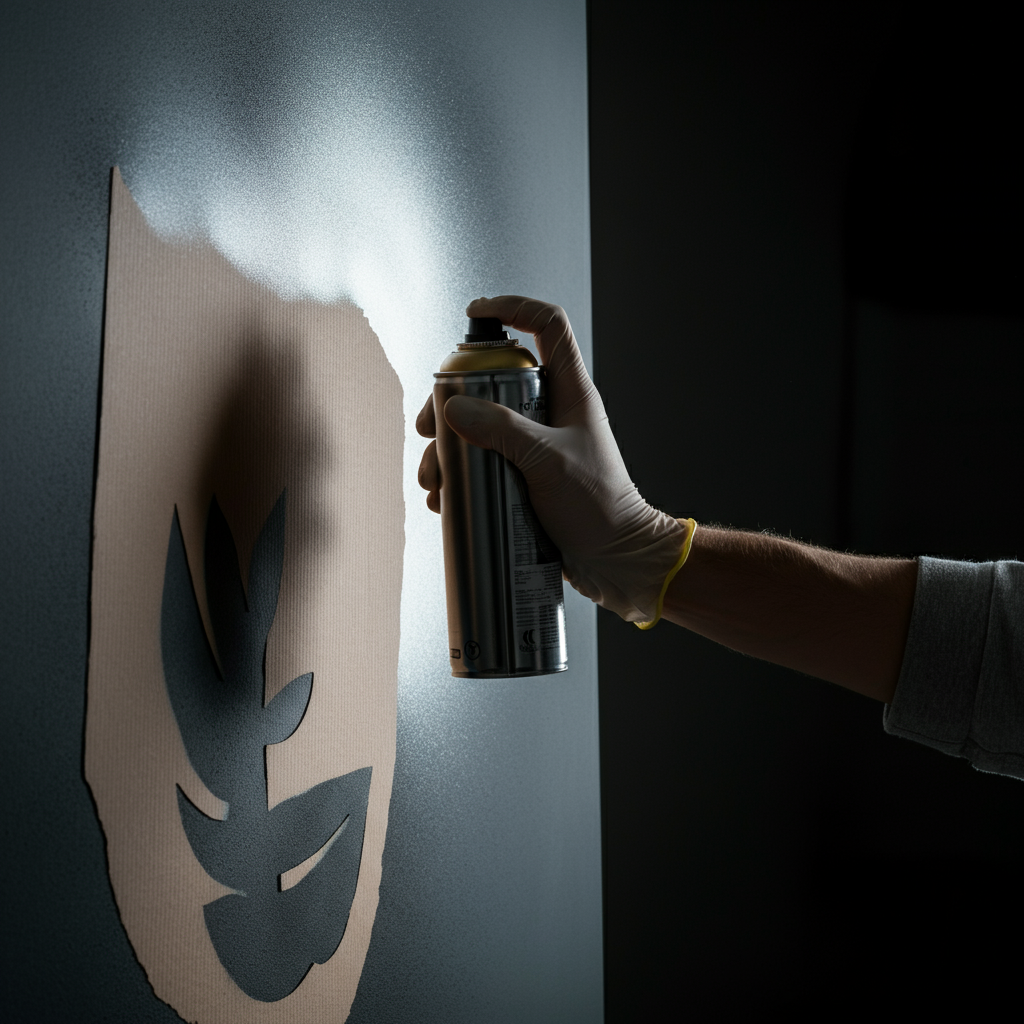
Stencils offer a simple and effective way to create bold, graphic designs using everyday materials. You can make stencils from cardboard, plastic sheets, or even paper (though paper stencils are best for single-use applications). Cut out shapes or patterns using a craft knife or scissors. Place the stencil on your chosen surface (paper, fabric, wood, etc.) and apply paint, ink, or spray paint through the cut-out areas. Use masking tape to secure the stencil in place and prevent paint from bleeding underneath. Experiment with layering stencils, using multiple colors, and creating repeating patterns.
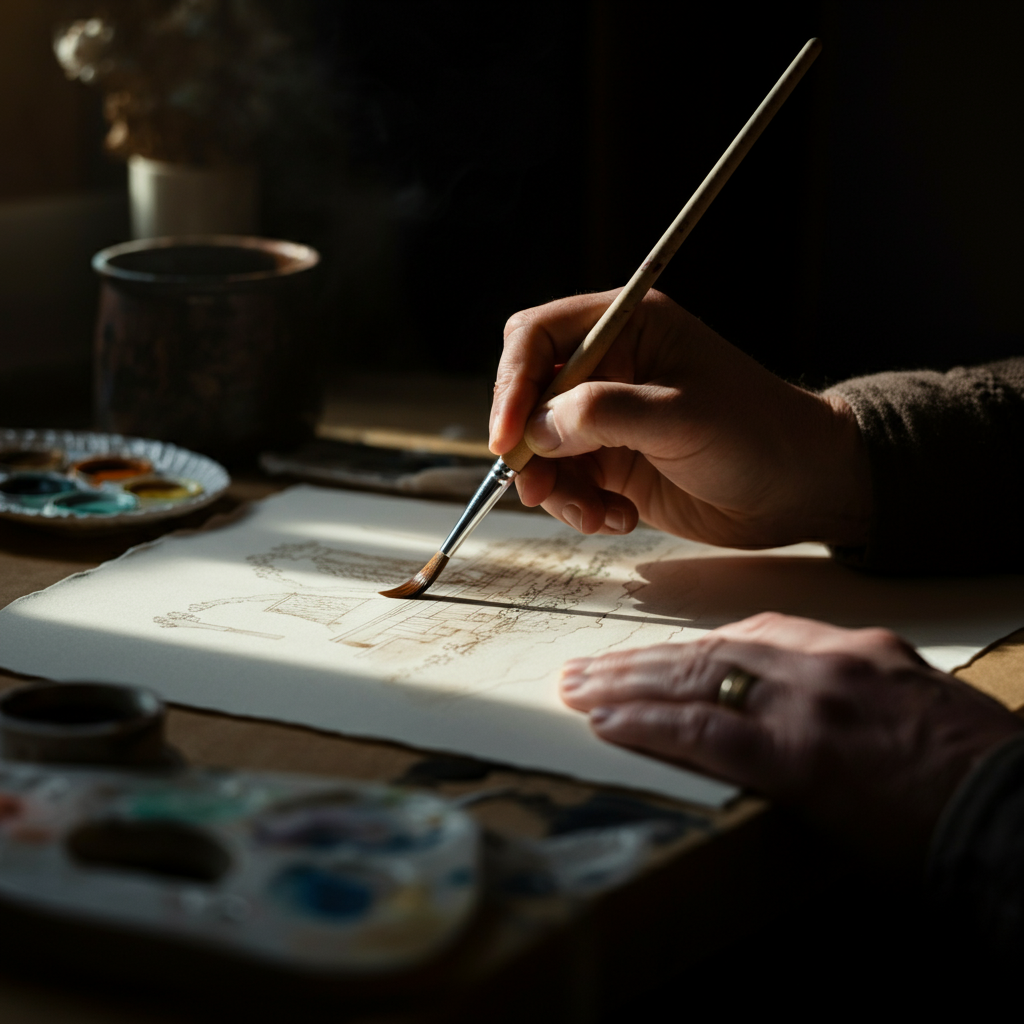
Step 5: Coffee Painting: Tapping into the Richness of Coffee Tones
Coffee painting is a surprisingly versatile technique that allows you to create sepia-toned drawings and paintings using nothing more than coffee and paper. Brew a strong batch of coffee and let it cool. Use the coffee like you would watercolor paint, diluting it with water to achieve different shades and tones. Experiment with layering, dry brushing, and lifting techniques to create depth and texture. Different types of coffee will produce different colors, so experiment to find your favorite. Consider using a waterproof pen for outlining or adding fine details.
Tools or Materials Required
- Adhesives: Glue, epoxy, hot glue gun
- Paints: Acrylic, watercolor, coffee
- Cutting Tools: Craft knife, scissors
- Surfaces: Paper, canvas, wood, fabric
- Found Objects: Buttons, scraps of fabric, twigs, metal pieces, plastic toys, old keys, leaves, flowers
- Stencils: Cardboard, plastic sheets
- Brushes: Various sizes and types
Common Mistakes to Avoid
- Using too much adhesive, resulting in a messy or unstable structure.
- Not properly preparing the surface before painting, leading to uneven coverage or poor adhesion.
- Rushing the process and not allowing adequate drying time between layers.
- Being afraid to experiment and try new things. Art is about exploration and discovery!
Safety Considerations
- Always use sharp tools (craft knives, scissors) with caution and under supervision, especially if children are involved.
- Ensure adequate ventilation when using spray paint or other potentially harmful materials.
- Be mindful of the materials you are using and avoid those that may be toxic or allergenic.
- Dispose of waste materials responsibly.
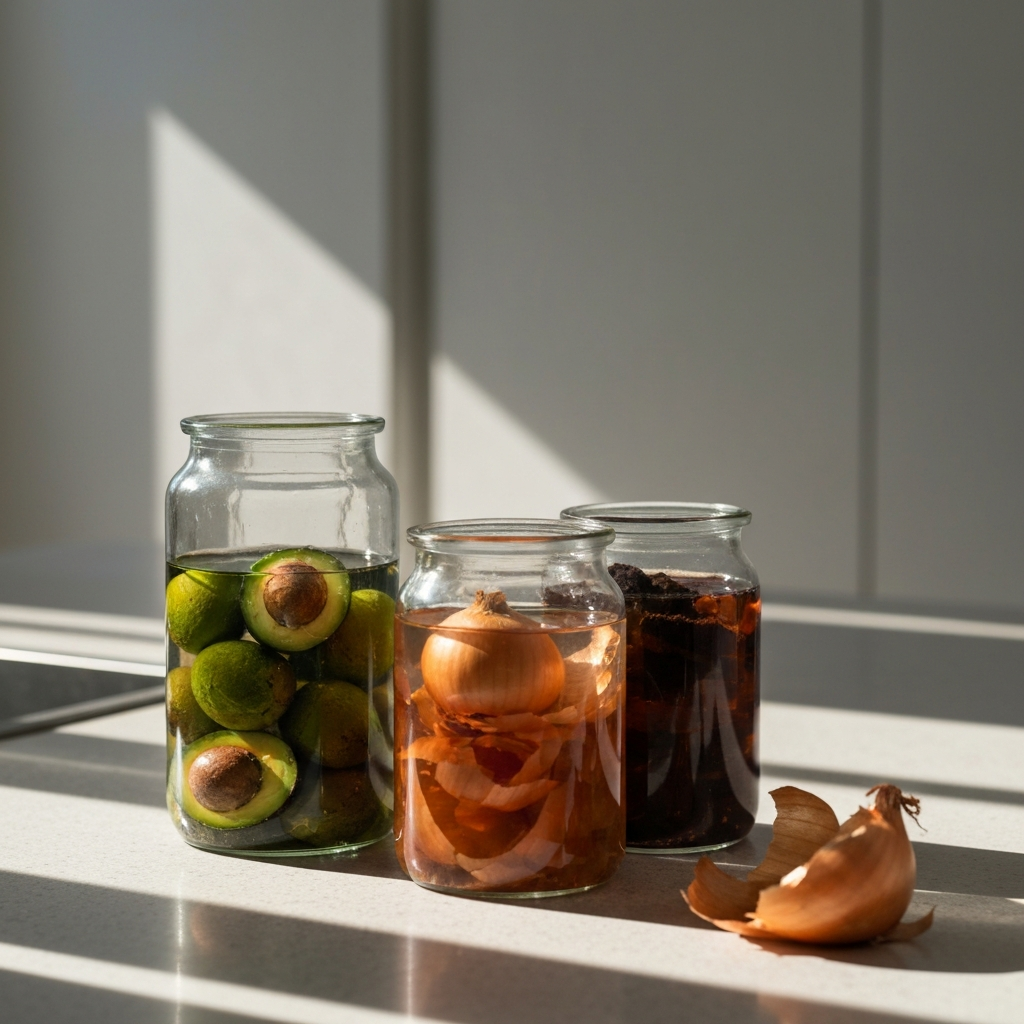
Step 6: Transforming Food Scraps into Art
Don't throw away those avocado pits or onion skins! These, and many other food scraps, can be used to create natural dyes for fabrics or paper. Boiling the scraps in water extracts the color. Experiment with different mordants (like salt or vinegar) to help the dye bind to the fabric. Or, use the scraps themselves – dried orange peels or coffee grounds, for example – to create textures in paintings or mixed media pieces.
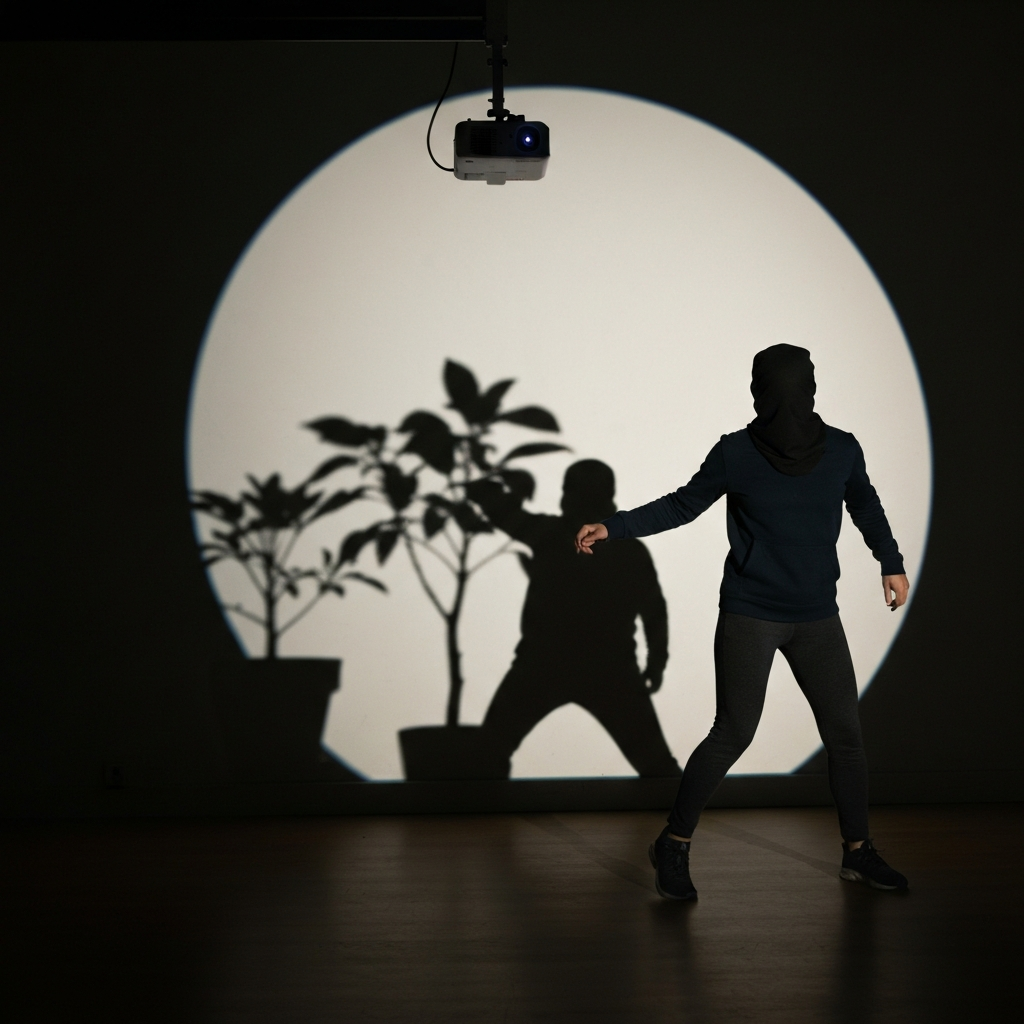
Step 7: Shadow Art: Playing with Light and Form
Explore the ephemeral nature of shadows. Arrange objects near a light source and observe the shadows they create. Trace the shadows onto paper and then fill them in with paint, charcoal, or ink. You can also create temporary shadow installations using everyday objects and a projector. Consider the angle and intensity of the light source to create different effects. This technique is excellent for exploring perspective and creating dramatic compositions.
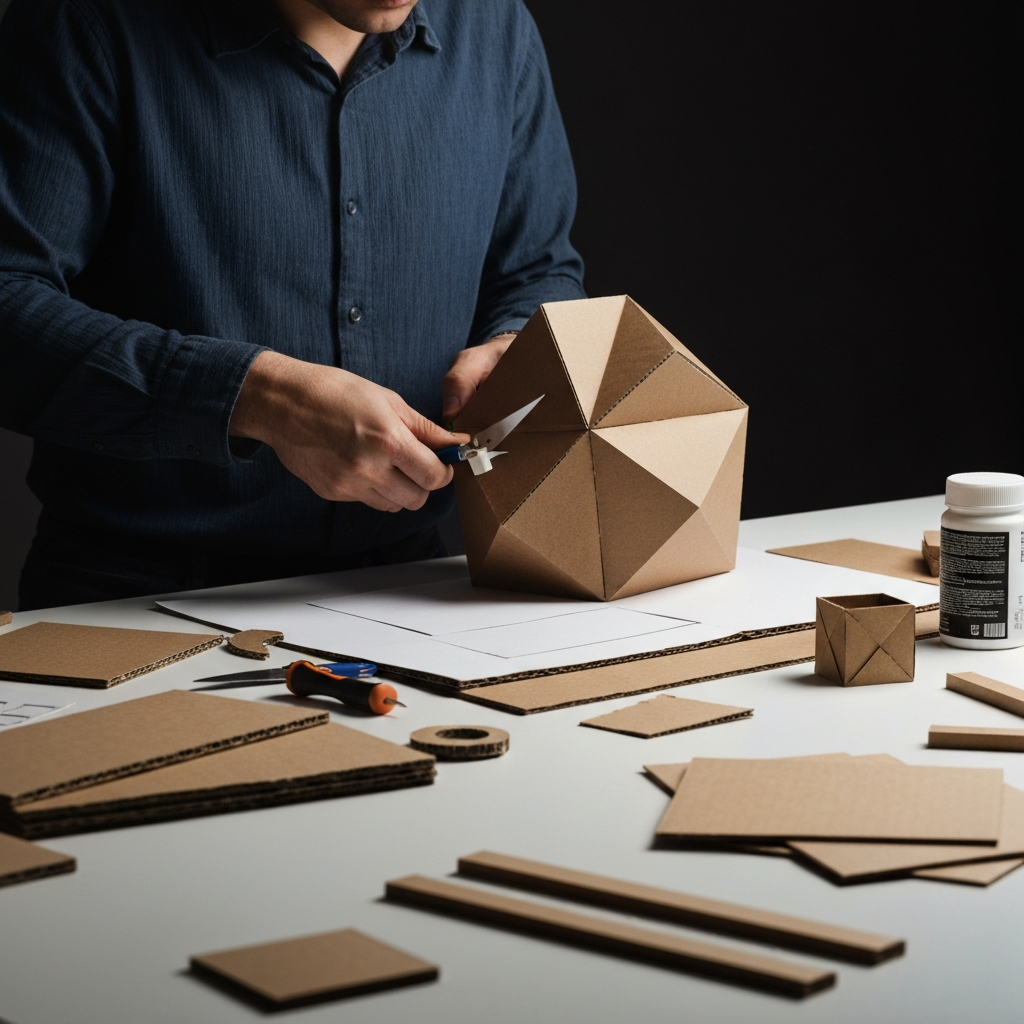
Step 8: Cardboard Creations: Recycling into Sculpture
Cardboard is a readily available and versatile material for creating sculptures and other three-dimensional artworks. Use cardboard boxes, tubes, or even corrugated cardboard sheets. Cut, fold, and glue the cardboard to create different shapes and forms. You can reinforce the cardboard with tape or glue. Consider adding texture by tearing or layering the cardboard. Once your sculpture is complete, you can paint it, cover it in fabric, or leave it in its natural state.
Pro Tips
- Document your process. Taking photos or videos of your work as you create it can be a great way to learn and improve your skills.
- Don't be afraid to fail. Art is a process of experimentation and learning, so don't get discouraged if things don't always turn out as planned.
- Share your work. Sharing your art with others can be a great way to get feedback and inspiration.
FAQ Section
Q: I don't think I'm creative. Can I still do this?
A: Absolutely! Creativity is a skill that can be developed with practice. Start small, experiment with different techniques, and don't be afraid to make mistakes.
Q: Where can I find inspiration for my art?
A: Inspiration can be found everywhere! Look around your home, go for a walk in nature, or browse art books and websites.
Q: What if I don't have all the materials listed?
A: Don't worry about having all the materials. Use what you have available and get creative with substitutions.
Conclusion
Unleashing your inner artist with everyday objects is a journey of discovery and transformation. By learning to see the artistic potential in the mundane, you can create beautiful and expressive art using readily available materials. Remember to embrace experimentation, don't be afraid to make mistakes, and most importantly, have fun! Art is a process of self-expression, so let your creativity shine and discover the artist within you.