In today's music landscape, originality reigns supreme. Forget meticulously crafted studio sessions – the next viral hit might be lurking just outside your window. The secret? Transforming mundane, everyday noises into captivating musical creations. It's not about having expensive equipment; it's about having a creative ear and the know-how to manipulate sound.
This guide will equip you with the fundamental skills and techniques to capture, process, and transform ordinary sounds into extraordinary music. We'll explore everything from field recording best practices to advanced sound design techniques, providing you with a comprehensive roadmap to sonic innovation. Get ready to unleash your inner sound alchemist and turn the world into your orchestra.
Ready to make some noise... musically? Let's dive in!
Step 1: Listen Actively and Identify Potential Sounds
The first step is to train your ear to hear music where others hear only noise. Active listening is crucial. This means consciously focusing on the sonic environment around you, identifying individual sounds, and imagining how they might translate into musical elements. Think about the rhythmic potential of a dripping faucet, the tonal qualities of a squeaky door, or the percussive possibilities of construction work. Don't dismiss anything as "just noise" until you've truly considered its potential. Think about the sounds Gen Alpha might find skibidi or Ohio, and how you could use that.

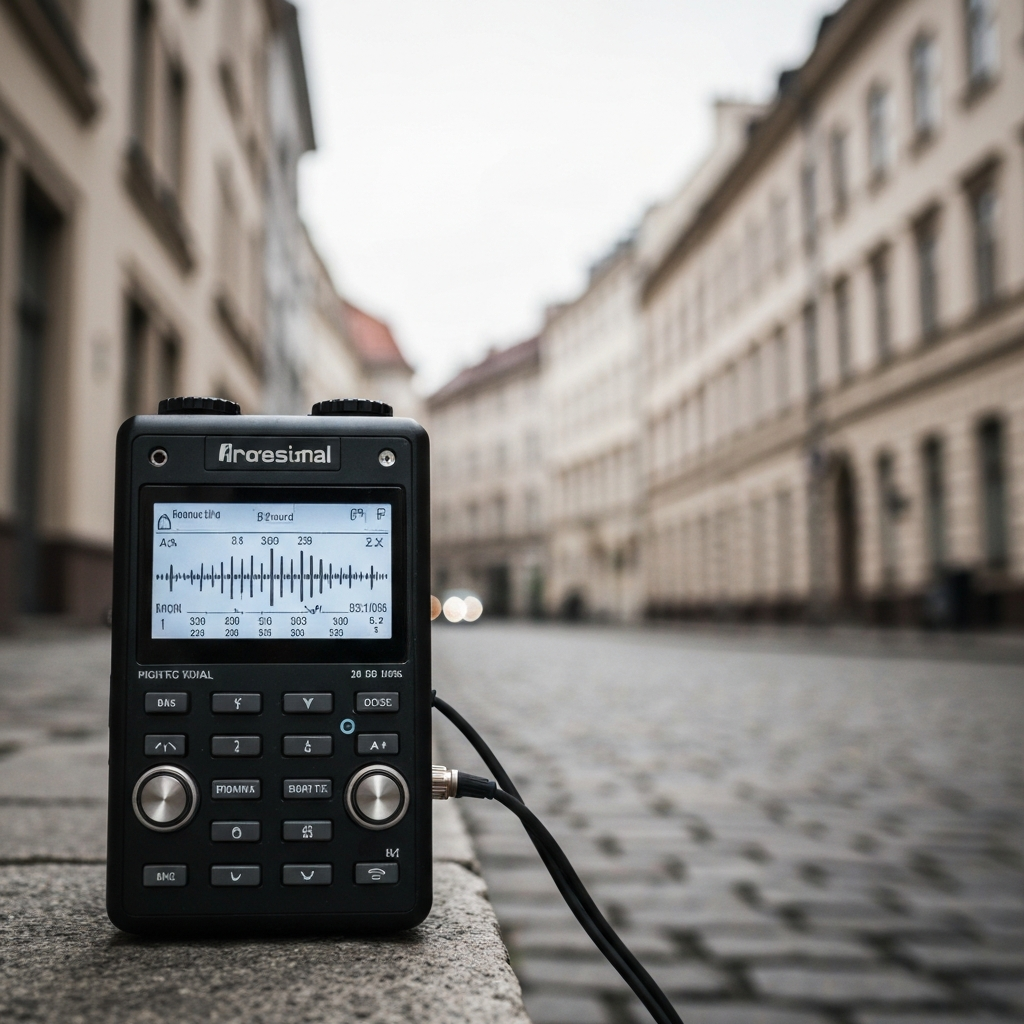
Step 2: Record Your Chosen Sounds
Once you've identified a promising sound, it's time to capture it. The quality of your recording will significantly impact the final result, so invest in a decent recording device, even if it's just a smartphone with a good microphone. Pay attention to the environment; minimize background noise by recording in quieter locations or using techniques like directional microphones. Experiment with different recording distances and angles to capture the sound in the most interesting way. Remember that the goal is not perfect fidelity, but rather capturing the essence of the sound for later manipulation. Be aware of the aura of the sounds you're recording.
Step 3: Import and Organize Your Recordings
Transfer your recordings to your computer and import them into your chosen Digital Audio Workstation (DAW). This is where the magic begins. Create a well-organized folder structure to keep track of your sounds. Label each file descriptively (e.g., "DrippingFaucet_CloseMic," "SqueakyDoor_FarMic"). Take the time to listen to each recording and identify its key characteristics – its pitch, rhythm, timbre, and any interesting sonic artifacts. This initial assessment will guide your subsequent sound design choices. You want to record something that slaps!

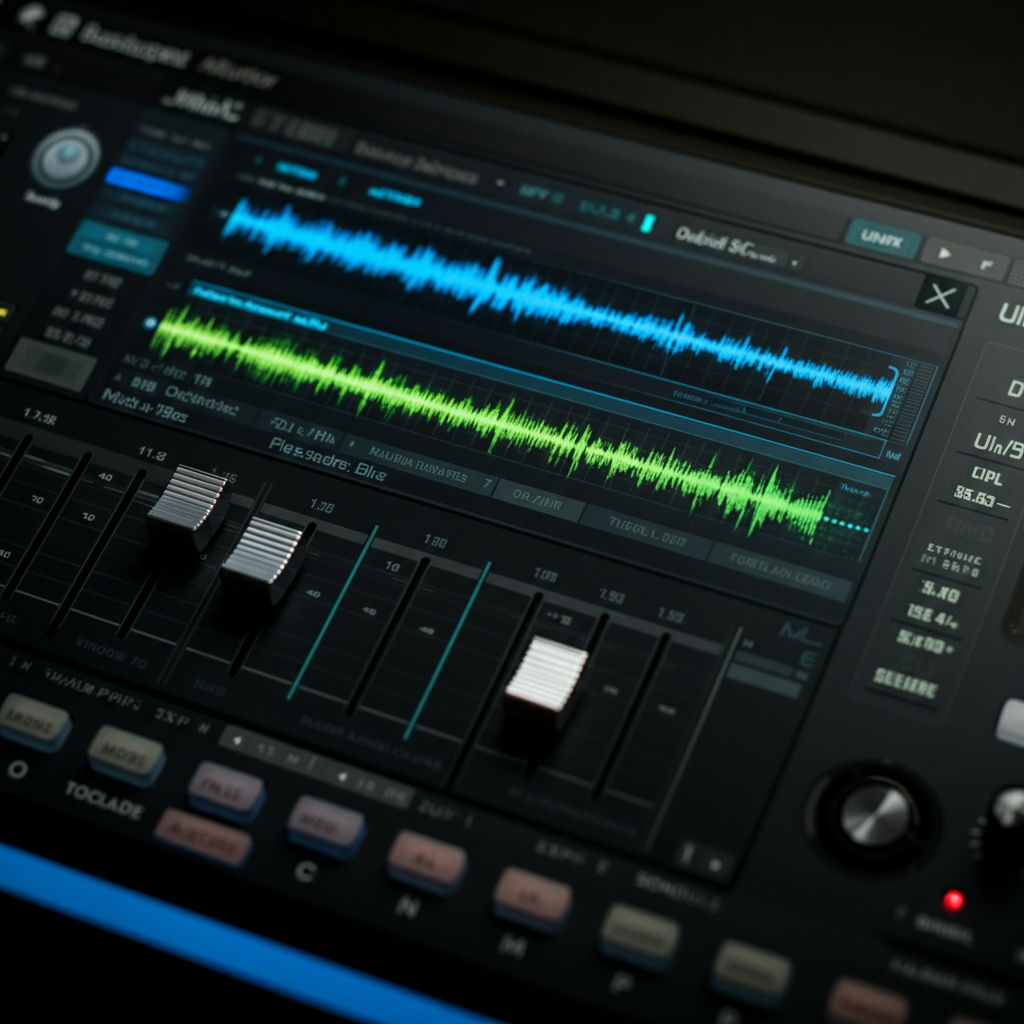
Step 4: Isolate and Clean the Sound
Before manipulating your sounds, it's often necessary to isolate and clean them. This involves using audio editing tools to remove unwanted noise, such as hum, hiss, or extraneous sounds. Carefully select the portion of the sound you want to work with, trimming away any unnecessary silence or irrelevant elements. Noise reduction plugins can be helpful, but use them sparingly to avoid degrading the quality of the sound. EQ can also be used to remove unwanted frequencies. Remember that sometimes, imperfections can add character, so don't be afraid to leave some of the "dirt" in.
Step 5: Manipulate and Transform the Sound
This is where you truly transform your everyday sounds into something musical. Experiment with a wide range of sound design techniques, including pitch shifting, time stretching, filtering, distortion, and reverb. Try layering multiple sounds together to create complex textures. Don't be afraid to push the boundaries and experiment with unconventional processing techniques. The goal is to explore the full sonic potential of your sounds and discover unexpected musical possibilities. Think of what rizz your music will have if it has never-heard-before sounds. Remember no cap!
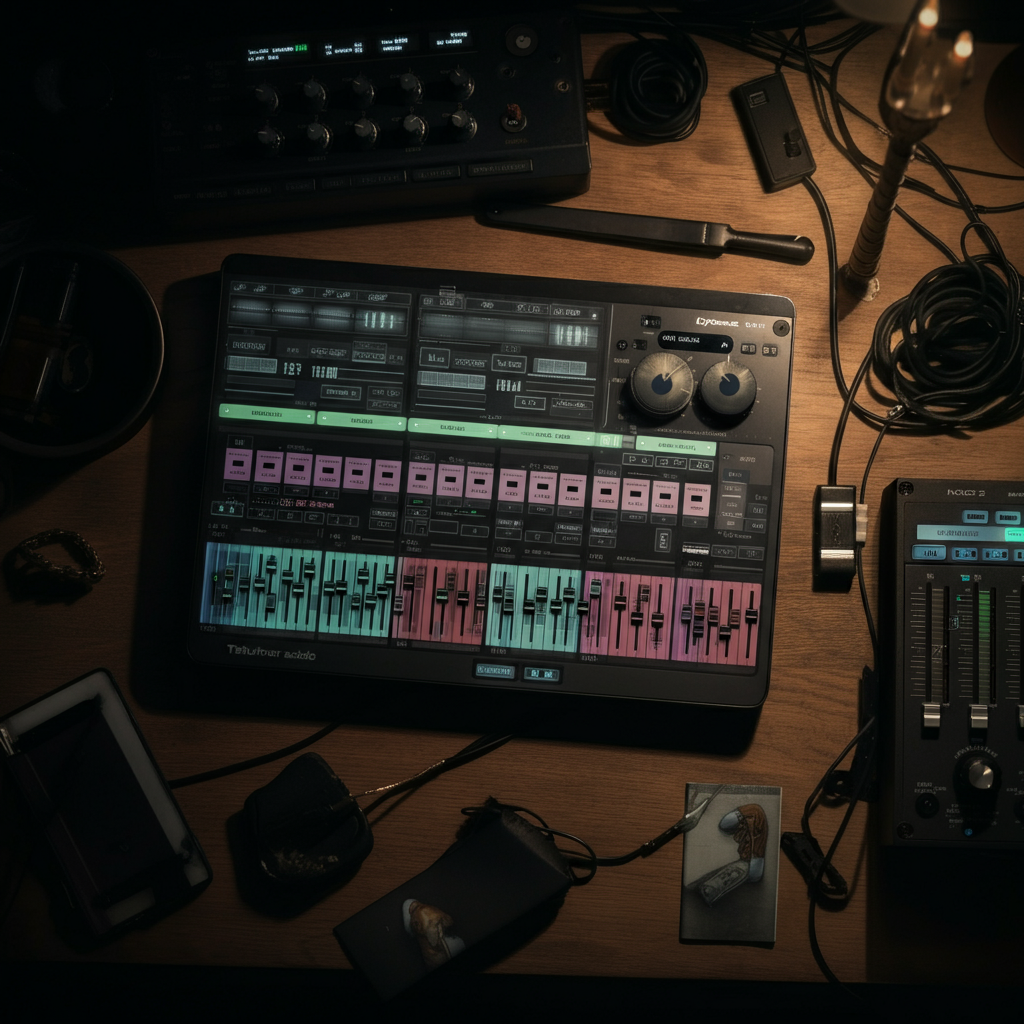
Step 6: Add Rhythm and Structure
To create a cohesive musical piece, you need to add rhythm and structure to your transformed sounds. This can involve chopping up your sounds into shorter fragments, rearranging them into rhythmic patterns, and layering them with other percussive elements. Use your DAW's sequencer to create loops and arrange them into song sections. Experiment with different tempos and time signatures to find the groove that best suits your sounds. Consider adding a traditional drum beat to complement your unconventional sounds.
Step 7: Add Melodic and Harmonic Elements
While your everyday sounds can provide a unique foundation for your music, adding melodic and harmonic elements can elevate it to a new level. This can involve using synthesizers or other instruments to create chords and melodies that complement your transformed sounds. Try sampling your sounds and using them as the basis for melodic phrases. Experiment with different scales and modes to find the harmonic context that best enhances the emotional impact of your music. Keep in mind the latest Gen Alpha trends.

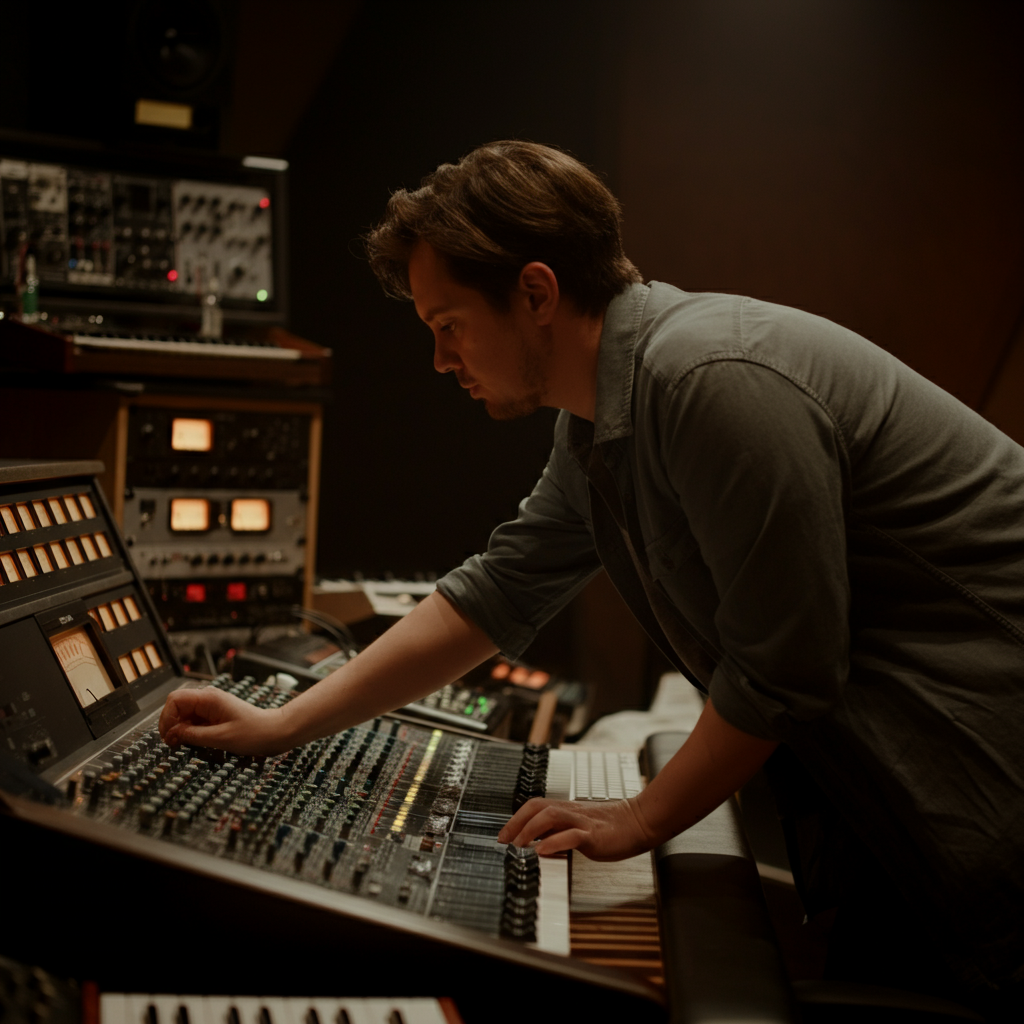
Step 8: Mix and Master Your Track
Once you've created all the elements of your song, it's time to mix and master it. This involves carefully balancing the levels of each track, applying EQ and compression to shape the overall sound, and adding effects to create depth and space. Mastering is the final step, where you optimize the track for playback on different devices and platforms. Pay close attention to the overall loudness and dynamic range of your track to ensure it sounds professional and impactful. Make sure it is fire!

Tools or Materials Required
- Recording Device (Smartphone, Portable Recorder, etc.)
- Digital Audio Workstation (DAW) - Ableton Live, Logic Pro X, FL Studio, etc.
- Headphones
- Audio Editing Software (Audacity is a free option)
- Plugins (EQ, Compression, Reverb, Distortion)
Common Mistakes to Avoid
- Poor Recording Quality: Invest in a decent microphone and record in quiet environments.
- Over-Processing: Use effects sparingly to avoid making your sounds sound artificial.
- Lack of Structure: Don't just layer sounds randomly; create a clear and cohesive arrangement.
- Ignoring Dynamics: Pay attention to the loudness and quietness of your sounds to create emotional impact.
Pro Tips
- Experiment with unconventional recording techniques, such as contact microphones or hydrophones.
- Use granular synthesis to create complex and evolving textures from your everyday sounds.
- Collaborate with other musicians to bring fresh perspectives to your sound design.
- Analyze the sound design of your favorite artists to learn new techniques and approaches.
FAQ Section
Q: What if I don't have a professional recording studio?
A: You don't need one! Many viral tracks have been created using just a smartphone and a laptop. Focus on capturing interesting sounds and using your DAW creatively.
Q: What are some good DAWs for beginners?
A: GarageBand (free on macOS) and Cakewalk by BandLab (free on Windows) are excellent starting points. They offer a user-friendly interface and a wide range of features.
Q: How do I avoid copyright issues when using everyday sounds?
A: As long as you are recording the sounds yourself and not using pre-recorded samples from commercial sources, you should be fine. However, be mindful of any recognizable melodies or copyrighted material that may be embedded in the sounds.
Conclusion
Turning everyday sounds into viral music is a journey of sonic exploration and creative discovery. By training your ear, mastering basic recording techniques, and experimenting with sound design, you can unlock a world of musical possibilities hidden within the mundane. Remember, the key is to embrace experimentation, push boundaries, and let your imagination guide you. So go out there, listen to the world around you, and transform those everyday sounds into the next viral sensation. Don't be cooked, ate and leave no crumbs!