Technology, for all its benefits, can be incredibly frustrating when it malfunctions. From a glitching smartphone to a stubbornly unresponsive laptop, we've all been there. The good news is that many common tech problems are surprisingly easy to fix yourself. This guide provides a structured approach to troubleshooting, empowering you to diagnose and resolve issues before resorting to expensive repairs or replacements.
This guide isn't about becoming a professional IT technician overnight. Instead, it's about equipping you with the fundamental knowledge and skills to tackle everyday tech problems with confidence. We'll cover a range of common issues, from network connectivity to software glitches, and provide practical, step-by-step instructions to get you back on track. Remember, patience and a methodical approach are your best allies in the world of tech troubleshooting.
Before we dive in, it's important to remember the golden rule of troubleshooting: back up your data before making any significant changes. Data loss is a painful experience, and a simple backup can save you hours of frustration and potential heartache. Now, let's get started!
Step 1: Identify the Problem
The first and often most crucial step is to clearly identify the problem. What exactly isn't working? Is it a complete system failure, a specific program crashing, or a network connectivity issue? Be as specific as possible when describing the symptoms. For example, instead of saying "My computer isn't working," try "My computer displays a blue screen error when I try to open Google Chrome." The more detail you provide, the easier it will be to pinpoint the cause.

Step 2: Restart the Device
It may sound overly simplistic, but restarting your device is often the first and most effective solution. A simple restart can clear temporary glitches, free up system resources, and resolve minor software conflicts. Whether it's your computer, smartphone, or router, give it a good old-fashioned reboot before proceeding with more complex troubleshooting steps. Allow the device to completely power down and then turn it back on. This process allows the system to refresh and potentially resolve underlying issues.

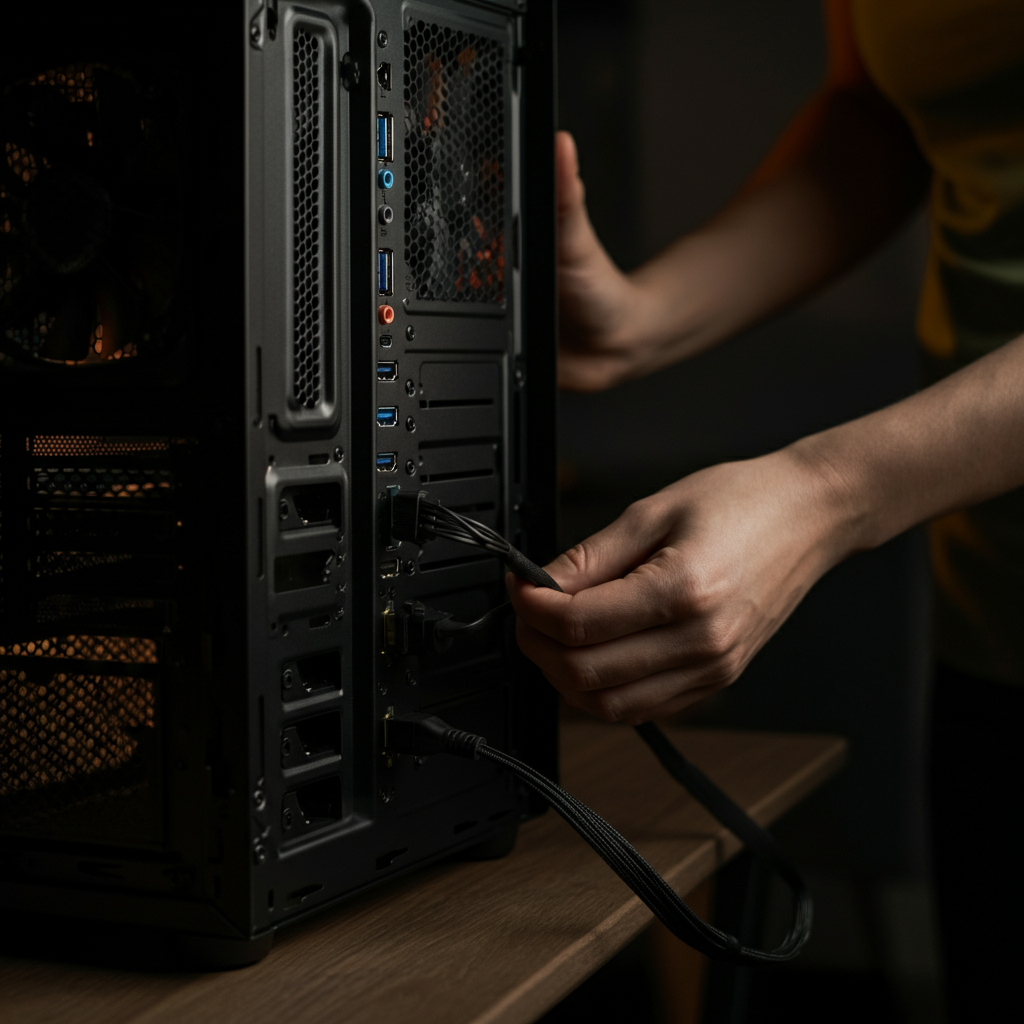
Step 3: Check Cables and Connections
Loose or faulty cables are a common culprit behind many tech problems. Make sure all cables are securely plugged into their respective ports. This includes power cables, network cables, USB cables, and any other relevant connections. Inspect the cables themselves for any signs of damage, such as fraying, kinks, or exposed wires. Try using a different cable to see if that resolves the issue. A faulty cable can often mimic more serious hardware problems.
Step 4: Update Software and Drivers
Outdated software and drivers can lead to compatibility issues and performance problems. Ensure that your operating system, applications, and device drivers are up to date. Regularly check for updates and install them as soon as they become available. Most operating systems have built-in update mechanisms, and many applications will prompt you to update automatically. Keeping your software current not only improves performance but also enhances security.

Step 5: Run a Virus Scan
Malware infections can cause a wide range of tech problems, from slow performance to system crashes. Run a comprehensive virus scan using a reputable antivirus program. Make sure your antivirus software is up to date with the latest virus definitions. If the scan detects any threats, follow the program's instructions to remove or quarantine them. Consider performing a full system scan, which may take several hours but provides a more thorough analysis of your system.

Step 6: Check for Overheating
Overheating can cause a variety of problems, including performance slowdowns, system crashes, and even permanent hardware damage. Ensure that your device has adequate ventilation and is not being used in a hot or confined space. Check the fans to make sure they are spinning properly and that there are no obstructions blocking airflow. Consider using a hardware monitoring tool to check the temperature of your CPU and GPU. If your device is overheating, try cleaning the fans and vents or using a cooling pad.

Step 7: System Restore (Windows) or Time Machine (macOS)
If you've recently made changes to your system, such as installing new software or drivers, and are now experiencing problems, try using System Restore (Windows) or Time Machine (macOS) to revert your system to a previous state. These tools create snapshots of your system configuration, allowing you to roll back to a point in time when everything was working correctly. This can be a lifesaver when a recent change has introduced instability. Be aware that using System Restore or Time Machine might remove programs installed after the restore point.

Step 8: Seek Professional Help
If you've tried all the above steps and are still unable to resolve the problem, it may be time to seek professional help. Don't be afraid to admit defeat and consult a qualified technician or repair shop. They have the expertise and specialized tools to diagnose and fix more complex problems. Describe the steps you've already taken to troubleshoot the issue to help them understand the situation better. Before choosing a repair shop, read reviews and compare prices.

Tools or Materials Required
- Screwdriver set (Phillips and flathead)
- Compressed air
- Antivirus software
- USB drive (for backups)
- Cable tester (optional)
Common Mistakes to Avoid
- Not backing up data before troubleshooting.
- Ignoring error messages.
- Installing software from untrusted sources.
- Forcing hardware components.
Safety Considerations
- Always unplug devices before working on them.
- Avoid working in wet environments.
- Use caution when handling electronic components.
FAQ Section
Q: My computer is running slowly. What should I do?
A: Try closing unnecessary programs, running a virus scan, and defragmenting your hard drive.
Q: I can't connect to the internet. What should I do?
A: Check your router and modem, make sure your network cables are connected properly, and try restarting your devices.
Q: My printer isn't printing. What should I do?
A: Check the printer's power and connection, make sure there's paper in the tray, and check for any error messages.
Conclusion
Troubleshooting your tech can seem daunting, but by following a systematic approach and applying the tips outlined in this guide, you can resolve many common problems yourself. Remember to stay calm, be patient, and don't be afraid to experiment. With a little practice, you'll become a more confident and capable tech user. And, most importantly, remember to back up your data!